Driving an moving coil meter whit a PWM output
-
Hello MySensor-ers,
I recently started MySensors in combination with Domoticz.
For a while I have had the idea to use some old panel meters (moving coil meters) to visualize for example (room) temperature or current consumption of electricity.
When looking around I came out on the Dimmer sketch, is this the only way to control a PWM output or are there other ways to control a PWM output which is more towards a display or meter?
second question; Does anyone have a tip to set up a script in domoticz where, for example, the measured room temperature can be sent between 0 and (max) 25 degrees to a PWM output?
thanks in advance
dzjr -
Hello MySensor-ers,
I recently started MySensors in combination with Domoticz.
For a while I have had the idea to use some old panel meters (moving coil meters) to visualize for example (room) temperature or current consumption of electricity.
When looking around I came out on the Dimmer sketch, is this the only way to control a PWM output or are there other ways to control a PWM output which is more towards a display or meter?
second question; Does anyone have a tip to set up a script in domoticz where, for example, the measured room temperature can be sent between 0 and (max) 25 degrees to a PWM output?
thanks in advance
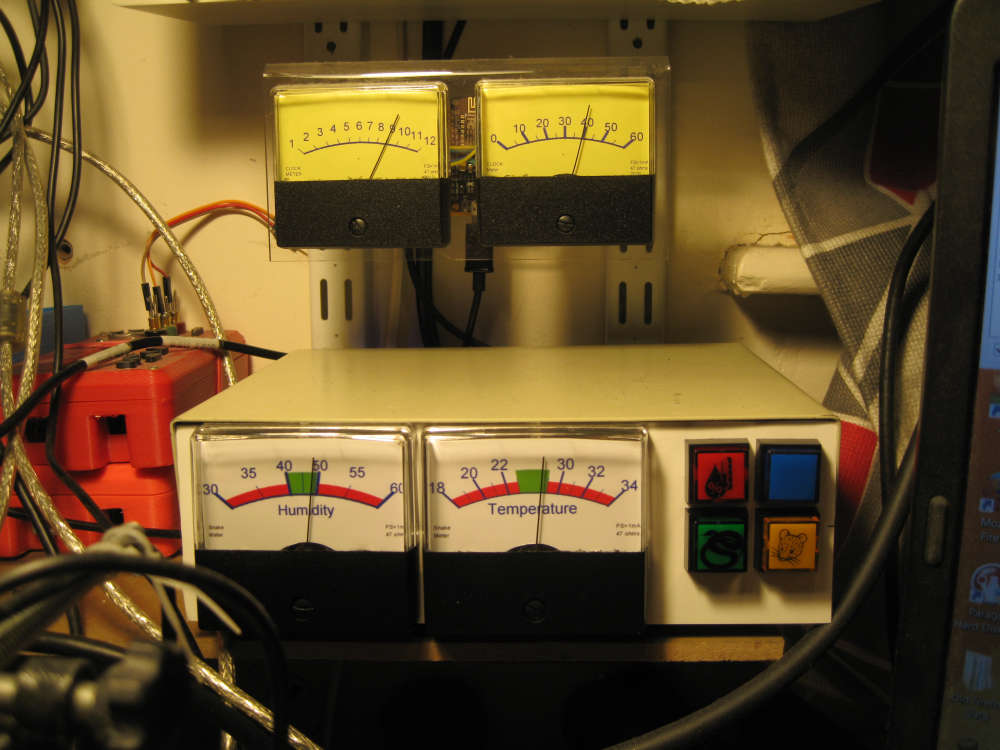
dzjr@dzjr I have several meters for quick indications.
Normally i utilize a message type of V_VAR1 to 5 as these are available for all sensor types, If it just being an information sensor then I use the S_INFO device.
I send the information to be displayed as direct units
For example for temperature I would send V_VAR1 = 26.1 as 26.1°C or -5.5
and then let the node set the display range.if you want only a linear display the following code will work,
// Enable debug prints to serial monitor
#define MY_DEBUG

// Enable and select radio type attached
#define MY_RADIO_NRF24

#include <MySensors.h>

#define SKETCH_NAME "MySensors Meter"
#define SKETCH_VERSION "v1.0"

// Meter Vars
#define METER_PIN     5
#define METER_ID      20    // whater childId your using
#define METER_MIN      0    // meter Minimum value
#define METER_MAX     30
MyMessage msg_S_INFO_VAR1(ID_S_INFO,V_VAR1);
float info_Var1 = 00.0;

void before()
{
}

void setup() {
  // put your setup code here, to run once:

}

void loop() {
  // put your main code here, to run repeatedly:

}

void receive(const MyMessage &message)
{
  if (message.type == V.VAR1) {
      info_Var1=message.getFloat();
    Serial.print("Incoming value for ID_S_INFO:");
    Serial.print(message.sensor);
    Serial.print(", V_VAR1: ");
    Serial.print(", New status: ");
    Serial.println(info_Var1,1);
    updateMeter0(info_Var1);
  }
}


void updateMeter0(float meterInput=0){
// Meter 0   this uses the input value and simple maping
// Note The map() function uses integer math so will not generate fractions, so can be helpful to multiply input values
// ie using input temperature value 0 to 30°C  So multiply by 10 to get 0-to 300
int16_t max_Output=   255;   // maximum PWM Value, 255 for Arduino Uno,  1023 for ESP8266
meterInput = meterInput *10;
analogWrite(meter_pin, map(meterInput,meter_MIN, meter_MAX, 0, max_Output )) ;  // map to Max PWM Level
}
However i like to have arbitrary scales so normally use a look-up array for the pwm values. as used in the meters shown.

-
Thank you for your reply.
It is indeed what I mean and wants to make.
I have several old meters with various scales, but not all scales are usable, but that does not have to be a problem.If you like it, I will use your sketch as an example.
I myself had not even thought of arranging the minimum / maximum value in the arduino.I'm going to set up a test soon.
Incidentally beautifully composed box with the meters and lights!
When I have finished I will post a photo!
thanks again for your push in the right direction !!
dzjr
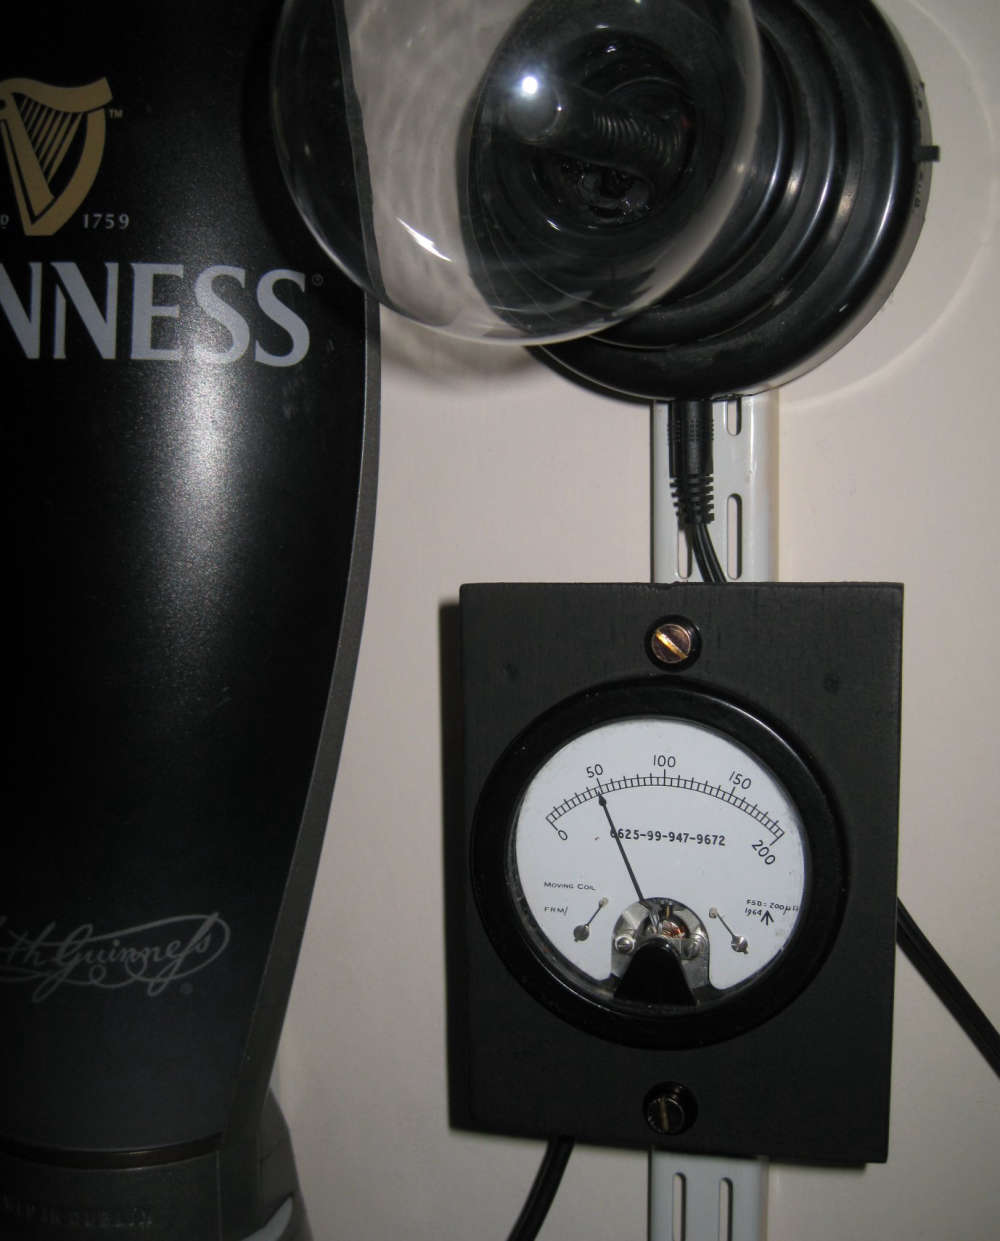
@dzjr I also have various old meters, Some have a sealed movement so unable to change the scales.
Below is my meter showing time since last coffee.

-
@dzjr I also have various old meters, Some have a sealed movement so unable to change the scales.
Below is my meter showing time since last coffee.

@hard-shovel That would be the cold coffee with cream with a certain Guinness ais quoi? ;)
