RF433 NODE, help with code
-
Hi,
I have been tampering and testing MySensors for a while but never taken myself the time to do something serious with it.
My first serious node is a 433mhz transmitter to control Nexa outlets and dimmers.
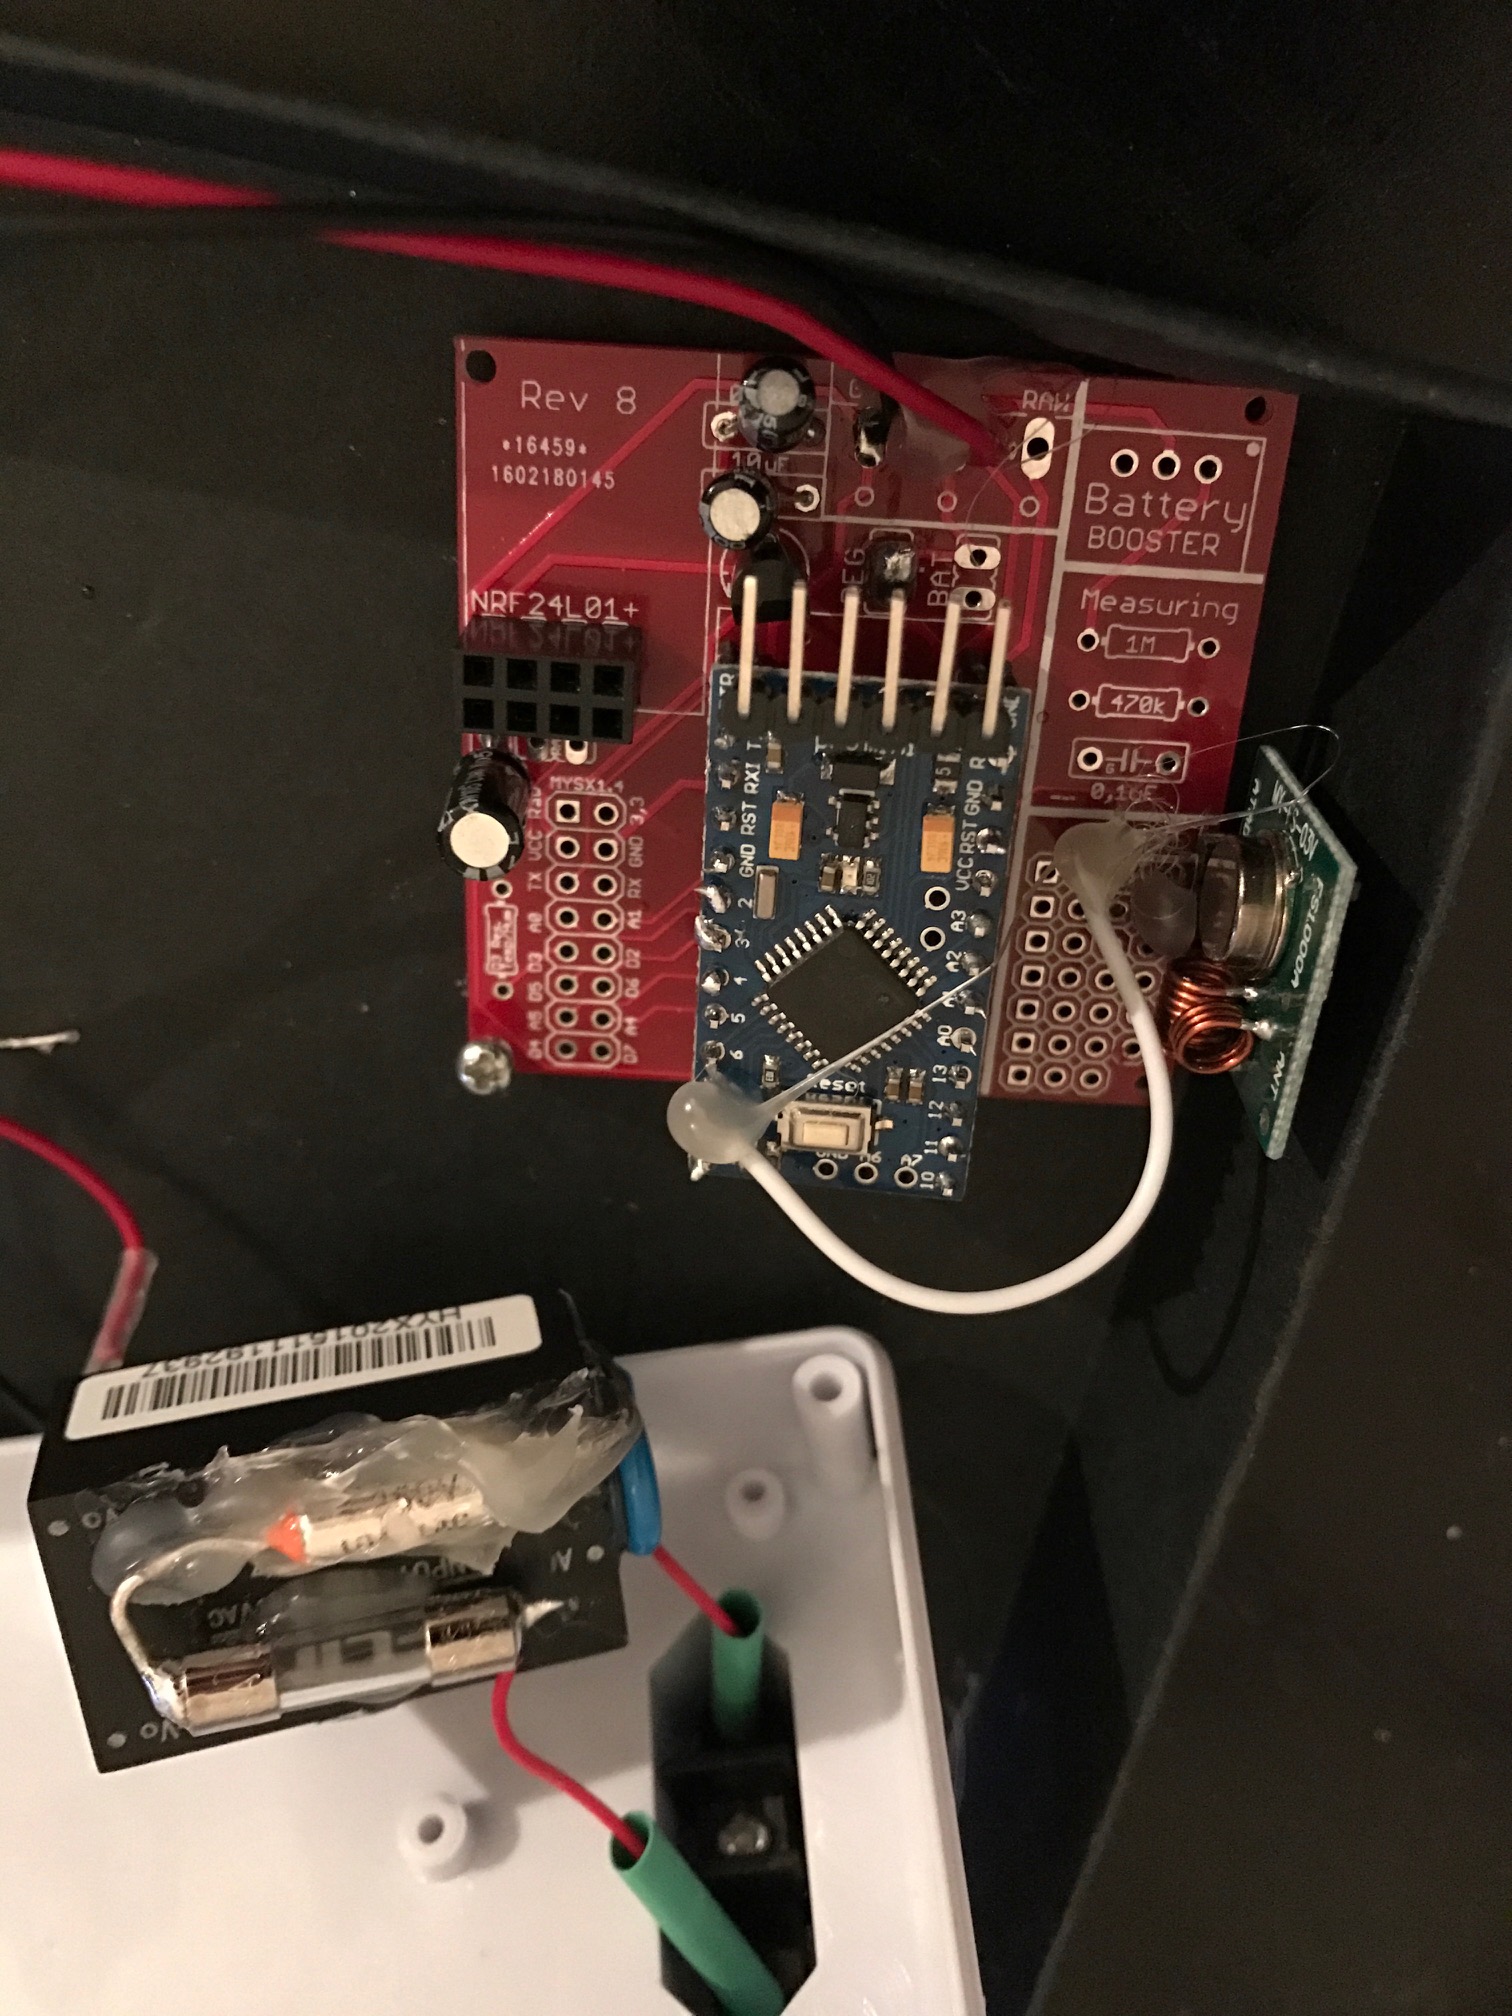
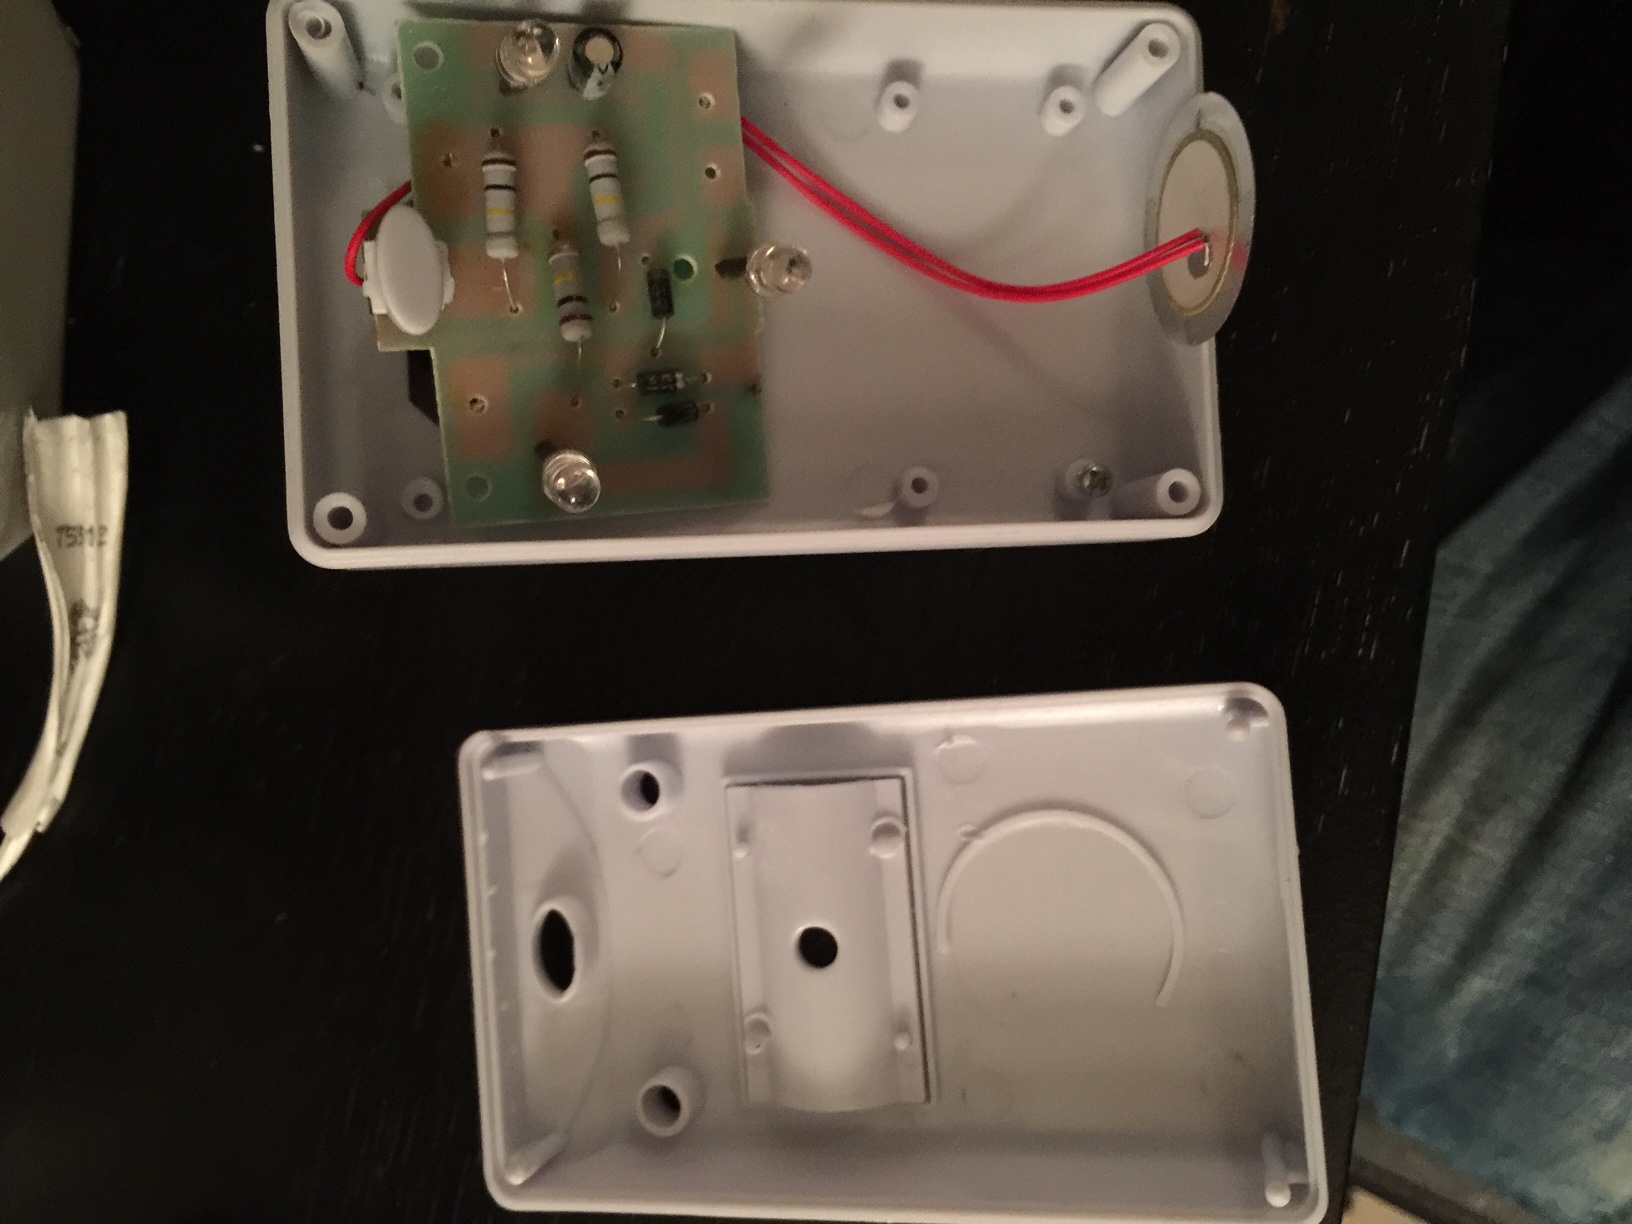
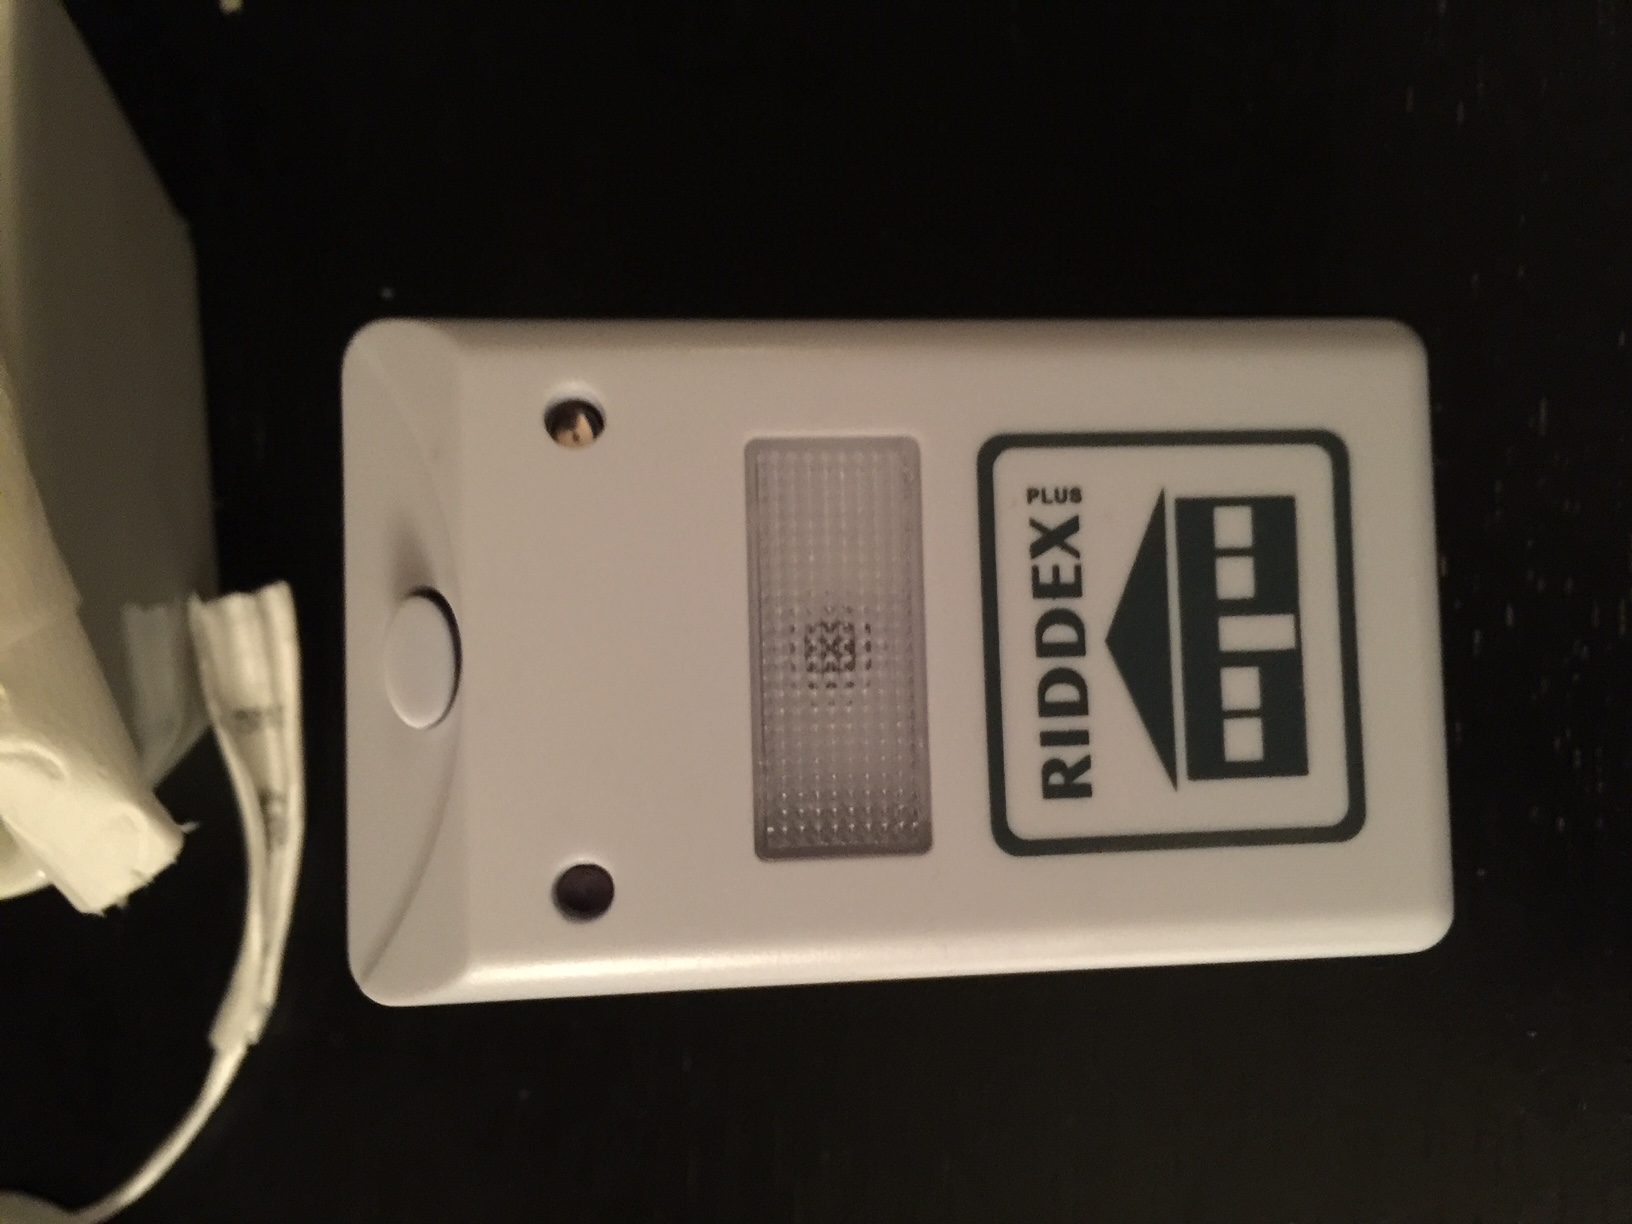
The node is housed in a case from a riddex pest repellent (not working ;) and the hardware is soldered to sundbergs84's nice Easy PCB.
I am using Domoticz as controller on a Rpi.
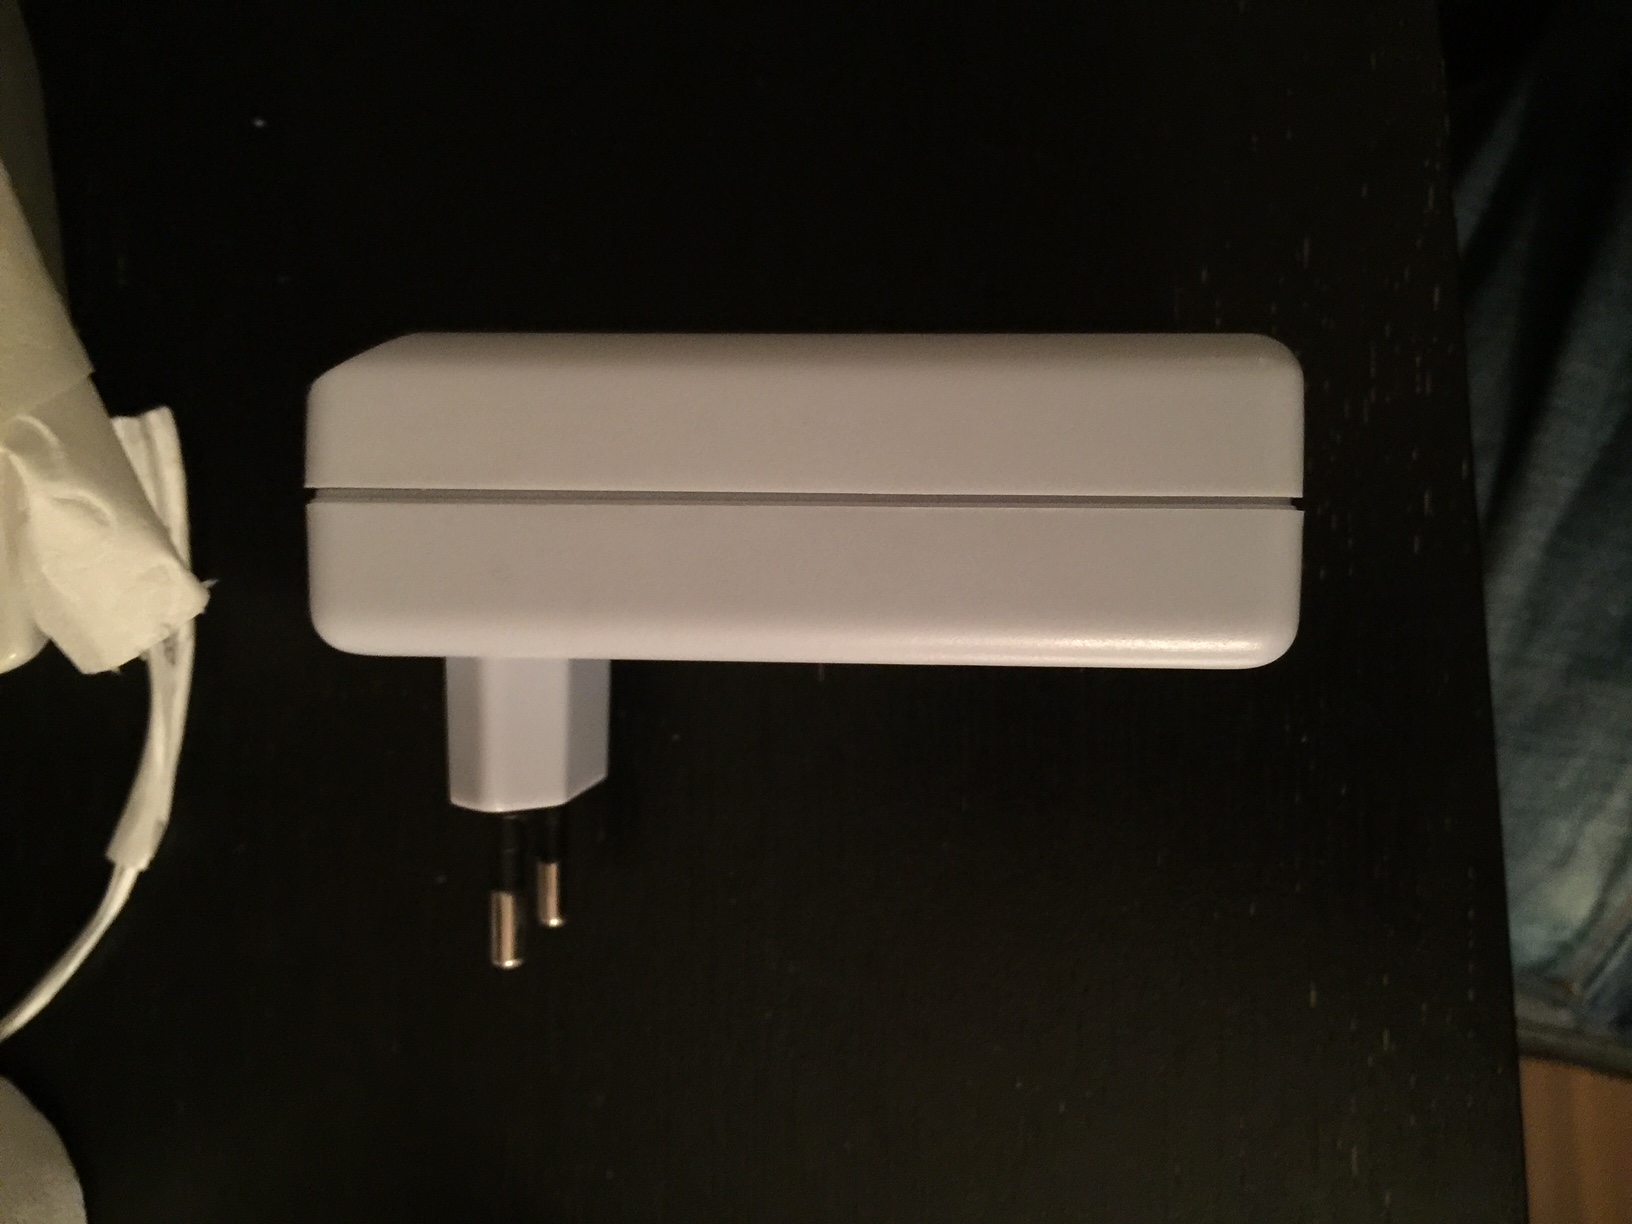
Pictures of casing
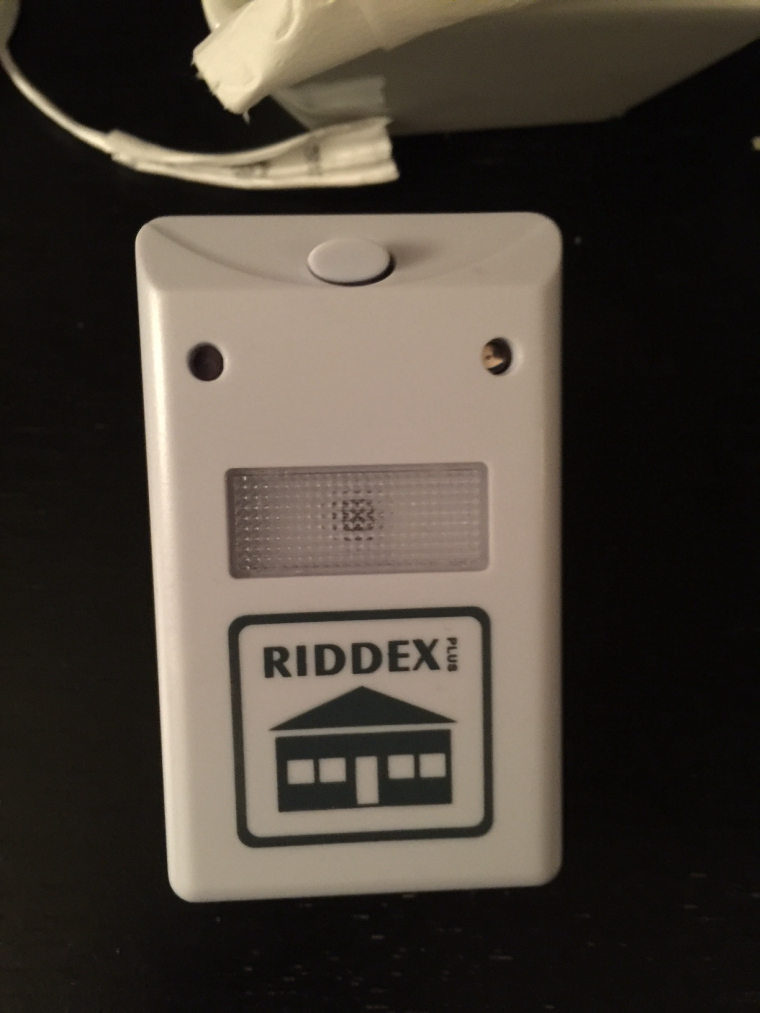
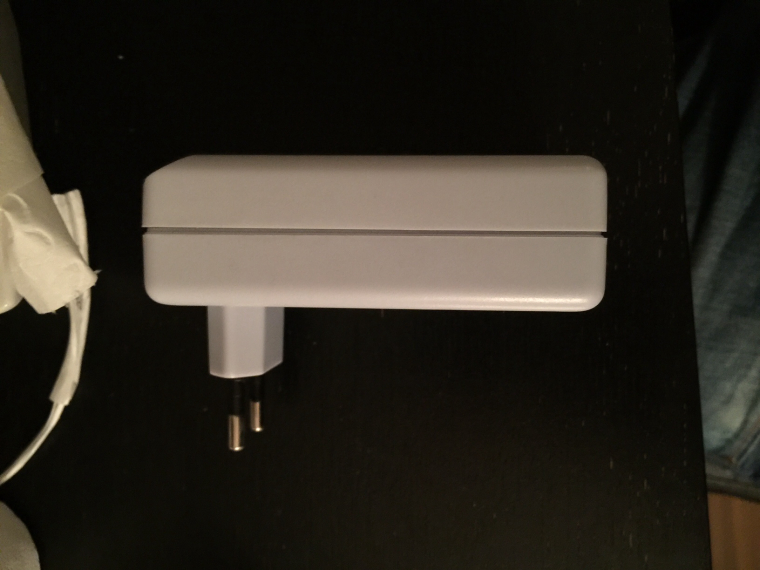
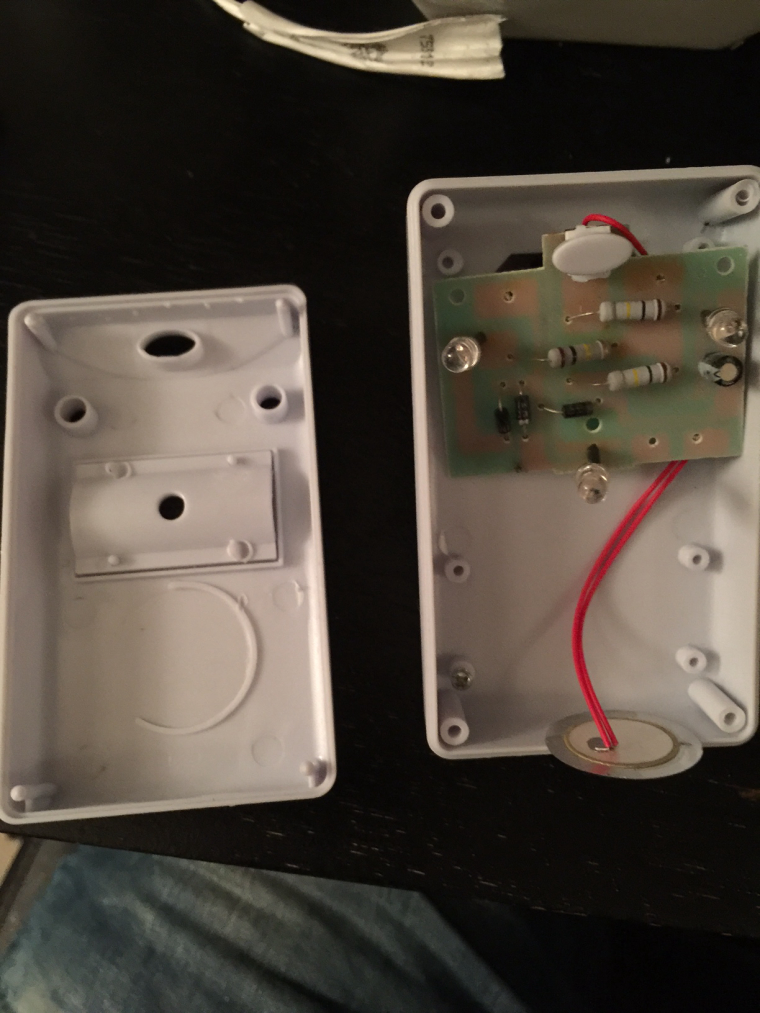
Pictures of PCB, RF433 transmitter and HLK power module with fuses.
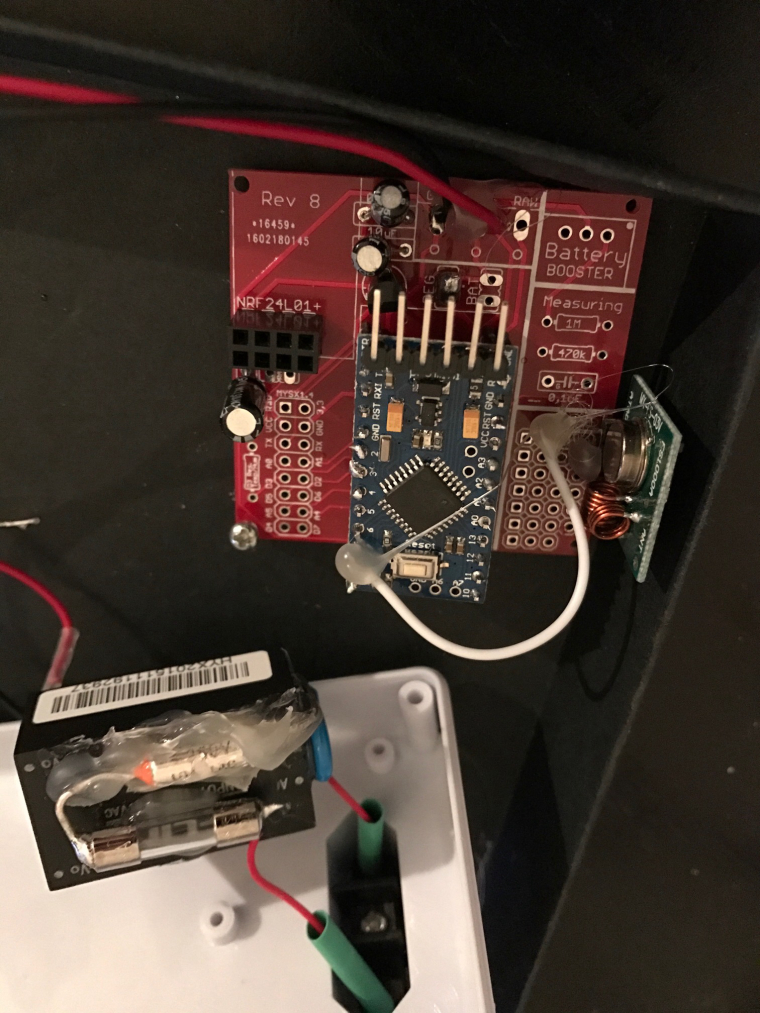
I didn't have any pictures at the final assembly but that can be arranged if someone is interested.
Enough rubbish and on to the code :smile:
This code is working both for switching and dimming the "Self learning" Nexa outlets/dimmers.
But I have a few things that bother me:
1st Send_status is not working properly is it configured the right way? "int CHILD=switch_no;" doesn't seem to do what it should.2nd If i reset the node i want it to request the state from the controller (Domotizc) and set the outlets accordingly, it seems to work sometimes, but not properly for all ten switches shown in domotizc.
3rd The code is quite crude, i believe i have over complicated it "just to make it work".
It would be nice i someone could help tidy it up. :blush:Over to you geniouses :smile:
Best Regards //Viktor //Craktor/** The MySensors Arduino library handles the wireless radio link and protocol between your home built sensors/actuators and HA controller of choice. The sensors forms a self healing radio network with optional repeaters. Each repeater and gateway builds a routing tables in EEPROM which keeps track of the network topology allowing messages to be routed to nodes. Created by Henrik Ekblad <henrik.ekblad@mysensors.org> Copyright (C) 2013-2015 Sensnology AB Full contributor list: https://github.com/mysensors/Arduino/graphs/contributors Documentation: http://www.mysensors.org Support Forum: http://forum.mysensors.org This program is free software; you can redistribute it and/or modify it under the terms of the GNU General Public License version 2 as published by the Free Software Foundation. ******************************* REVISION HISTORY Version 1.0 - May 01, 2017 - Viktor Lundström (craktor@gmail.com) DESCRIPTION This sketch provides a Node to control NEXA outlets. http://www.mysensors.org */ // Enable debug prints to serial monitor #define MY_DEBUG #define MY_NODE_ID 9 // Set NODE_ID to something unique in your sensor network (1-254) #define MY_RADIO_NRF24 #include <MySensors.h> #include <SPI.h> #include <NexaTransmitter.h> #define NUMBER_OF_SWITCHES 10 //Register switches as child devices (MAX99 Nexa/remote??, havent tried.) NexaTransmitter remote(8, 5519105); // Create the nexa remote on PIN 8 with REMOTE_ID 5519105 //DIMMER VARIABLES #define SN "RF433_170501_1" #define SV "1.0" int CHILD; long set_dim; int datavalue; int dimvalue; int switch_no; int set_value; MyMessage dimmerMsg(CHILD+switch_no, V_PERCENTAGE); MyMessage lightMsg(CHILD+switch_no, V_STATUS); void setup() { Serial.println("Setup initiated"); // remote.setSwitch(true,1,15); //TEST RF TRANSMITTER (ON DEVICE 1 DIMLEVEL 15) wait(500); // remote.setSwitch(false,1); //TEST RF TRANSMITTER (OFF DEVICE 1) } void presentation() { //LOOP REQUEST for (int CHILD = 0; CHILD < NUMBER_OF_SWITCHES; CHILD++) { #ifdef MY_DEBUG Serial.print("REQUEST CHILD STATUS NO:"); Serial.println(CHILD + 1); #endif request( CHILD + 1, V_DIMMER ); wait(300); request( CHILD + 1, V_STATUS ); #ifdef MY_DEBUG Serial.print("END REQUEST NO:"); Serial.println(CHILD + 1); #endif } Serial.println ("Register Switches"); // LOOP Register sensors to gw (they will be created as child devices) for (int CHILD = 0; CHILD < NUMBER_OF_SWITCHES; CHILD++) { Serial.print("PRESENT CHILD NO:"); Serial.println(CHILD + 1); present(CHILD + 1, S_DIMMER); wait(250); Serial.print("END REQUEST NO:"); Serial.println(CHILD + 1); } #ifdef MY_DEBUG Serial.println("loop present Switches"); #endif for (int CHILD = 0; CHILD < NUMBER_OF_SWITCHES; CHILD++) { Serial.print("LightMsg: "); MyMessage lightMsg(CHILD + 1, V_STATUS); Serial.print("DimmerMsg: "); MyMessage dimmerMsg(CHILD + 1, V_PERCENTAGE); wait(100); send(dimmerMsg.set(0)); wait(100); send(lightMsg.set(0)); } sendSketchInfo(SN, SV); // Send the sketch version information to the gateway and Controller } void loop() {} void transmitt (bool set_value, int switch_no) { Serial.println( "transmitt" ); Serial.print( "Set Value:" ); Serial.println (set_value); Serial.print( "Switch Number:" ); Serial.println (switch_no); remote.setSwitch(set_value, switch_no); Serial.print("LightMsg: "); sendstatus(set_value, switch_no, set_dim); } void transmittdim (bool set_value, int switch_no, int set_dim) { Serial.println( "transmittdim" ); Serial.print( "Set Value:" ); Serial.println (set_value); Serial.print( "Switch Number:" ); Serial.println (switch_no); Serial.print( "Set dim value:" ); Serial.println (set_dim); remote.setSwitch(set_value, switch_no, set_dim); wait(50); sendstatus(set_value, switch_no, set_dim); } void sendstatus(int set_value, int switch_no, int set_dim) { #ifdef MY_DEBUG Serial.println( "Send status" ); Serial.print( "Set Value:" ); Serial.println (set_value); Serial.print( "Set Dim:" ); Serial.println (set_dim); #endif send(lightMsg.set(set_value)); wait(100); Serial.print("DimmerMsg: "); send(dimmerMsg.set(set_dim)); wait(100); } void receive(const MyMessage &message) { #ifdef MY_DEBUG Serial.print("Message sensor:"); Serial.println(message.sensor); Serial.print("Message data:"); Serial.println(message.data); Serial.print("Message type:"); Serial.println(message.type); #endif int switch_no = message.sensor; //vilken switch int dimvalue = atoi(message.data ); // 0 =off, 1=ON, dim level =0-100 int datavalue = atoi(message.data ); // 0 =off, 1=ON, dim level=0-100 Serial.print( "Data value?:" ); Serial.println( datavalue ); if (datavalue >= 3) { datavalue = 3; Serial.print( "New data value:" ); Serial.println( datavalue ); } //message.type // 2 vid ON/OFF, 3 vid DIM (ANVÄND VID DIMMER) if (message.type == V_PERCENTAGE) { switch (datavalue) { case 0 : set_value = 0; dimvalue = 0; Serial.println( "V_STATUS_CASE0" ); transmitt (set_value, switch_no); break; case 1 : set_value = 1; dimvalue = 100; Serial.println( "V_STATUS_CASE1" ); transmitt (set_value, switch_no); break; case 3 : set_value = 1; set_dim = map(message.getInt(), 0, 100, 2, 15); // map dimmer values to Switch states 0..9 and wrap #ifdef MY_DEBUG Serial.println( "V_PERCENTAGE" ); Serial.print( "Mapped value:" ); Serial.println (set_dim); #endif transmittdim (set_value, switch_no, set_dim); break; } } else if (message.type == V_STATUS) { switch (datavalue) { case 0 : set_value = 0; dimvalue = 0; Serial.println( "V_STATUS_CASE0" ); transmitt (set_value, switch_no); break; case 1 : set_value = 1; dimvalue = 100; Serial.println( "V_STATUS_CASE1" ); transmitt (set_value, switch_no); break; } } } -
Hi,
I have been tampering and testing MySensors for a while but never taken myself the time to do something serious with it.
My first serious node is a 433mhz transmitter to control Nexa outlets and dimmers.
The node is housed in a case from a riddex pest repellent (not working ;) and the hardware is soldered to sundbergs84's nice Easy PCB.
I am using Domoticz as controller on a Rpi.
Pictures of casing


Pictures of PCB, RF433 transmitter and HLK power module with fuses.

I didn't have any pictures at the final assembly but that can be arranged if someone is interested.
Enough rubbish and on to the code :smile:
This code is working both for switching and dimming the "Self learning" Nexa outlets/dimmers.
But I have a few things that bother me:
1st Send_status is not working properly is it configured the right way? "int CHILD=switch_no;" doesn't seem to do what it should.2nd If i reset the node i want it to request the state from the controller (Domotizc) and set the outlets accordingly, it seems to work sometimes, but not properly for all ten switches shown in domotizc.
3rd The code is quite crude, i believe i have over complicated it "just to make it work".
It would be nice i someone could help tidy it up. :blush:Over to you geniouses :smile:
Best Regards //Viktor //Craktor/** The MySensors Arduino library handles the wireless radio link and protocol between your home built sensors/actuators and HA controller of choice. The sensors forms a self healing radio network with optional repeaters. Each repeater and gateway builds a routing tables in EEPROM which keeps track of the network topology allowing messages to be routed to nodes. Created by Henrik Ekblad <henrik.ekblad@mysensors.org> Copyright (C) 2013-2015 Sensnology AB Full contributor list: https://github.com/mysensors/Arduino/graphs/contributors Documentation: http://www.mysensors.org Support Forum: http://forum.mysensors.org This program is free software; you can redistribute it and/or modify it under the terms of the GNU General Public License version 2 as published by the Free Software Foundation. ******************************* REVISION HISTORY Version 1.0 - May 01, 2017 - Viktor Lundström (craktor@gmail.com) DESCRIPTION This sketch provides a Node to control NEXA outlets. http://www.mysensors.org */ // Enable debug prints to serial monitor #define MY_DEBUG #define MY_NODE_ID 9 // Set NODE_ID to something unique in your sensor network (1-254) #define MY_RADIO_NRF24 #include <MySensors.h> #include <SPI.h> #include <NexaTransmitter.h> #define NUMBER_OF_SWITCHES 10 //Register switches as child devices (MAX99 Nexa/remote??, havent tried.) NexaTransmitter remote(8, 5519105); // Create the nexa remote on PIN 8 with REMOTE_ID 5519105 //DIMMER VARIABLES #define SN "RF433_170501_1" #define SV "1.0" int CHILD; long set_dim; int datavalue; int dimvalue; int switch_no; int set_value; MyMessage dimmerMsg(CHILD+switch_no, V_PERCENTAGE); MyMessage lightMsg(CHILD+switch_no, V_STATUS); void setup() { Serial.println("Setup initiated"); // remote.setSwitch(true,1,15); //TEST RF TRANSMITTER (ON DEVICE 1 DIMLEVEL 15) wait(500); // remote.setSwitch(false,1); //TEST RF TRANSMITTER (OFF DEVICE 1) } void presentation() { //LOOP REQUEST for (int CHILD = 0; CHILD < NUMBER_OF_SWITCHES; CHILD++) { #ifdef MY_DEBUG Serial.print("REQUEST CHILD STATUS NO:"); Serial.println(CHILD + 1); #endif request( CHILD + 1, V_DIMMER ); wait(300); request( CHILD + 1, V_STATUS ); #ifdef MY_DEBUG Serial.print("END REQUEST NO:"); Serial.println(CHILD + 1); #endif } Serial.println ("Register Switches"); // LOOP Register sensors to gw (they will be created as child devices) for (int CHILD = 0; CHILD < NUMBER_OF_SWITCHES; CHILD++) { Serial.print("PRESENT CHILD NO:"); Serial.println(CHILD + 1); present(CHILD + 1, S_DIMMER); wait(250); Serial.print("END REQUEST NO:"); Serial.println(CHILD + 1); } #ifdef MY_DEBUG Serial.println("loop present Switches"); #endif for (int CHILD = 0; CHILD < NUMBER_OF_SWITCHES; CHILD++) { Serial.print("LightMsg: "); MyMessage lightMsg(CHILD + 1, V_STATUS); Serial.print("DimmerMsg: "); MyMessage dimmerMsg(CHILD + 1, V_PERCENTAGE); wait(100); send(dimmerMsg.set(0)); wait(100); send(lightMsg.set(0)); } sendSketchInfo(SN, SV); // Send the sketch version information to the gateway and Controller } void loop() {} void transmitt (bool set_value, int switch_no) { Serial.println( "transmitt" ); Serial.print( "Set Value:" ); Serial.println (set_value); Serial.print( "Switch Number:" ); Serial.println (switch_no); remote.setSwitch(set_value, switch_no); Serial.print("LightMsg: "); sendstatus(set_value, switch_no, set_dim); } void transmittdim (bool set_value, int switch_no, int set_dim) { Serial.println( "transmittdim" ); Serial.print( "Set Value:" ); Serial.println (set_value); Serial.print( "Switch Number:" ); Serial.println (switch_no); Serial.print( "Set dim value:" ); Serial.println (set_dim); remote.setSwitch(set_value, switch_no, set_dim); wait(50); sendstatus(set_value, switch_no, set_dim); } void sendstatus(int set_value, int switch_no, int set_dim) { #ifdef MY_DEBUG Serial.println( "Send status" ); Serial.print( "Set Value:" ); Serial.println (set_value); Serial.print( "Set Dim:" ); Serial.println (set_dim); #endif send(lightMsg.set(set_value)); wait(100); Serial.print("DimmerMsg: "); send(dimmerMsg.set(set_dim)); wait(100); } void receive(const MyMessage &message) { #ifdef MY_DEBUG Serial.print("Message sensor:"); Serial.println(message.sensor); Serial.print("Message data:"); Serial.println(message.data); Serial.print("Message type:"); Serial.println(message.type); #endif int switch_no = message.sensor; //vilken switch int dimvalue = atoi(message.data ); // 0 =off, 1=ON, dim level =0-100 int datavalue = atoi(message.data ); // 0 =off, 1=ON, dim level=0-100 Serial.print( "Data value?:" ); Serial.println( datavalue ); if (datavalue >= 3) { datavalue = 3; Serial.print( "New data value:" ); Serial.println( datavalue ); } //message.type // 2 vid ON/OFF, 3 vid DIM (ANVÄND VID DIMMER) if (message.type == V_PERCENTAGE) { switch (datavalue) { case 0 : set_value = 0; dimvalue = 0; Serial.println( "V_STATUS_CASE0" ); transmitt (set_value, switch_no); break; case 1 : set_value = 1; dimvalue = 100; Serial.println( "V_STATUS_CASE1" ); transmitt (set_value, switch_no); break; case 3 : set_value = 1; set_dim = map(message.getInt(), 0, 100, 2, 15); // map dimmer values to Switch states 0..9 and wrap #ifdef MY_DEBUG Serial.println( "V_PERCENTAGE" ); Serial.print( "Mapped value:" ); Serial.println (set_dim); #endif transmittdim (set_value, switch_no, set_dim); break; } } else if (message.type == V_STATUS) { switch (datavalue) { case 0 : set_value = 0; dimvalue = 0; Serial.println( "V_STATUS_CASE0" ); transmitt (set_value, switch_no); break; case 1 : set_value = 1; dimvalue = 100; Serial.println( "V_STATUS_CASE1" ); transmitt (set_value, switch_no); break; } } }@craktor - Nice node.
In most code I have seen the last status is stored in the eeprom. What do you think about that?Also, you have linked to the new EasyPCB (with RFM69 transiever). This PCB will be just right for you if you are using 433mhz but the one in the picture is https://www.openhardware.io/view/4 :+1:
Never mind! Great work! -
@craktor - Nice node.
In most code I have seen the last status is stored in the eeprom. What do you think about that?Also, you have linked to the new EasyPCB (with RFM69 transiever). This PCB will be just right for you if you are using 433mhz but the one in the picture is https://www.openhardware.io/view/4 :+1:
Never mind! Great work!Thanks for the reply. I have edited the link to the correct PCB. :+1:
Storing the switch states in EEPROM could be an option, but i always want it to request the state from domoticz on startup.
Thats the reason why ihavent tried to use EEPROM.I am concerned that it might set the switches in the wrong state after powerfailure/reboot if the light timers/states in domoticz have changed during downtime.
-
Thanks for the reply. I have edited the link to the correct PCB. :+1:
Storing the switch states in EEPROM could be an option, but i always want it to request the state from domoticz on startup.
Thats the reason why ihavent tried to use EEPROM.I am concerned that it might set the switches in the wrong state after powerfailure/reboot if the light timers/states in domoticz have changed during downtime.
@craktor - after a power failuer you can request it by using v_var1 i think
Check the pulse power meter example on how to :)

