RF433 Hub for controlling Watts Clever switches
-
Hi everyone!
I would like to share with you all something that I have been working on for some time. It isn't my first project, but it is the first that I have shared in this way, and I must say that I am a little excited haha
BACKGROUND
A couple years ago I was at my local electronics store and they had a sale on some wall switches which were controllable using rf433. Each box had two switches as well as a hub that converted an infrared signal into rf433 which the individual switches were able to learn so they could be turned on and off. At that time I was playing around with Mysensors but had only made a couple relays, temp nodes and the like. I bought these at the time with the intention of using my Harmony Remote Hub to operate the switches. 3 years ago will finally moved into our new home, and while doing so we somehow misplaced the whole Harmony setup, so up until a couple months ago these switches gathered dust in the garage.
Fast forward to a couple months ago, and with the help of some awesome members here, I was able to build a Mysensors RF433 Hub wot control all 6 of my switches. I had used a little maths to work out the signals, and even though I had only had 3 of the switches enter use, they seemed to be working as they should; that was until a couple days ago when I noticed that my pool pump which was powered through one of my switches was turning on every day at 1pm, despite no scenes in my controller (Vera 3) doing so. Long story short (haha) I worked out that when my fish tank lights turned on at 1pm, that switches frequency must have been too similar to the pool pump!
So the last couple days I have been doing lots of searching, and hopefully a little learning. I was going to use the Candle Signal Hub, but ended up doing something on my own. I was lucky and found someone else on the internet who also had 6 plugs and had shared the code for each switch, which was very helpful!
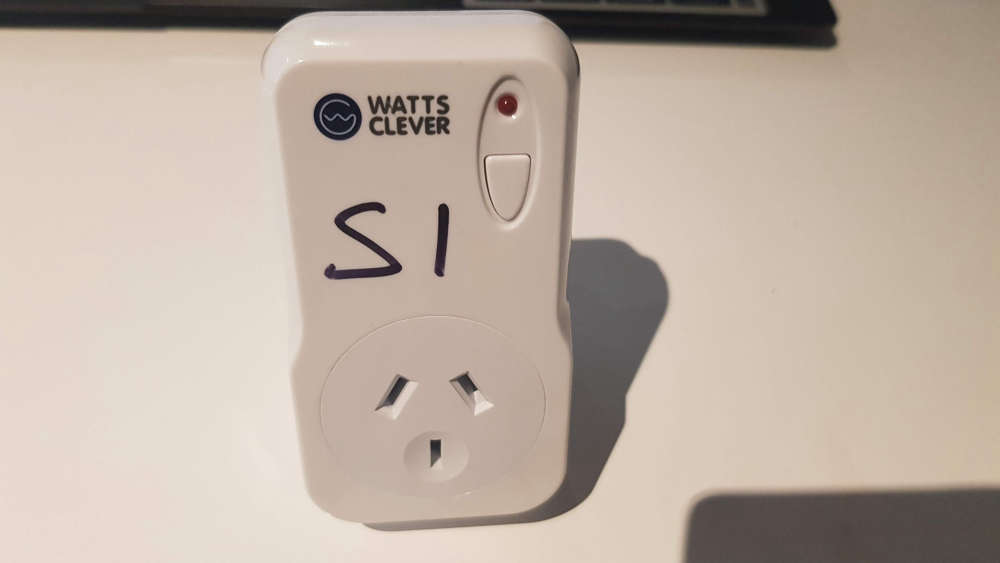
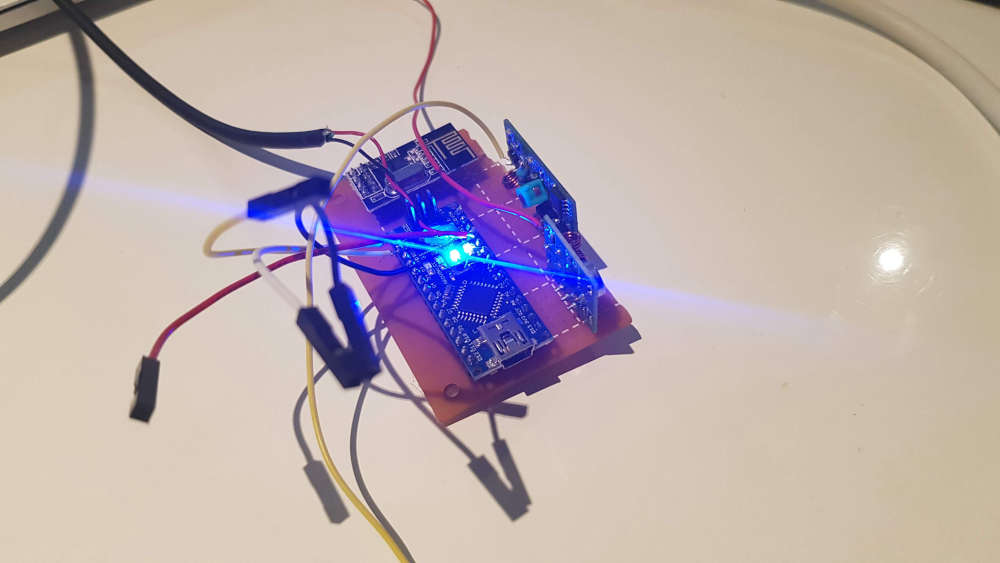
It's probably time for me to stop rambling lol so first here are some pics:
The Switch

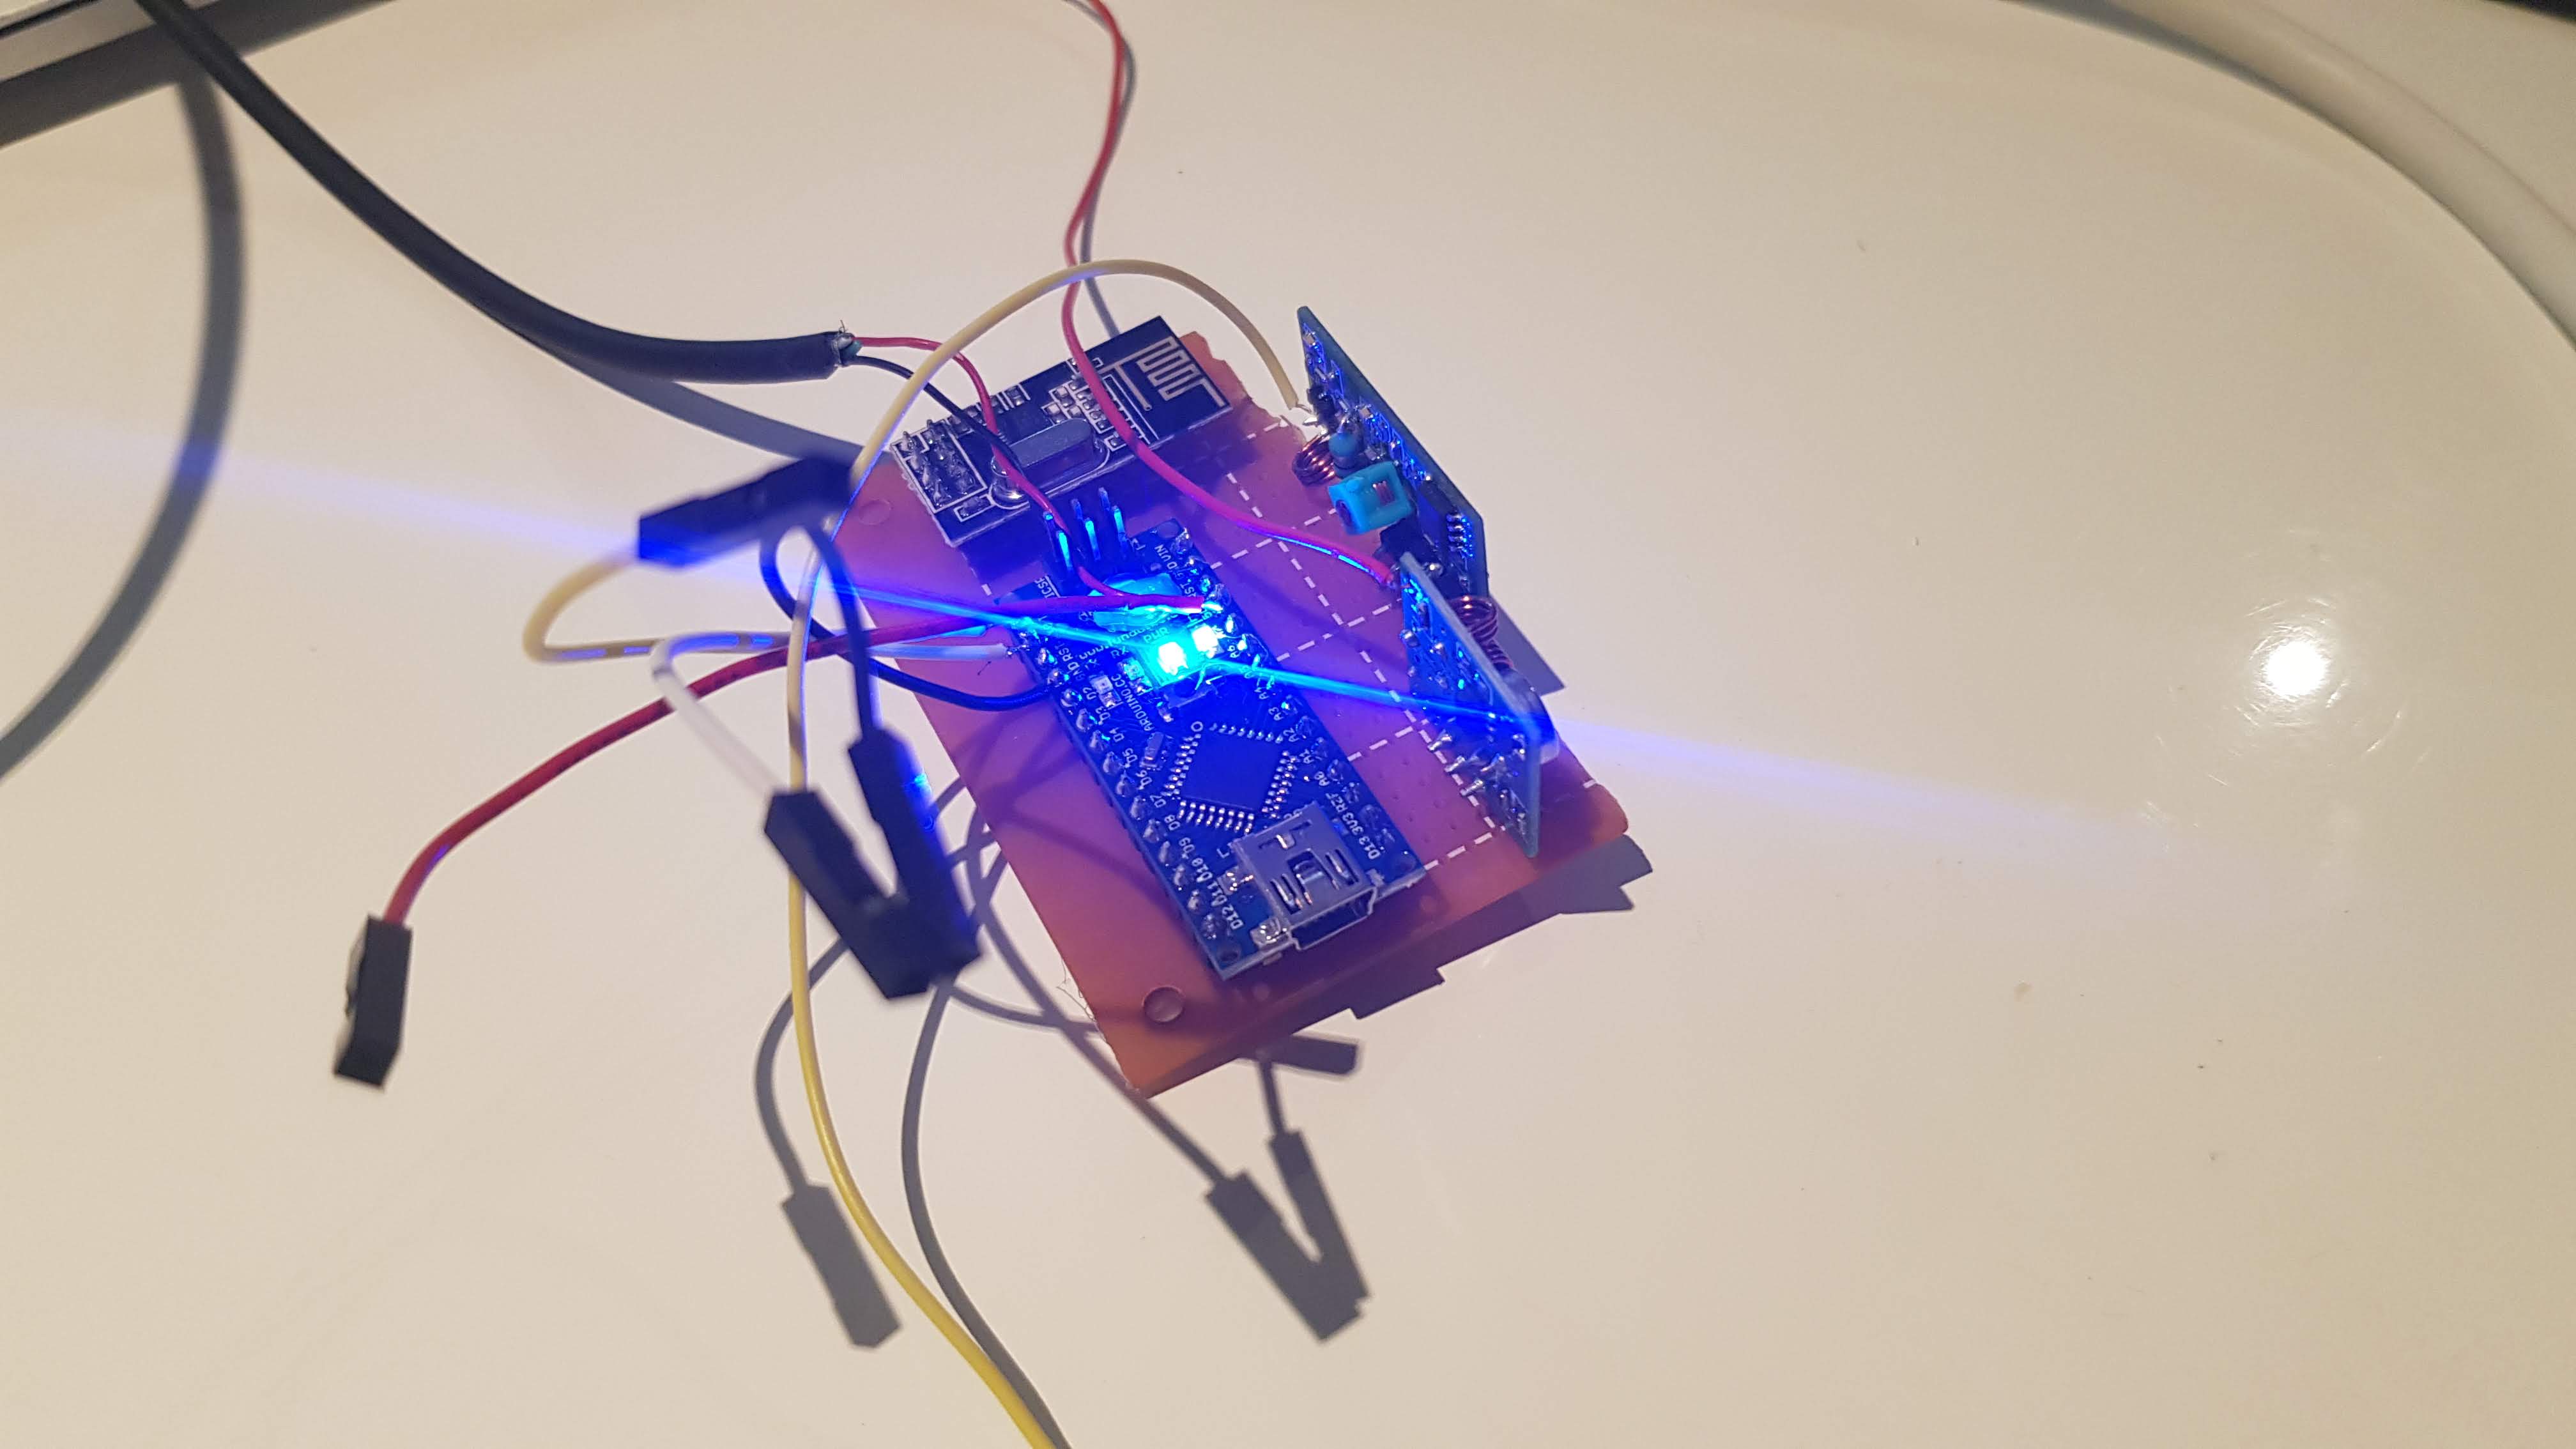
The Hub

Please excuse all the extra wires on the Nano; it stopped being recognised by all my computers so I had to program it using an FTDI adaptor.
Here is the sketch. I am certain that it could be tidied up a lot.
// Enable debug prints to serial monitor //#define MY_DEBUG // Enable and select radio type attached #define MY_RADIO_NRF24 //#define MY_RADIO_RFM69 // Enable repeater functionality for this node #define MY_REPEATER_FEATURE #include <SPI.h> #include <MySensors.h> #include <RCSwitch.h> #define MY_NODE_ID AUTO #define NUMBER_OF_PLUGS 6 // Total number of attached plugs #define SHORTPULSE 316 #define LONGPULSE 818 #define CODE_1On 4072574 #define CODE_1Off 4072566 #define CODE_2On 4072572 #define CODE_2Off 4072564 #define CODE_3On 4072570 #define CODE_3Off 4072562 #define CODE_4On 1386894 #define CODE_4Off 1386886 #define CODE_5On 1386892 #define CODE_5Off 1386884 #define CODE_6On 1386890 #define CODE_6Off 1386882 RCSwitch mySwitch = RCSwitch(); void setup() { mySwitch.enableTransmit(4); mySwitch.setRepeatTransmit(15); } void presentation() { // Send the sketch version information to the gateway and Controller sendSketchInfo("433mhz HUB", "2.0"); for (int sensor = 1 ; sensor <= NUMBER_OF_PLUGS; sensor++) { // Register all sensors to gw (they will be created as child devices) present(sensor, S_LIGHT); } } void loop() { } void receive(const MyMessage &message) { // We only expect one type of message from controller. But we better check anyway. if (message.type == V_LIGHT) { int incomingLightState = message.getBool(); int incomingOutlet = message.sensor; Serial.print("Outlet #: "); Serial.println(message.sensor); Serial.print("Command: "); Serial.println(message.getBool()); if (incomingOutlet == 1) { if (incomingLightState == 1) { // Turn on socket 1 Serial.println("Turn on Socket 1"); mySwitch.send(CODE_1On, 24); // These codes are unique to each outlet delay(50); } if (incomingLightState == 0) { // Turn off socket 1 Serial.println("Turn off Socket 1"); mySwitch.send(CODE_1Off, 24); delay(50); } } if (incomingOutlet == 2) { if (incomingLightState == 1) { // Turn on socket 2 Serial.println("Turn on Socket 2"); mySwitch.send(CODE_2On, 24); delay(50); } if (incomingLightState == 0) { // Turn off socket 2 Serial.println("Turn off Socket 2"); mySwitch.send(CODE_2Off, 24); delay(50); } } if (incomingOutlet == 3) { if (incomingLightState == 1) { // Turn on socket 3 Serial.println("Turn on Socket 3"); mySwitch.send(CODE_3On, 24); delay(50); } if (incomingLightState == 0) { // Turn off socket 3 Serial.println("Turn off Socket 3"); mySwitch.send(CODE_3Off, 24); delay(50); } } if (incomingOutlet == 4) { if (incomingLightState == 1) { // Turn on socket 4 Serial.println("Turn on Socket 4"); mySwitch.send(CODE_4On, 24); delay(50); } if (incomingLightState == 0) { // Turn off socket 4 Serial.println("Turn off Socket 4"); mySwitch.send(CODE_4Off, 24); delay(50); } } if (incomingOutlet == 5) { if (incomingLightState == 1) { // Turn on socket 5 Serial.println("Turn on Socket 5"); mySwitch.send(CODE_5On, 24); delay(50); } if (incomingLightState == 0) { // Turn off socket 5 Serial.println("Turn off Socket 5"); mySwitch.send(CODE_5Off, 24); delay(50); } } if (incomingOutlet == 6) { if (incomingLightState == 1) { // Turn on socket 6 Serial.println("Turn on Socket 6"); mySwitch.send(CODE_6On, 24); delay(50); } if (incomingLightState == 0) { // Turn off socket 6 Serial.println("Turn off Socket 6"); mySwitch.send(CODE_6Off, 24); delay(50); } } } delay(50); }``` I would like to give my sincere thanks to everyone here. I may not post all that much, but I enjoy reading what others are doing and trying to learn from it, although much of it is still way over my head! To @hek I still remember how excited I was when I found MySensors all those years ago, and I thank you and your crew for keeping this great community going! I am also certain that most of you won't get very much from this technical-wise; I just needed to share this for myself. Thank you all. -
Hi Homer, do you know the RFLink firmware?
If you are lucky, your plugs are supported. I have tested it with my Avidsen smart plug (this) and it worked well.
The firmware is supported by Home Assistant and other home automation software like Domoticz and Openhab (not tested by me), so the final result is that you can control your plugs from a simple web interface.
-
Hi Homer, do you know the RFLink firmware?
If you are lucky, your plugs are supported. I have tested it with my Avidsen smart plug (this) and it worked well.
The firmware is supported by Home Assistant and other home automation software like Domoticz and Openhab (not tested by me), so the final result is that you can control your plugs from a simple web interface.
@franz-unix said in RF433 Hub for controlling Watts Clever switches:
Hi Homer, do you know the RFLink firmware?
If you are lucky, your plugs are supported. I have tested it with my Avidsen smart plug (this) and it worked well.
The firmware is supported by Home Assistant and other home automation software like Domoticz and Openhab (not tested by me), so the final result is that you can control your plugs from a simple web interface.
Hi mate!
I have heard of RFLink, but nothing more. My first controller I made was one that I could control the switches using a web browser, but my controller (Vera) wouldn't play nice with it, so I moved on. Right now I have it all working as it should, but thanks for the additional ideas!!
-
Hi Homer, do you know the RFLink firmware?
If you are lucky, your plugs are supported. I have tested it with my Avidsen smart plug (this) and it worked well.
The firmware is supported by Home Assistant and other home automation software like Domoticz and Openhab (not tested by me), so the final result is that you can control your plugs from a simple web interface.
@franz-unix said in RF433 Hub for controlling Watts Clever switches:
Hi Homer, do you know the RFLink firmware?
If you are lucky, your plugs are supported. I have tested it with my Avidsen smart plug (this) and it worked well.
The firmware is supported by Home Assistant and other home automation software like Domoticz and Openhab (not tested by me), so the final result is that you can control your plugs from a simple web interface.
I just looked further into this, and it really is exactly what I'm after, but unfortunately it doesn't interact with my controller, which is a Vera 3. Right now I'm seriously thinking about setting up Domoticz on my PC that I have running 24/7 because it looks like Domoticz and Vera work well together.
-
@franz-unix said in RF433 Hub for controlling Watts Clever switches:
Hi Homer, do you know the RFLink firmware?
If you are lucky, your plugs are supported. I have tested it with my Avidsen smart plug (this) and it worked well.
The firmware is supported by Home Assistant and other home automation software like Domoticz and Openhab (not tested by me), so the final result is that you can control your plugs from a simple web interface.
I just looked further into this, and it really is exactly what I'm after, but unfortunately it doesn't interact with my controller, which is a Vera 3. Right now I'm seriously thinking about setting up Domoticz on my PC that I have running 24/7 because it looks like Domoticz and Vera work well together.
@homer Glad that it helped!
But make sure that RFLink supports your Watts Clever smart plug. If you already have an Arduino Mega and an RXB6 receiver at home is quite easy and fast to verify that.
Another interesting option is that you can couple the Arduino Mega with an ESP8266 and then expose the serial output over Wifi with ser2net (see here) in the ESPEasy firmware.
This other project goes further and use an ESP8266 to write the serial output of the RFLink to an MQTT server.
Both solutions add flexibility to the positioning of the RFLink module in your home.


