Easy/Newbie PCB for MySensors
-
@Anticimex Thank you for that input - i have not change the fuses.
But a small warning to new members - its not kind of newbie friendly. -
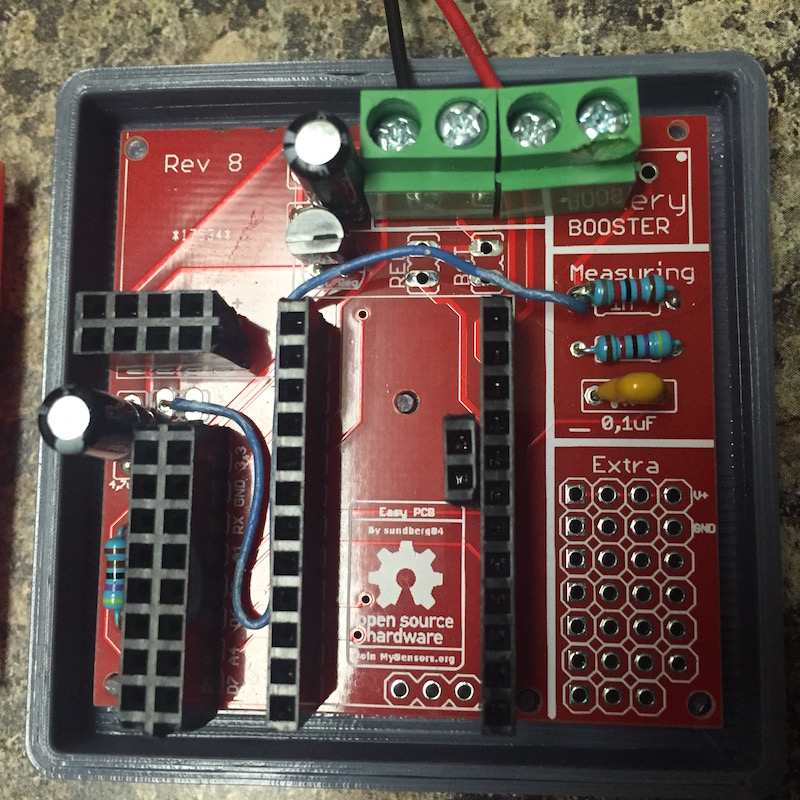
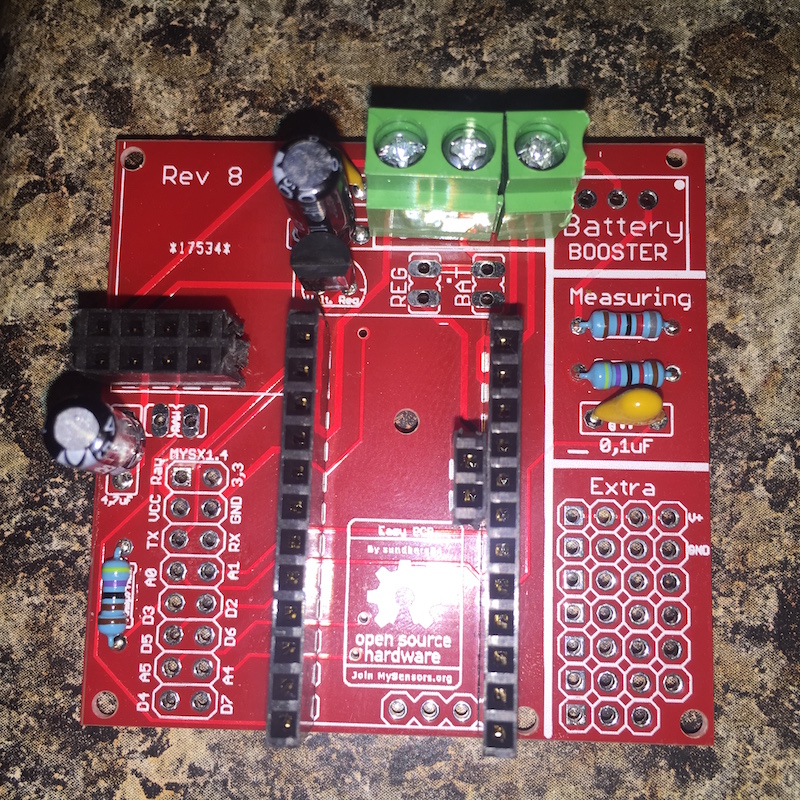
I just received first order and made one sensor, and I must say that I was a bit skeptical if this is the right pcb for me, I was thinking on somehow reducing footprint a bit or having a better idea about positioning of elements etc, but after making one node I realized that I LOVE IT! :)
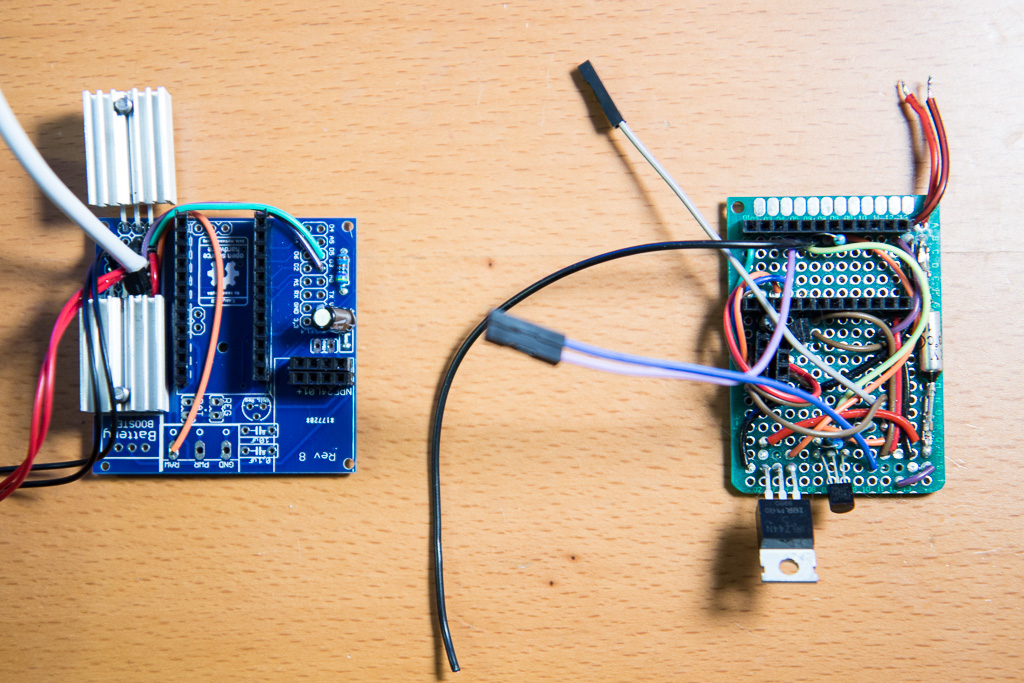
It brings back the title of the build section of this website (Build = Fun), wheres before I would spend a whole afternoon (and usually have a headache in the evening) for just connecting the radio on the prototype board. Now I made a node with 4 nodes in ~1 hour, and it looks much better then the wire mess from before (old node on the right)

However I did spent about 3 hours debugging why my "touch" capacitive sensor doesn't work when I plug inn the radio (it works fine without the radio, which was just headbanging to figure out).
I have found that pin 2 is connected to the radio, which could be a good thing if mysensors begins to use IRQ pin on the radio. This probably works in 99% of the cases as it is today, but for the capacitive touch sensor when resistor is connected between pins 2 and four, node never detects that you are touching it. Scalpel blade solved this pretty easily, but it took me 4 hours to figure out what was going on and why my touch sensor doesn't work.
I would suggest then to either make pin 2 reserved to the radio, thus removing it from the "available pins" area, or disconnect it from the radio for the time being (not sure when it is planned to use IRQ pin). Or at least marking it somehow on the board if possible, so that we get reminded that pin2 is connected to the radio as well and could interfere with some sensors.
While on the subject of suggestions, I see there is almost no connections bellow the radio, so maybe radio could go a bit lower in the board so that it doesn't stick (having no metal parts/lines bellow the radio should not obstruct the signal, it is just empty pcb?) Preserving space for antenna could be done something like this https://www.openhardware.io/uploads/56ecf010b2b0966107ebedfa/image/1458410585539-image.jpeg . I am not sure when I will have some time (and energy) to learn to modify pcb files my self, but maybe it is easy for someone to try it :)
Otherwise, as said before, excellent work, this should be featured in the 'build' section of the website as it is one of the most useful things, especially for novices.
Thank you for making it
-
Hi @dakipro! Thank you for those kind words and thank you for the feedback.
About the IRQ pin, I will consider that, maybe a jumper, but what i know of the radio should not use this at all. Im not sure why its not working but good you found out. Do you use D3 for other things - if not i recommend to always use d3 instead of d2/irq.
Yes, in 99% if the cases you should be able to have the radio over the board... BUT I have had issue and since it should be a newbie frendly board i want it to work 100% of the times.
-
I used d3 for dallas temp sensor but have already soldered d2 to touch sensor. Touch sensor is very unique as it is measuring resistance (actually i think it is measuring time) between to pins, and when you connect 1Mohm resistor between d4 and d2, then radio introduces some other resistance or something, and that messes up the readings for touch. We can use other pins, but pins 2 and 4 are set by default, and it never occurred to me that it is the radio-pin ting.
I have quite a few sleeping sensors where PIR is connected to d2 and door-magnet-sensor is connected to d3 for example, as those are (if I understood it right) pins that can wake up the node from sleeping. Maybe radio can interfere with some of those "common" sensors usually connected to the wake-up pins?
I would then vote for having d2 available in the "available pins" area because it is one of two wakeup pins, and maybe as you suggested have a jumper (or a disconnected line, that can be just shorted with a short wire) that goes to irq.
Anyway, I think it is not an issue-critical as a knife solves it quickly, but it could demoralize us newbies :)
-
I just got notification from Paypal that my donation was returned due to non-acceptance. I never experienced someone not willing to take donations via donate button :)
I used the donations link on the right box here
https://www.openhardware.io/view/4/EasyNewbie-PCB-for-MySensorsIf it is due to technical reasons that is ok, but maybe you want to check the link or paypal notifications or something if you want to receive donations
-
Hi dakipro! Aaah that was you :) sorry.
I wasnt notified (or missed in spam?) I got a donation until i got an email this morning saying it was returned. During this time i had not visited paypal and I had not idea I had to accept. -
@sundberg84 Just received the boards and installed my first node with it. I wanted to test all voltages are correct before hooking up the Arduino and NRF. Noticed that I get battery voltage at NRF and booster voltage on Arduino. Checked the schematic. It the board I received is correct after all. Is this intentional that we do not use booster voltage for NRF?
THanks
-
Hi @nunver - Yes that is correct, Search the forum - it has been proven much better.
Nrf can handle down to 0.9v so its not a problem. -
Hi folks,
I finally had some time to assemble a couple of boards and they work perfectly.


2 things I need to do though and I appreciate any feed back folks may have.
Connect the voltage divider in a more elegant way, perhaps directly from the raw, however I wanted to keep the options open just in case some of the boards end up using REG or BAT.
Find a way to protect the VIN input against accidental reverse polarity. I ended up frying the voltage regulator on the arduino when I accidental touched the 9v battery on its connector reversed. Its quite a show with glowing red and sparks flying (the arduino actually survived but no more raw power).
@sundberg84 once again thanks for this board!!!
Cheers
-
Hi folks,
I finally had some time to assemble a couple of boards and they work perfectly.


2 things I need to do though and I appreciate any feed back folks may have.
Connect the voltage divider in a more elegant way, perhaps directly from the raw, however I wanted to keep the options open just in case some of the boards end up using REG or BAT.
Find a way to protect the VIN input against accidental reverse polarity. I ended up frying the voltage regulator on the arduino when I accidental touched the 9v battery on its connector reversed. Its quite a show with glowing red and sparks flying (the arduino actually survived but no more raw power).
@sundberg84 once again thanks for this board!!!
Cheers
@barduino - thank you for great feedback!
I will look into whats possible if i have any upcoming revs. -
@barduino - thank you for great feedback!
I will look into whats possible if i have any upcoming revs.@sundberg84 , I forgot to mention something.
I get my pro mini's from the local mega store and they have their own brand at a very good price.
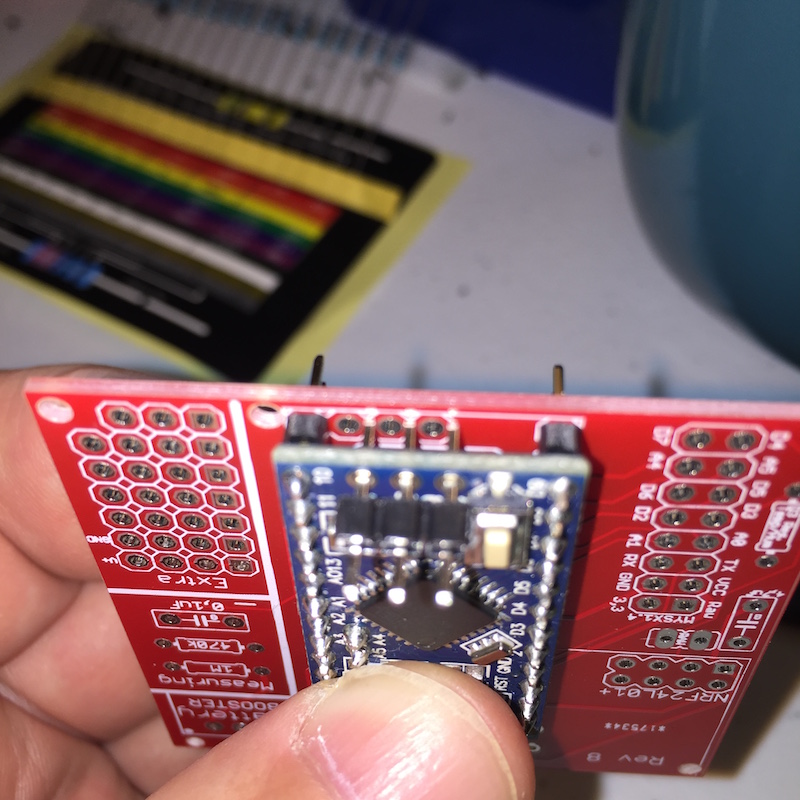
In the model they sell the A6, A7 and Ground do not line up with the board.
Not a problem for my applications (I'm thinking of soldering some angled connectors) but I was wondering if they are supposed to be in that position from the original specs.
If you ever think of making the board a bit bigger, having 4 extra connectors for A6, A7, D8 (and an extra ground perhaps) would be nice.
Great job on these!!!
Cheers

-
@barduino nice board. One question, why do you have the cable? Sorry for my newbie question :blush:
-
@nunver, it's not my board, @sundberg84 design it and made it available for all of us.
The wire you see is to connect the RAW input to the voltage divider so I can measure the 9v battery.
Cheers
@barduino yes I know the boards are designed by sundberg84. I got my boards manufactured as well. What I meant was nicely done.
As for the cable, you could have got raw voltage from the battery booster pin. I was wondering if for any specific reason you had the cable. I understand not.
Regarding protection against reverse polarity, can't you use a diode? You loose 0.6V but there is ample margin.
-
@barduino yes I know the boards are designed by sundberg84. I got my boards manufactured as well. What I meant was nicely done.
As for the cable, you could have got raw voltage from the battery booster pin. I was wondering if for any specific reason you had the cable. I understand not.
Regarding protection against reverse polarity, can't you use a diode? You loose 0.6V but there is ample margin.
@nunver your're right I need a more elegant solution for that wire, there was no particular reason to connect it on the other side.
For the protection i'm thinking a daughter board with the diode and the 9v connector and then join it with angle connectors on the main.
Cheers
-
@barduino ok - strange with that footprint.
According to Arduino website those holes does not exist in that position at all (either as your board or my PCB are designed). I downloaded a popular pro mini footprint from somewhere and used that - first time i see they are not aligned. -
yes, indeed

source: https://www.arduino-board.com/boards/arduino-pro-mini
anyway, no worries, I was just curious
Cheers
-
@sundberg84 Assembled my second node. This time 5V regulated. One remark and a quick question. You have LE33 in BOM as regulator. I did not have one readily available but an LM1117 which is a totally different package. I had to go through all datasheets to get correct pinout. Could you put labels near pins like 5 3 G?
And the question; dumb as it may sound, do we place a jumper at REG pins when using the regulator version? :confused:
-
@nunver - great idea with the labels for voltage reg - that makes it more userfriendly! Will do.
Yes - REG should have a jumper connected.
