Help with irrigation LCD display
-
probably you have changed lcd type for 4 lines or something. some lcd that i bough recently had even different adress,instead of this
LiquidCrystal_I2C lcd(0x27, 2, 1, 0, 4, 5, 6, 7, 3, POSITIVE); // Set the LCD I2C address to 0x27had 0x3F or something like this.
-
probably you have changed lcd type for 4 lines or something. some lcd that i bough recently had even different adress,instead of this
LiquidCrystal_I2C lcd(0x27, 2, 1, 0, 4, 5, 6, 7, 3, POSITIVE); // Set the LCD I2C address to 0x27had 0x3F or something like this.
-
Your variable named inSetup is initialized like this:
bool inSetup = true;
That value is never changed in your code. However, it is used in the function:
void goGetValveTimes()
like this:
if (inSetup) {
lcd.print(F(" Updating "));
lcd.setCursor(0, 1);
lcd.print(F(" Valve Data: "));
lcd.print(valveIndex);
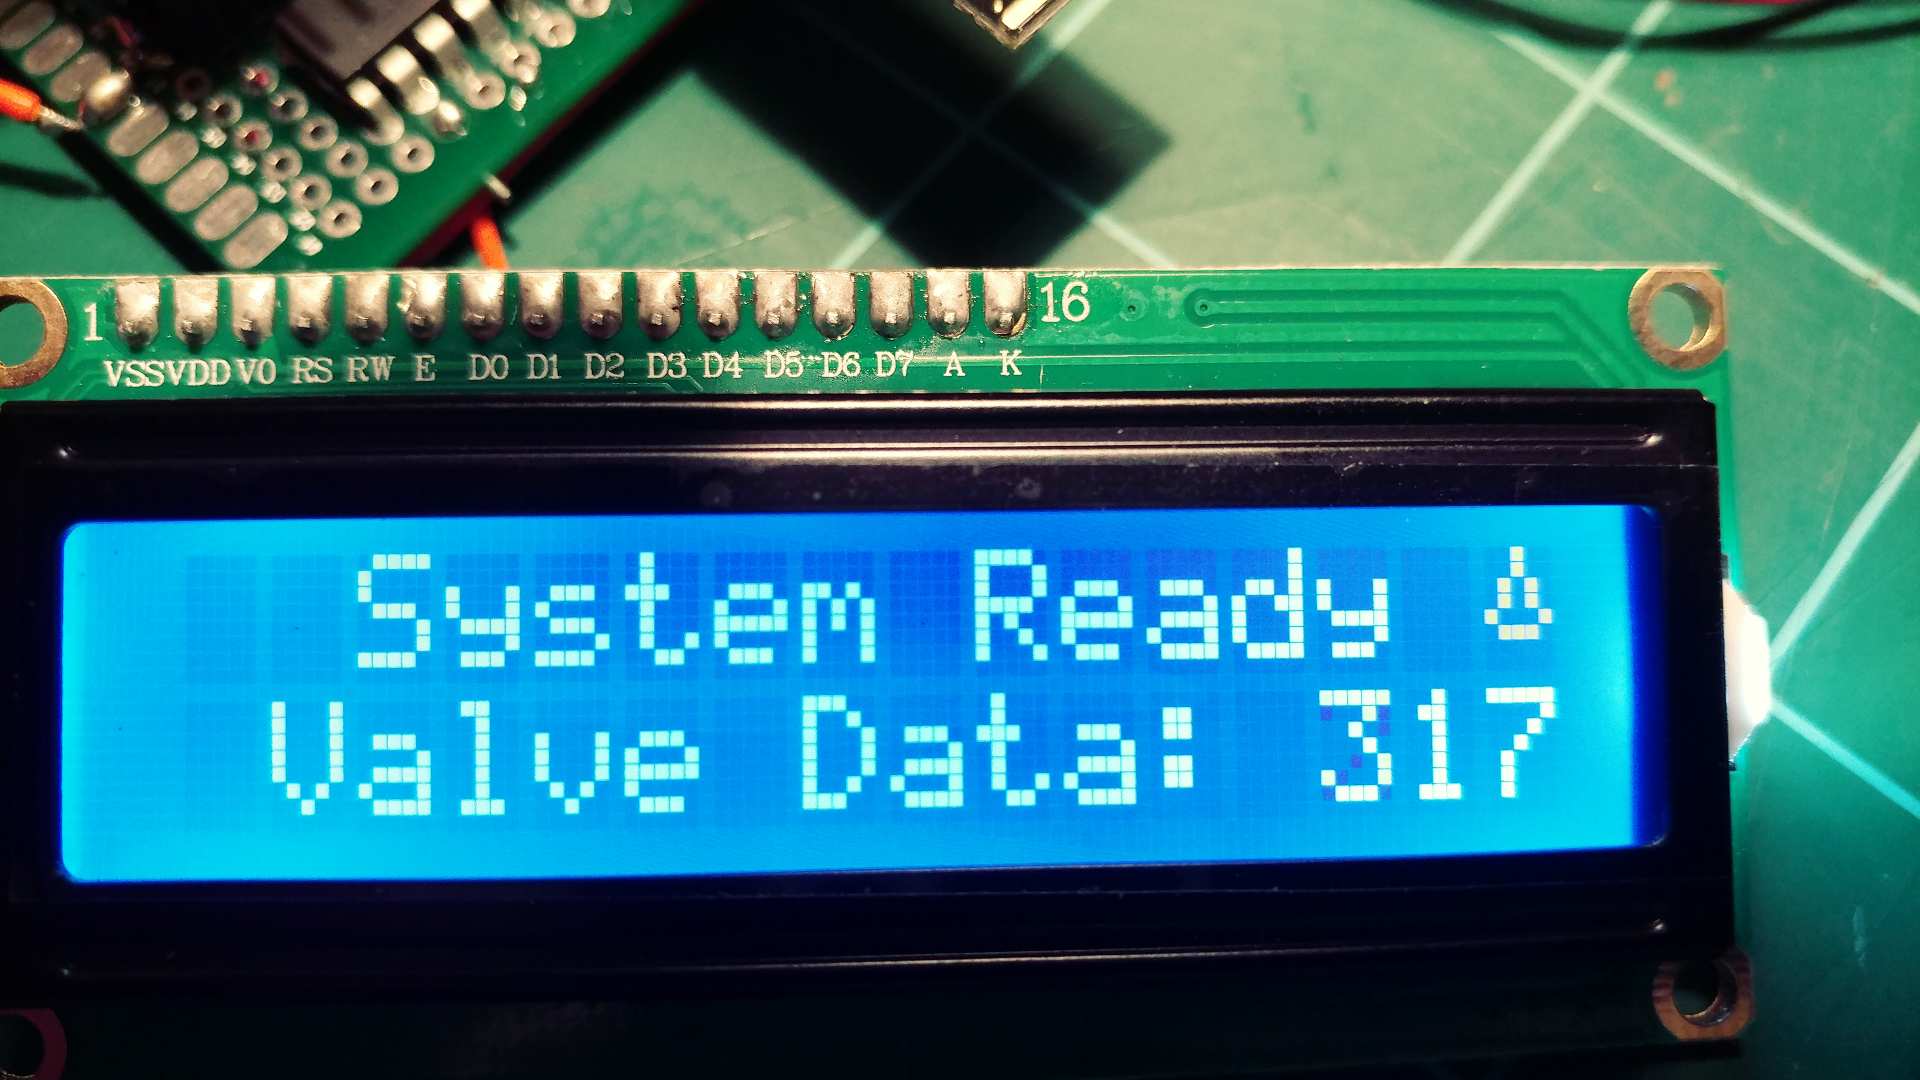
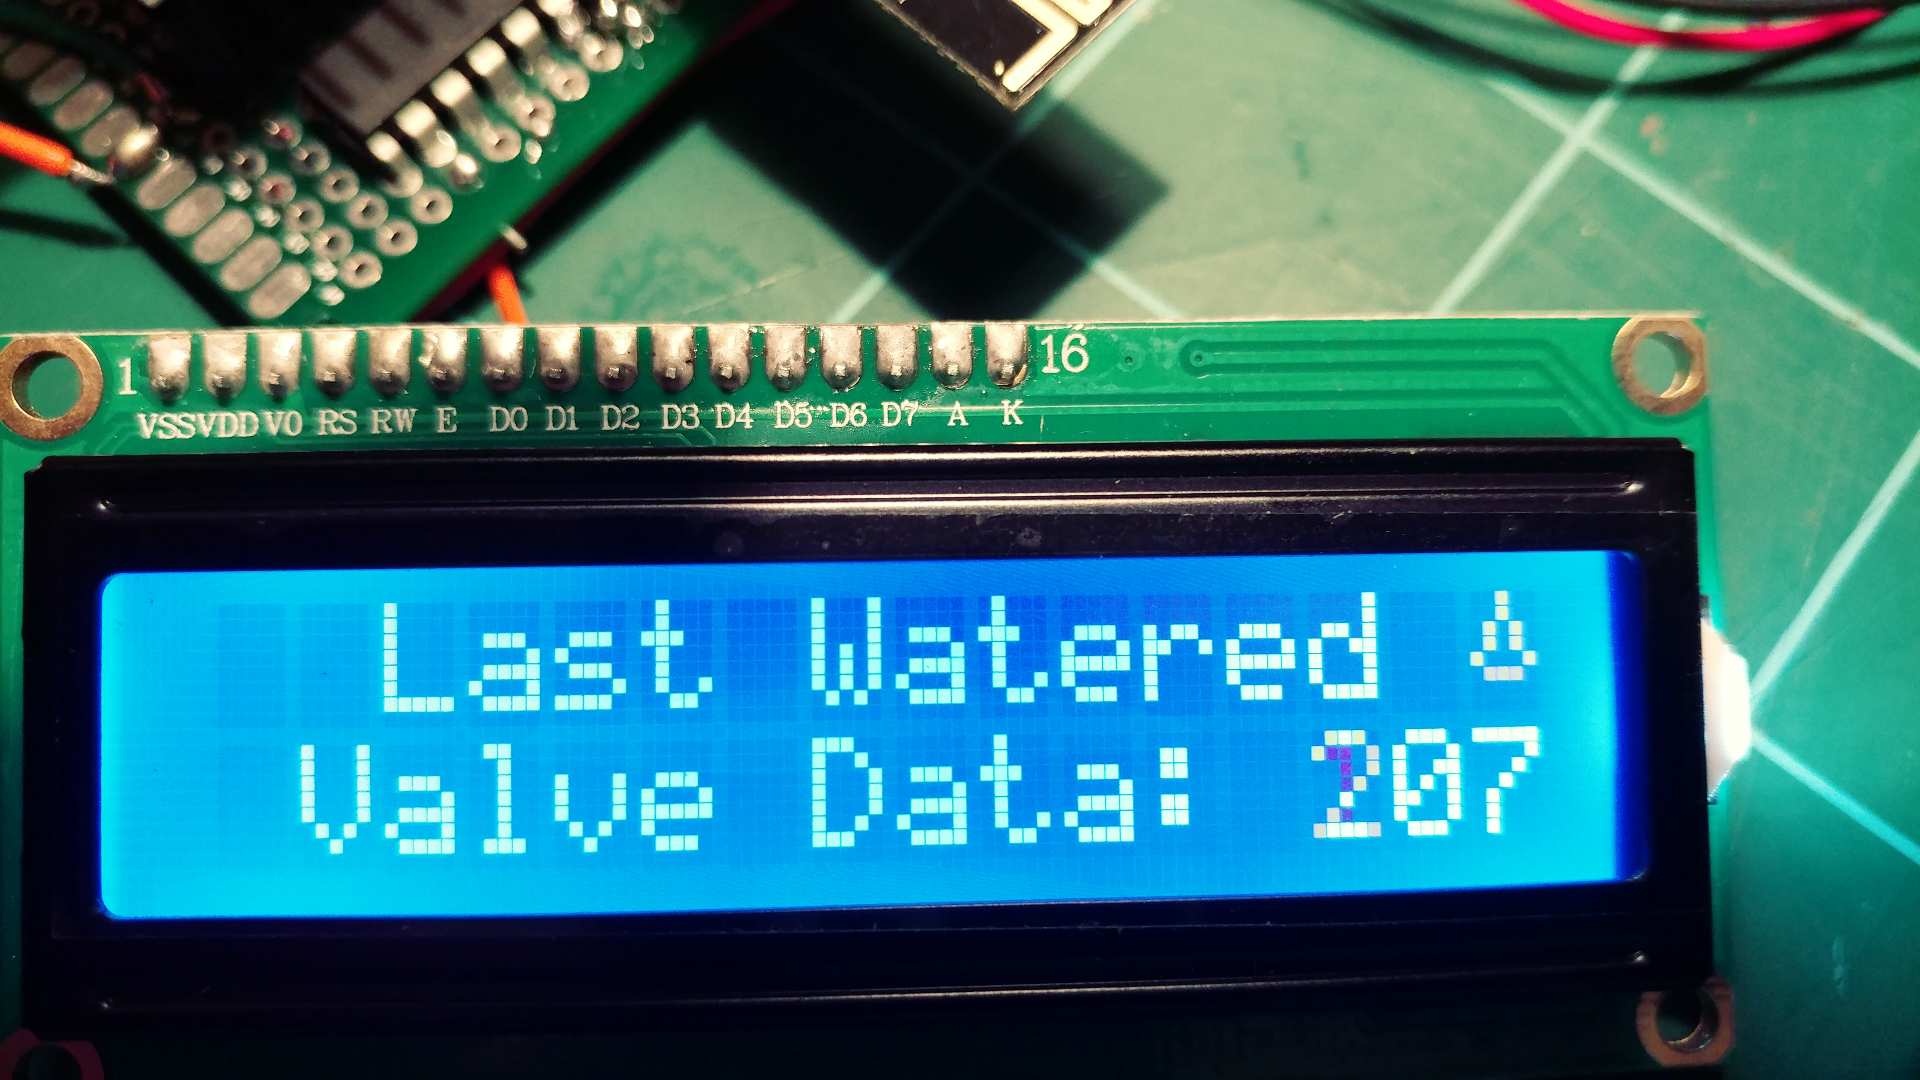
}I think some other texts are printed on the LCD, but every time that text is overwritten by ^^that little piece of code.. and you always see that Valve Data.
-
In case the newly printed text is shorter than the text already on the display, probably yes.
Another thing i see in the program, is that not all variables are initialized with a value before they are used in comparisons. For example: lastUpdateTime and lastDisplayState are two of those.
Another advice: Create functions that are compact. It makes it much easier to read, and therefore easier to debug.. especially for other people (and even for yourself, after not looking at your own code for a while). :) -
Your variable named inSetup is initialized like this:
bool inSetup = true;
That value is never changed in your code. However, it is used in the function:
void goGetValveTimes()
like this:
if (inSetup) {
lcd.print(F(" Updating "));
lcd.setCursor(0, 1);
lcd.print(F(" Valve Data: "));
lcd.print(valveIndex);
}I think some other texts are printed on the LCD, but every time that text is overwritten by ^^that little piece of code.. and you always see that Valve Data.
@core_c I'm brand new to this and I enjoy doing research to solve problems. I looked at the items you described but not understanding what I need to fix, and why this code has worked for others but not for me. It helps me to understand the why. For instence you said some of the variables haven't been initialized. What causes this? So I can look for the problem. Thanks for the information.
-
Hi markcaso,
I only had a quick look at your code. I do not claim that what i see is the cause of your problems. What i posted, is just something illogical in code (for me).
A suggestion to test if it is true what i've posted: comment out the few lines of code that i think are the cause of your problem.. like so:/* if (inSetup) { lcd.print(F(" Updating ")); lcd.setCursor(0, 1); lcd.print(F(" Valve Data: ")); lcd.print(valveIndex); } */If you then see more info being displayed, you at least know that is the spot where things are getting messed up.
I can not run your code as easily as you do.. i only see code on a webpage. For you it's easy enough to try it out.About the non-initialized variables being used in code; Here's a shortened snippet of your code:
void updateDisplay()
{
  static unsigned long lastUpdateTime;
  if (state != lastDisplayState || millis() - lastUpdateTime >= 3000UL)  {
The very first time those lines are executed, who can say what value lastUpdateTime may have? One can assume that the value will be 0 (after powering on the MCU), but maybe there was already a value in that exact memorylocation while the chip got some kind of soft-reset. In that case, the program will behave differently. (meaning: it does not do what you expected).
It is better to assign values to variables before using them in code (i.e. comparing them with some specific value).
As an example: If lastUpdateTime would have a value of 0xFFFFFFFF (decimal 4294967295), one could have to wait a long time before (millis() - lastUpdateTime >= 3000UL) ! up to 49.7 days (using a calculator here, assuming millis()==0).I am a super newbee too. i spent a lot of time debugging my very first gateway & sensornode. (got it working today!!!). I know only about digital electronics (i mean: using it), and really really know very little about analog stuff. There are a lot of very good experts on electronics here on this forum. If we (try to) help eachother out, everybody makes progress and both will be successful.
@core_c I went ahead and comment out the few lines of code you suggested and now the sketch is working and displaying correctly. Of course I want to understand what is going on and why it works without these lines. Thanks for the help and I hope to learn from all the experience members on this forum.
-
great! it works.. happy++
The explanation:
There is the variable named inSetup.
Somewhere (outside any function) in the top of the sketch that variable is declared and at the same time initialized (given a value).
bool inSetup = true;
In the rest of the sketch, that variable's value is never changed: The value of inSetup is always the same, all the time. It's value simply remains the same.In every Arduino-sketch you're obligated to define two special functions, namely: setup() and loop(). If you don't have them in your sketch, the sketch would not compile.
The setup() function is executed only once. It is called at the beginning of any Arduino sketch. It's used to do things that only need to be done one time, like setting pins to input or output, or perhaps even displaying a startup text on a connected display.
The loop() function holds the code that is executed repeatedly. All of it's code is run, and when all that code is done executing (and the loop-code is finished), the Arduino just starts all that loop-code anew. Normally, it keeps on doing that until the power goes off.In your sketch's loop() function, there is a call to: goGetValveTimes();.
Code in the loop() is executed over and over again. That means, that also goGetValveTimes() is executed over and over again.Now suppose your LCD is full of text, already been displayed in other parts of the code.
Every loop() cycle will make a call to goGetValveTimes().
In that function named goGetValveTimes() is that block of code that is executed:if (inSetup) { lcd.print(F(" Updating ")); lcd.setCursor(0, 1); lcd.print(F(" Valve Data: ")); lcd.print(valveIndex); }Code inside that block is always executed. It sets the cursor, and prints the valve data line.
It is always executed because the variable inSetup is always true.
Therefore no matter what was on your LCD, in every loop() cycle, that line on the display is overwritten with the valve data.. just as it is instructed to do.Another way to fix the problem, while keeping that block of code (displaying the valve data), is to set the value of variable inSetup to false at the right moment.
That way the code block is not executed anymore, and will no longer keep overwriting your text already on the display.
Probably the best moment to do that, is at the end of the setup() function. like so:void setup() { // at the end of your setup() function it would then look like this: goGetValveTimes(); } lcd.clear(); inSetup = false; }I believe that explains what was going on in your sketch..


