CNC PCB milling
-
Yes you can. Get the gcode I've posted above, adjust for your feedrate, autolevel it in cp and give it a go. Really curious about the results.
-
@mfalkvidd said in CNC PCB milling:
@neverdie have you verified isolation between the parts? The cut is good?
Good question. I have doubts about how well I could measure it using calipers. However, maybe if I put the board onto a flatbed optical scanner, which would have a known DPI, I could measure the actual cut width with reasonable accuracy. I haven't done that yet, though.
-
@NeverDie Using traces one next to other at known distance you can determine the exact width of the engraving for a wanted depth of cut. I know you don't want to mess with gcode, but it's simpler than you think. Please look at the code: you have init (g92 for setting zero, g21 for mm, etc) you set the feedrate in mm/sec, you have a few movements (g0) a "dwell" to pierce the copper for 0.5seconds (g4) then some cutting moves (g1) all have absolute cartesian coordinates. Eg you're at (0,0) then g1 x0y10 means travel at (0,10) move only the y axis 10mm to the back of the machine, g1 x0.1y10 means move 0.1mm to the right, etc.
You have the whole script posted above, set your feedrate the same as you set in flatcam, and set the depth in the first z-0.1mm line, maybe you want 0.05mm for eg. After editing the file run it in cp with autoleveling and post the results. -
@mfalkvidd said in CNC PCB milling:
@neverdie have you verified isolation between the parts? The cut is good?
Good question. I have doubts about how well I could measure it using calipers. However, maybe if I put the board onto a flatbed optical scanner, which would have a known DPI, I could measure the actual cut width with reasonable accuracy. I haven't done that yet, though.
@neverdie said in CNC PCB milling:
Oh, sorry, I realize now you were asking something else. No, I haven't verified that yet. This is all just early attempts. Good question though.
-
@NeverDie Using traces one next to other at known distance you can determine the exact width of the engraving for a wanted depth of cut. I know you don't want to mess with gcode, but it's simpler than you think. Please look at the code: you have init (g92 for setting zero, g21 for mm, etc) you set the feedrate in mm/sec, you have a few movements (g0) a "dwell" to pierce the copper for 0.5seconds (g4) then some cutting moves (g1) all have absolute cartesian coordinates. Eg you're at (0,0) then g1 x0y10 means travel at (0,10) move only the y axis 10mm to the back of the machine, g1 x0.1y10 means move 0.1mm to the right, etc.
You have the whole script posted above, set your feedrate the same as you set in flatcam, and set the depth in the first z-0.1mm line, maybe you want 0.05mm for eg. After editing the file run it in cp with autoleveling and post the results.@executivul said in CNC PCB milling:
Using traces one next to other at known distance you can determine the exact width of the engraving for a wanted depth of cut.
OK, I think I see what you mean. In other words, when the two cuts just barely bleed into one another, then one can deduce the width of the cut as being the absolute width between the absolute coordinates of the lines it's trying to cut. Makes sense. I'll give it a try. Thanks for the suggestion. :)
-
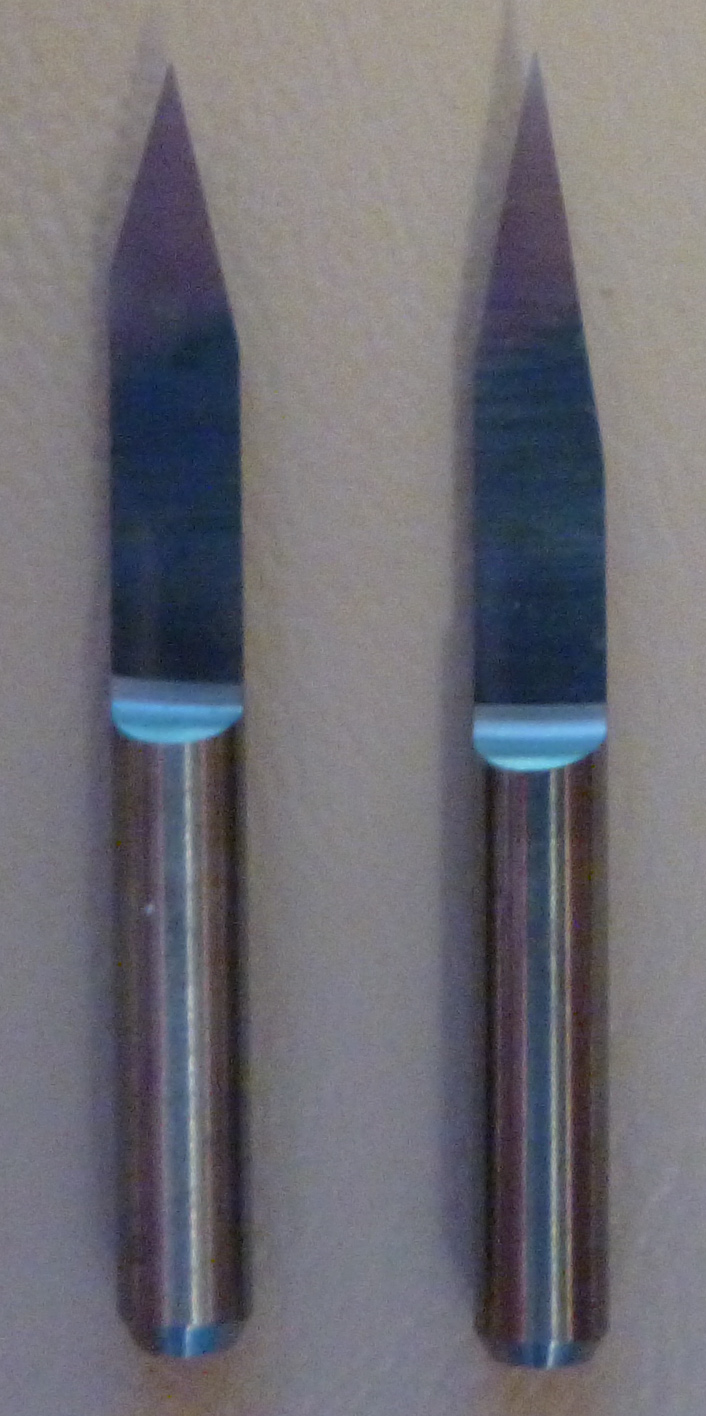
Good news. I just received my model 2 bits from Aliexpress. Model 2 is 20 degrees with a 0.1mm tip. I compare it here to the freebie bits from Jack:

Model 2 is on the right, and Jack is on the left. Looks like the angle is wider on Jack, which I presume (?) means that the tip is wider than 0.1mm. -
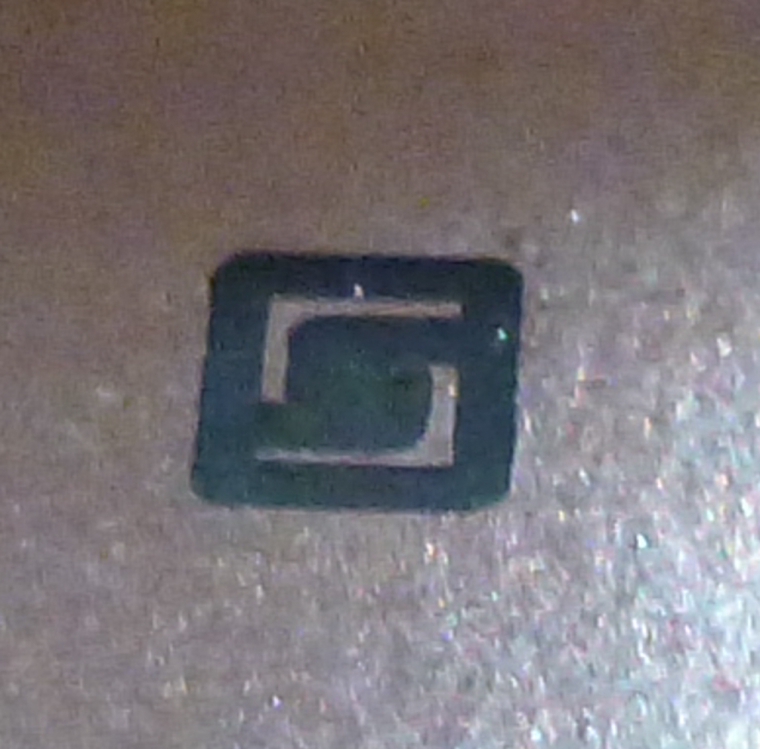
Well, I thought the model 20 would do better, but it actually did worse:

It does seem to cut smoother lines though. -
I also received model 6, which is the variety pack that includes a 10 degree bit with a 0.1mm angle. Should I give it a try? I've read that they're prone to create flying shrapnel. Anyone here have experience with them? If it doesn't blow up, it might be just the ticket for doing this cut.
-
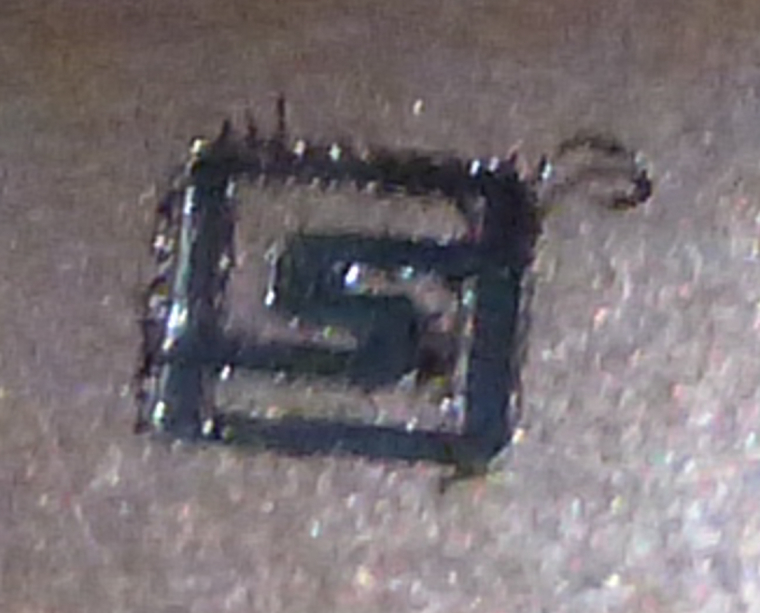
I just now tried the Model 10:

Rougher edges, but it didn't decimate the pads as badly as the model 20. -
I just now tried the Model 10:

Rougher edges, but it didn't decimate the pads as badly as the model 20. -
Merry Christmas, @executivul
Here is the output of your script using a Model 20 bit:

-
Merry Christmas, @executivul
Here is the output of your script using a Model 20 bit:

@neverdie Marry Christmas!
What feedrate did you use? (F parameter) and what engraving depth? (G01 Z-0.1?)
The jagged edges make me believe your feedrate is a bit high for the used rpm. You can run the first gcode to determine the best feedrate, or just use something low like 200mm/min and maybe a little deeper engraving.
It seems that your engraving is about 0.25mm wide, the 0.1mm is clear, 0.2mm is clear, 0.3mm is partially clear, from 0.4mm onwards you see the spacing between passes. -
@neverdie Marry Christmas!
What feedrate did you use? (F parameter) and what engraving depth? (G01 Z-0.1?)
The jagged edges make me believe your feedrate is a bit high for the used rpm. You can run the first gcode to determine the best feedrate, or just use something low like 200mm/min and maybe a little deeper engraving.
It seems that your engraving is about 0.25mm wide, the 0.1mm is clear, 0.2mm is clear, 0.3mm is partially clear, from 0.4mm onwards you see the spacing between passes.@executivul said in CNC PCB milling:
G01 Z-0.1
I did it again with F200 this time:

Doesn't look like the autoleveling is working so well, even though I had it probe every 2mm.
I think I may try covering 100% of the back of the pcb with tape. Maybe spacing it out has created this kind of artifact.
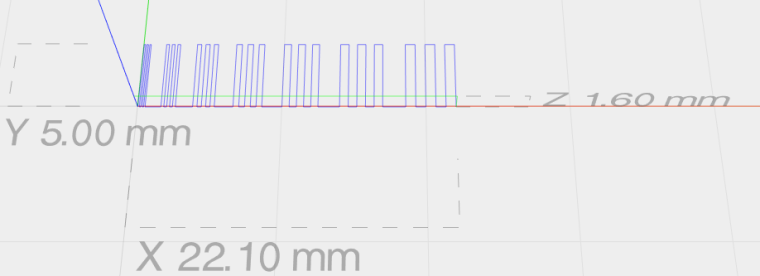
Not that it matters, but here's how it looks in ChiliPeppr:

-
@executivul said in CNC PCB milling:
G01 Z-0.1
I did it again with F200 this time:

Doesn't look like the autoleveling is working so well, even though I had it probe every 2mm.
I think I may try covering 100% of the back of the pcb with tape. Maybe spacing it out has created this kind of artifact.
Not that it matters, but here's how it looks in ChiliPeppr:

-
Here it is again, after I modified @executivul script to be F200:

-
Here's something I've noticed. Before running the auto-leveling, I run a test probe and then zero everything out when it makes contact. After running auto-leveling, if I run the test probe again, it generally reads about 0.05 higher than where I zeroed it out after the first test probe before the auto-leveling. Meaning?
-
Wow! Here's Jack's bit at a cutting depth of 0.05 and a feedrate of 200:

Seems to blow away the Aliexpress Model 20.
-
Anyhow, I'm not sure what all this means, but 6mil isolation milling seems like a stretch, unless there's more that I can do to get there.
What's a conservative number for mill isolation that I can count on getting without having to fuss over it? @executivul was getting 8mil. @andrew was getting 6 mill. So, maybe I can bank on getting 12 mill for sure without much effort such that it "just works"?
-
@NeverDie
The last bit tested is under 0.1mm wide. WOW!
Remember to:
-pre run: set the autolevel probe limits and a speed of 25mm/s
-run the probing: and DON'T redo Z probing after autolevel, it messes things up, use the same bit for probing and engraving.
-post run: "send autoleveled gcode to workspace"
Go slower, 100-150mm/min, afterall you don't need 6mil traces for a huge board so time is not an issue here.PS. try some water/shampoo mix, it kinda' helps with engraving, cooling, lube, I don't know.
PPS. I've moved to opencncpilot lately (last 2 boards), free on github, a short tut on the tube, it has a great feature that is to break long moves in 5mm segments, works better for bowed/wavy boards.
@executivul Do you cut everything in one pass, or do you use multiple passes (each pass at a deeper depth)? Flatcam supports multiple passes, though I have been using only 1 pass.
