Unable to connect to /dev/ttyUSB0 [Solved]
-
@kobipes said in Unable to connect to /dev/ttyUSB0 [Solved]:
@mfalkvidd
Actually he did but under Hssio the "sudo" keyword is not acknowledged. Tried without this 'super user do' keyword but nothingHassio is different.
- Install SSH/Console addon (I don't remember which addon I used, I think both the console and ssh server worked)
- Connect via ssh client or using the addon you chose as root.
- Type 'hassio help' in the console
- One of the bountiful commands you should have seen listed, 'hassio host hardware', lists available hardware and what /dev/ they're under
- If you don't see the device listed or no idea which one it is, unplug run the command again plug in and repeat. Look for the item that disappears and returns.
If smashing face onto keyboard at this point, check out the 'dmesg | grep tty' or 'dmesg | grep usb' and look for your device. If you don't see it after running either of those commands, proceed to start a fire in your immediate surroundings.
- By now you should have figured out what /dev/* your whatever is plugged into. If you haven't been consumed by the fire yet and know which /dev/ path your usb whateverthingy is under from dmesg, the magic fix is, in the console run:
curl -d '{"devices": ["ttyAMA0"]}' http://hassio/homeassistant/optionsreplace the ttyAMA0 with your device you want to have hassio make sweet bit-by-bit usb love with.
Source: Google.com
@nitroburn thank for the detailed explanation but already tried what you suggested without success. After typing
'hassio host hardware' I've got : "Error decoding json invalid character ':' after top-level value: 404: Not Foundc"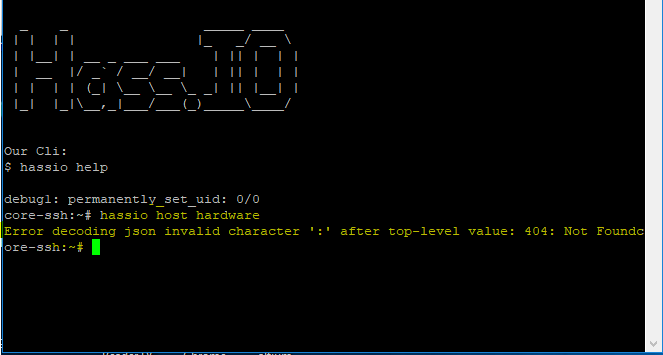
also tried what you suggest with "dmesg | grep usb" and got :
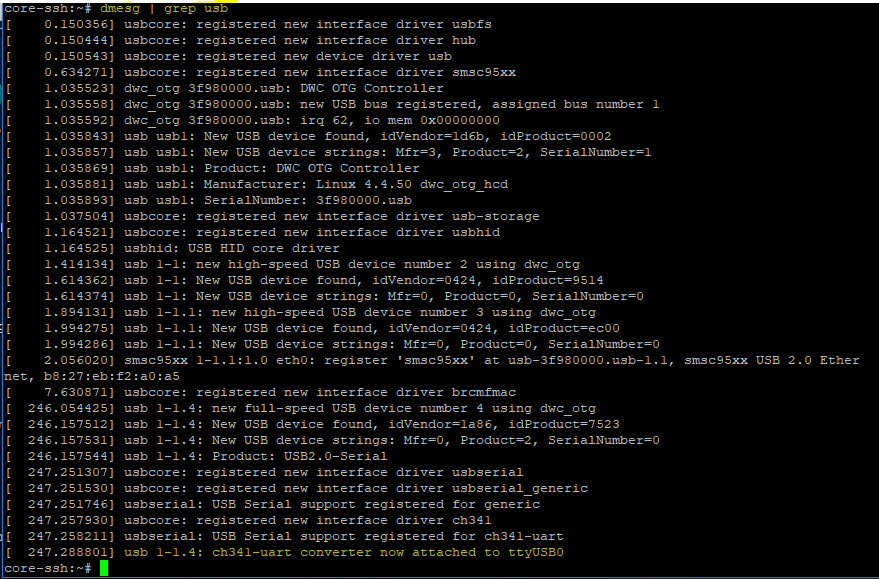
as you can see, the usb port is : ttyUSB0 (exactly as typed in the attached configured file - see below) , so why the heck am I getting error in the config file ?! Where am I wrong ??
This is the config file (written according to [link text](https://www.home-assistant.io/components/mysensors/ guidance) :
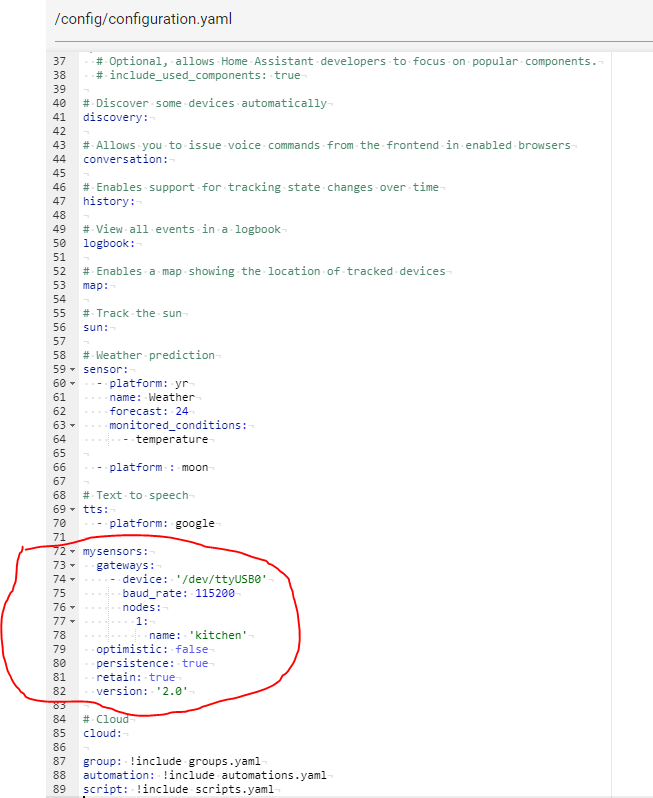
but I still get this error again and again :
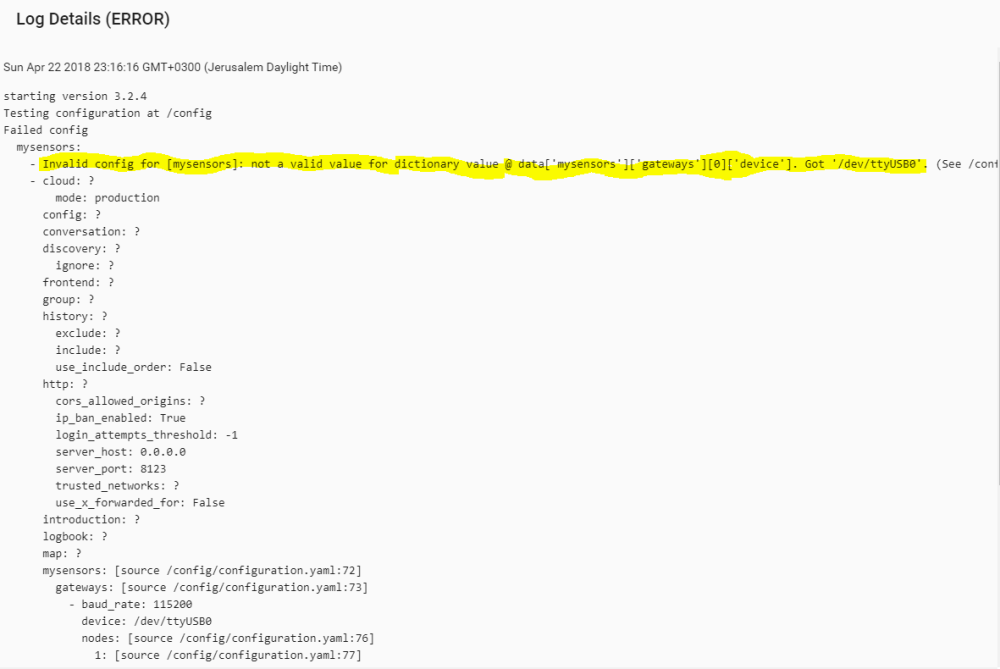
-
Don't you have a spare esp8266 and make an ethernet gateway? At least to get the mysensors network working
@gohan Actually I have the ESP8266-12 and I'll give it a try also (at the same time, ordered the WizNET (W5100) Ethernet module and the ENC28J60 Ethernet module but it will take time until I'll get it) , just wanted to solve the problem with the serial gateway ... :neutral_face:
-
@gohan I thought that the esp8266 may be just a replacement to the WizNET (W5100) or the ENC28J60 (suggested in the mysensors instructions to built Ethernet / MQTT gateways). But from what I understand, upon your link you gave me, I don't see the nrf24 module connected to the ESP8266-12 , but the ESP8266-12 module solely.
Note that I need the nrf24 to be a part of the Ethernet gateway in order to be able to communicate with the nodes
-
What link? BTW look at the "connecting the radio" page, you will see how to wire the radio on all arduino boards
-
you don't need the arduino board on the gateway, the ESP8266 will be running the sketch and will use the NRF24 radio for the mysensors network and the wifi interface to talk to the controller
-
Today, when I connected the arduino through the usb port in the raspberry pi 3, then entered the /dev directory, I saw this :

Isn't that weird ? what is the "p" is doing there between the tty and the USB0 ? also tried accessing this "ttypUSB0" but still get an error
-
I am having the exact same issue as kobipes. I am also on hass.io and I have not been able to resolve it. I am using an Arduino Nano with the RF24l01 connected to a Pi using USB (ttyUSB0). No go, configuration errors as stated from your post.
However when I use an Arduino Uno on ttyACM i managed to get it working as long as you cold boot the Pi during config changes.
Any help will be really appreciated!