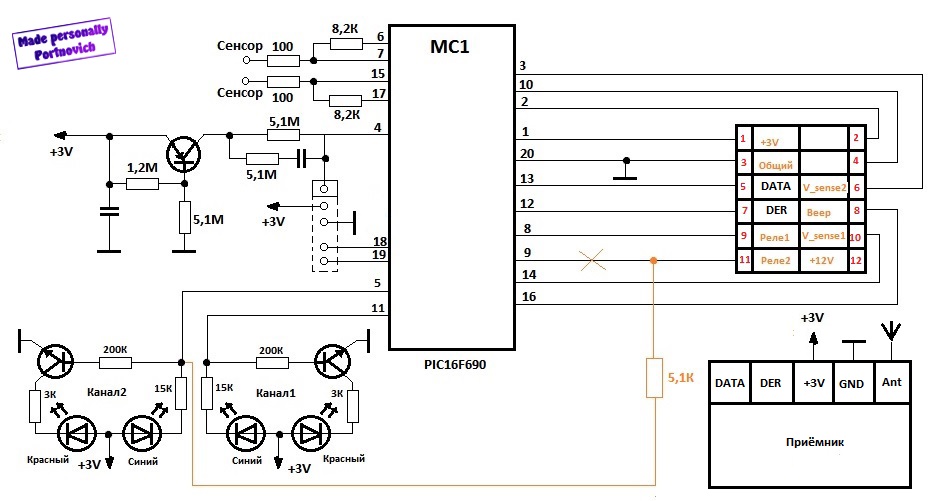
I just found this diagram on the web, have to check it but a first look looks prommising.

frankie
@frankie
Posts
-
livolo Glass Panel Touch Light Wall Switch + arduino 433Mhz -
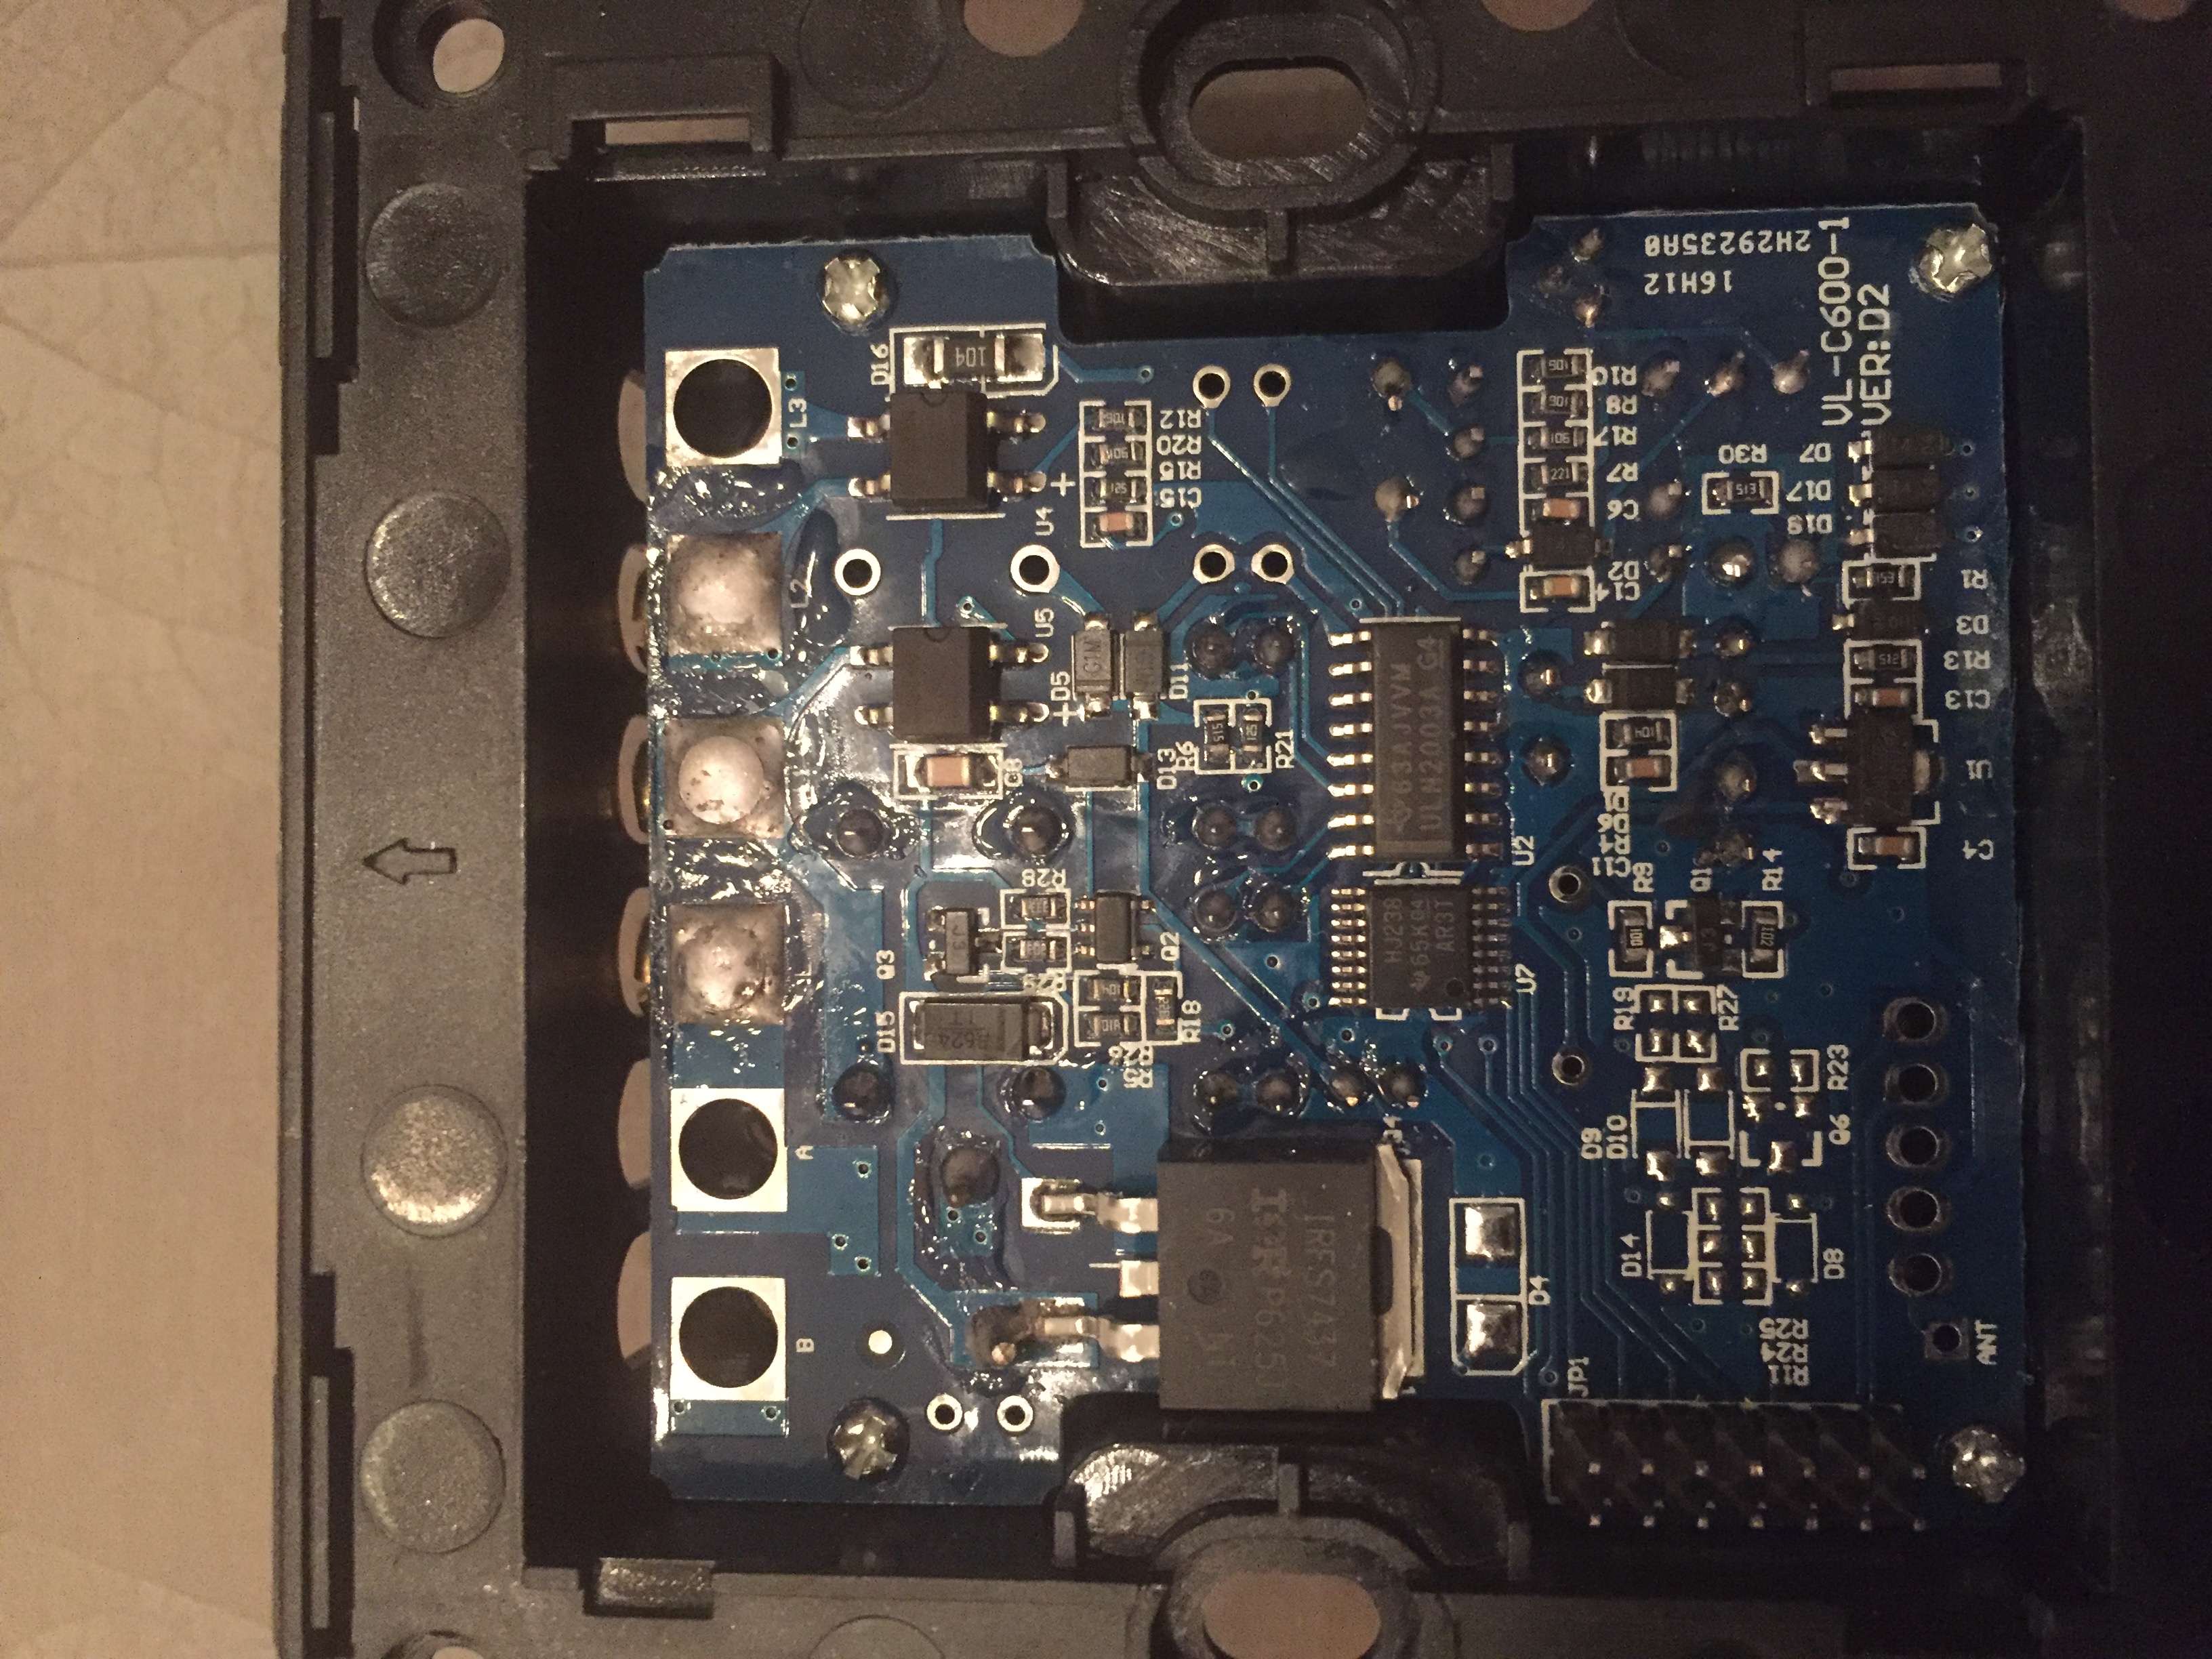
livolo Glass Panel Touch Light Wall Switch + arduino 433Mhz@Tigroenot this is a picture of the EU dubble switch version.
 image url)
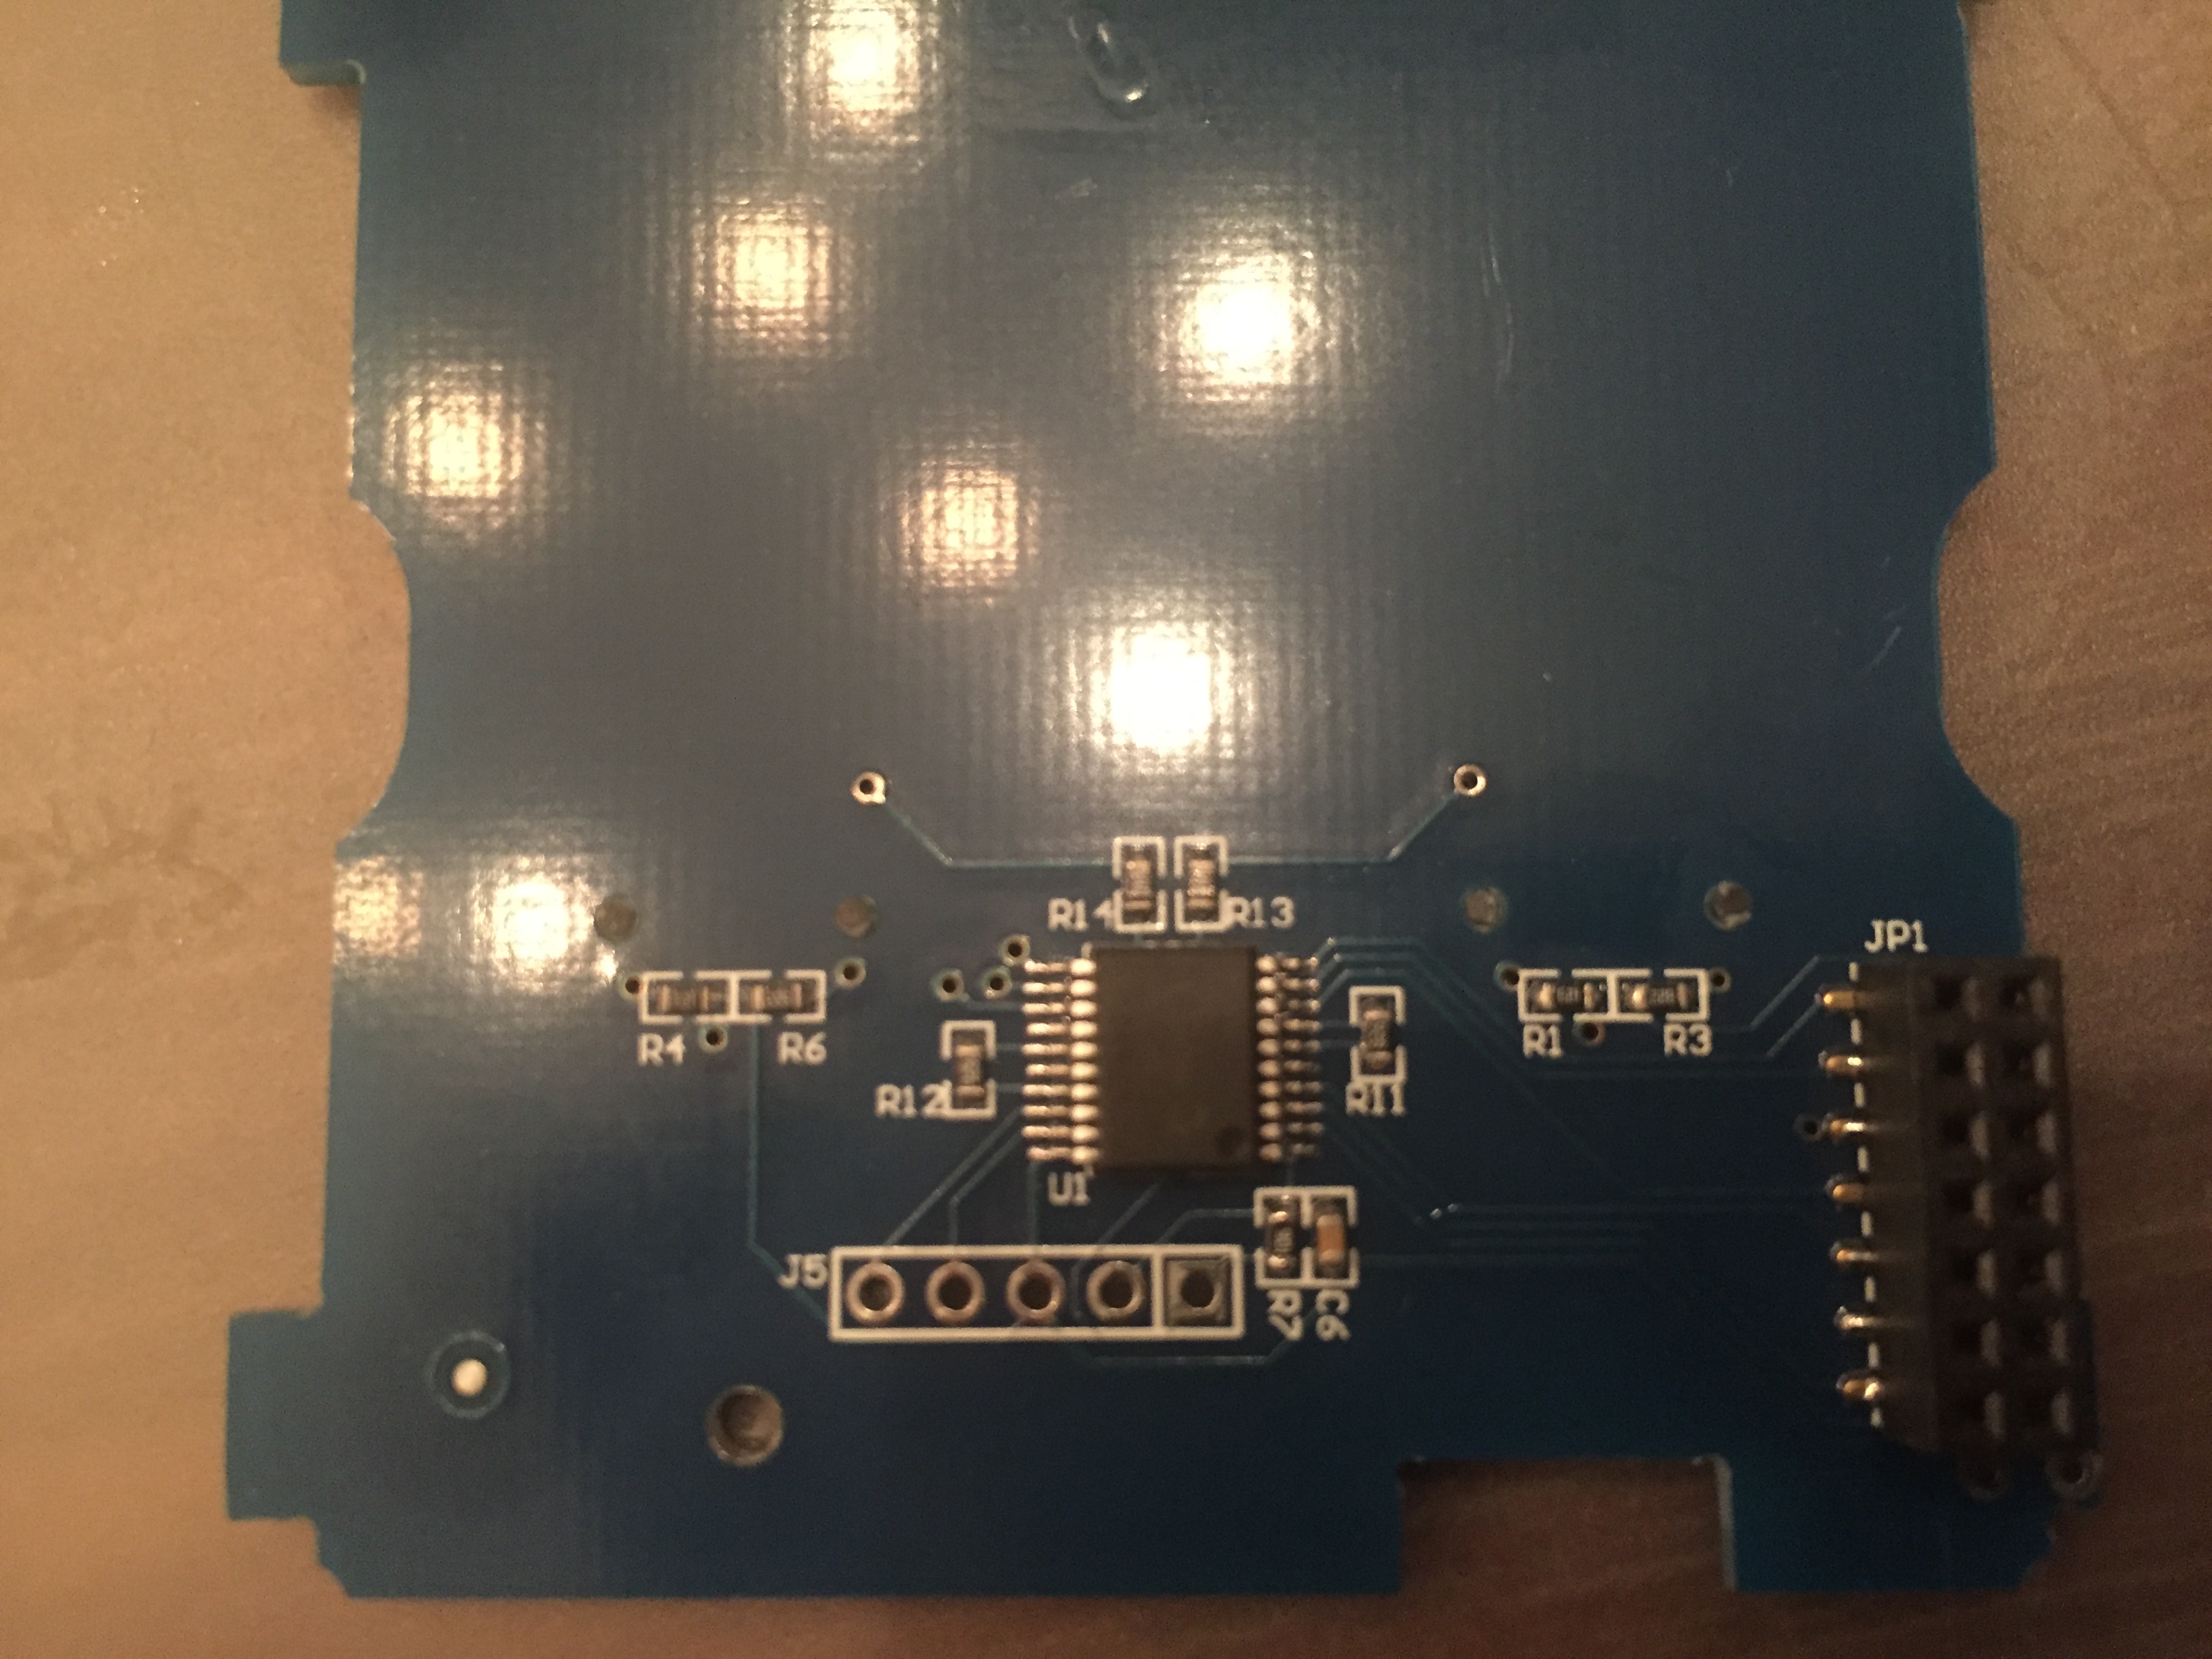
But what I am looking for is how to connect the arduino to this PCB
The picture of DJONvI is a good start, but I want to know if the SMD components which where added are resistors or a before I blow up the PCB ;-) -
livolo Glass Panel Touch Light Wall Switch + arduino 433Mhz@Tigroenot said:
Well, somehow I got over it :)
Here is a working sketch for livolo two button switch:
/**
 * The MySensors Arduino library handles the wireless radio link and protocol
 * between your home built sensors/actuators and HA controller of choice.
 * The sensors forms a self healing radio network with optional repeaters. Each
 * repeater and gateway builds a routing tables in EEPROM which keeps track of the
 * network topology allowing messages to be routed to nodes.
 *
 * Created by Henrik Ekblad <henrik.ekblad@mysensors.org>
 * Copyright (C) 2013-2015 Sensnology AB
 * Full contributor list: https://github.com/mysensors/Arduino/graphs/contributors
 *
 * Documentation: http://www.mysensors.org
 * Support Forum: http://forum.mysensors.org
 *
 * This program is free software; you can redistribute it and/or
 * modify it under the terms of the GNU General Public License
 * version 2 as published by the Free Software Foundation.
 *
 *******************************
*/


#define MY_RADIO_NRF24
#define MY_REPEATER_FEATURE
#include <MySensors.h>

#define sensor1_PIN 5  //Pin to attach the indicator LED1
#define sensor2_PIN 6   // LED2
#define RELAY1_PIN 3  // Arduino Digital I/O pin number for relay
#define RELAY2_PIN 4
#define CHILD_ID_LIGHT1 1   // Id of the sensor child
#define CHILD_ID_LIGHT2 2
#define RELAY_ON 1
#define RELAY_OFF 0

int oldValue1=0;
bool state1;
int oldValue2=0;
bool state2;

MyMessage msg(CHILD_ID_LIGHT1,V_LIGHT);
MyMessage msg2(CHILD_ID_LIGHT2,V_LIGHT);

void setup()
{
  delay(2400);
   pinMode(sensor1_PIN,INPUT);
   pinMode(sensor2_PIN,INPUT);
   digitalWrite(RELAY1_PIN, RELAY_OFF); // Make sure relays are off when starting up
   digitalWrite(RELAY2_PIN, RELAY_OFF); // Make sure relays are off when starting up
   pinMode(RELAY1_PIN, OUTPUT);         // Then set relay pins in output mode
   pinMode(RELAY2_PIN, OUTPUT);         // Then set relay pins in output mode
   state1=false;
state2=false;
}

void presentation()
{
  // Register all sensors to gw (they will be created as child devices)
  sendSketchInfo("Livolo", "2.0");
  present(CHILD_ID_LIGHT1, S_LIGHT);
  present(CHILD_ID_LIGHT2, S_LIGHT);
  delay(1400);
}

void loop()
{

 int value1 = digitalRead(sensor1_PIN);
    if (value1==1){
      state1=true;
    }else{
      state1=false;
    }

  if (value1 != oldValue1) {
      send(msg.set(state1), true); // Send new state and request ack back
  }
  oldValue1 = value1;

  int value2 = digitalRead(sensor2_PIN);
  if (value2==1){
      state2=true;
    }else{
      state2=false;
    }
  if (value2 != oldValue2) {
      send(msg2.set(state2), true); // Send new state and request ack back
  }
  oldValue2 = value2;
}

void receive(const MyMessage &message) {

  if (message.type == V_LIGHT) {
     // Change relay state
switch (message.sensor) {
      case 1:
        state1=message.getBool();
        digitalWrite(message.sensor+2, RELAY_ON);
        delay(30);
        digitalWrite(message.sensor+2, RELAY_OFF);
        delay(30);
        break;
      case 2:
        state2 = message.getBool();
        digitalWrite(message.sensor+2, RELAY_ON);
        delay(30);
        digitalWrite(message.sensor+2, RELAY_OFF);
        delay(30);
        break;
      }
   }
}
I am also playing around with the livolo dubble switch, but I am still figuring out how to control the switch via the header on the Switch board (thus without the base unit).
Can you share also your hardware setup, this will be very helpfull for me.
Thanks in advance.
