What did you build today (Pictures) ?
-
@ncollins Just wondering: why 4 load cells per sensor instead of only one?
-
- At 50kg per cell, 4 would allow me to actually turn the bed into a huge scale if I decided to go down that route
- I don't believe these are intended to support a significant load for extended periods of time, they can permanently deflect. Given they always have the weight of a king size mattress + boxspring, I wanted to distribute that as much as possible
-
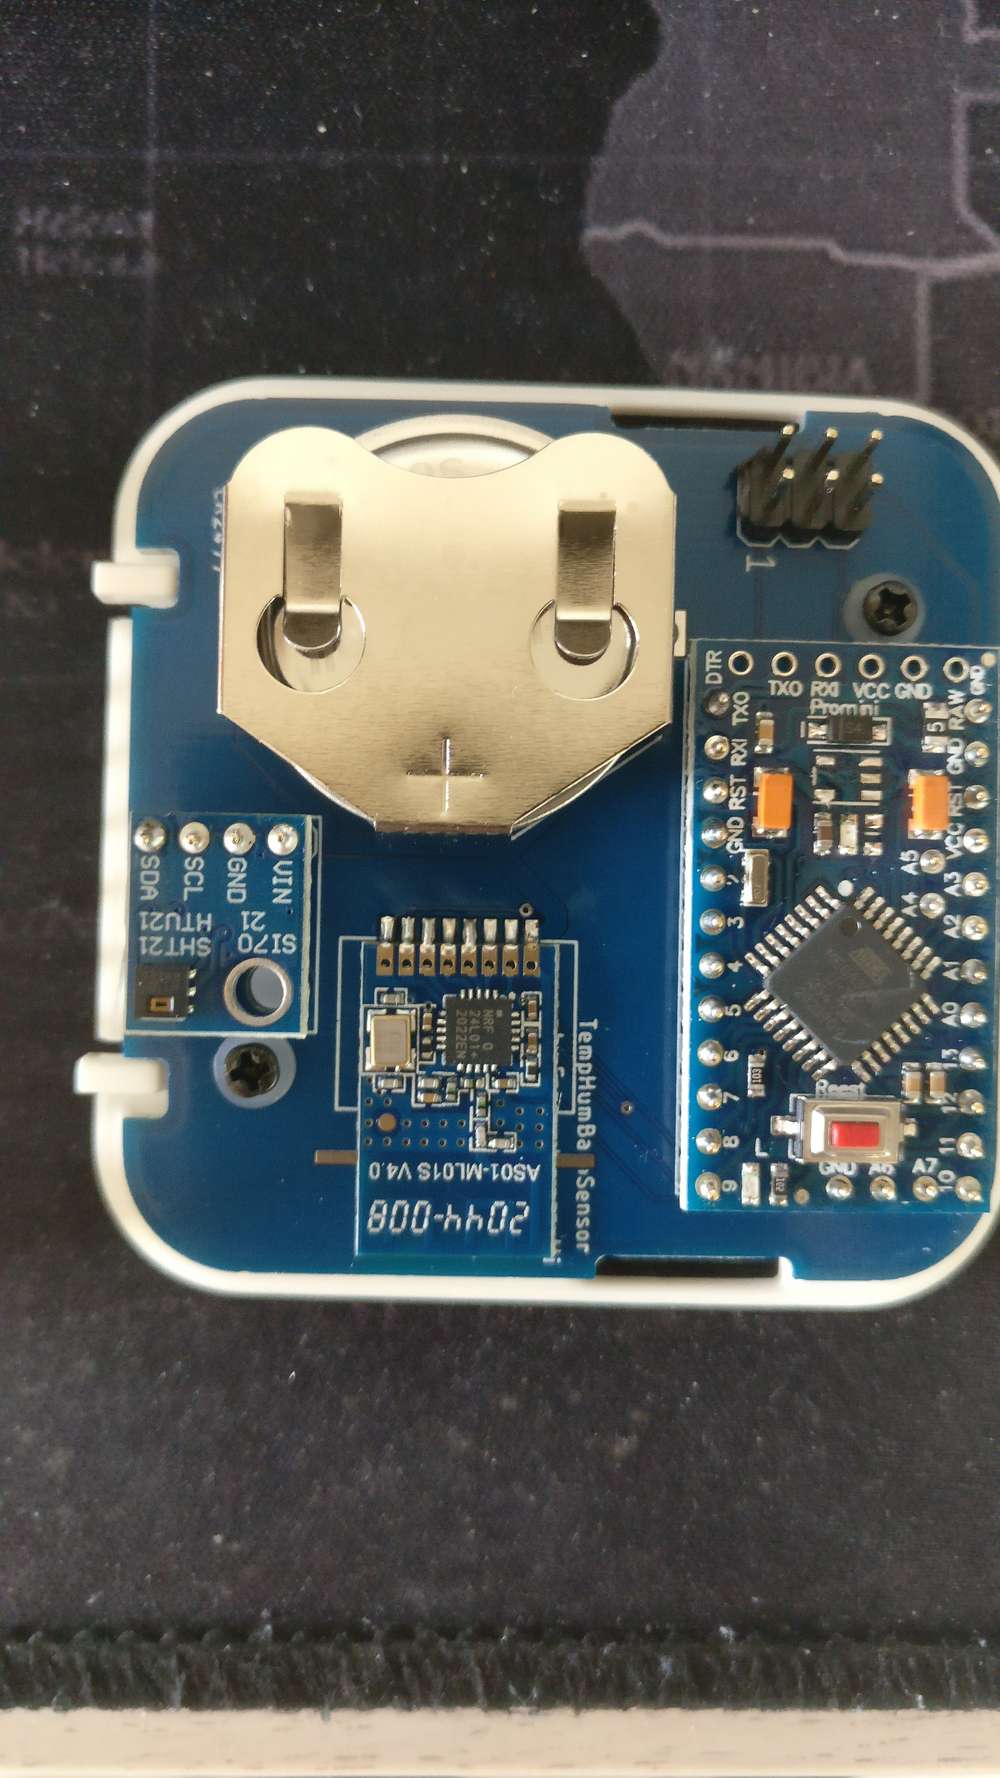
Current issue: outdoor nodes random stops/disappears - maybe during the time when its high humidity, so trying to try some different approaches i read - this multisensor is getting painted with clear nail polish. Also this PCB is a new board im testing, that Im hoping to be the base for my "final" home automation nodes. Still in dev. but great possibilities!
-
@sundberg84 Gaskets that are held under tight compression seem to work well at holding out moisture. I've seen a number of commercial products that rely on that and only that for in-ground radio sensors.
-
Here's an example from the new Flume (version 2) water meter monitor:
It gets strapped to your water meter, typically in the ground. All it has is one gasket to seal out everything. This particular box just snaps closed. No screws! Quite a difference from Version 1, which also used a gasket, but had 12 screws holding it snug.
-
@sundberg84 Really like the shape and look of the PCB! I hope I can achieve similar result for my room sensor.
-
And another of my completed projects is a mini weather station running on nRF52832 and nRF52840, you can install bme280 or si7021, htu21d. Powered by a single cr2450 battery. As always soon to be on openhardware.io
Video: https://youtu.be/HNjYtKyh8zo
-
@berkseo By calling it a mini weather station now you'll need to add an anemometer and rain gauge...
-
@NeverDie Sorry, I didn't know there were rules like that now :), then it would just be a temperature, humidity and pressure gauge with weather forecasting, okay?
-
Hi guys,
this is my last node. A 3d printable smart USB power hub.
If someone is interested, here all the details.
-
I am testing a node with a DigiPyro, PYD 1598 motion detector. It is advertised to be low power and runs from 1.8 to 3.6 volts, so should run well with a coin cell. They have to be programmed with several options and I have not found a lot of documentation. I went with what seemed like the most sensitive choices and it seems to work so far. More research needed . ...
https://www.excelitas.com/product/pyd-1588-pyd-1598-low-power-digipyrosI bought a couple of these from DigiKey for around $4 each. Now they are more than $12 each and there is no stock. So, these may not be as good a choice as they seemed at first. We'll see . ...
-
The milling topic got my interest and I have been working on getting a machine for myself.
So far I have just assembled the machine and realised milling is a bit more difficult to start then 3d printing.
anyway, I would like to share my progress. I am building video's nowNo circuitsboards yet, but here is a introduction of my way to victory.
Unboxing the Genmitsu Prover 3018 cnc mill from sainsmart β 03:09
β Joeri de Man
-
Winter time is tinker time!
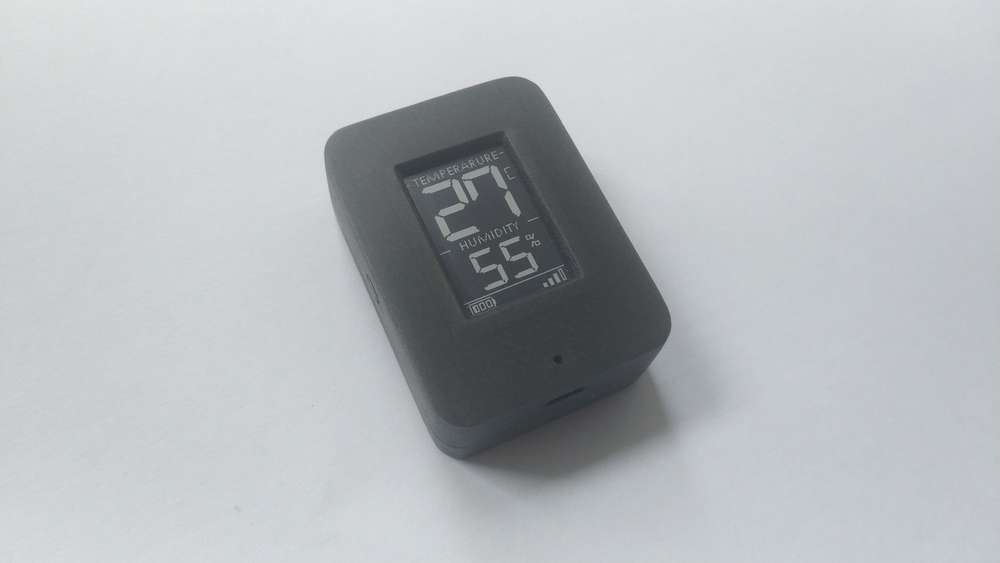
This is a compact environmental sensor node with an E-Paper display. My goal was to have a decent screen-to-body ratio with a simple and minimalistic display, easy to read from a distance. It is the first design in which I did not use an ATmega MCU. It is also the first time that I used KiCAD instead of EAGLE, soldered no-lead SMD components and worked with an EPD.
- It features a SHTC3 sensor to measure temperature and relative humidity and a VEML6030 to measure the ambient light, so that I can toggle lights or other appliances in the room based on temperature, humidity or light conditions.
- I have also added a MEMS sensor (LIS3DH) to auto-detect the device orientation and rotate the EPD image accordingly and / or detect tap events to toggle between different display modes / data sets.
- It can be powered directly from a 3V source or use the optional 3.3V boost circuit which accepts 1.5V or 3V sources.
I finished soldering and testing all the components today and just started programming the rough "framework". Looks promising so far! But still lots to do, including finalizing the 3D printed enclosure. This is how it is supposed to look in the end:
-
Hi guys. I recently made a plant watering control sensor with an electronic paper display. Today I did my first tests, ..everything went well
-
@BearWithBeard said in What did you build today (Pictures) ?:
VEML6030
Take a closer look at the max44009 light sensor and the lis2dw12 accelerometer. You can save a few microamps.
-
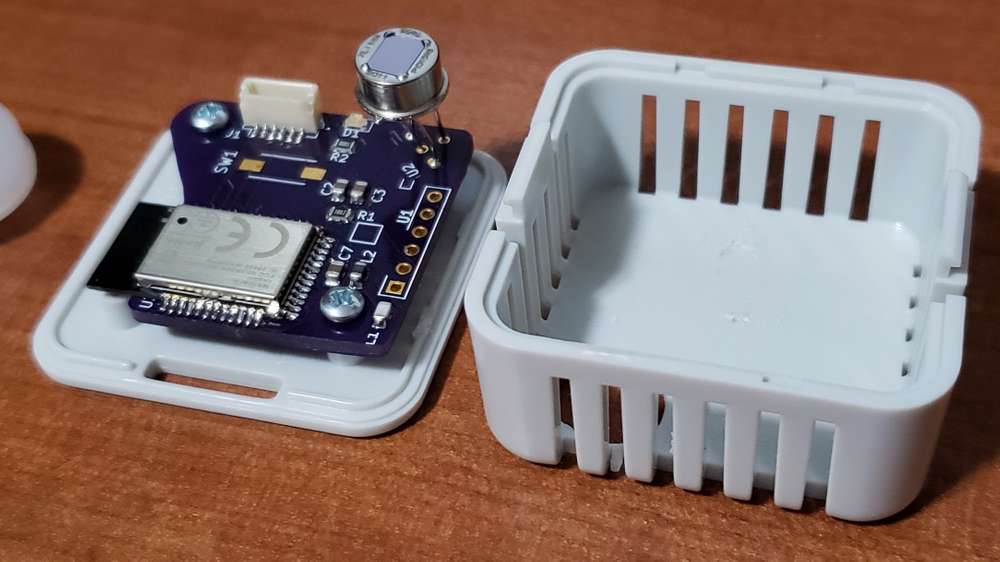
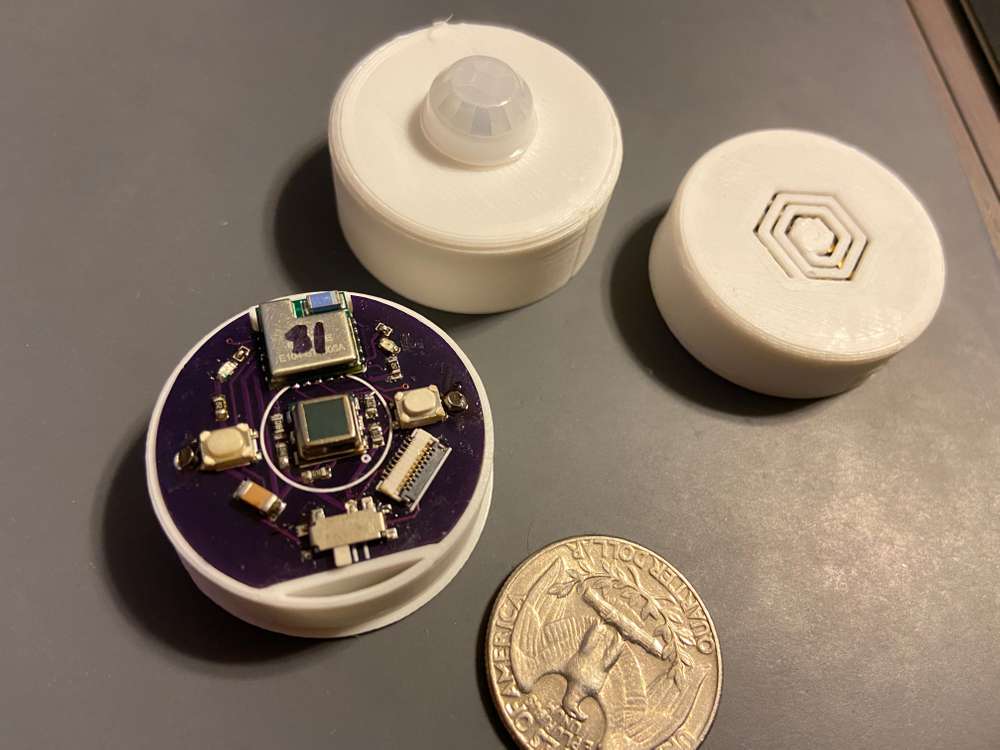
First attempt at a modular NRF52805 based board. The smaller board has a Si7021 temp + humidity sensor and a BH1750 light level sensor, both I2C. Ideally, I should be-able to make other sensor boards with the same footprint as long as the sensors are I2C.
Also included:
- CR2032 Battery (~1.5 years between battery changes)
- 10P 0.5 FPC connector for programming and serial debugging
- 2 LEDs with solderable jumpers
- On/Off switch (I find this really useful, especially when fighting with coin batteries)
- RST button
- Secondary button that I use to force immediate readings
- Footprint for centered button for alternative use as a remote button (my most common MySensors node)
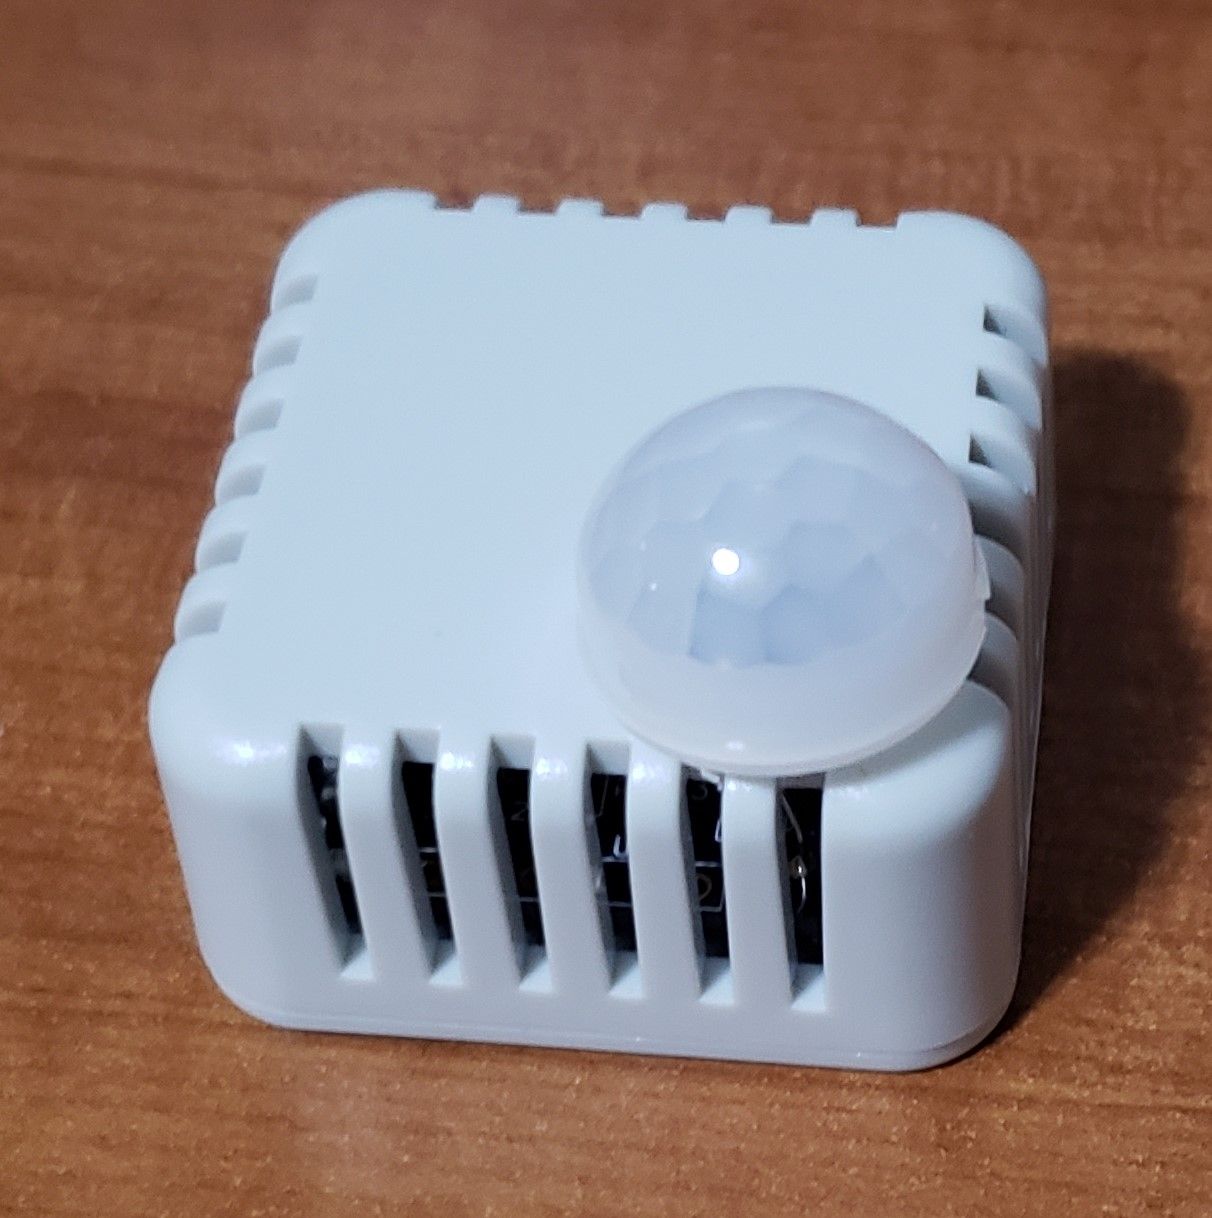
I'll post pictures of the enclosure when it's ready.
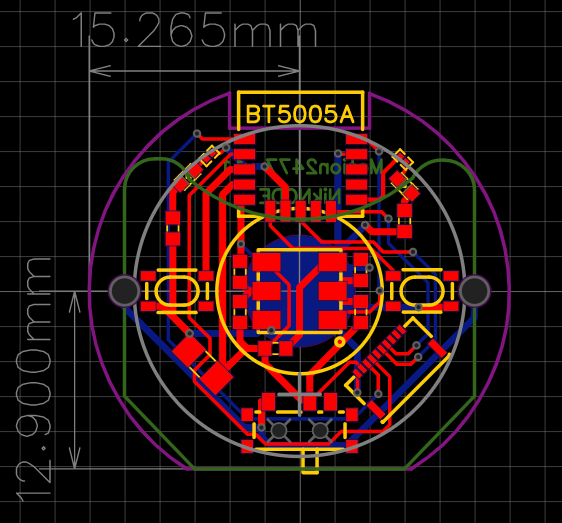
I'm also waiting on delivery of a slightly larger version of this board that holds a 2477 battery and a SMD PIR motion sensor.
-
@ncollins
Very, very beautiful project! I also already have several such radio modules from different manufacturers. Here are just these ebyte specifically, they are without dc-dc. ...I plan to transfer support from nordic sdk to sandeep mistry (just like I did with 52810 and 52811), but how do you flash them under mysensors? Maybe there is already some shorter way?
-
@berkseo Thank you!
First, I made the compatibility changes to SandeepMistry. This was surprisingly easy. The SDK in SandeepMistry/nRF5-arduino does most of the heavy lifting. I had to modify a few of the precompiler conditions to exclude PWM, change some serial definitions, and update to new handler naming conventions: https://github.com/sandeepmistry/arduino-nRF5/pull/442
Then, I defined a new Generic NRF52805 variant in mysensors/ArduinoHwNRF5 and handled one assumption of LPCOMP: https://github.com/mysensors/ArduinoHwNRF5/pull/12
Last, I had to handle a few small assumptions in the MySensors library: https://github.com/mysensors/MySensors/pull/1461
-
Playing around with enclosure designs for my new node
-
@BearWithBeard Very nice indeed!
-
Sensor node on the left, button node on the right.
-
@ncollins said in What did you build today (Pictures) ?:
10P 0.5 FPC connector for programming and serial debugging
How many of the 10 pins do you actually use?
-
@NeverDie Currently using 6, [GND, VCC, SWDIO, SWCLK, - , TX, RX, -, -, -]
-
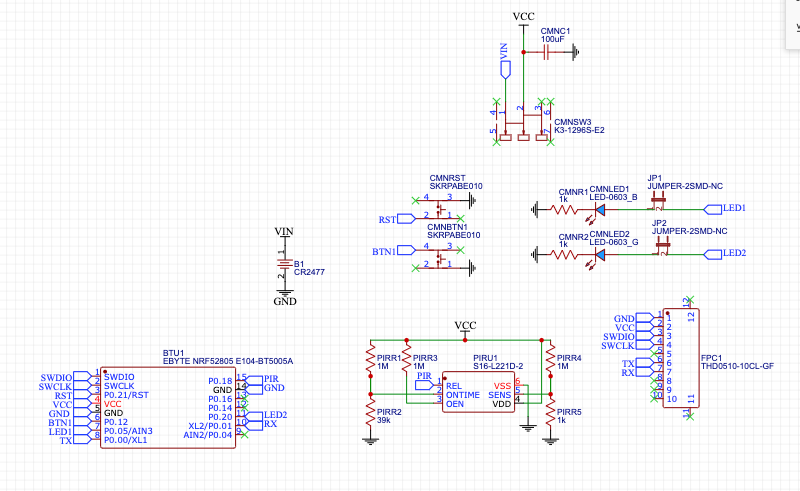
The latest addition to my coin cell nodes, a PIR motion sensor based on the Ebyte NRF52805 module.
The PIR sensor is a Senba S16-L221D-2. I'm measuring around 24uA, which is higher than advertised, but with the 6-7uA from the NRF52805, should still get me 3-4 years on a single 2477.
-
Today i have assembled the latest revision of my Lighting X3 for DIN rail mounting.
-
Oh yes, I forgot to share photos of my new project - Multinetwork Mysensors Gateway. The main idea of this gateway is that it can at the same time serve up to four different networks (Lora - RFM9X, 2.4 GHz - NRF24 and ISM band RFM69). These networks can be assembled in separate modules and each user can build own set of modules. The incoming stream will be connected via Ethernet on various ports, for example, the gate will have the IP address 192.168.1.128, and each subnet will be served on ports 5003 - the first subnet, 5004 - the second, and so on ...
-
@kalina looking great! Is it opensource?
-
@monte Not certainly in that way. In this project, everything is open source with the exception of the board with an ethernet (based on STM32). The ethernet board was developed by my partners and they are not ready to share it yet. But I hope I can persuade them to do it
-
@kalina I like how it both consolidates and reduces wall-wart clutter all in one stroke.
I don't see any antennas though. Where do they go? And does having multiple radios packed close together like that create any noteworthy EMI? I knew a guy who had set up an RFM69 hat on his Raspberry Pi but later found that the raspberry Pi produced a lot of RF noise/EMI that reduced the effective range of his gateway. I don't know whether or not that might happen in your case, but I thought I'd mention it to help with your troubleshooting in the event you notice any unexpected range reduction.
-
@kalina I see. I have the same STM32 chip and was going to use it in one of my next projects, so I asked to get some inspiration
-
@NeverDie EMI is a big topic. I think there will be no problems. I am going to do some tests of communication
quality for various modules and antennas. As for the antennas, I am going to fixed them to the body through the holes, but I have not yet decided on the location. As for connection antenna to the module you can see the on photo ...
-
Hello everyone. I want to show you my new device, battery powered air quality sensor. The device also has light, temperature, humidity, and atmospheric pressure sensors. I am currently testing the software.
-
@berkseo I'm curious: which air quality sensor did you opt to build into your device, and what about it did you prefer over the other available air quality sensors that you might have picked, but didn't? Two or three years ago I looked into a few different sensors, but they looked bigger that what you've settled on and their capabilities were pretty narrow. Hopefully the sensor offerings have gotten better since then.
-
@NeverDie sgp40 sensor is used, I also test the bme680, but the results are worse there.
-
-
My first RFM69 Battery sensor: an ultrasonic sonar to measure the level of my fuel tank (don't laugh, winters can be cold in Burgundy )
Many thanks to @sundberg84 and @mfalkvidd for advice to the Newbie i am and to @Gerator for the RFM69 gateway
-
Nice work @hlehoux!
Electronics and fuel sounds like a scary combination to me
-
@mfalkvidd You're right: For production i'm going to build isolation for the sensor not to be in contact
Anyway: The flash point of domestic fuel oil is 55 Β° C, which means that fuel oil cannot ignite below this temperature. In addition, in its liquid form, fuel oil is non-flammable at room temperature.
-
- Temperature and humidity sensor AHT-10
- NRF52823 module
- Power board CR2477
Connected via MYSX connectors
Firmware based on NodeManager library
-
Hi guys,
my last creation: the d-diot hub v.3.0
The hub A (wood) is a dual MySensors gateway (RFM69 and NRF24) based on two ESP8266 modules and a BLE gateway + RGB controller thanks to an ESP32 module and ESPHome firmware.
The hub B (grey and red) is an IR gateway and RC 433 Mhz gateway based on ESP32 modules with an ESPHome firmware. The hub B has also an integrated step-up and step-down voltage regulator based on Arduino Nano.
To allow the maximum flexibility in placement inside the house, each module can be build as a stand-alone piece of hardware or combined in a single device (see pictures).
The hub is meant to be used with Home Assistant, the case is 3d printable and as usual, if someone is interested, there is a dedicated wiki page with all the details and the build instructions.
-
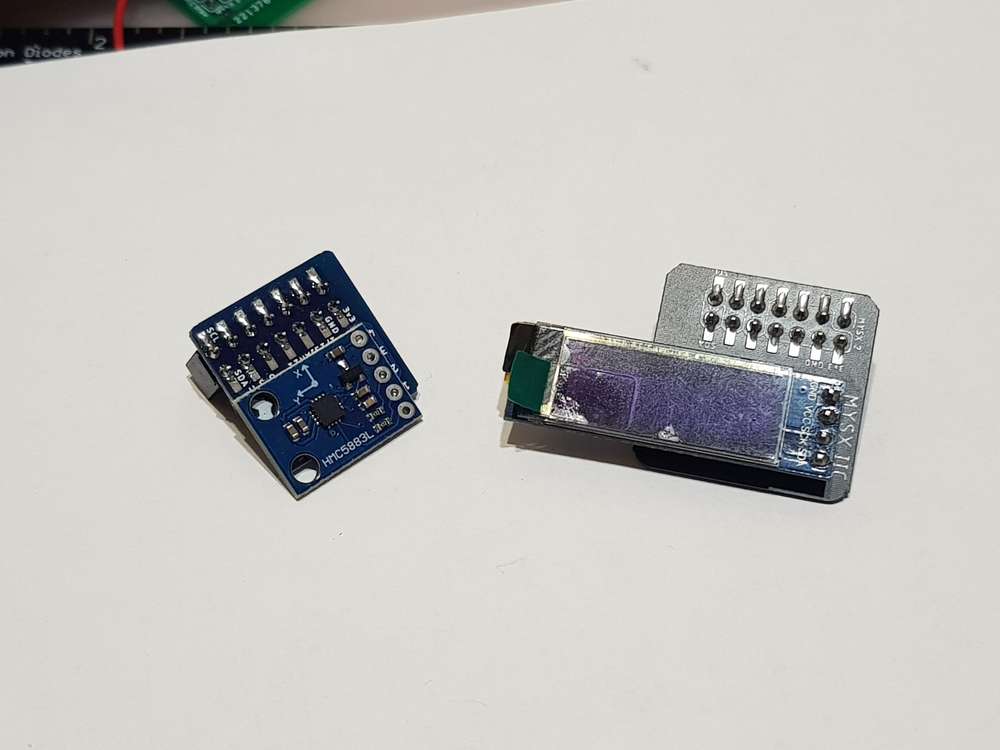
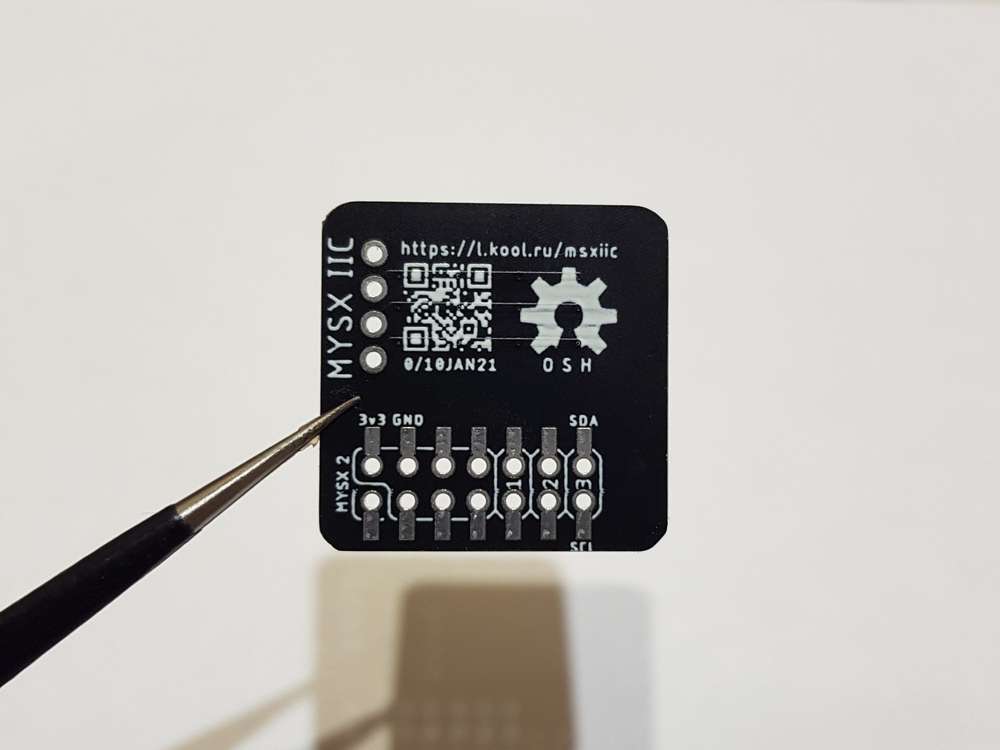
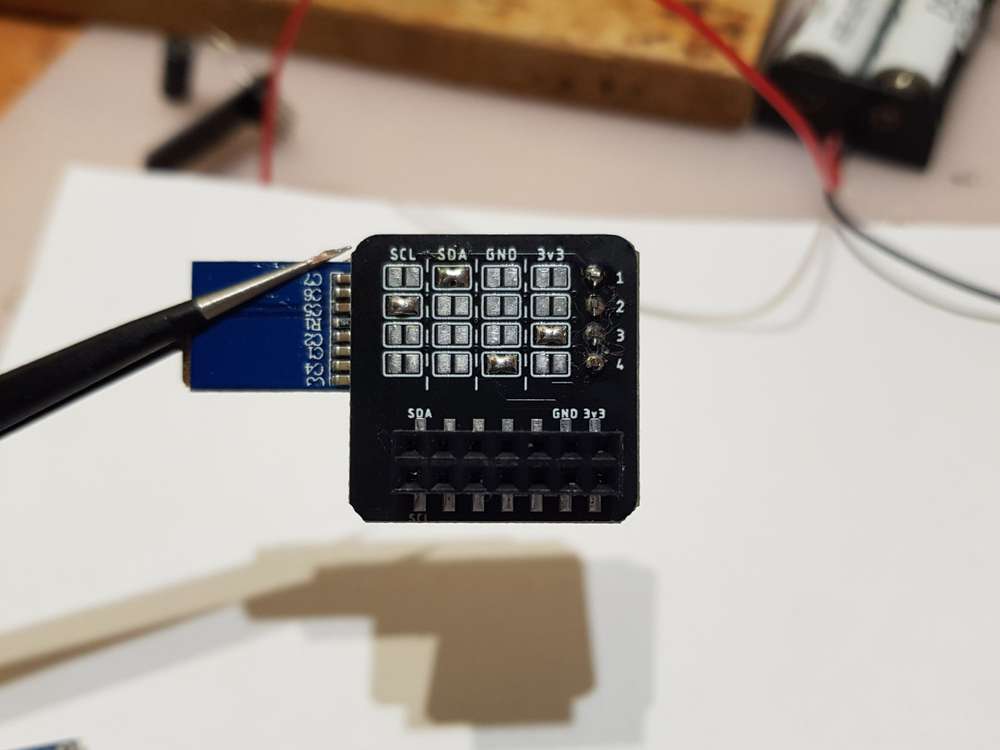
I2S/IIC to MYSX converter
Configurable via jumper matrix
-
@KooLru - very clever sollution for the lines.
-
@berkseo
Hey. Our own berkseo is on Hackaday. Congrats!https://hackaday.com/2021/03/11/nrf52-weather-station-gives-forecast-with-style/
-
@nagelc
Wow, this is unexpected.
-
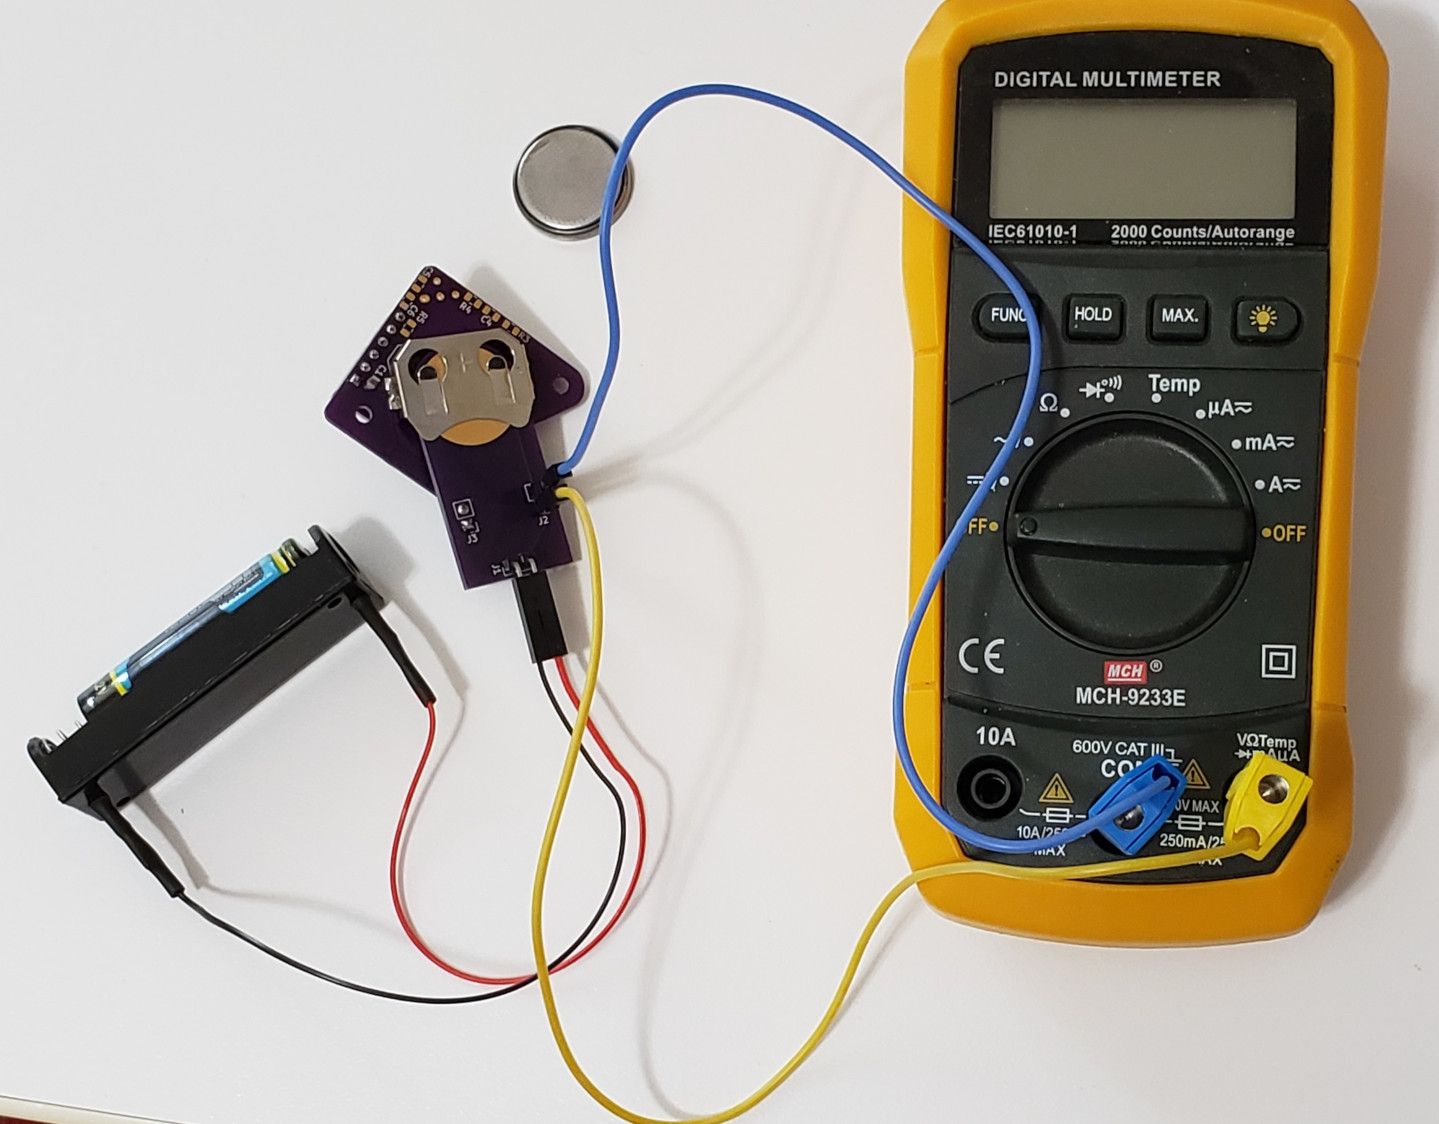
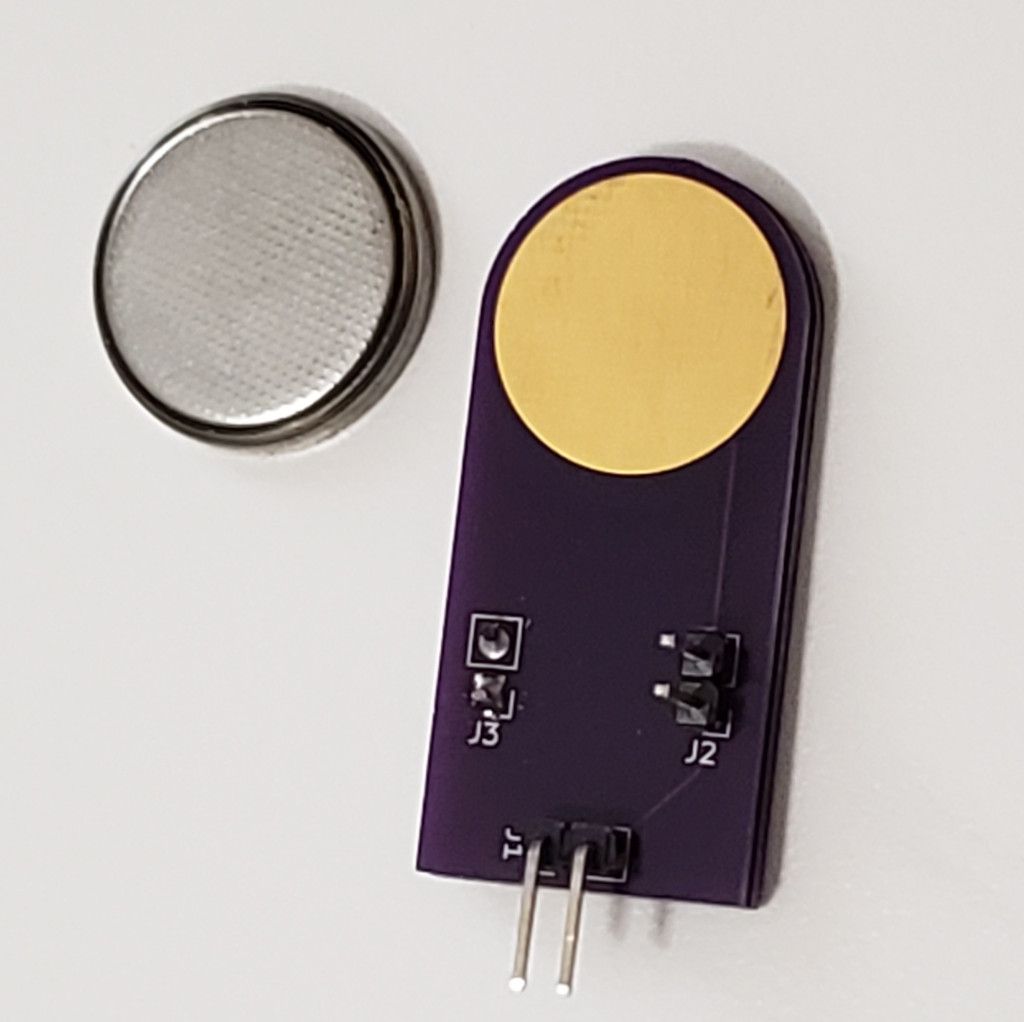
I made a simple board to use as a CR2032 battery simulator. It is actually two identical pcb's back to back. I added pins for applying power and another set for measuring current. Now I need a better ammeter. The uA scale works well when sleeping, but the mA scale doesn't seem to pick up the awake current.
-
@nagelc Nice!
What is the PCB you are measuring on? I'm actually looking for a NRF5 board to use with a coin cell.
-
It's actually at this link posted earlier in the thread: What did you build today (Pictures) ?:
I mostly use it with BME280 modules for temperature and humidity, but I have tried some other I2C modules in it.
I'm still experimenting with the motion detector. That will probably get it's own board at some point. It doesn't really fit the enclosure I designed this board for.
-
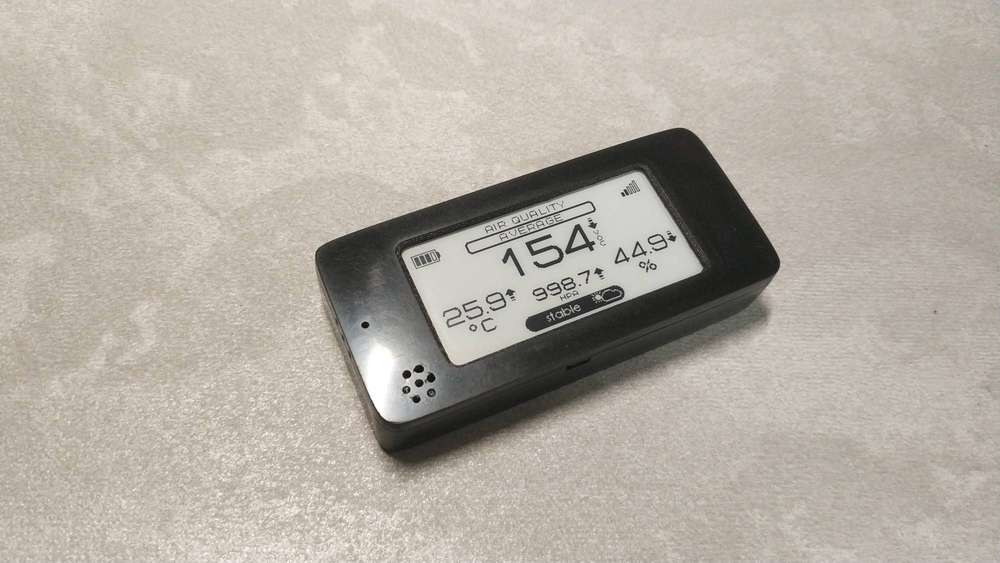
I think this open source project is finished. This is a small air quality sensor. Quite a useful thing turned out for our not simple time.
https://github.com/smartboxchannel/EFEKTA-EINK213-AIR-QUALITY-SENSOR-NRF52840-V2-ED3
-
Finished my Garage Door Node.
It has open/close magnetic reed switch sensors, a DS18B20 temperature sensor, a PIR motion sensor and a bjt to trigger the door to open/close/stop.
-
-
@KevinT Very cool.
How does it respond to the PIR. Does it stop the door if it sees motion?
-
Thanks.
The motion sensor is used to turn on the lights in the garage via a Sonoff mini.
Also, I've had the garage door randomly open by itself (power glitches?) a few times over the years. So I'm adding an automation to close the door if no motion is present and it is after midnight.
-
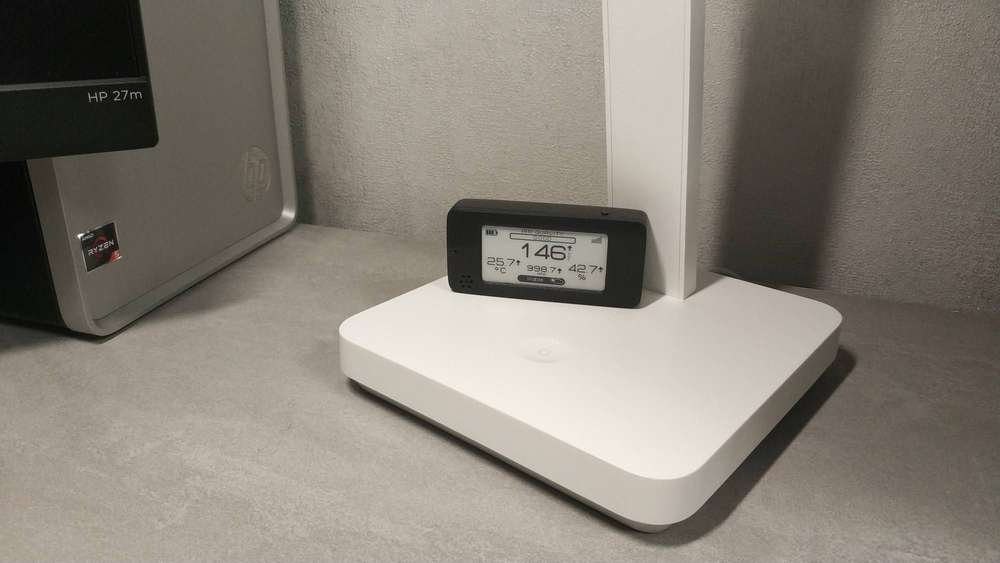
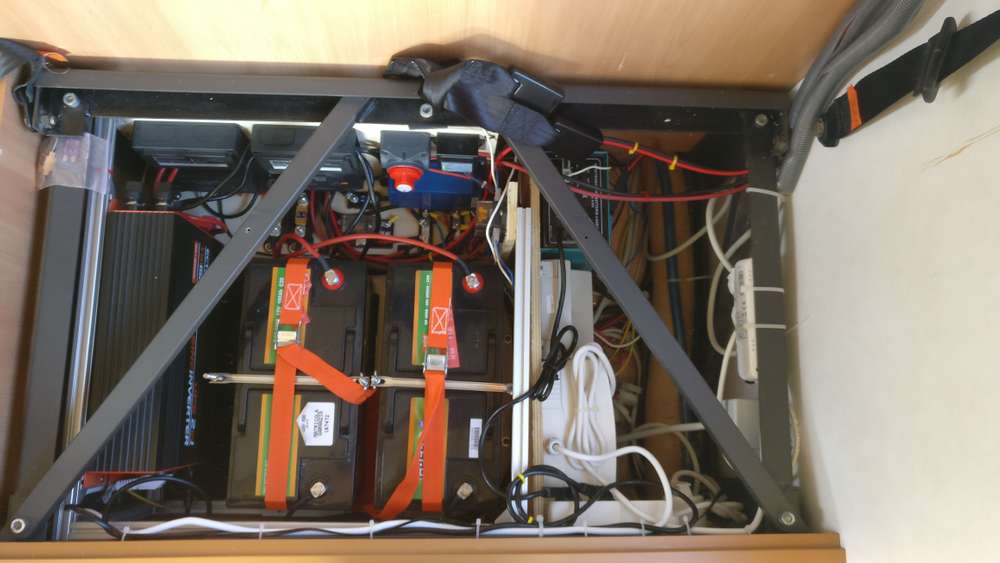
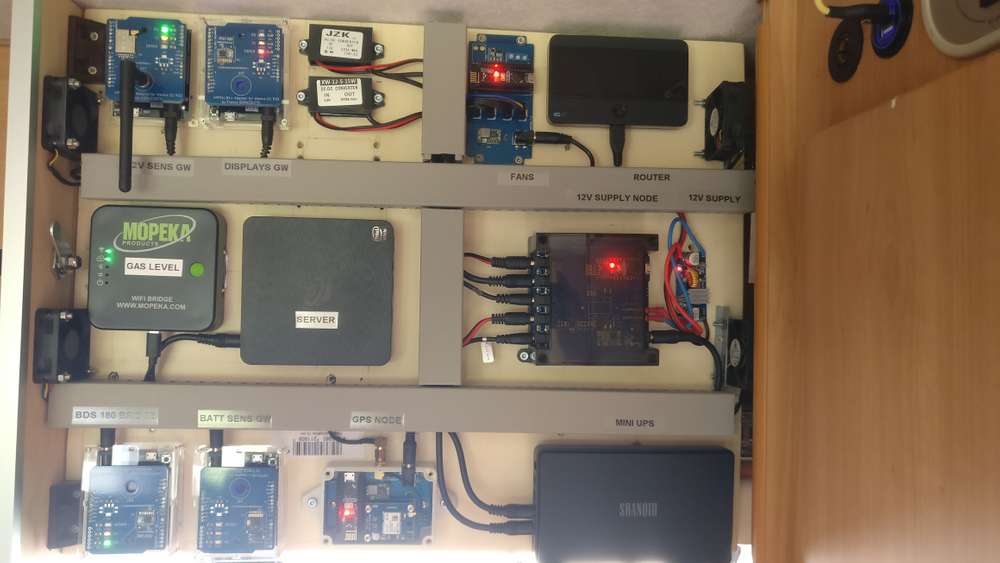
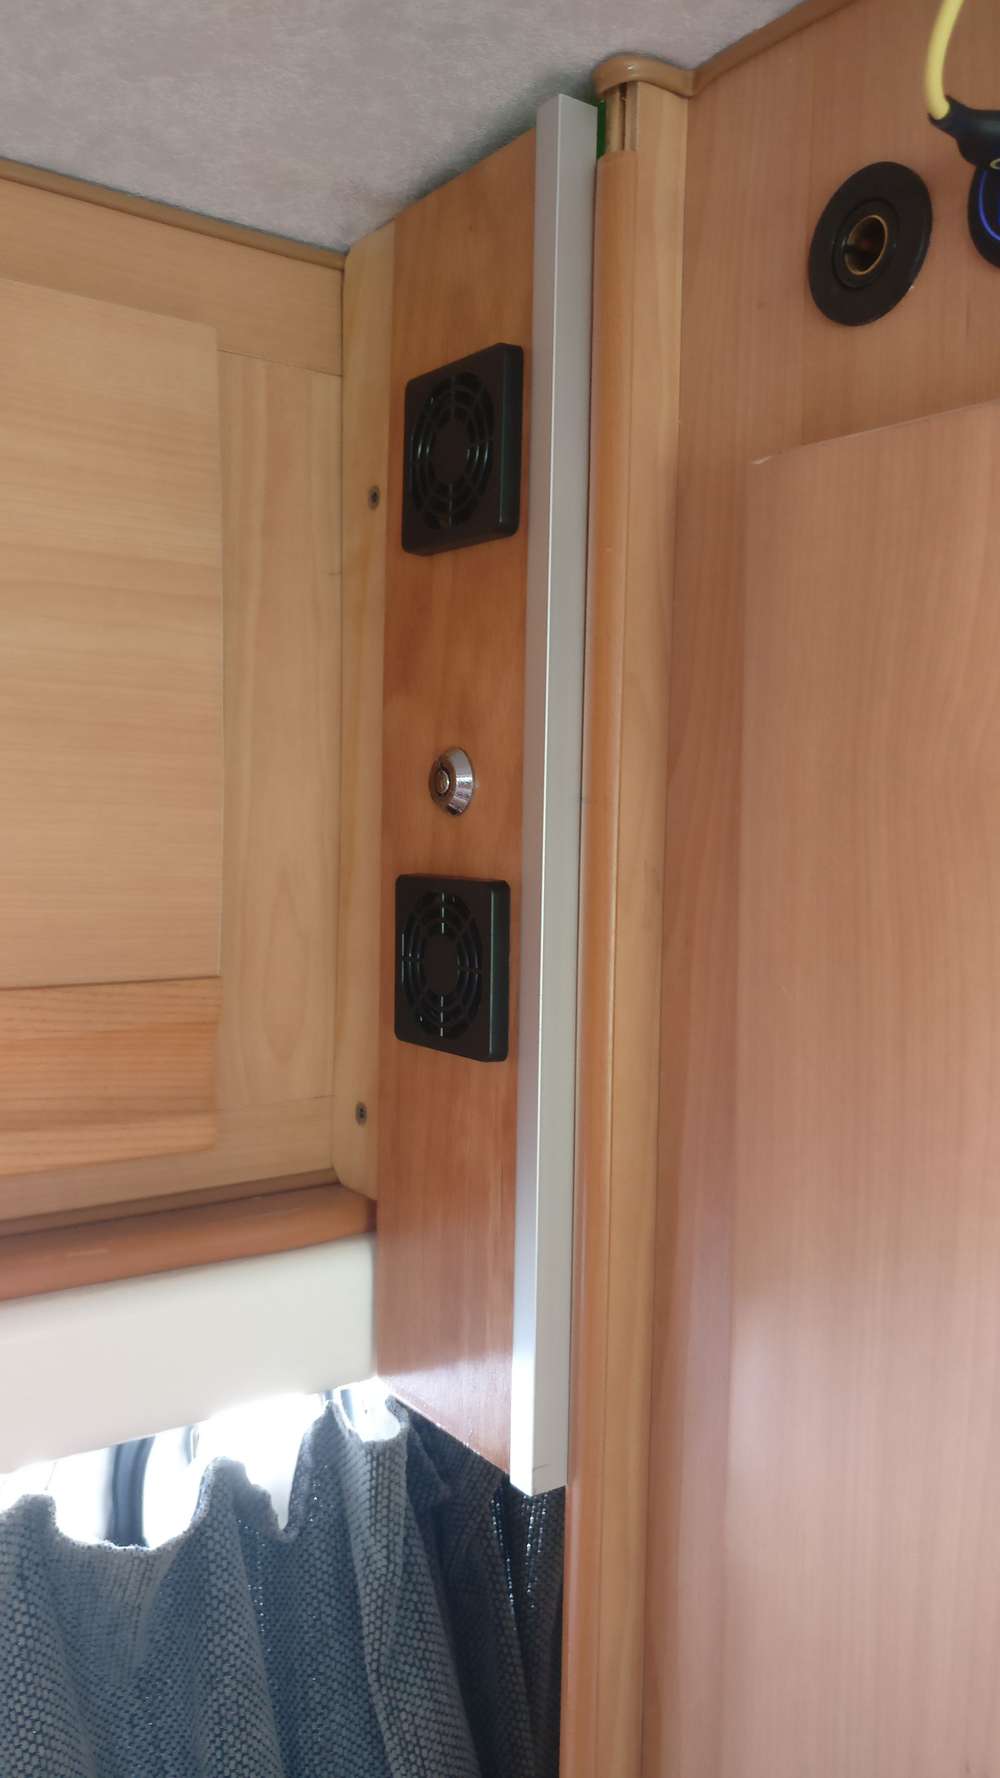
A collection of the sensors and actuators I buit for my camper in the past year
the power supply system under the dinette seat
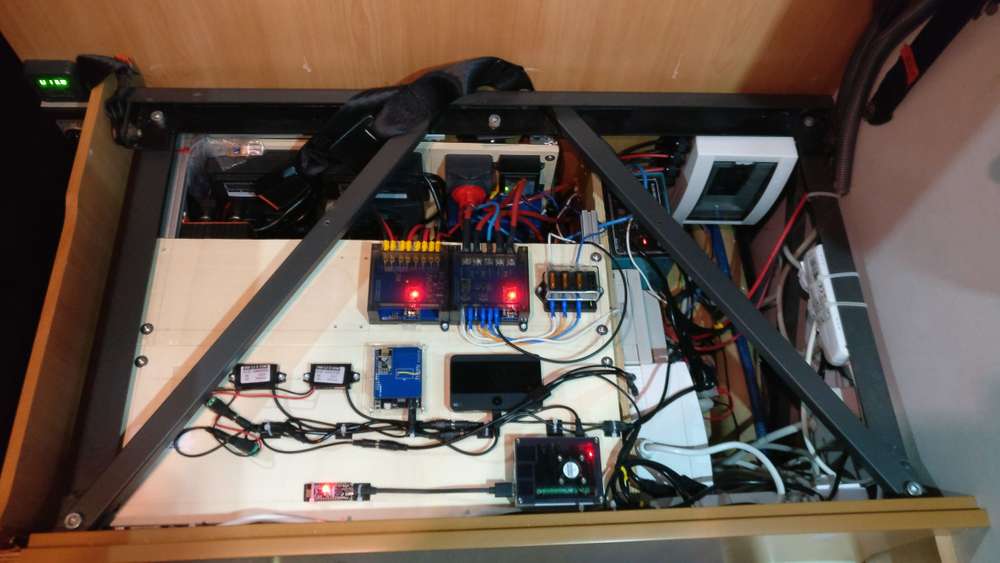
the battery management system (purchased) data are read via wifi by an ESP32, which reports the info to the GW via nRF24L01+.a closed look at 2 sensors.
the one on the left reads voltage and current from the solar PV panel and to the battery management system
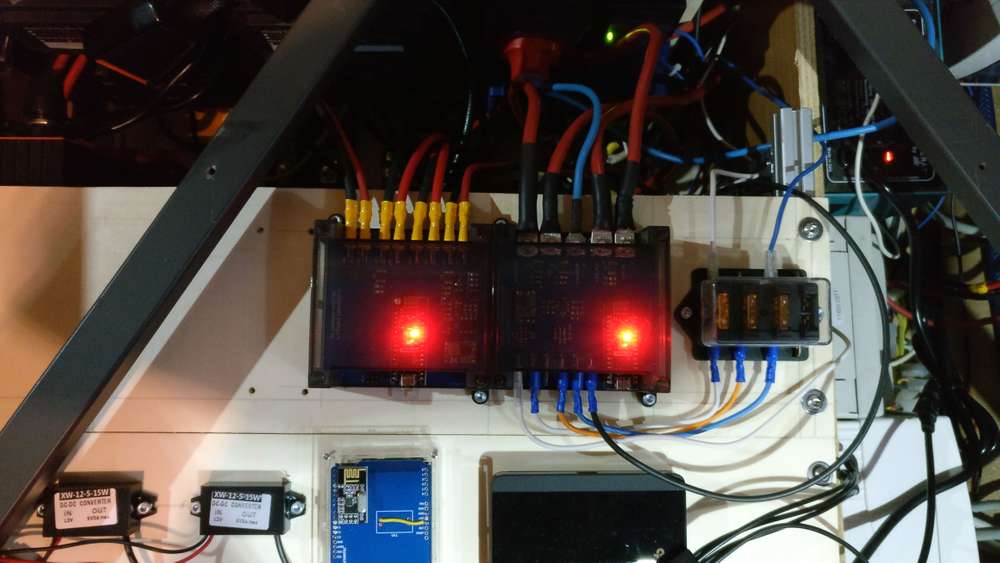
the one on the right reads voltage and current from/to the start and service batteriers
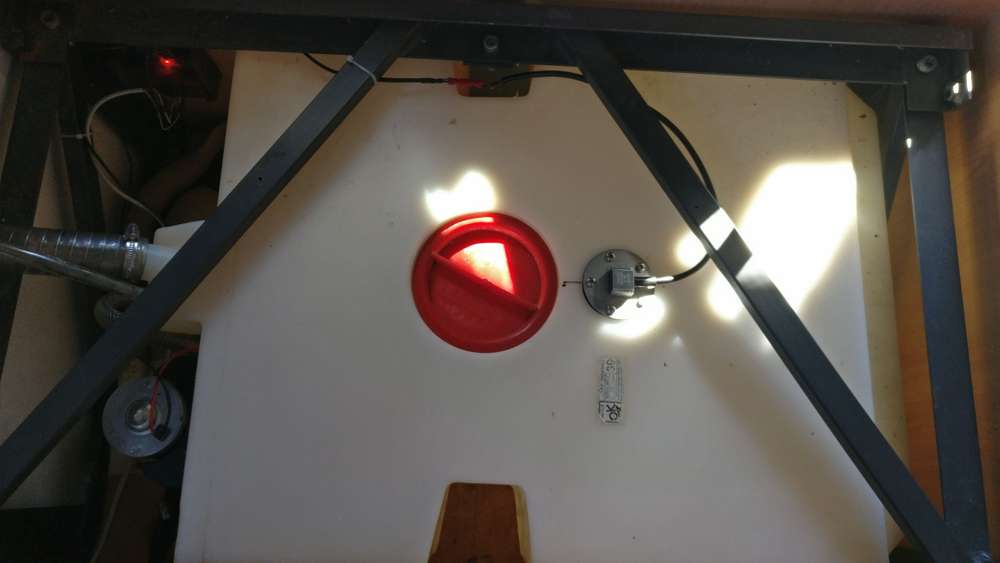
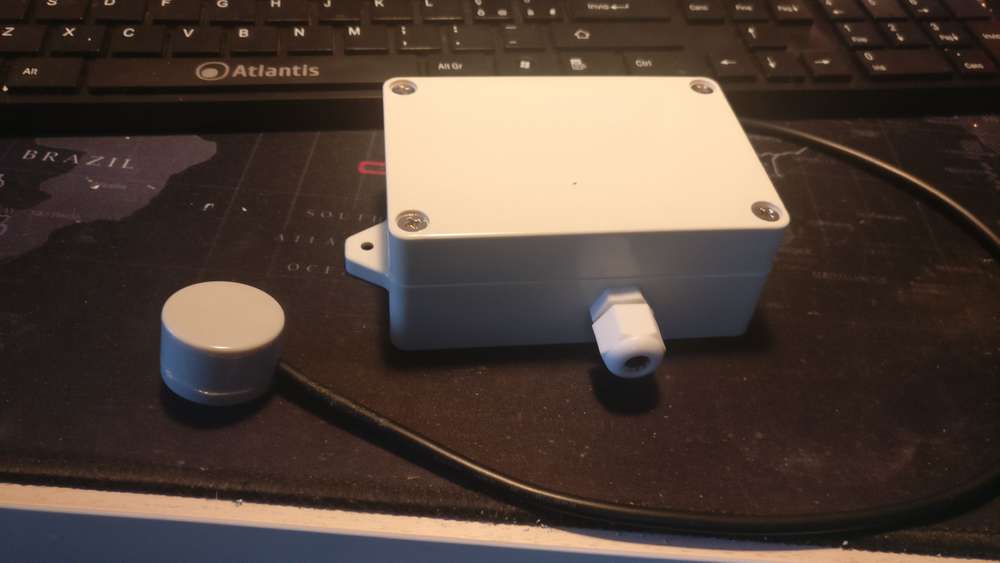
both sensors report instant power and energy.Fresh water sensor reads the water level, flow and temperature.
has 4 optcoupled outputs to send the information to the 4 LEDs of the original control panel of the camper
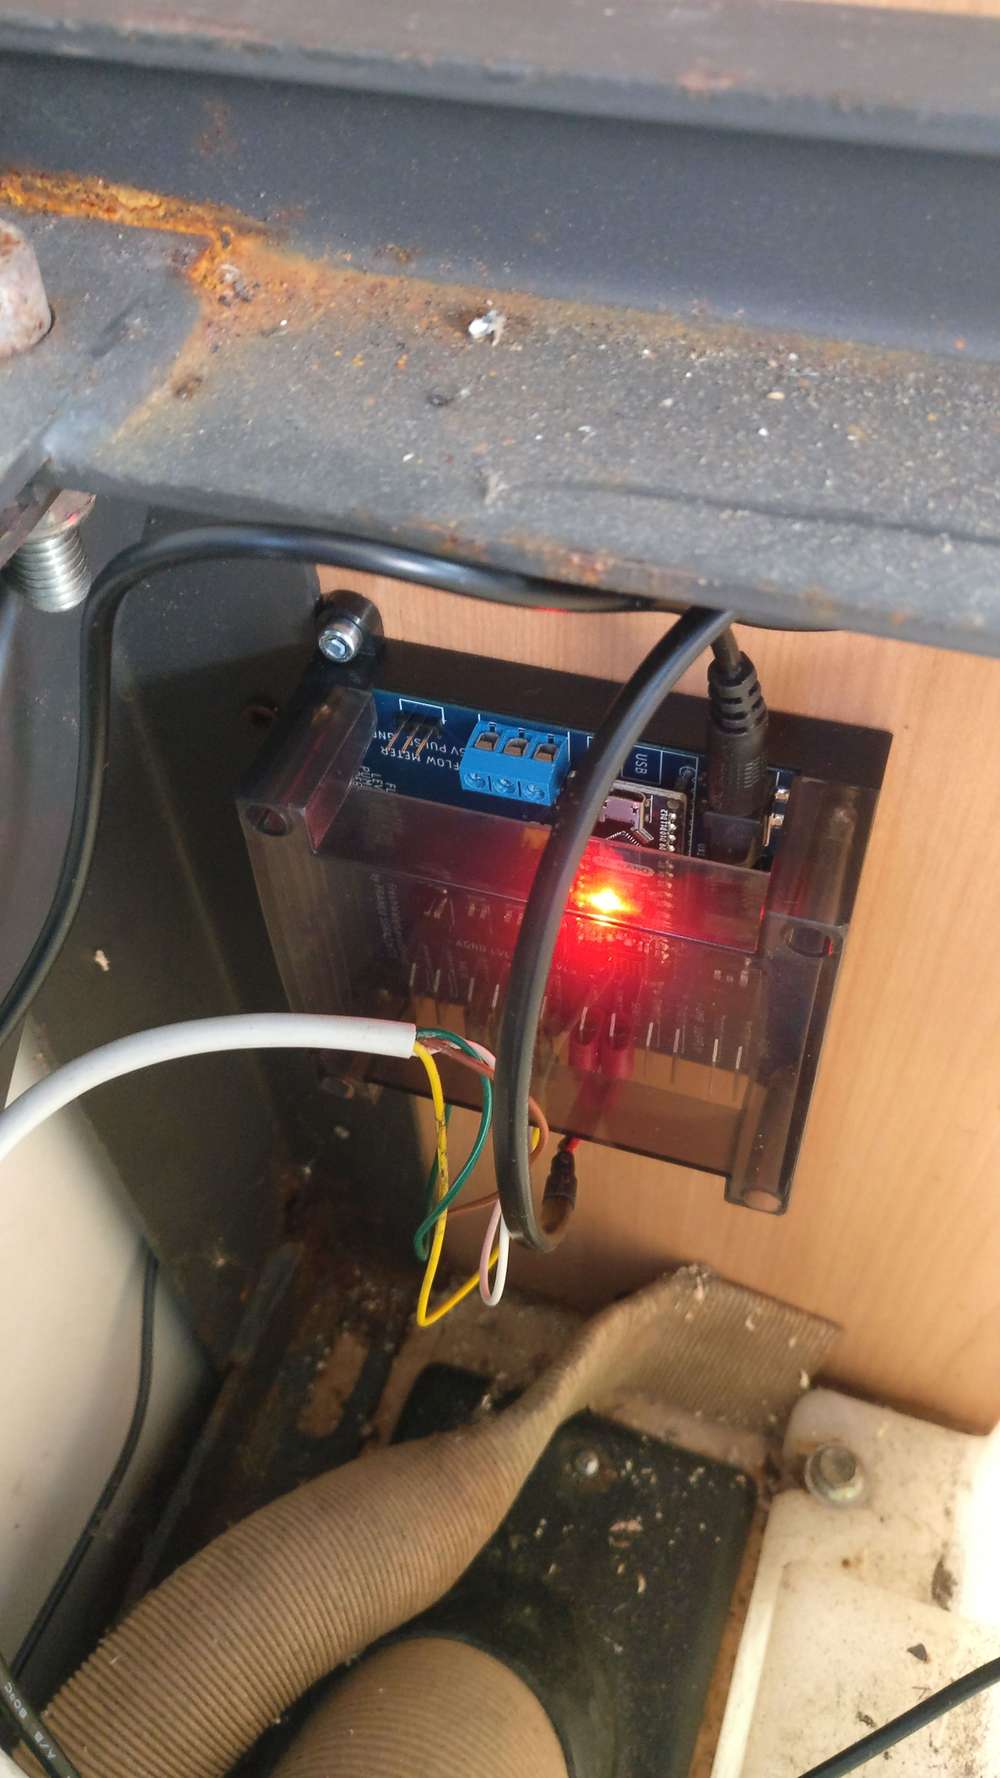
gray water tank sensor reports water level with an ultrasound sensor. has an optocoupled output to the "full" LED of the original control panel
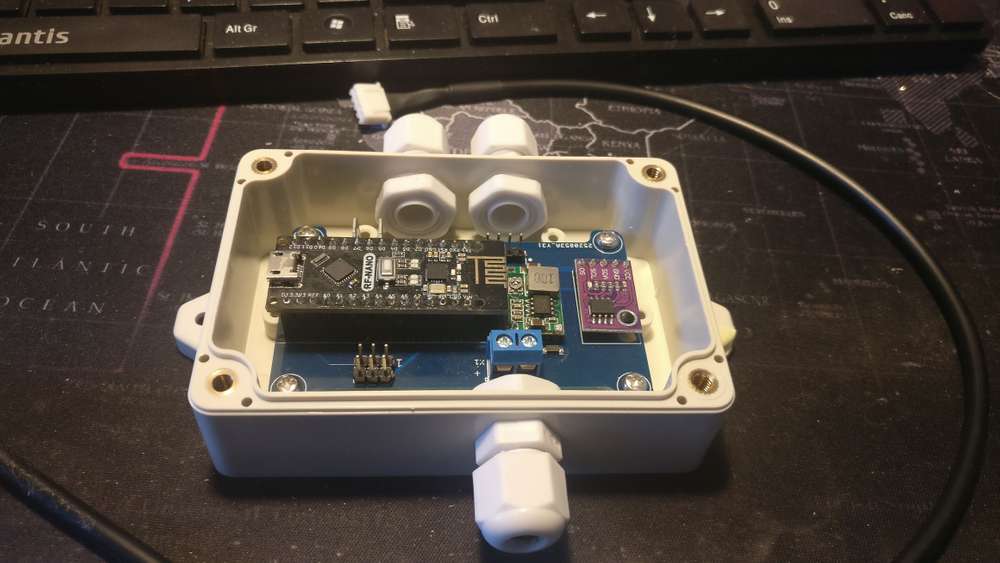
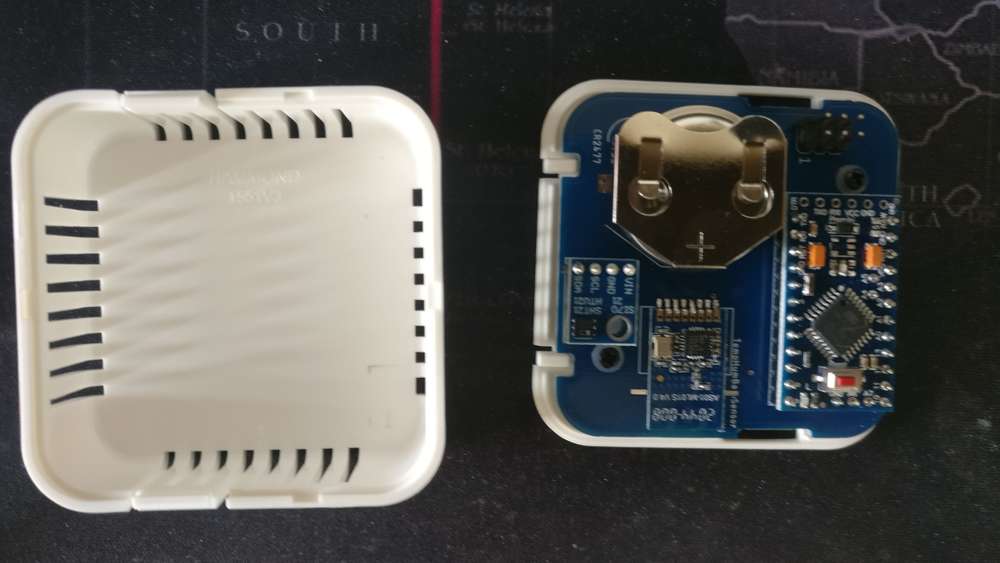
bettry supplied temperature and humidity sensor.
I use it in the fridge but also at home, where I have also one with BME280.
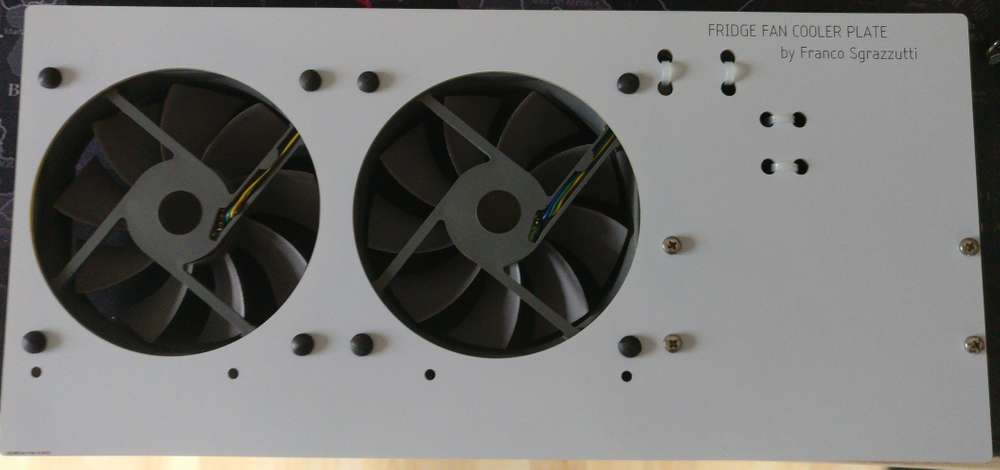
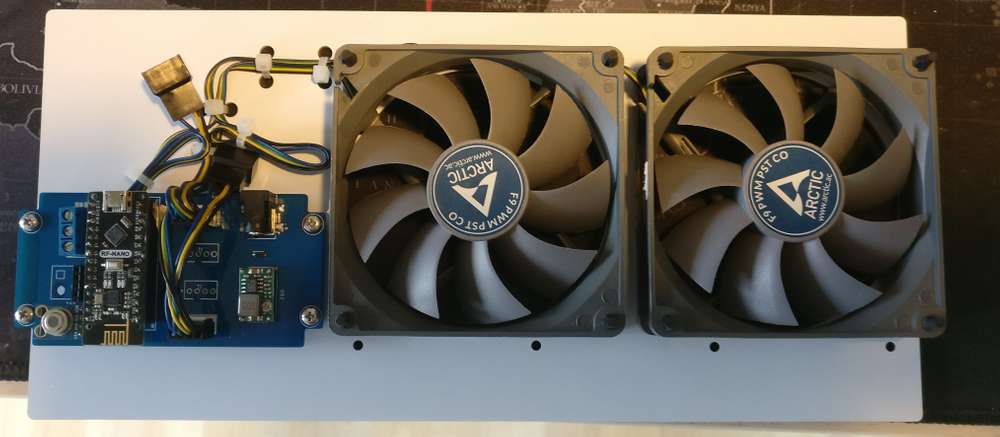
A fan controller to help the fridge to work better, controlling the condenser temperature using an optical thermometer sensor.
I have 3 other units, one in the power supply system, one in the closet and one on the roof.
They are all with a PID controller.
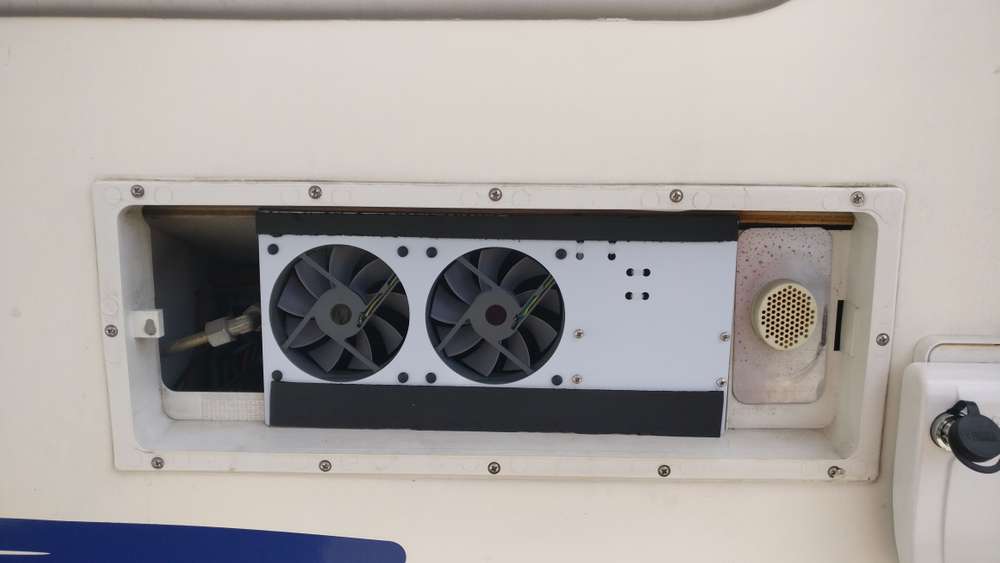
-
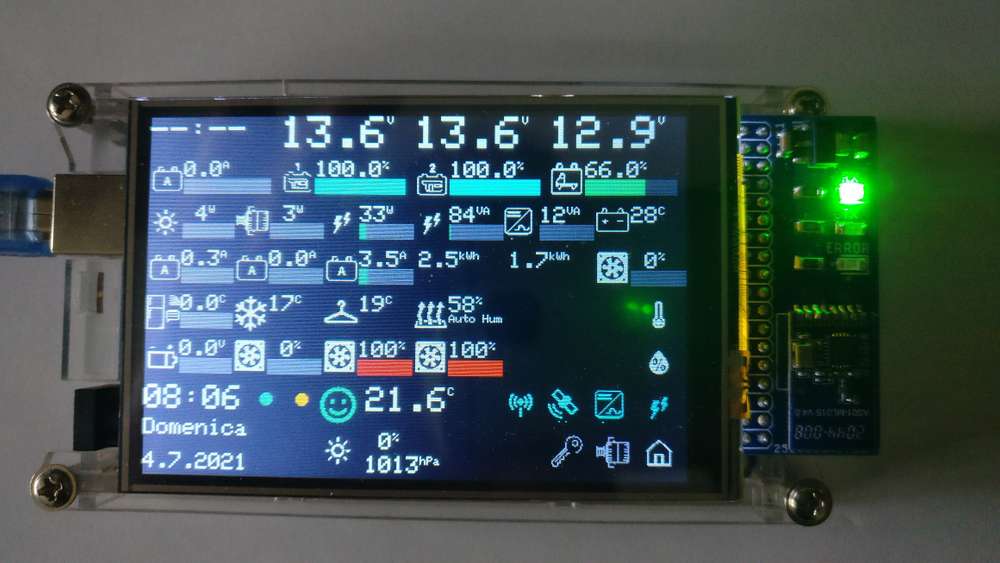
the display node for my camper, based on a Arduino Mega clone
-
This thread is really good, kind of addicting to scroll all time.
Only problem though is the way it is structured. Its really hard to find the same post twice.Maybe the admins should consider having a separate section for this !!>?
-
@ncollins said in What did you build today (Pictures) ?:
Ebyte NRF52805 module
Hi, I see you integrated the E104-BT5005A BLE chip in this project.
Iβm trying to use it in a simple robot project and having difficulties to make the RX/TX connection with βRF Connectβ IOS app.
I already wired the chip to the Seeeduino board and I can find and connect the bluetooth on the RF scan list. But I just donβt know the Arduino code to make it send and receive simple massages on the Arduino serial monitor.Your help is very much appreciated.
Amit
-
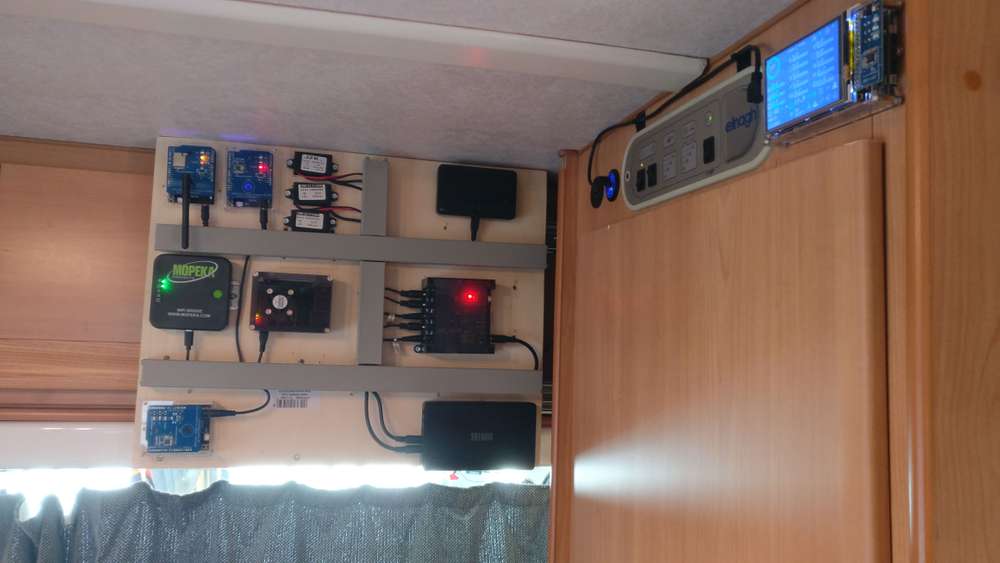
Some updates in almost one year.
I moved all the gateways and controller part in a most suitable location
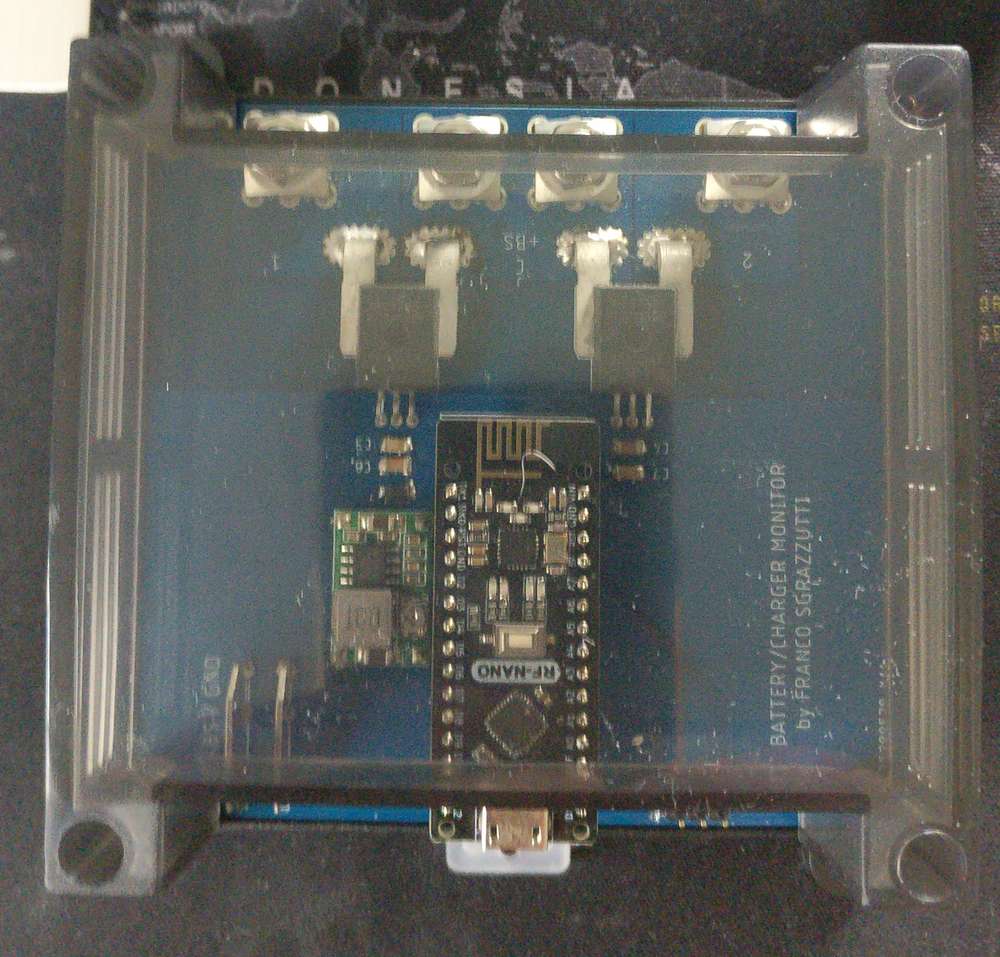
I've created a dual current sensor for the fuse box and the inverter. Each Current sensors can withstand 90A max, so I used both channels in parallel. The sensors are defined for both Channel 1, 2 and Sum(Ch1+Ch2) to handle this case easily
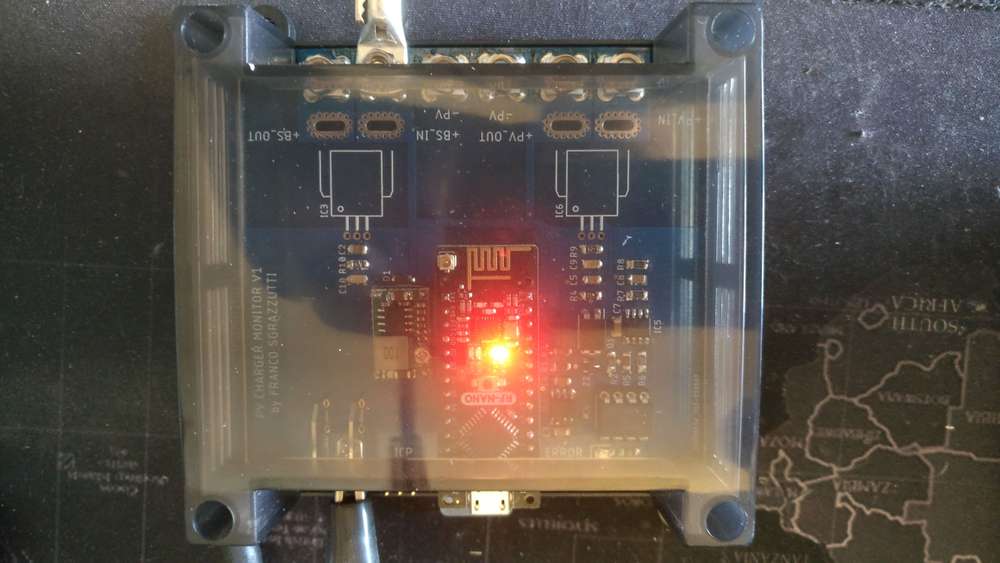
Recently I made an updated version of my Photovoltaic monitor since the 20A that the old one could withstand are not enough now, so the new version is capable of 50A max. Still waiting the Hall sensors though...
Finally, I cleaned up a bit the deployment under the bench
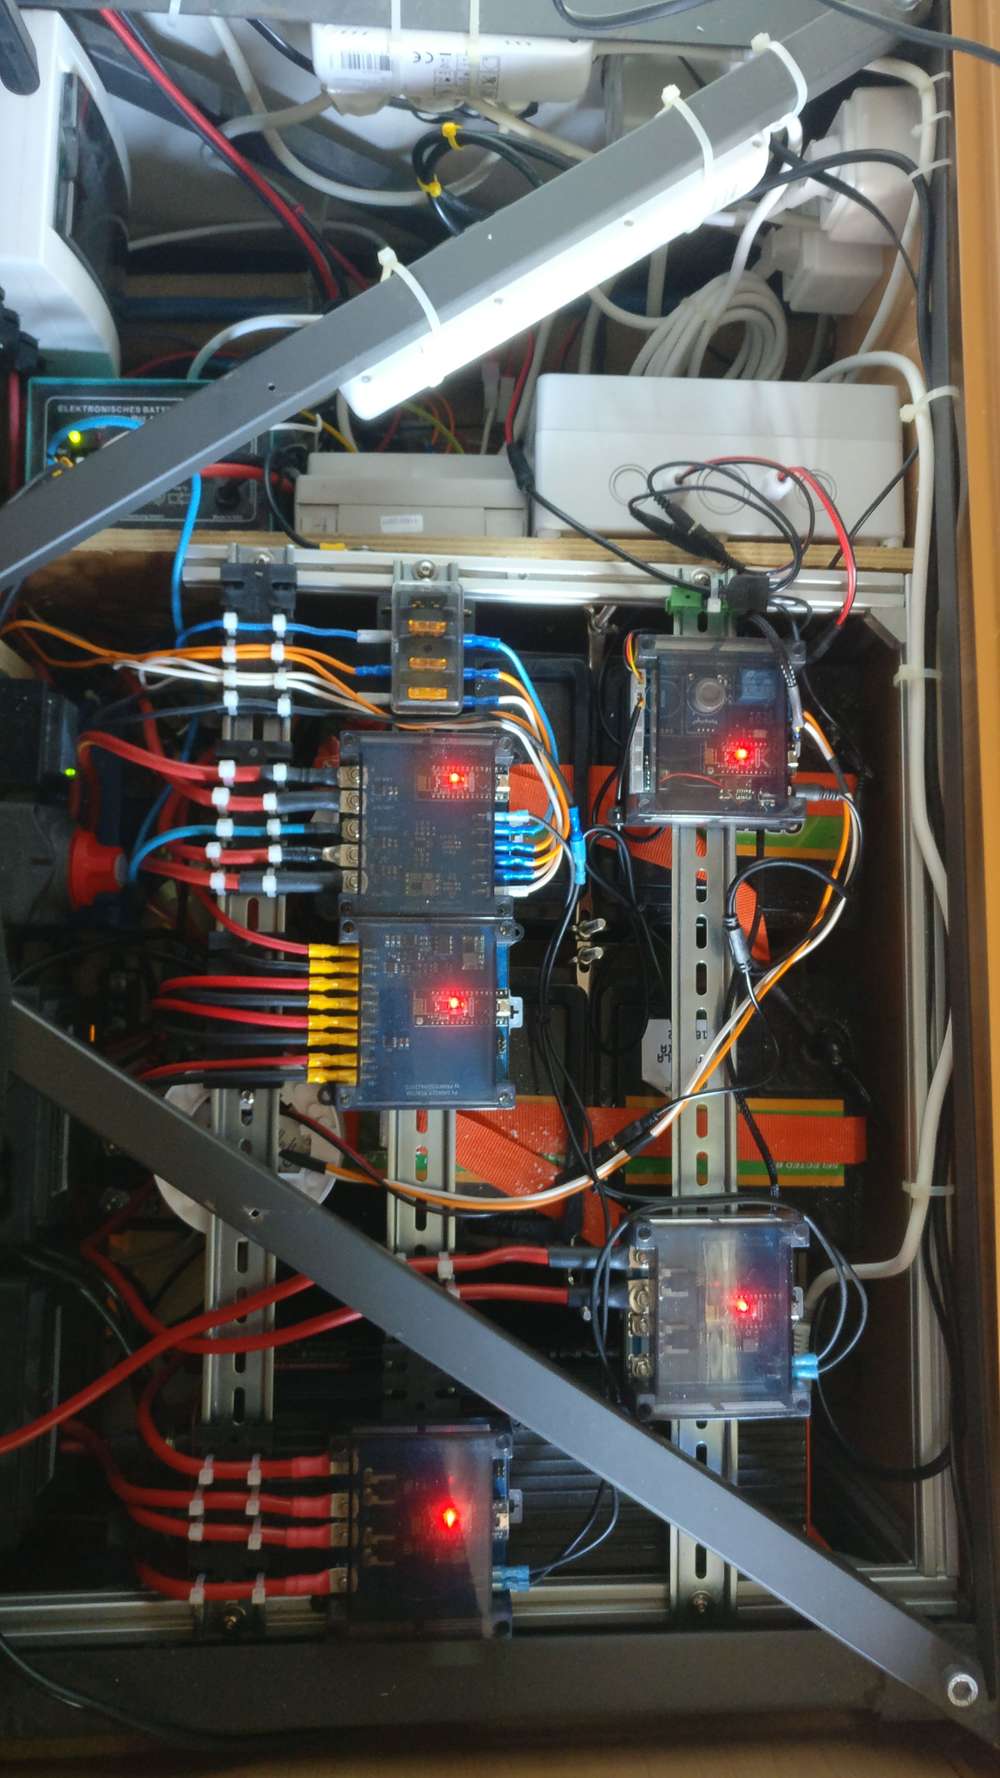
but I am not done yet
-
I made this CR2032 coincell powered locator beacon using an nRF52805:
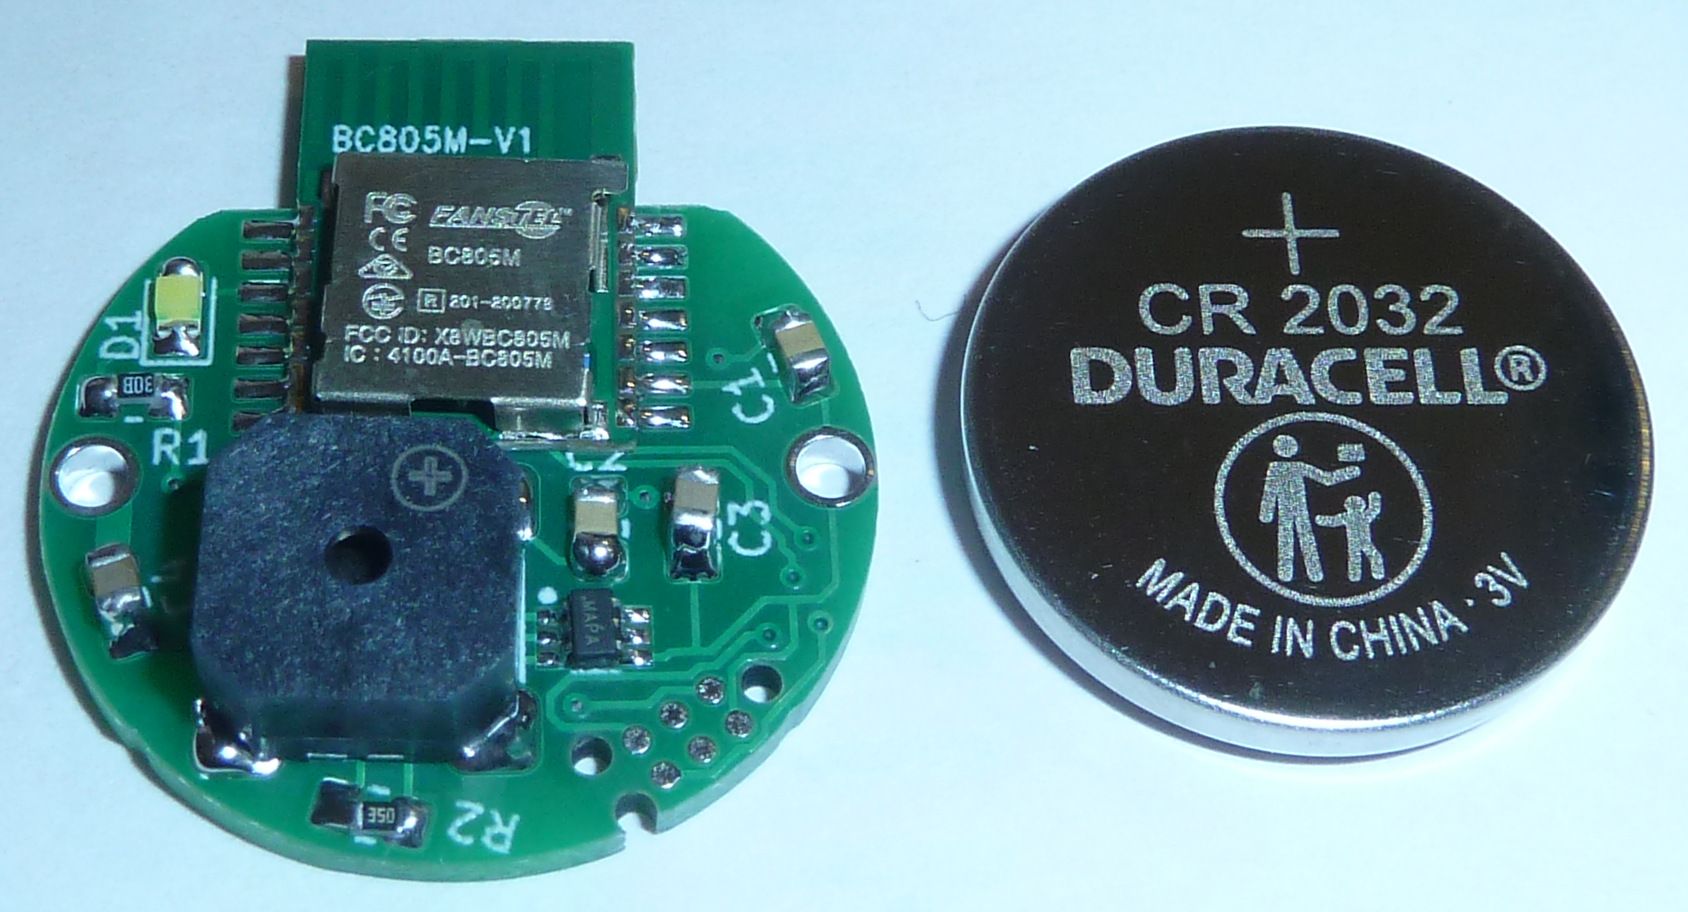
It was my first experience using a TAG-CONNECT to make the programming connections. It's for that reason that I haven't yet attached the battery holder. The TAG-CONNEC provides power during programming (and debugging as well if so desired).I have the antenna hanging out over the edge, as per Nordic Semiconductor recommendations, so that it doesn't hover over the ground plane. However, that makes the overall footprint a bit larger, somewhat defeating the point of powering it with a CR2032. I may try making a smaller version where the antenna doesn't overhang just to see how much difference it does or doesn't make. For a device like this, I mostly care about reception rather than transmitting, so maybe for receiving such a change won't make much of a difference.
Who makes the world's smallest nRF5x module?
-
Finally I had the time to refine it:
-
@NeverDie It is my understanding, though I can't wrap my head around it, that it is the length of the conductor that makes the antenna tuned to a certain frequency. If this is the case, you could run your antenna around the edge of your circular pcb which would make the effective radius only slightly bigger.
-
@OldSurferDude said in What did you build today (Pictures) ?:
@NeverDie It is my understanding, though I can't wrap my head around it, that it is the length of the conductor that makes the antenna tuned to a certain frequency. If this is the case, you could run your antenna around the edge of your circular pcb which would make the effective radius only slightly bigger.
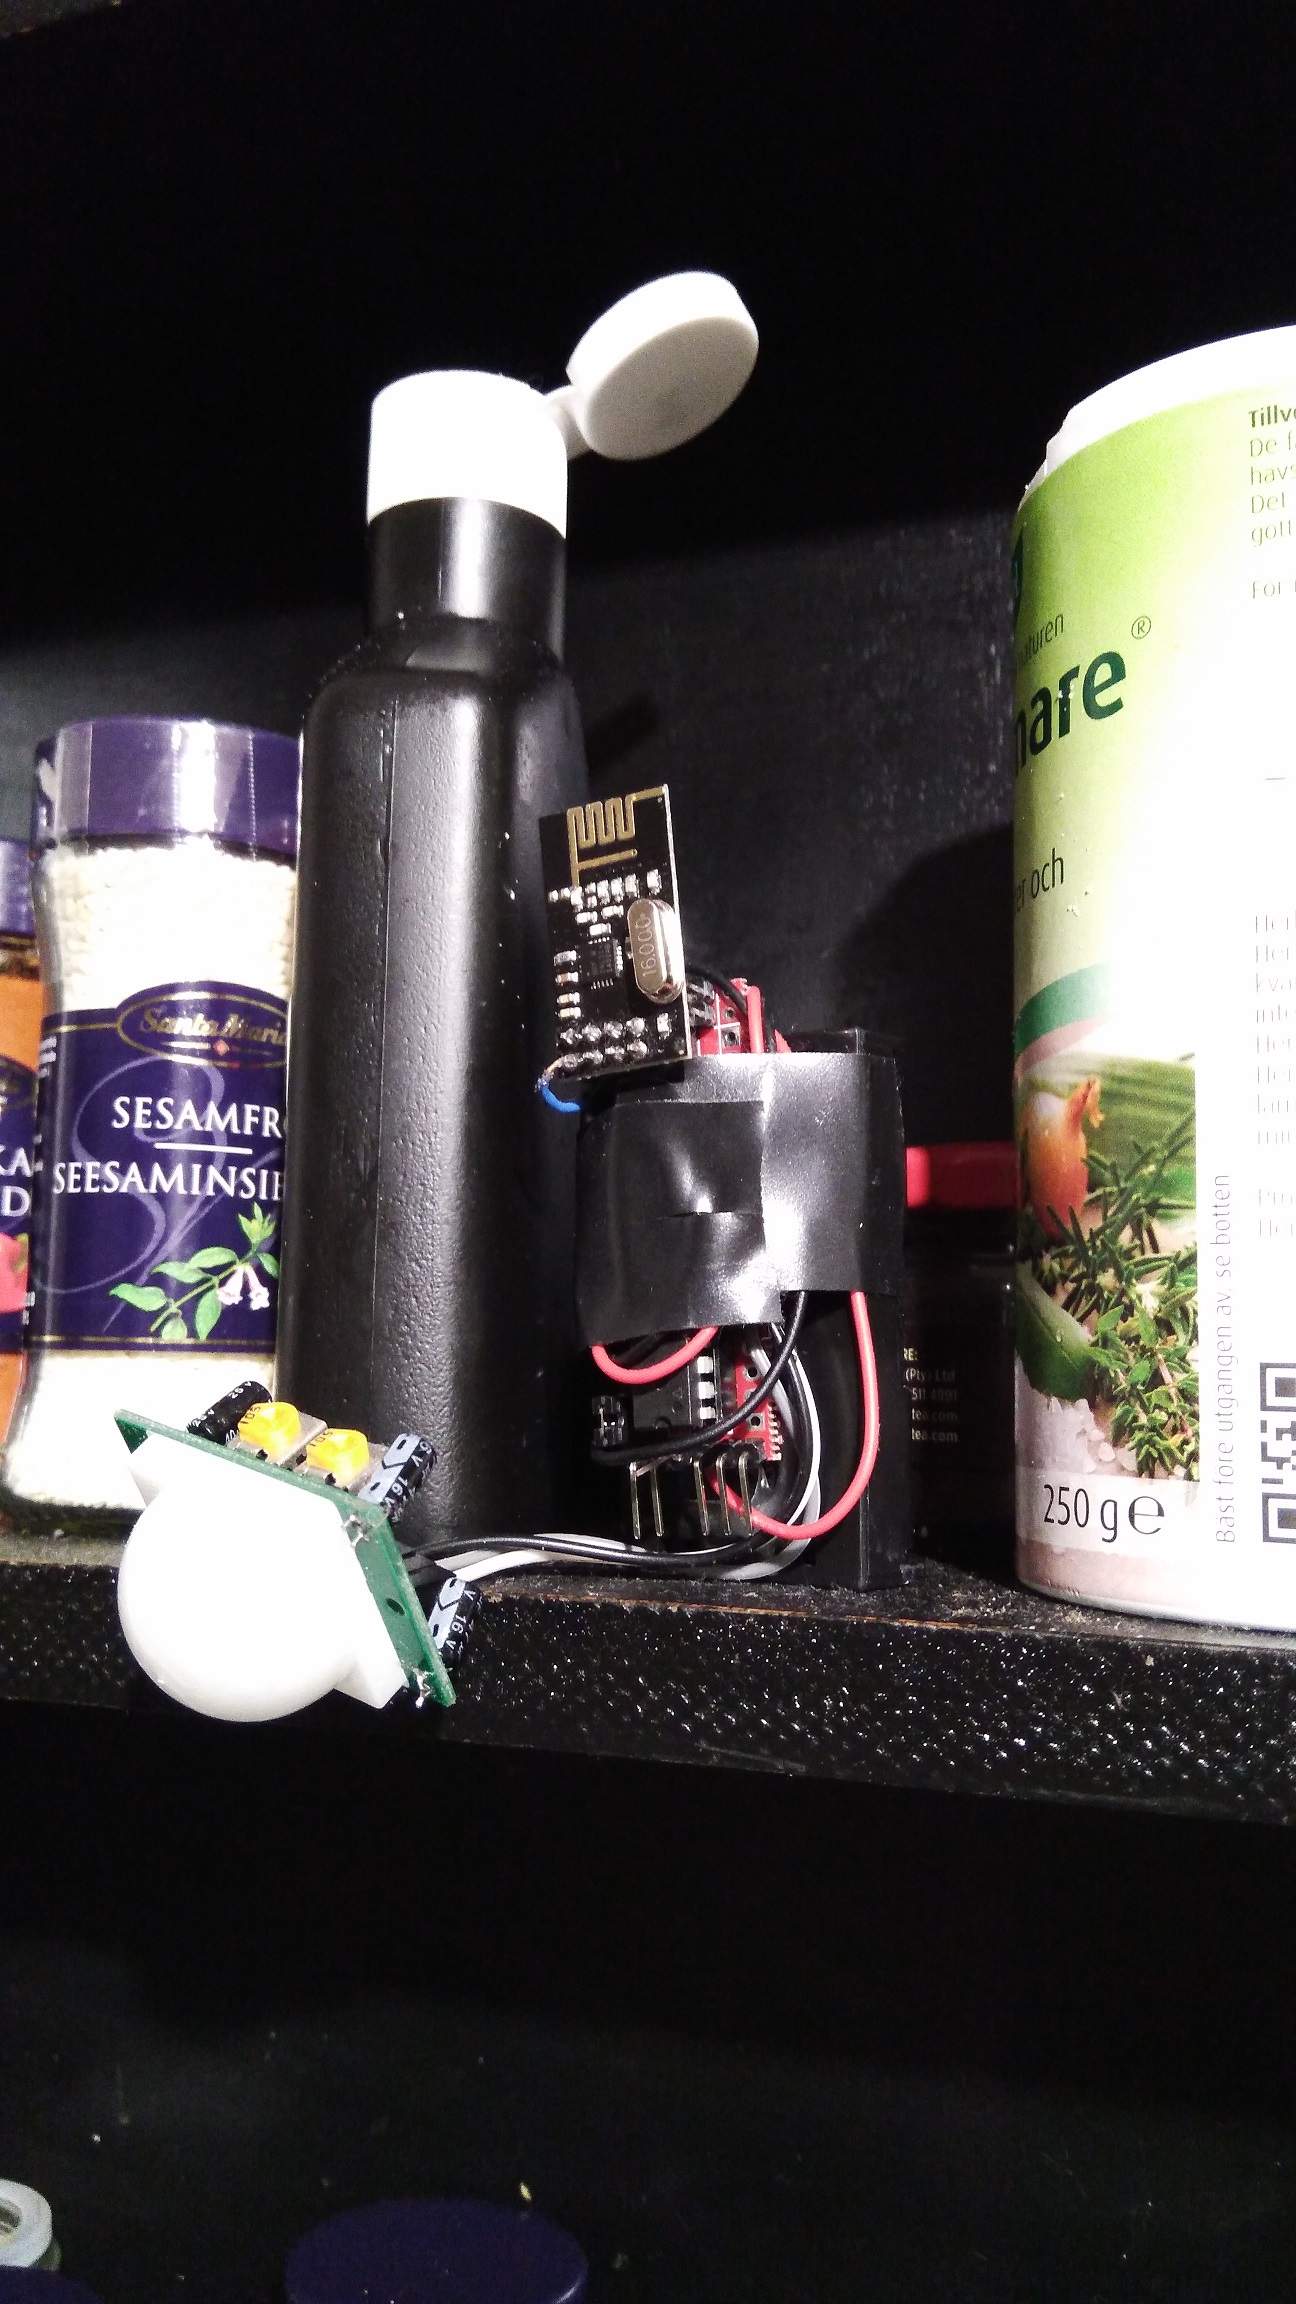
You mean like this?
I get the impression that somehow the antenna positioning relative to the ground plane might figure into it as well:
Perhaps that stands in the way of wrapping the antenna completely around the circumference? I can't claim to have any deep understanding of how antennas are supposed to be designed. In the past I noticed that TI sold a sample set of canonical antenna designs, so then you could try them all out and see what suits you: https://www.ti.com/lit/an/swra161b/swra161b.pdf?ts=1661617962454&ref_url=https%3A%2F%2Fwww.google.com%2F
-
@NeverDie That isn't what I was thinking but after a bit of research, that's better than what I was thinking.
PCB antennae work better at > 868MHz(pg 7). A 2.4GHz signal should have an antenna length of 3.1cm The nRFl01 spec shows a PCB with an antenna that is about that length but I measure the board I have and the antenna is about 4.6cm(?) Here(pg 10) you'll find a design, though I'm not sure for what frequency as the length adds up to 4.03cm. As you can see, you must not have the ground plane near the antenna.
Here, RonM9 modifies an nRF24l01 making the antenna a dipole. I tried this and did show some improvement, but not the success he had. His wires were ~5.0cm, but bends them in the opposite directions at the edge of the pcb. Does that make the antenna length about 4cm?
The antenna for a longer wave length (lower frequency) will be proportionally longer.
I'd like to do the same testing as RonM9, but I've got some other pressing projects.
I hope this helps your research.
OSD
-
Now this project looks like this:
https://www.instagram.com/p/CkikRzAtECe/?utm_source=ig_web_button_share_sheet
-
From left to right:- Home Assistant server with built-in NRF24 radio and OLED display based on Orange Pi Zero
- MQTT Mysensors gateway with ESP8285
- 4 channel triac dimmer with oled display and UI for operating in standalone mode.
-
@monte do you have a schematis for that dimmer? If so I'm interested in it
-
@TheoL there is nothing special in it In fact it's an old design that was waiting for the code to be written for a long time. And there are some issues with it. It seems that external interrupts for zero-crossing make NRF24 ACK fail most of the time. And if I were to make another one of this, I would add some low cost mcu to do the dimming part alone. I have dimmers with EPS8266 that uses Attiny13A for triac control, but I wouldn't try to make it control 4 channels.
Also the time of Atmega328 has passed, I guess. They are marked "Not recommended for new designs" by the manufacturer and I have struggled to fit everything I wanted (UI mostly) in it's memory. I ended up disabling serial output in mysensors and everywhere else, decreasing message buffer size and scraping bytes everywhere else I could to make it work stable without crashing.
I'm not sure if I will continue to make new designs for mysensors, but I think I will use NRF51822, as they are so cheap now at aliexpress, and you can add PA LNA to help with signal strength (theoretically, I haven't tried it). Another way is to use NRF52840 for all new designs, even they are 4-5 times more expensive than 51822 but later you can write a firmware for it to use Zigbee of Thread/Matter and use the same design with new functionality.
-
As much as I love the 328 I think I should make the change to a different board for me they fit my needs as I try to keep the logic in my nodes as small as possible. I have one rule though: Manual first, for actuators my nodes need to support manual control.
Thanx for the schematics, I'll have a look at. Can you control led light bulbs with this schematics?
-
@TheoL this is a basic triac control scheme, so it is leading edge type dimmer. I have led bulbs, that work with it, but they are clearly marked as dimmable. The downside of these bulbs is that they are very sensible to the slightest voltage fluctuations. I have not the most stable voltage on one of my phases, so it is very visible, unlike with the incandescent bulbs, that are connected to the same power source.
-
@monte I had a gut feeling about it, since dimmable led bulbs like trailing edge. I'll keep looking for a good 220v led bulb dimmer schematic.
-
@TheoL that's not the dimmer's fault a far as I am concerned. It behaves the same way at full brightness. It's just a cheap chinese driver in it.