💬 MySensors Stable Node
-
Hi,
Very nice project. Do you have a plan to sell assembled piece of the boards?
Soldering such small SMD is out of my skills -
@Koresh I'm looking forward. What do you think, what will be the price of a assembled piece?
-
@fisher The production of the first small batch is underway (manual mounting). So I wil have 20 boards for test next week. I will provide price estimate in a week.
@Koresh post pictures please :-)
-
Hi @Koresh,
Sorry if this is a dumb question but I'm new to this. What's the minimum voltage to power this board? Is it the 1.9V from the NRF?
I'm thinking of building a node with this using a LiPo battery with a protected TP4056 charging module.
If me idea isn't impossible I'd be highly interested to buy some assembled units of this PCB. :)
Thanks! -
Hi @Koresh,
Sorry if this is a dumb question but I'm new to this. What's the minimum voltage to power this board? Is it the 1.9V from the NRF?
I'm thinking of building a node with this using a LiPo battery with a protected TP4056 charging module.
If me idea isn't impossible I'd be highly interested to buy some assembled units of this PCB. :)
Thanks!@flozsc
Hi. Minimum operating voltage depends on clock frequency. Boards contain standard 16MHz crystal oscillator to full pro mini compatibility. If you use default bootloader and 16Mhz clock frequency, the board will work with a voltage above 2.7v (on the verge of stability). But you can use internal oscillator (custom arduino boards settings, for example 8MHz or 1MHz for lowerst operating voltage) with some limitations (like slower serial). In this case operating voltage should be above 2--2.1v (do not forget a little dropout of LDO regulator). -
@Koresh Thanks for your quick reply.
Sleeping sometimes helps. ;-) After thinking over it again, I think I'll prepend a step-up converter to 5V behind the battery as most sensors at least require 3.3V or even 5V... :)
Looking forward to your update on the 20 test boards! -
Impressive !!
did you reflow the board, or did you REALLY manually solder the nrf24l chip with an iron ??? -
Impressive !!
did you reflow the board, or did you REALLY manually solder the nrf24l chip with an iron ???@fifipil909 Thanks.
I've soldered these boards using simple soldering iron and hot air fan (lukey 702). -
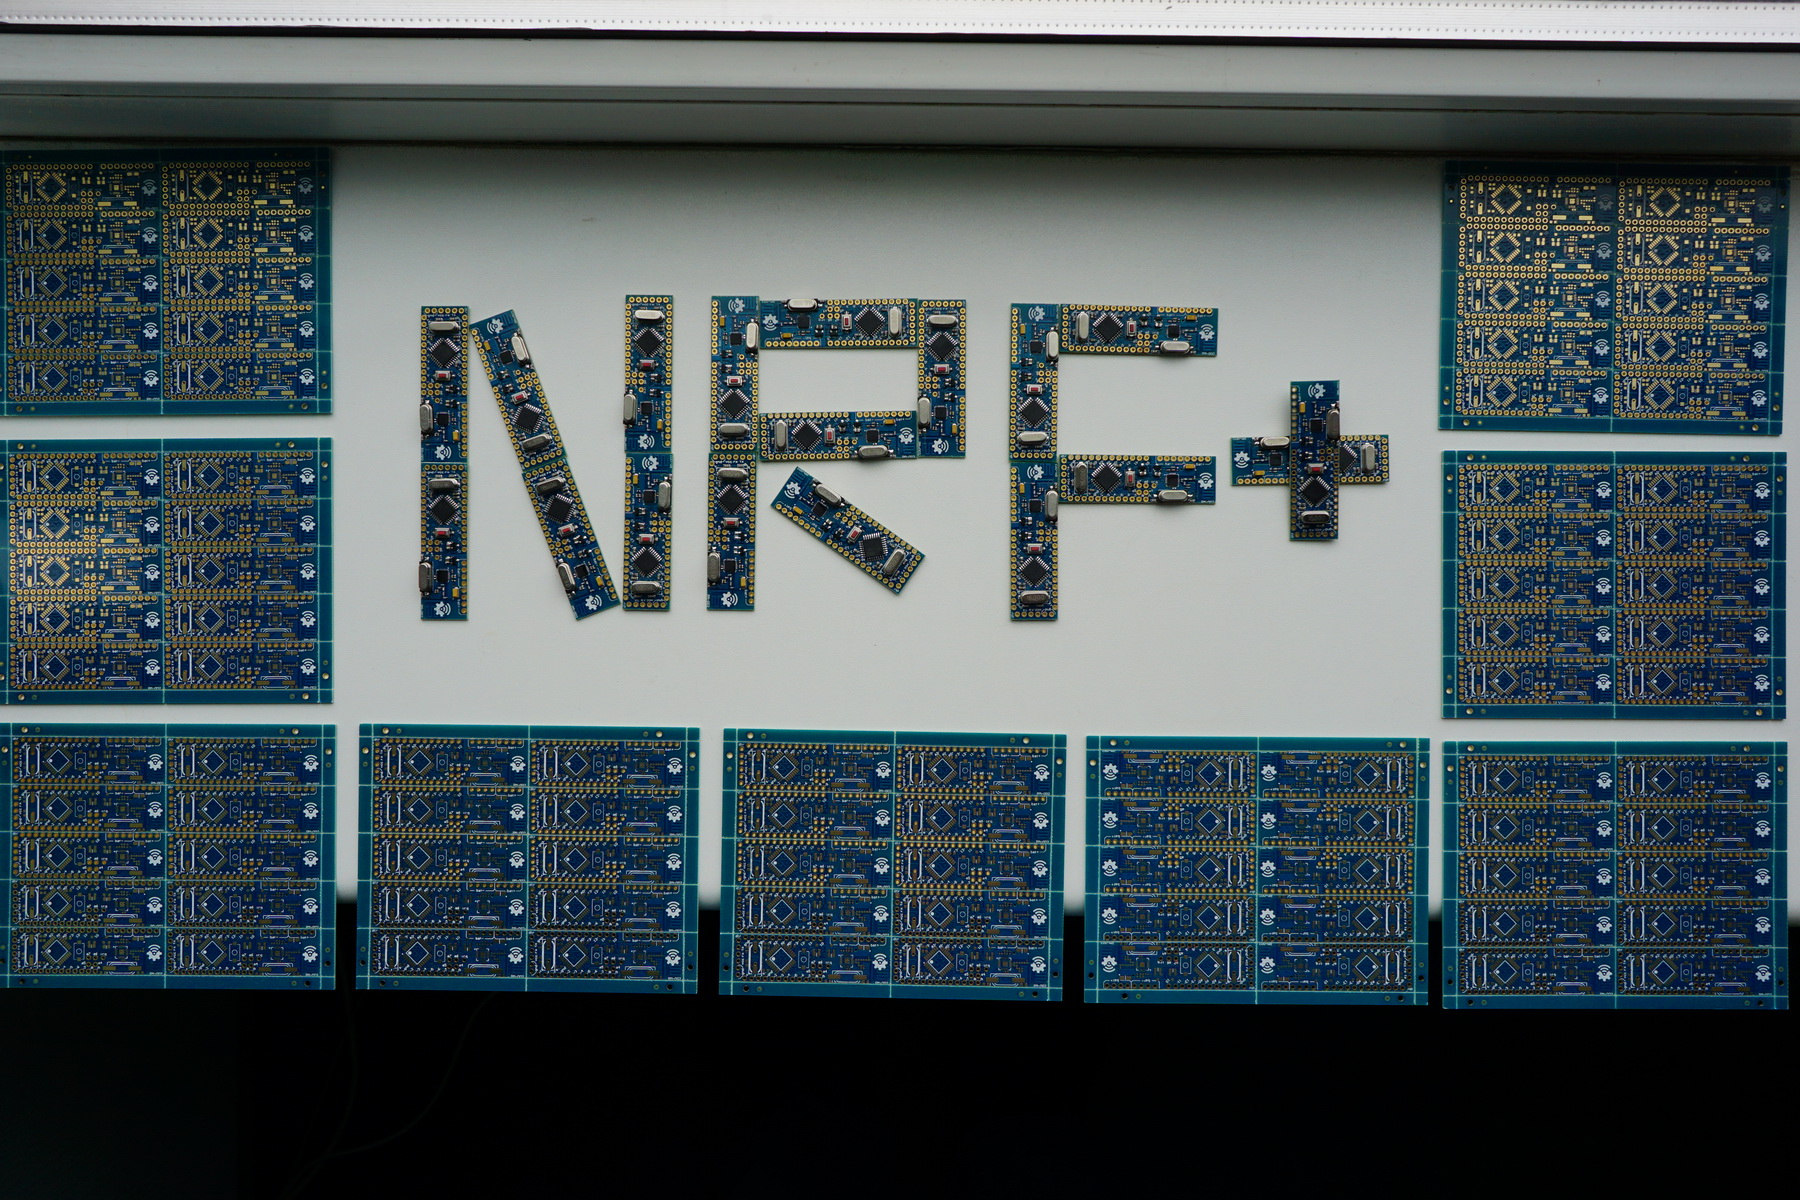
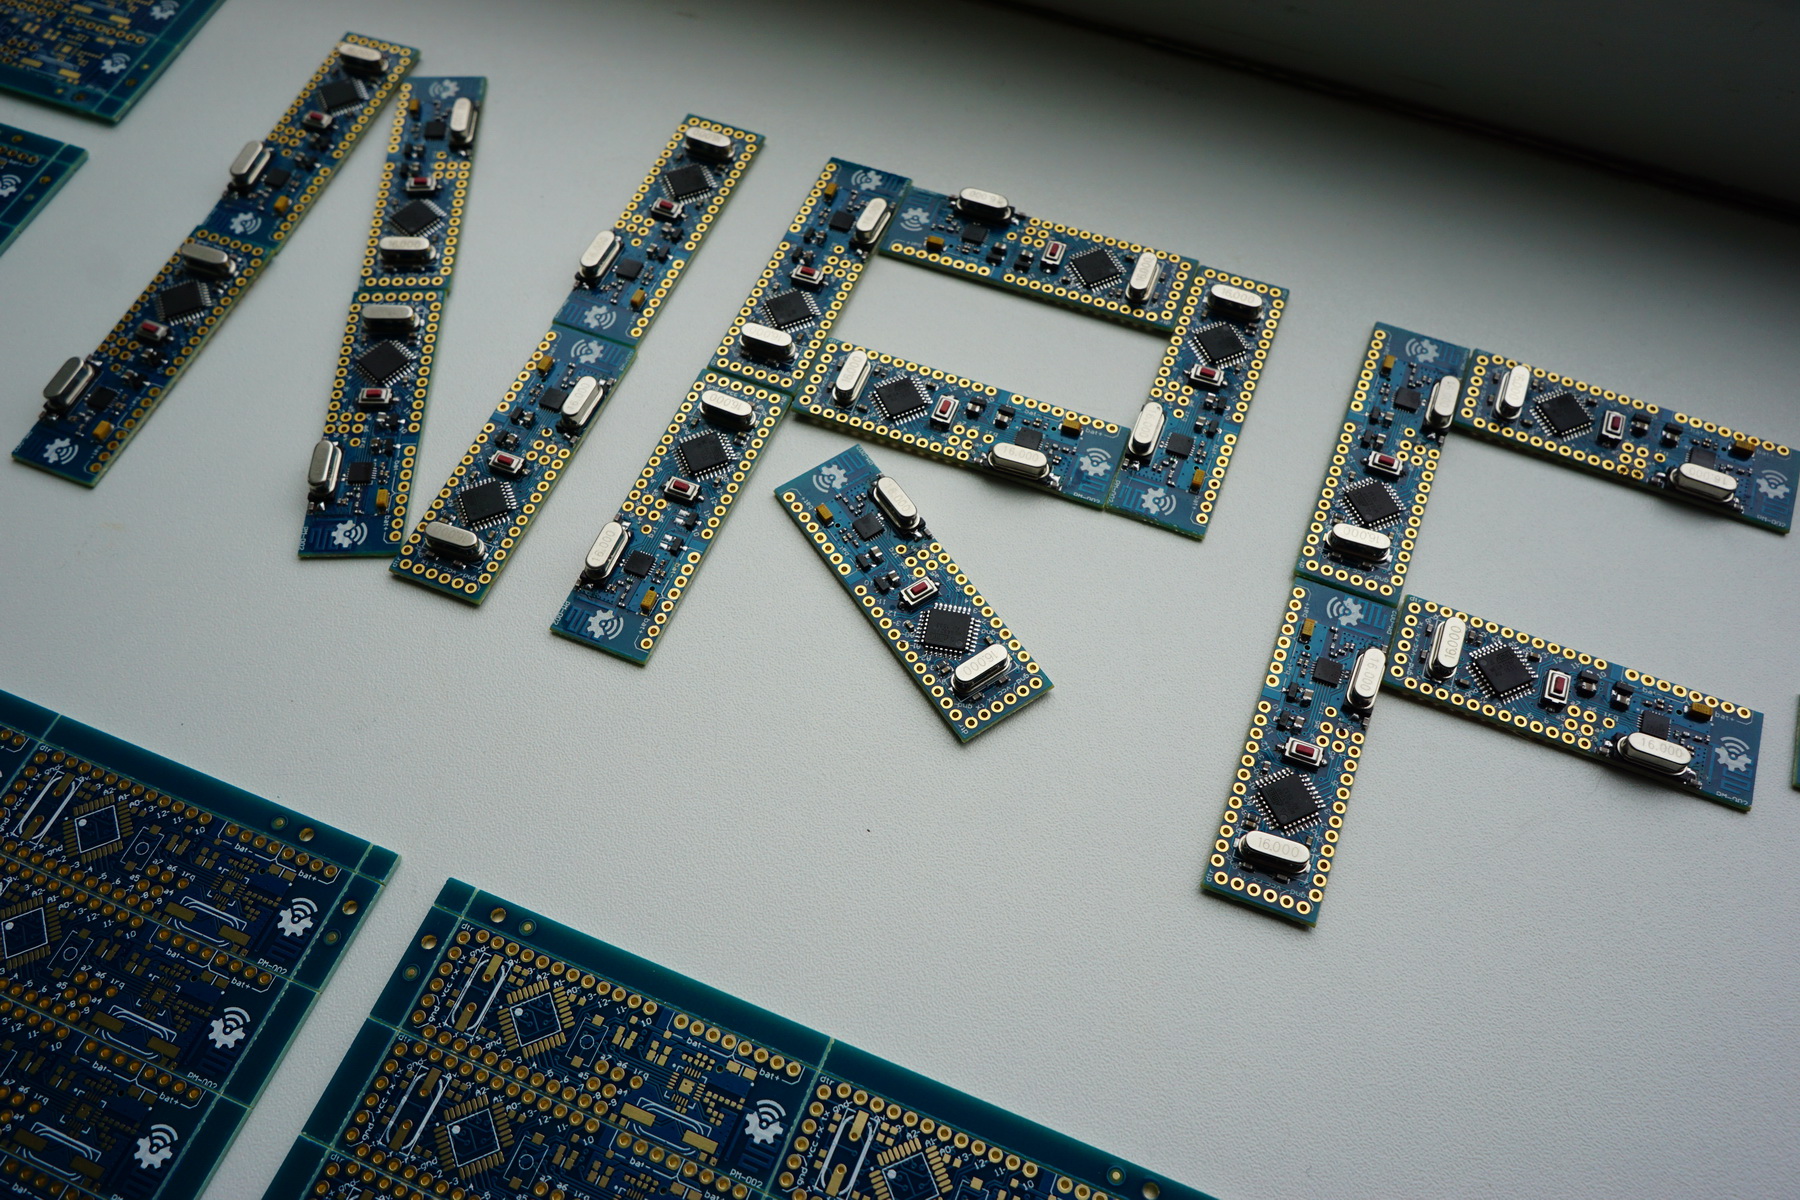
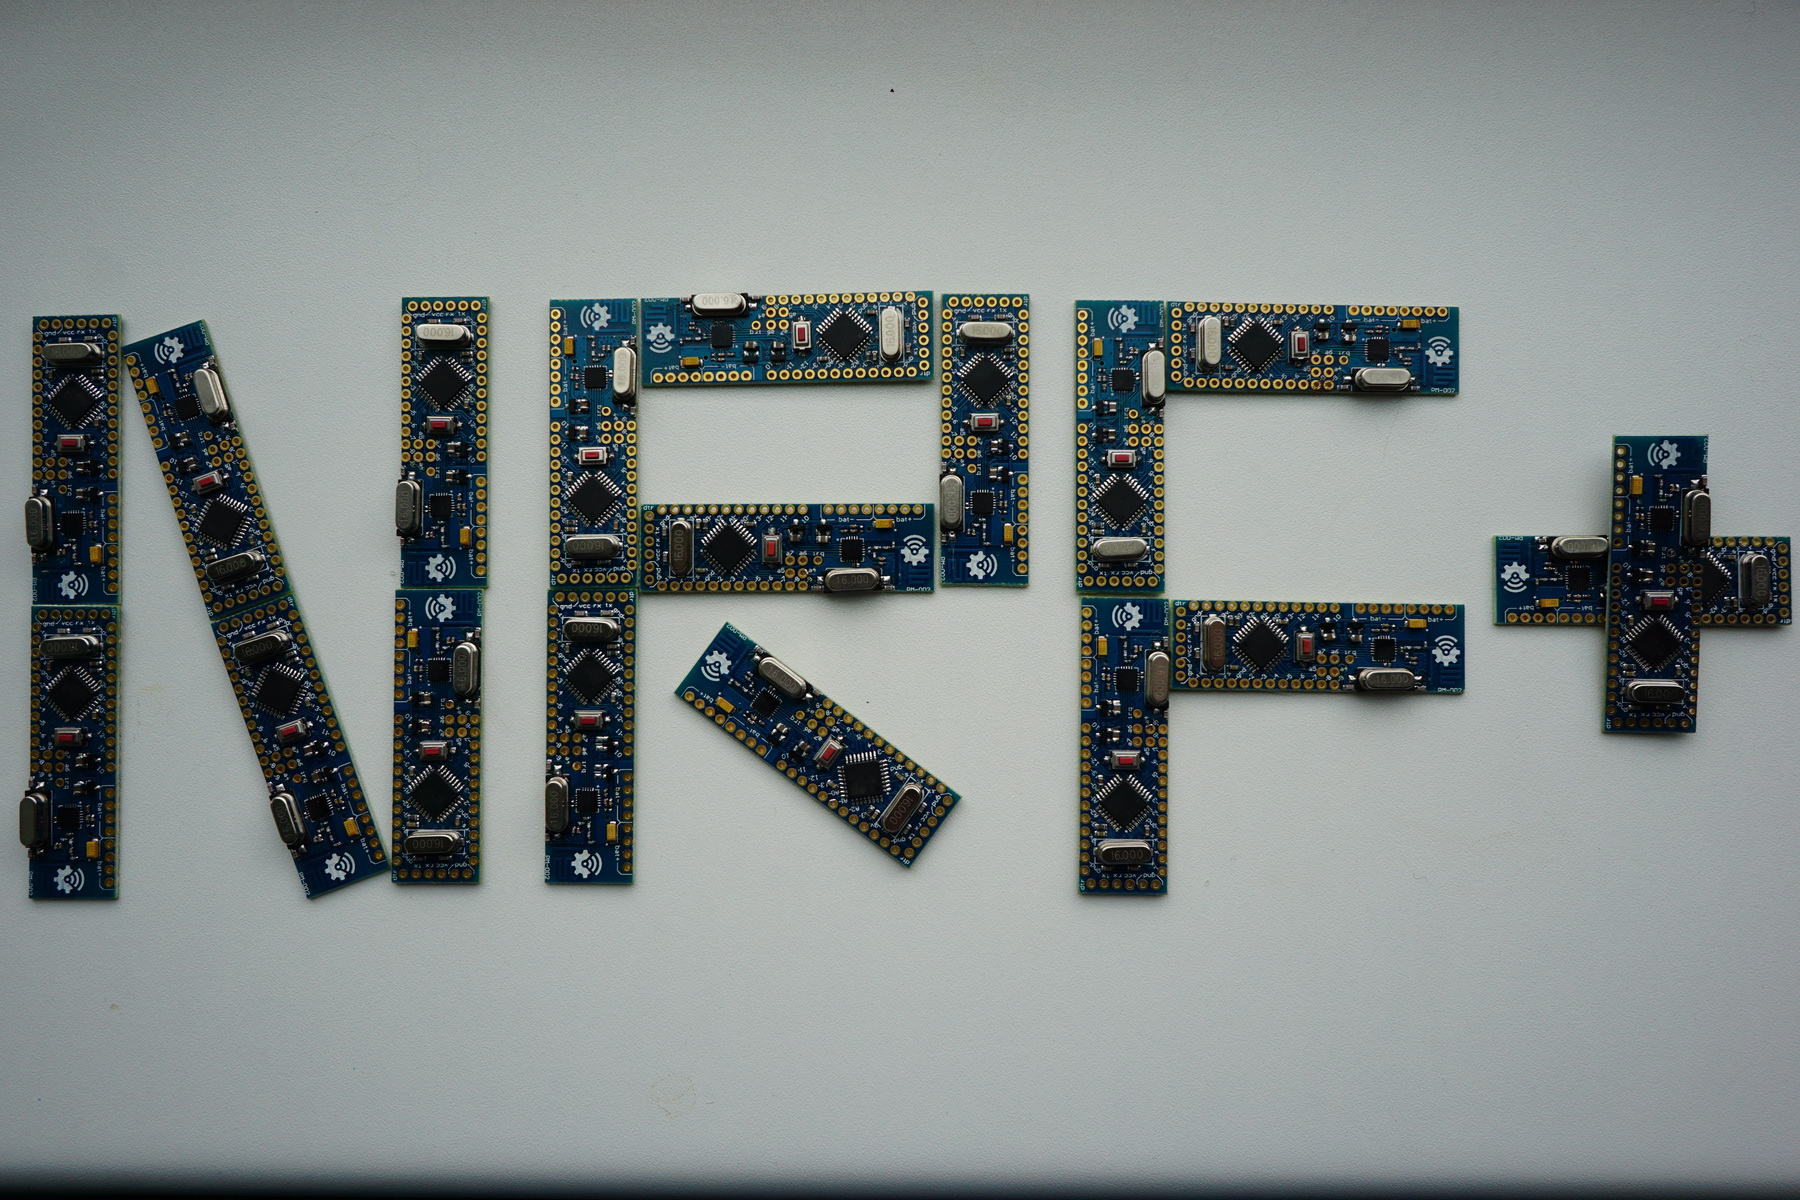
First small batch is completed :)
-
excellent :laughing:
-
Wow ! I really like the color and design.
Waiting for alpha testing of the nrf chip.
Is soldering it more difficult than soldering the atmega as they are not the same package type ? -
@Koresh what about price for assembled boards?
-
@Koresh what about price for assembled boards?
@robosensor So far 9-10$ for each board. Small batch and not mass production soldering... Negotiating smd services for PCBA. Hope to reduce costs by $2 final. Will see what happens.
-
Wow ! I really like the color and design.
Waiting for alpha testing of the nrf chip.
Is soldering it more difficult than soldering the atmega as they are not the same package type ?@ahmedadelhosni said:
Is soldering it more difficult than soldering the atmega as they are not the same package type ?
3 steps process:
- tin-plating the board contacts
- tin-plating the chip contacts
- apply flux-gel and place chip on the board and heat it with soldering Heat Blower - pre-heat-wait-heat-wait . Like standard soldering profile http://www.renesas.eu/products/lead/specific_info/rt/heatproof/index.jsp .
also need to have a good ayes ))) the flux-gel should be the one you do not have to remove after.
-
You make some... I'll buy some... great work!

Hello! It looks like you're interested in this conversation, but you don't have an account yet.
Getting fed up of having to scroll through the same posts each visit? When you register for an account, you'll always come back to exactly where you were before, and choose to be notified of new replies (either via email, or push notification). You'll also be able to save bookmarks and upvote posts to show your appreciation to other community members.
With your input, this post could be even better 💗
Register Login