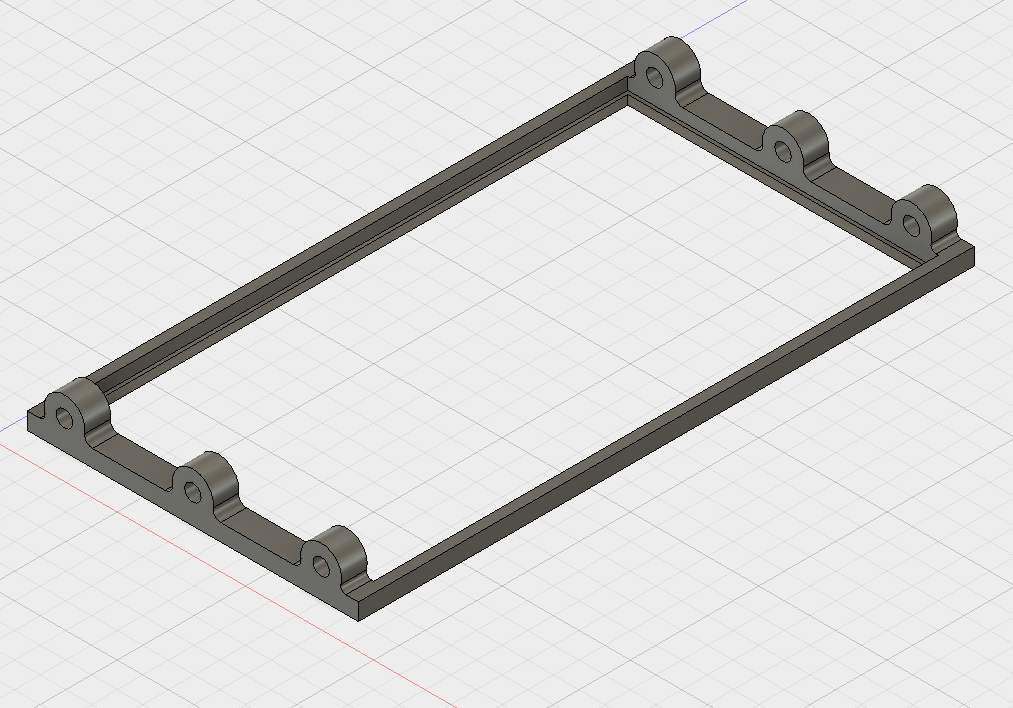
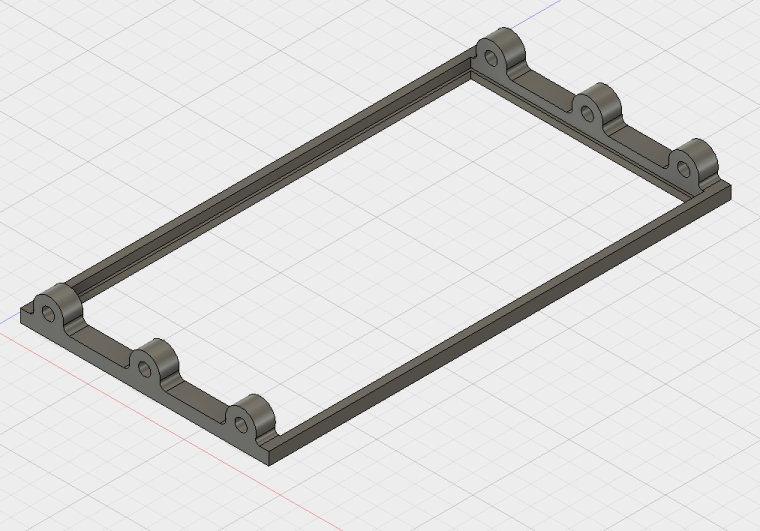
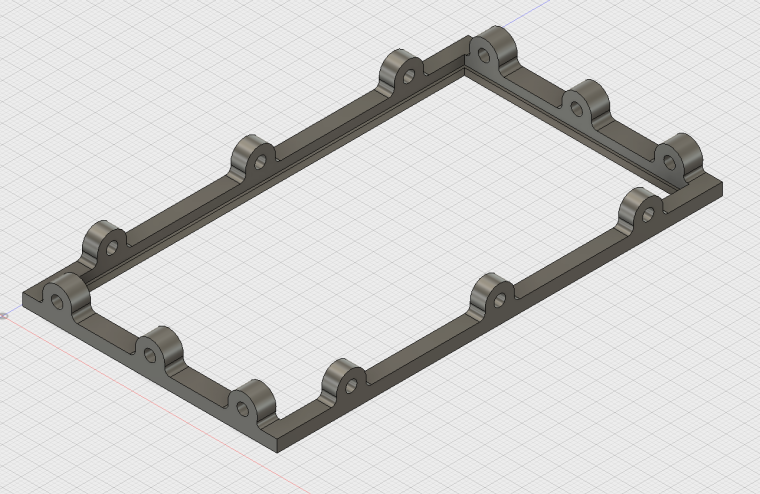
Simple and lightweight solar panel housing for 60x110 mm sized panels
-
I just published, maybe someone will be interested.
Simple and lightweight 3D-printed solar panel housing for 60x110 mm sized panels widely available on Chinese shops. Three holes on every side for fixing housing allow to fix it in any position/angle. The same holes used to fix solar panel itself in housing.
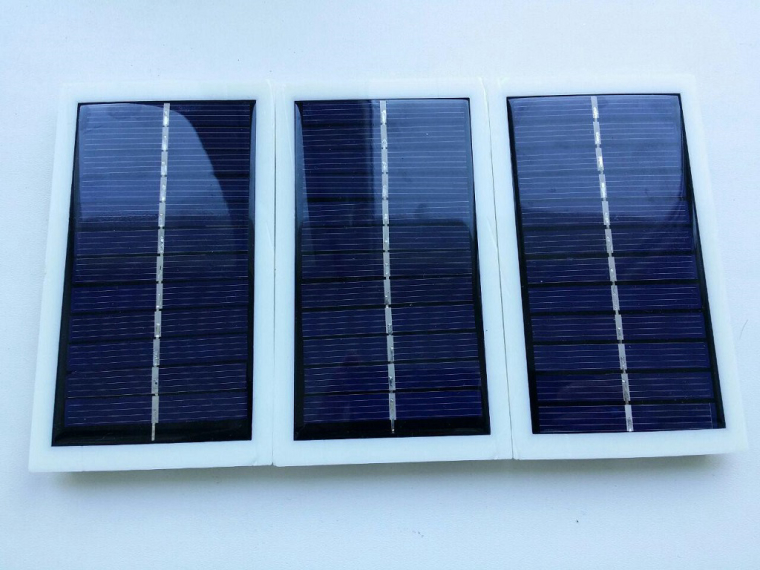
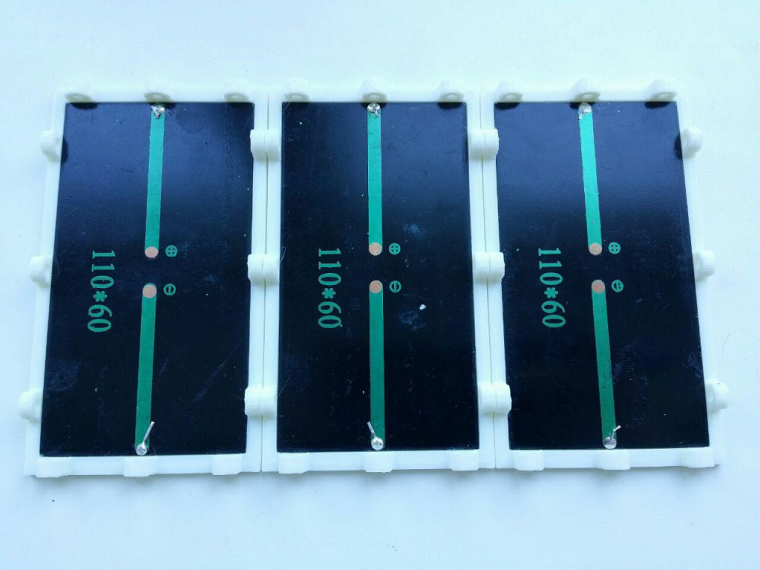
I'm using cheap ($1/piece) Chinese solar panels.
http://www.thingiverse.com/thing:2303029
0_1494200102051_SolarHousing2.stl
0_1494200114033_SolarHousing v2.step -
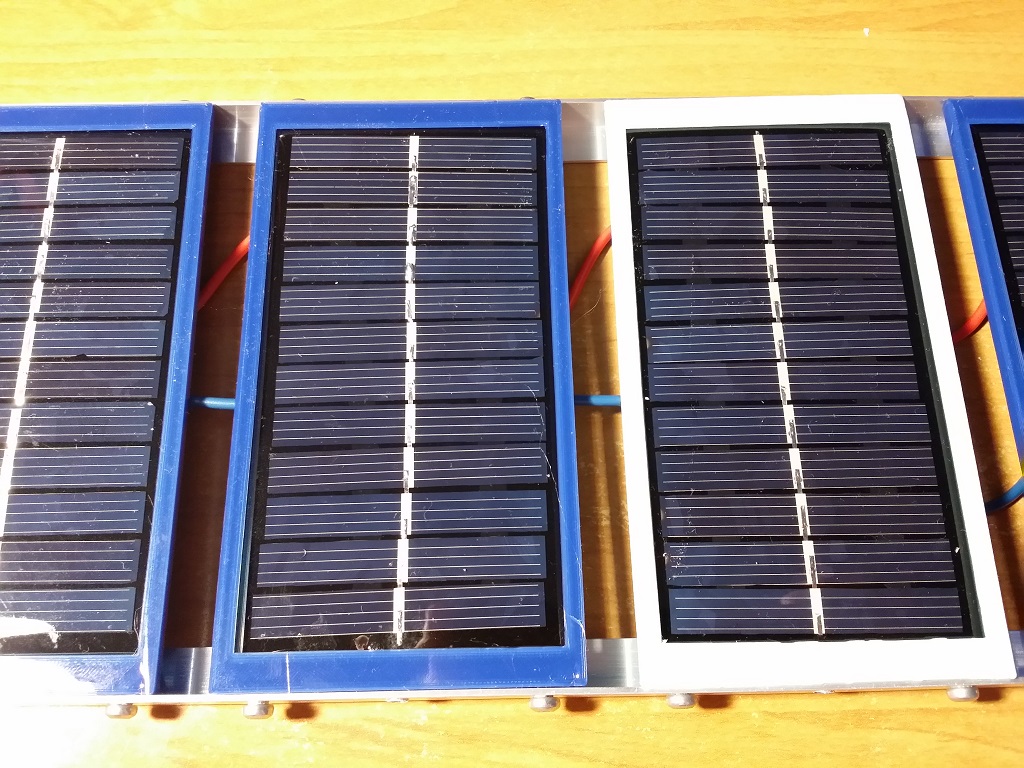
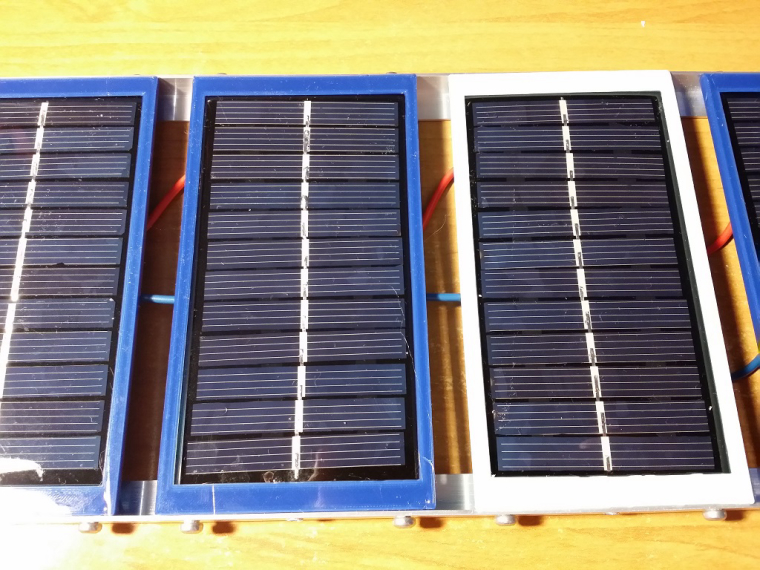
Yet another version and first test results.
Now I'm able to screw panels together using any side:
I connected solar panels together (parallel connection, but each panel in series with it's own shottky diode). 11 panels on north side (direct sunlight from about 06:30 up to 09:00) and 5 panels on south side (direct sunlight from about 12:00 up to 19:00). Panels located on window-sill outside of house.
On south side I'm using 6V AGM VRLA acid battery (as far as I remember 4.5 Ah), on north side battery is the same, but battery capacity is 1.3 Ah.
At first I connected panels directly to batteries (panels open-circuit volage is about 6.8-7.5 volts), but I got weird results. When it's sunny and the sky is clear batteries are charging very slowly and then it's cloudy - batteries are charging faster. Scattering of light by clouds?
Then I connected solar panels to step up regulators (mt3608 as far as I remember, output set to 7.0 volts), now I'm getting very good results. Both batteries are charging almost all the day.
Graphs showing step up output voltage (connected directly to battery):

Again, then weather is cloudy batteries are charning a little better.Also it seems that I have connected too many batteries. It's necessary to try only 1-2 batteries on each side.
Now I'm using simple voltage reporting sketch (5V arduino pro mini, report voltage and smartSleep() every 10 seconds), battery connected directly to RAW pin of arduino. Nothing is changed on hardware and software sides except I removed power led. NRF24L01 using it's own AMS1117-3.3 regulator (consumes a lot of current, about 2mA) connected directly to battery.
Hello! It looks like you're interested in this conversation, but you don't have an account yet.
Getting fed up of having to scroll through the same posts each visit? When you register for an account, you'll always come back to exactly where you were before, and choose to be notified of new replies (either via email, or push notification). You'll also be able to save bookmarks and upvote posts to show your appreciation to other community members.
With your input, this post could be even better 💗
Register Login