💬 Battery Powered Sensors
-
@tiana - Of course you can do this in your code.
Just read the battery level and when it gets to the lowest level you decide upon (maybe a little testing needed here) then include the line...
if(battery_level_read < battery_low_level){
send.msg(your last message)
sleep(long time period)
}You need to define all the things above as normal for variables (floats for the battery reading and levels and UL for the long sleep)....
-
Yes but in this case the last massage will be the same like the previous, only the battery level will be below some predefined value. i don't like this. I will think how to solve this.
@tiana I agree with @mfalkvidd , normally it is the Controller which sends out the warning to change battery, certainly Domoticz has this provision incorporated?
Here the batteries are read at approximate 12 hour intervals, and Domoticz is preset to signal a warning below 1.7v, which is days or even weeks from actually dying. If I'm away or forgetful it will cease updating anyway and flag Red on the display.
Once you have established the consumption curve for your batteries until flat, easy enough to set the warning threshhold before the Node dies... -
Yes but in this case the last massage will be the same like the previous, only the battery level will be below some predefined value. i don't like this. I will think how to solve this.
@tiana
Create dummy contact sensor on your node and if node sends last message, it will trigger this contact before "die".
So controller knows, that it was last message and node is off.
But better is allow controller do its job, like wrote all others.
I personally check battery level and "no incoming messages in supposed interval" to send alert to my e-mail ( and SMS ).
In this example tank level sensors sends every 10min, so after 3 messages lost, I will be informed.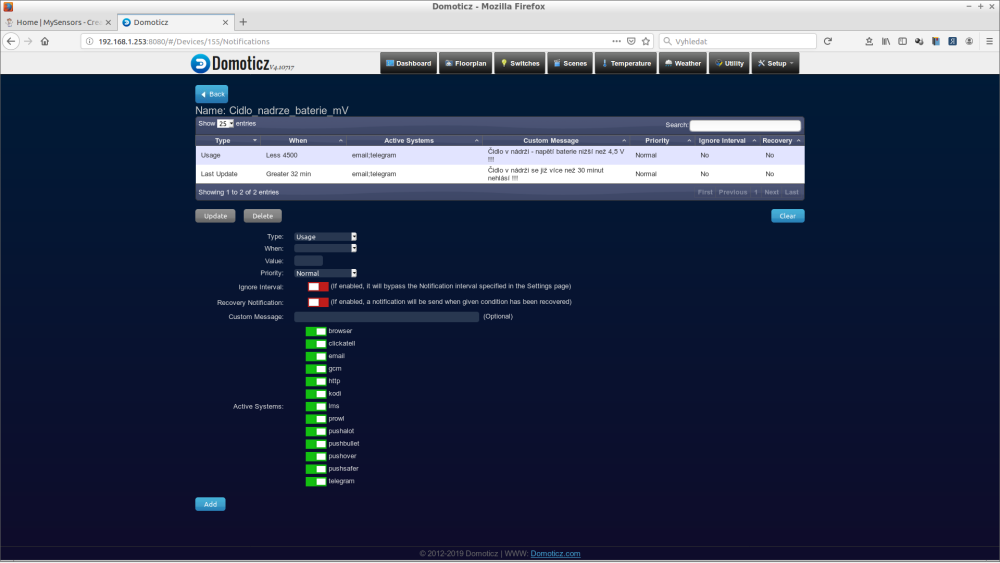
-
Thanks for the ideas, i will modify the code to use LowPower lib and will cut the power to the radio module to increase battery live, when last massage is send the node will never power the radio module, will be only short interrupt and go again to sleep forever. This will give me power usage 20times more than self battery discharge. Which have to give me node uptime around 260days with coin cell battery.
-
@kimot
At all of the time 328p will be in sleep forever, when button is pressed interrupt is triggered and wake the 328p power ON the radio send info power OFF radio and go sleep forever.
Only when battery level go below critical level. the radio stay OFF and only interrupt and sleep forever.I am almost ready with the drawings of the hardware, and next week start work on software... you can see the project in the openhardware.io i gonna upload it later tomorrow.
-
Hi Guys, I need some help on this guide.
I am running a Nano with radio and Si7021 sensor on 1Mhz to lower the required operating voltage, other than this is unmodified no desoldered led or regulators etc.. I tried running it on 2x 1.5v AA batteries connected to Vin and GND, the LED powers on but nothing else happens. When using 3 AA batteries it does send data, so apparently it needs more than 3v. How can I ensure that the setup is fine with 3V, I bought the 3V AA battery holder but I cannot seem to run it at that currently. Which steps can I take to do so? Help is appreciated. -
Hi Guys, I need some help on this guide.
I am running a Nano with radio and Si7021 sensor on 1Mhz to lower the required operating voltage, other than this is unmodified no desoldered led or regulators etc.. I tried running it on 2x 1.5v AA batteries connected to Vin and GND, the LED powers on but nothing else happens. When using 3 AA batteries it does send data, so apparently it needs more than 3v. How can I ensure that the setup is fine with 3V, I bought the 3V AA battery holder but I cannot seem to run it at that currently. Which steps can I take to do so? Help is appreciated.@Sebex I run all my nodes with 2xAA rechargable NiMh (or 1 x LifePo4) with Si7021.
- Use MiniCore bootloader (https://github.com/MCUdude/MiniCore)
- Set BOD at 1.8V for NiMh
- Set speed @8Mhz :)
Enjoy your 1 or 2 years node life at transmit every 5 minutes.
PS Remove the LED and the regulator, of course ;)
PPS I use spare AtMega328p on custom PCB board, but same result with a couple of Nano without regulator.
-
@Sebex I run all my nodes with 2xAA rechargable NiMh (or 1 x LifePo4) with Si7021.
- Use MiniCore bootloader (https://github.com/MCUdude/MiniCore)
- Set BOD at 1.8V for NiMh
- Set speed @8Mhz :)
Enjoy your 1 or 2 years node life at transmit every 5 minutes.
PS Remove the LED and the regulator, of course ;)
PPS I use spare AtMega328p on custom PCB board, but same result with a couple of Nano without regulator.
@sineverba thanks, I got it working and it's up and running. Still have to desolder the led and remove the regulator, will do that later.
Regarding the BOD, what happens if I disable it? Will it run for longer as it does not shutdown? Or is any voltage below 1.8v bad for the arduino?A bit off topic maybe, but I was wondering how the 'pros' around here make the sensor small and sturdy for Arduino's with Si7021+ 2xAA battery pack. My DuPont wires seem a bit loose, so I'm wondering whether I should solder them. And perhaps someone 3d printed a case for an Arduino+Batterypack or some sorts.
-
@sineverba thanks, I got it working and it's up and running. Still have to desolder the led and remove the regulator, will do that later.
Regarding the BOD, what happens if I disable it? Will it run for longer as it does not shutdown? Or is any voltage below 1.8v bad for the arduino?A bit off topic maybe, but I was wondering how the 'pros' around here make the sensor small and sturdy for Arduino's with Si7021+ 2xAA battery pack. My DuPont wires seem a bit loose, so I'm wondering whether I should solder them. And perhaps someone 3d printed a case for an Arduino+Batterypack or some sorts.
@Sebex said in 💬 Battery Powered Sensors:
And perhaps someone 3d printed a case for an Arduino+Batterypack or some sorts.
https://www.mysensors.org/build/print might have something you can use. openhardware.io has a few devices with cases.
-
@sineverba thanks, I got it working and it's up and running. Still have to desolder the led and remove the regulator, will do that later.
Regarding the BOD, what happens if I disable it? Will it run for longer as it does not shutdown? Or is any voltage below 1.8v bad for the arduino?A bit off topic maybe, but I was wondering how the 'pros' around here make the sensor small and sturdy for Arduino's with Si7021+ 2xAA battery pack. My DuPont wires seem a bit loose, so I'm wondering whether I should solder them. And perhaps someone 3d printed a case for an Arduino+Batterypack or some sorts.
@Sebex said in 💬 Battery Powered Sensors:
Regarding the BOD, what happens if I disable it? Will it run for longer as it does not shutdown? Or is any voltage below 1.8v bad for the arduino?
1.8V is the minimum voltage according to the atmega328 datasheet. Below that it might work, but it might also do all sorts of strange things. We've seen reports of nodes getting stuck on continuous transmit, blasting radio signals all the time which blocks all other nodes from communicating. So keeping the bod at 1.8V is probably a good idea. 2xAA have almost no power left at 1.8V anyway. See https://www.avrfreaks.net/forum/aa-alkaline-discharge-curve-5ma for some discharge curves.
-
@Sebex said in 💬 Battery Powered Sensors:
Regarding the BOD, what happens if I disable it? Will it run for longer as it does not shutdown? Or is any voltage below 1.8v bad for the arduino?
1.8V is the minimum voltage according to the atmega328 datasheet. Below that it might work, but it might also do all sorts of strange things. We've seen reports of nodes getting stuck on continuous transmit, blasting radio signals all the time which blocks all other nodes from communicating. So keeping the bod at 1.8V is probably a good idea. 2xAA have almost no power left at 1.8V anyway. See https://www.avrfreaks.net/forum/aa-alkaline-discharge-curve-5ma for some discharge curves.
@mfalkvidd thanks makes sense, eventually I will switch to NiMh. Had a look at the different cases, gives some good inspiration thanks for pointing in the right direction!
Now that I want to desolder the regulator and LED on the Nano, I just want to verify something, since the video shown is about the mini pro.
(1) Is the circled part in the image below, indeed the regulator on the Nano?
(2) On the battery powered sensor page, step 4 states to cutout the Vout pin. Why does this lower power consumption, and how can I locate this on the Nano? -
@mfalkvidd thanks makes sense, eventually I will switch to NiMh. Had a look at the different cases, gives some good inspiration thanks for pointing in the right direction!
Now that I want to desolder the regulator and LED on the Nano, I just want to verify something, since the video shown is about the mini pro.
(1) Is the circled part in the image below, indeed the regulator on the Nano?
(2) On the battery powered sensor page, step 4 states to cutout the Vout pin. Why does this lower power consumption, and how can I locate this on the Nano?@Sebex I have never tried to run a Nano on battery, so I don't know but that looks like a regulator.
The Nano operates at 5V and consumes much more power than a 3.3V Pro Mini.
Yes, the regulator will consume power if it is not disconnected.
-
@Sebex I have never tried to run a Nano on battery, so I don't know but that looks like a regulator.
The Nano operates at 5V and consumes much more power than a 3.3V Pro Mini.
Yes, the regulator will consume power if it is not disconnected.
The big chip to the left is also a serial-usb converter which needs to be removed, making it not possible to program from the usb socket. Along with these components there are resistors and other components that might blead current so i dont think its that easy compared to just doing it to a Pro Mini.
Controller: Proxmox VM - Home Assistant
MySensors GW: Arduino Uno - W5100 Ethernet, Gw Shield Nrf24l01+ 2,4Ghz
MySensors GW: Arduino Uno - Gw Shield RFM69, 433mhz
RFLink GW - Arduino Mega + RFLink Shield, 433mhz -
The big chip to the left is also a serial-usb converter which needs to be removed, making it not possible to program from the usb socket. Along with these components there are resistors and other components that might blead current so i dont think its that easy compared to just doing it to a Pro Mini.
-
@Sebex - i think thats the easiest way, but sometimes its fun to try to create something new - its not impossible, but I would try to reverse engineer the nano (already done - search arduino nano schematic) and there you have to identify all "not essential" components and remove those (ie, making it a big pro-mini) to be able to get the current down as much as possible.
-
@sineverba thanks, I got it working and it's up and running. Still have to desolder the led and remove the regulator, will do that later.
Regarding the BOD, what happens if I disable it? Will it run for longer as it does not shutdown? Or is any voltage below 1.8v bad for the arduino?A bit off topic maybe, but I was wondering how the 'pros' around here make the sensor small and sturdy for Arduino's with Si7021+ 2xAA battery pack. My DuPont wires seem a bit loose, so I'm wondering whether I should solder them. And perhaps someone 3d printed a case for an Arduino+Batterypack or some sorts.
@Sebex said in 💬 Battery Powered Sensors:
A bit off topic maybe, but I was wondering how the 'pros' around here make the sensor small and sturdy for Arduino's with Si7021+ 2xAA battery pack. My DuPont wires seem a bit loose, so I'm wondering whether I should solder them. And perhaps someone 3d printed a case for an Arduino+Batterypack or some sorts.
You may want to try wire wrapping. It’s faster than soldering, sturdier than DuPont and you can connect multiple wires on same pin. Works wonders for gnd and vcc. Of course if the project is yanked harder, the wire wraps come out.
I made this small video for my home automation group in India. - hence prices for the wire wraps and tool are mentioned in local currency. I leant about this amazing technique from Andreas Spiess
my video
guy with Swiss accent -
@Sebex said in 💬 Battery Powered Sensors:
A bit off topic maybe, but I was wondering how the 'pros' around here make the sensor small and sturdy for Arduino's with Si7021+ 2xAA battery pack. My DuPont wires seem a bit loose, so I'm wondering whether I should solder them. And perhaps someone 3d printed a case for an Arduino+Batterypack or some sorts.
You may want to try wire wrapping. It’s faster than soldering, sturdier than DuPont and you can connect multiple wires on same pin. Works wonders for gnd and vcc. Of course if the project is yanked harder, the wire wraps come out.
I made this small video for my home automation group in India. - hence prices for the wire wraps and tool are mentioned in local currency. I leant about this amazing technique from Andreas Spiess
my video
guy with Swiss accent