Skip to content
  • MySensors
  • OpenHardware.io
  • Categories
  • Recent
  • Tags
  • Popular
Skins
  • Light
  • Brite
  • Cerulean
  • Cosmo
  • Flatly
  • Journal
  • Litera
  • Lumen
  • Lux
  • Materia
  • Minty
  • Morph
  • Pulse
  • Sandstone
  • Simplex
  • Sketchy
  • Spacelab
  • United
  • Yeti
  • Zephyr
  • Dark
  • Cyborg
  • Darkly
  • Quartz
  • Slate
  • Solar
  • Superhero
  • Vapor

  • Default (No Skin)
  • No Skin
Collapse
Brand Logo
fifipil909F

fifipil909

@fifipil909
About
Posts
21
Topics
6
Shares
0
Groups
0
Followers
0
Following
2

Posts

Recent Best Controversial

  • Ultrasonic essential Oil diffuser
    fifipil909F fifipil909

    Hi,

    It's hard to say right now.
    It can be interesting to know how do you control the On/Off.

    Those Ceramic caps don't like to be used without any liquid and can be damaged very quickly if there are dry.
    But normally there is a build in switch off circuit if no liquid is detected.

    Can you tell me more how to you modify the electronic to control it with Mysensors ?

    My Project

  • Your Multi Room Audio System
    fifipil909F fifipil909

    Hi Everybody,

    This thread is not related to Mysensors, but I would to take advantage of having great comunity to share idea arround Multi Room audio.
    My original idea was to have abilities to play any music anywhere with a multi room option.
    My goal was to have this for a good price without sacrifice the sound quality.

    After some reseach I decide to go with the Squeezelite environement running on a Pi, and adding an I2S audio Dac.
    it was pretty straight forward, and tons of tutorial available did helps a lot.

    • On the main room, I wanted to have a powerfull speaker with a touch screen interface to manage all speakers.
      So I build mine, and after couple of hours a woodworking I get something like this:

    0_1464876239129_2016-04-10 18.42.09.jpg

    0_1464876243536_2016-04-10 18.42.33.jpg

    0_1464876249608_2016-06-02 15.55.24.jpg

    0_1464876253767_2016-06-02 15.55.38.jpg

    I'm very happy of this "Main" speaker. it work like a charm, it run a modify Raspbian for touch screen support, and squeezelite/Jivelite.
    So after that, I wanted to have smaller version for all others rooms.
    I decide to buy some cheap bluetooth speaker and add a pi inside with a Dac.

    0_1464876536881_2016-06-02 16.06.54.jpg
    0_1464876541289_2016-06-02 16.06.50.jpg
    0_1464876546266_2016-06-02 16.07.07.jpg

    Small speaker satisfy me also, they run PiCoreAudio, the sound is defenetely worst compare to the main one, but it's really acceptable for me.

    Regarding the budget, all included the main speaker cost me less than 100€ and the small one 50€ each. Very cheap for a multiroom solution that can be control by any device included the Home Automation Controller.

    So next step could be sound input for the voice regonition.
    Did you guys have some background on it ? I would like something very responding and I don't want to use any external STT engine.

    I read some post regarding the Jasper project. what do you think about it ?
    Regarding sound input do you suggest special mics ? is any STT engine exist with Client/Server mode ?

    General Discussion

  • Motion Sensor triggering on its own
    fifipil909F fifipil909

    Hi,

    False detection is only due to power stability issue.
    Personnaly i remove the regulator and power the PIR without any boost on the VCC pin. Even below 2v the PIR continue working without any a single issue.

    Did you try to do a small delay before sleeping with interupt ? See my post a bit upper.

    For me it solve all my false trigger issue.

    Troubleshooting

  • Microwave Radar Module as PIR replacement.
    fifipil909F fifipil909

    That's may change a lot of things, in term of power consumption, enclosure, sensor position in the room.
    Will order one right now.

    Thanks for the find.

    Hardware

  • RF documentation - "Best practice"
    fifipil909F fifipil909

    Hi,

    For those that interesting to build RF circuit, I found a very good article with an 1h video showing very good trick to build a RF circuit.
    HackaDay fan, has certainly not missed it ;)
    The nFR24L01 chip is mention.

    http://hackaday.com/2016/03/23/michael-ossmann-makes-you-an-rf-design-hero/

    Good watching.

    General Discussion

  • Motion Sensor triggering on its own
    fifipil909F fifipil909

    Hi,

    i'm wanted to share my experience also with those sensor.
    I had a lot of issue with false trigger when running on 3.3V. In my case the power was definitely the issue.
    it's looks like sleeping the radio/mcu cause some noise on the voltage line.

    I solve 100% of my false trigger issue when doing a small sleep, before enabling the sleep with interrupt.

    gw.sleep(500);
    gw.sleep(INTERRUPT,RISING, SLEEP_TIME);
    
    Troubleshooting

  • 💬 MySensors Stable Node
    fifipil909F fifipil909

    Impressive !!
    did you reflow the board, or did you REALLY manually solder the nrf24l chip with an iron ???

    OpenHardware.io mysensors contest2016

  • Ultrasonic essential Oil diffuser
    fifipil909F fifipil909

    There is 3 leads.
    I did try to make better pic.

    0_1457093736469_20160304_131257.jpg
    0_1457093740253_20160304_131331.jpg

    My Project

  • Ultrasonic essential Oil diffuser
    fifipil909F fifipil909

    @gregl yes, I think about add a level indication by using a simple ldr and a led, shouldn't be complicated to archeve.

    regarding the ceramic caps, a lot of them you can find on ebay use 40 Vac at 1.6Mhz. so not so easy and finding a 8:1 transformer working at this frequency to make a small DC to AC converter is not that easy.

    after some search, I find some other caps like exactly the same there is on this "donut" humidifer. they are working at a much low frequency, 113khz to be exact.
    http://fr.aliexpress.com/item/20mm-113KHz-ultrasonic-atomizer-transducer-atomizing-part/32273063940.html?spm=2114.44010308.4.177.0Amsoy
    Regarding the voltage, I found some caps working at 5vpp but the donut caps seems to working arround 50v.
    I don't have any idea how they boost the voltage to that pick.

    here is some scope:

    Mofset Gate :
    0_1456920546860_IMG_006.BMP

    Caps input:
    0_1456920582586_IMG_001.BMP
    the sinus wave it's really durty, but seems to be enough to vibrate the caps.

    donut IC :
    0_1456920732712_20160302_130545.jpg

    0_1456920737957_20160302_130603.jpg

    if someone have some idea of what is this black component on the right side. seems to be the one that boost the voltage up to 60v.

    @tripy yes everything handmade. my friend carpenter help me to glue together some piece of wood plate like this : http://planete-bois.com/plans-de-travail/28-plan-de-travail-chene-lamelle-colle-aboute.html I manage the rest with a router and a drill press.

    My Project

  • Ultrasonic essential Oil diffuser
    fifipil909F fifipil909

    Hi,

    my wife like to use essential oil in the house, but basic humidifier use a lot of water and increase the ambiant humidity in the room.
    I notice also that the smell of the oil is not really intense.

    So the idea, modify a cheap ultrasonic humidifier and create an oil diffuser without dealing with water.

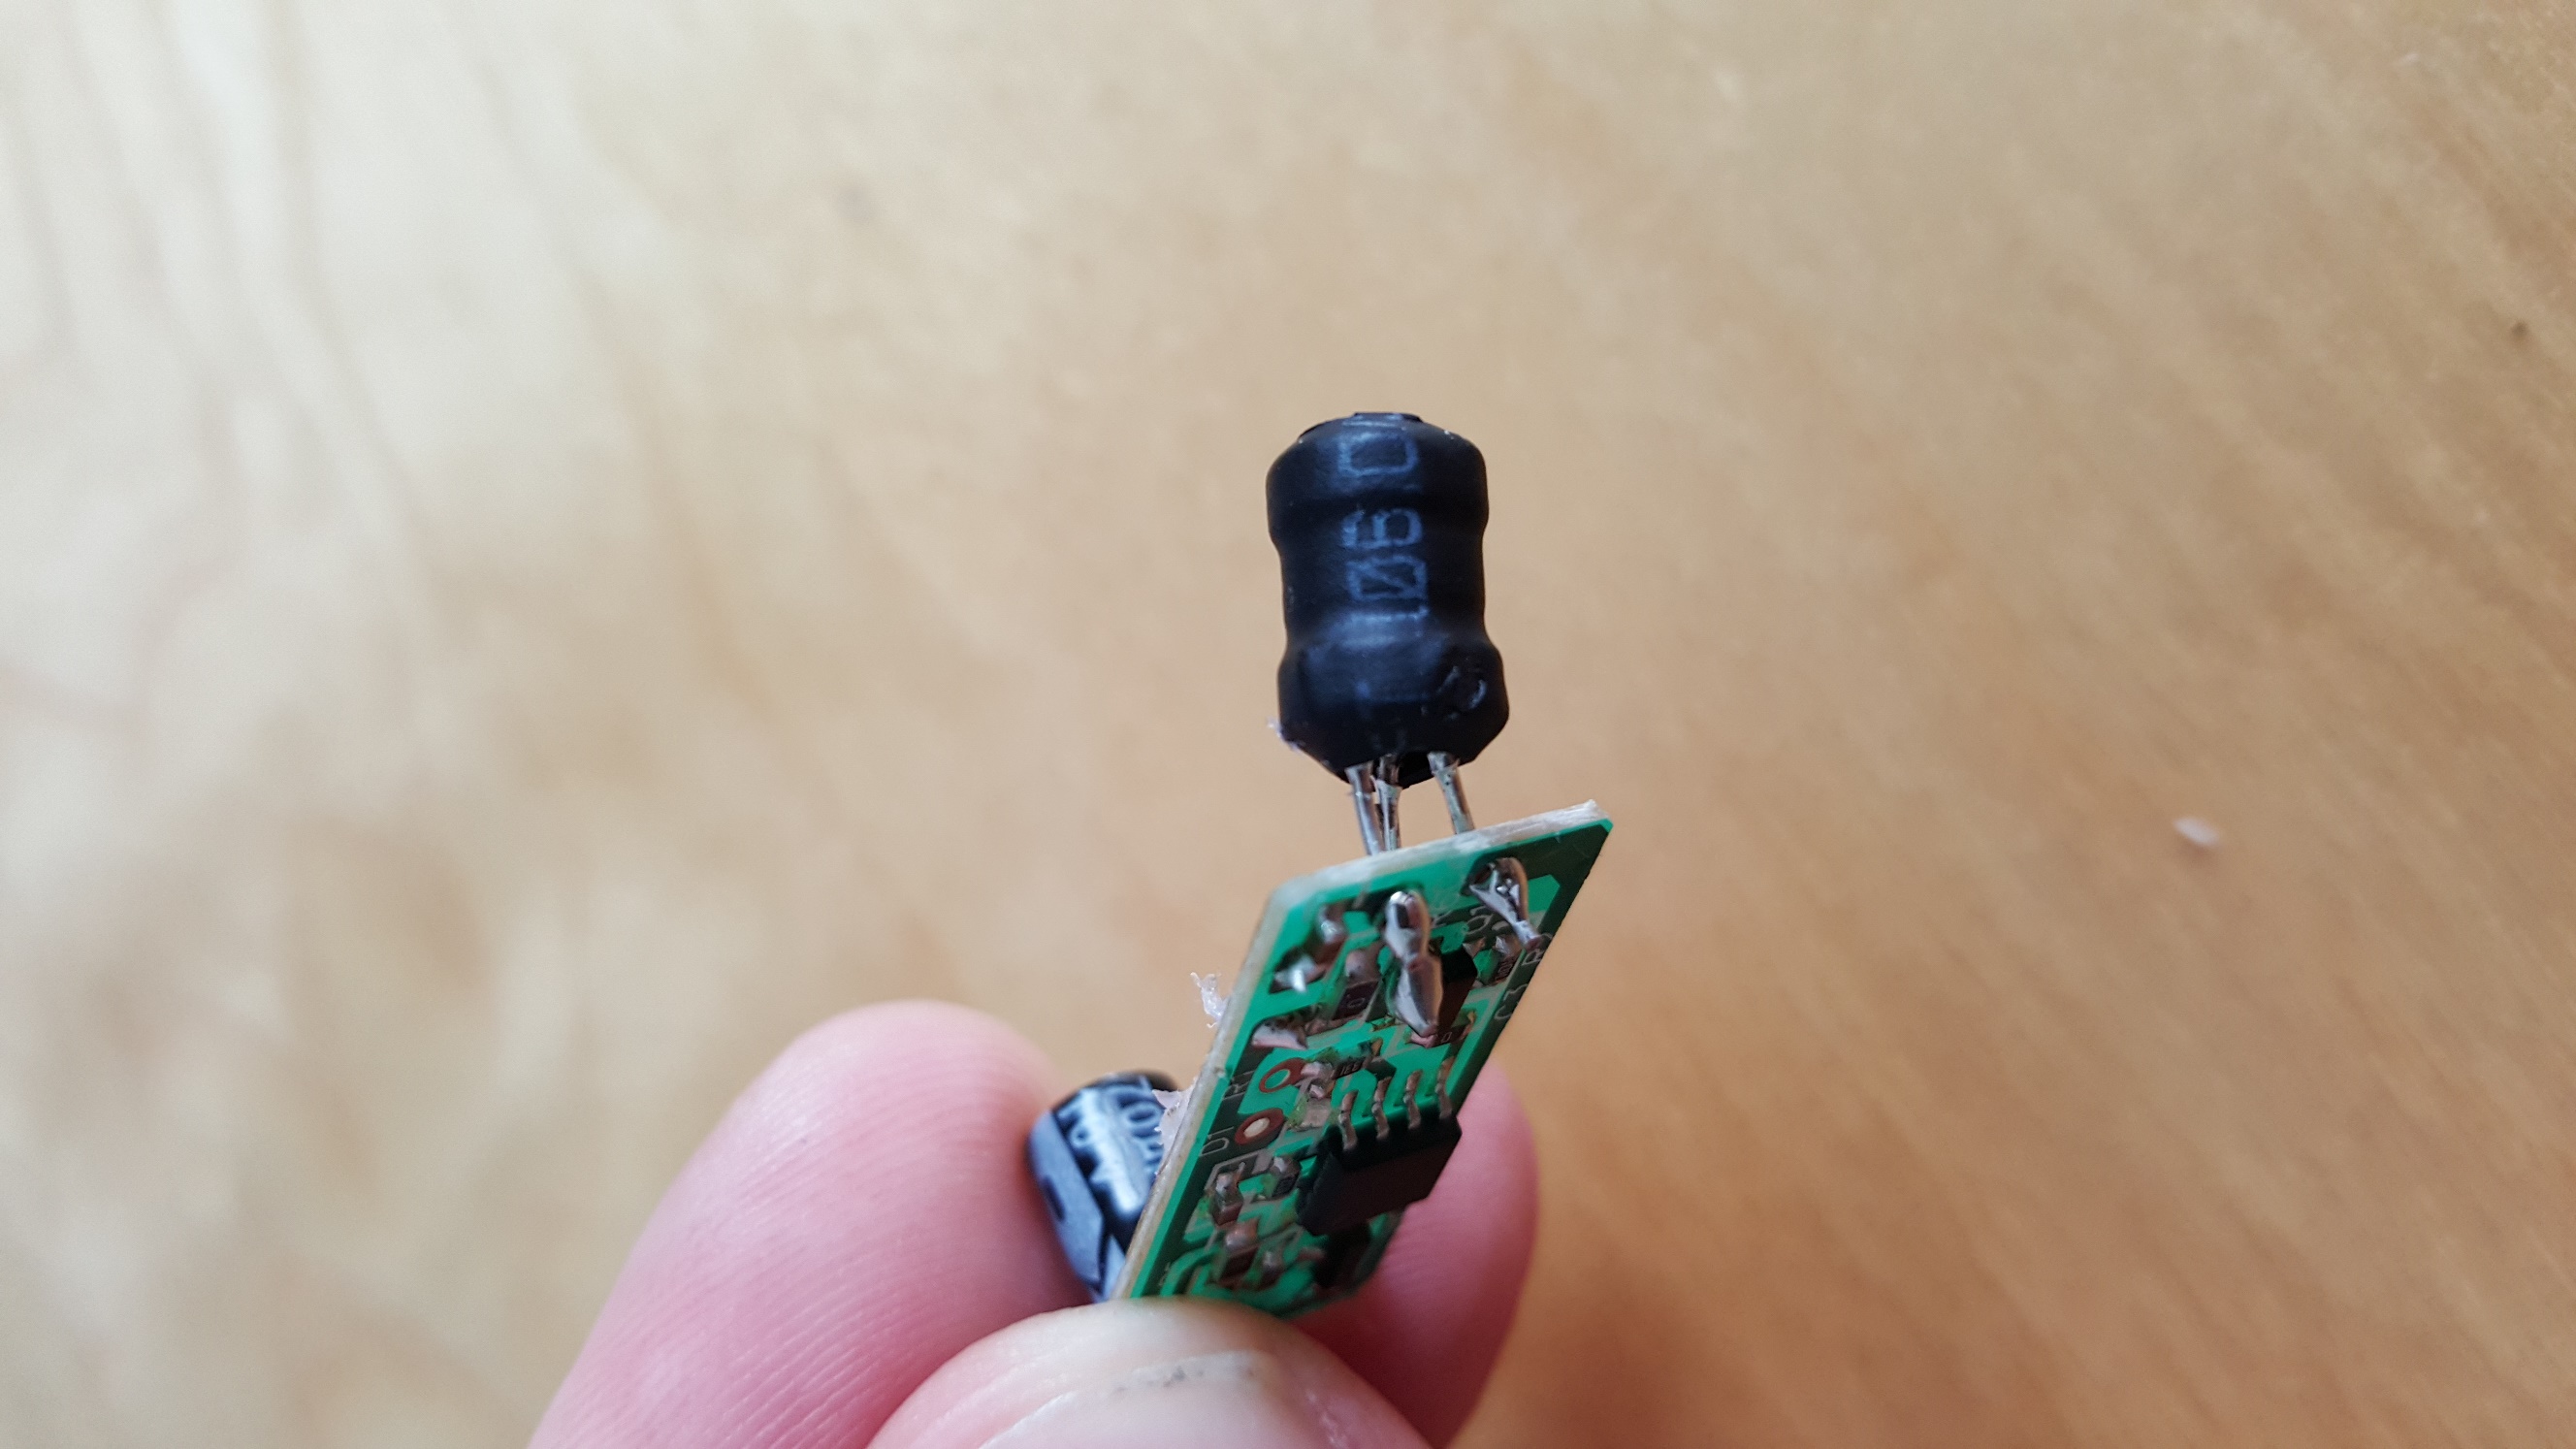
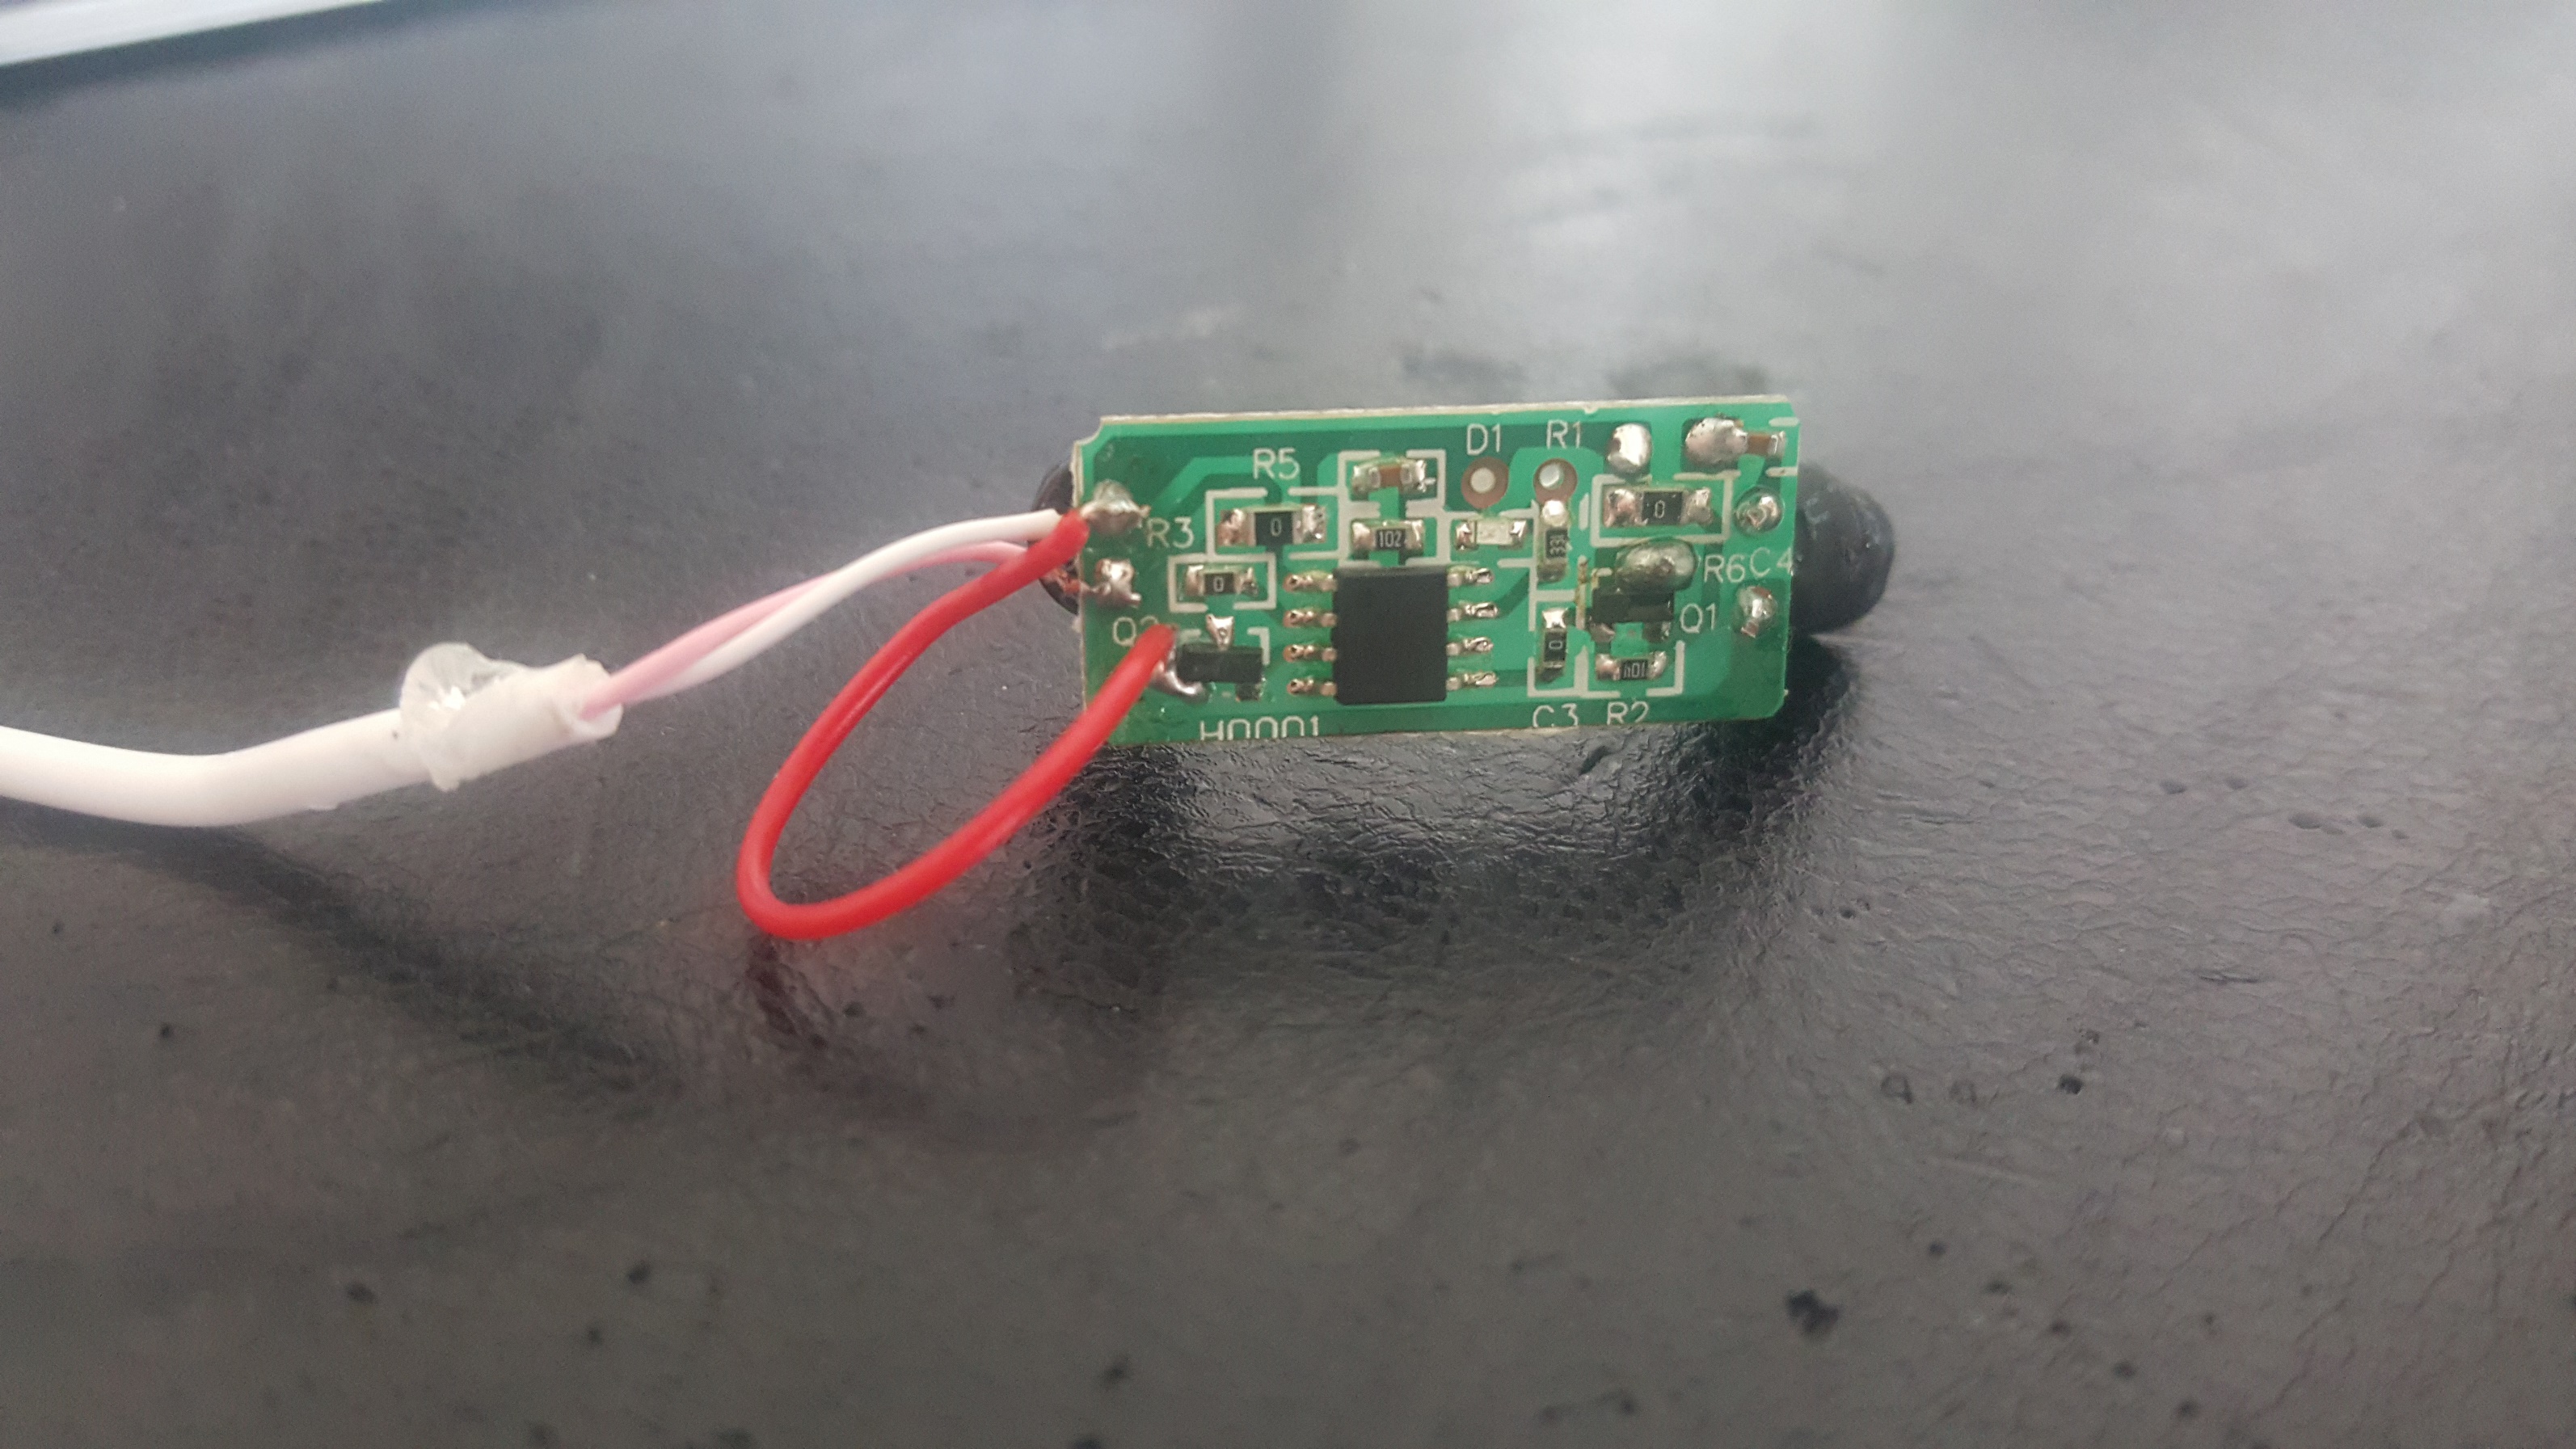
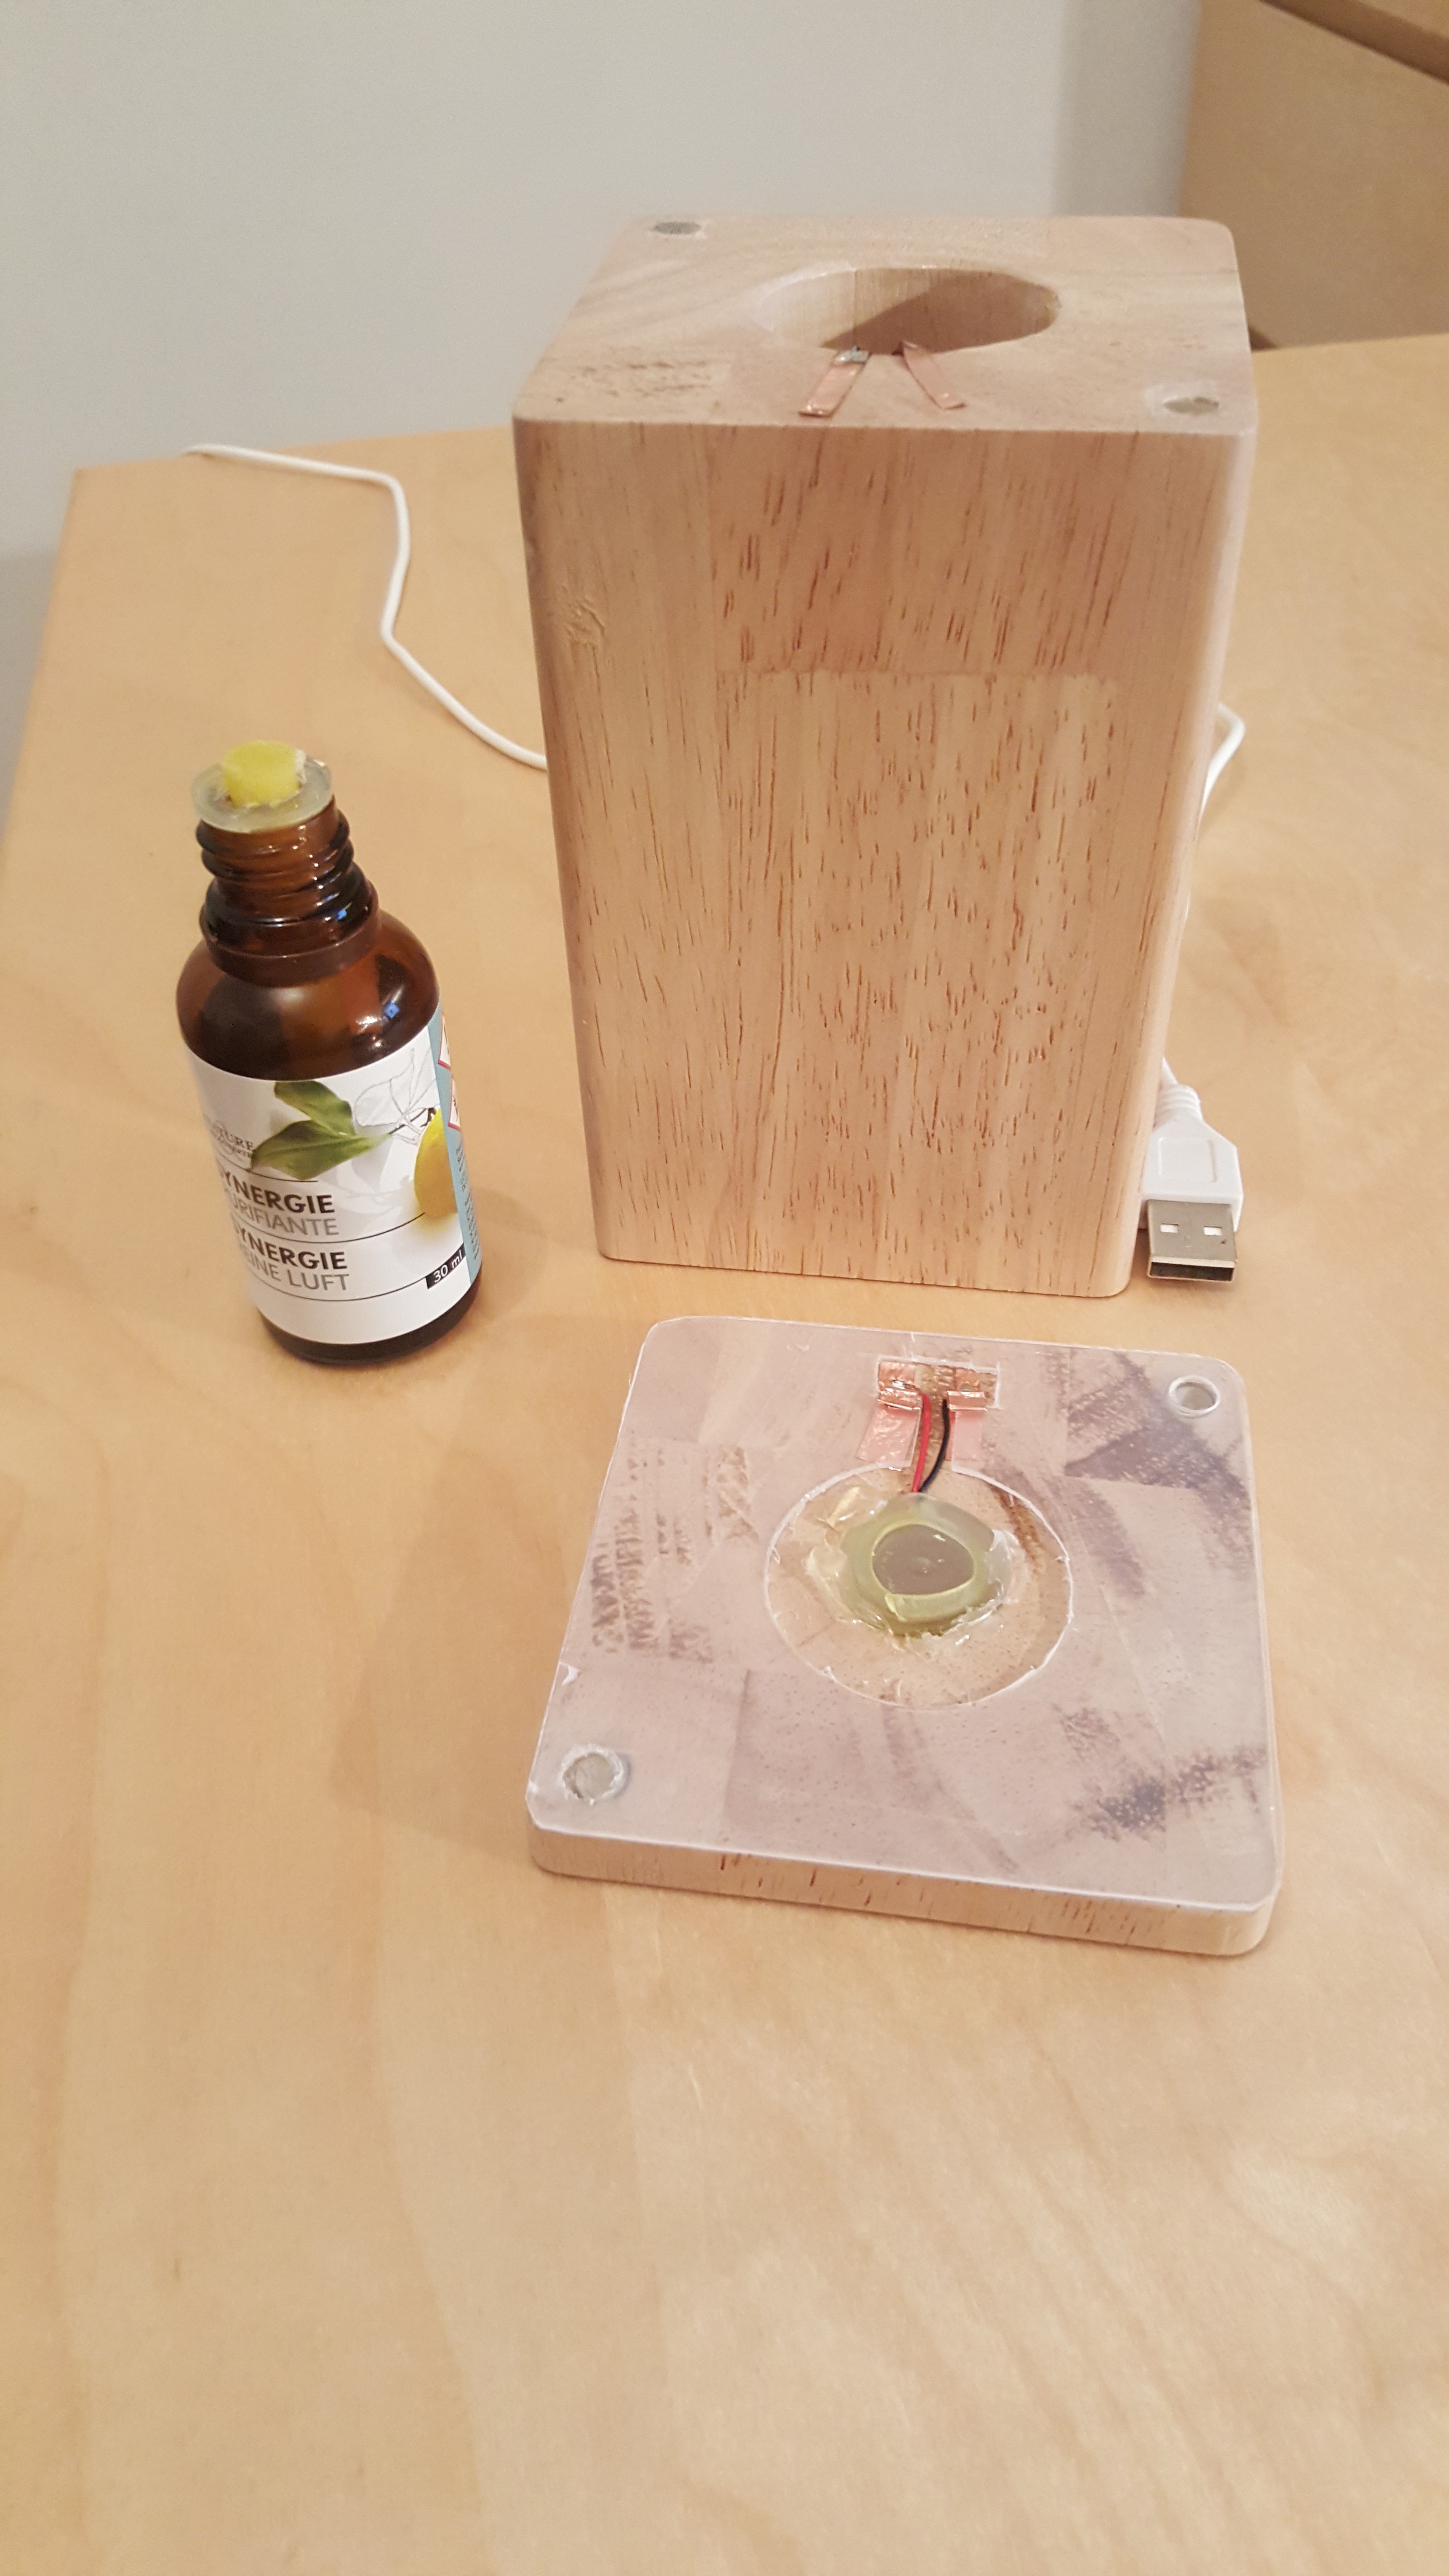
    The start, a cheap Donut humidifier 6$ on ebay.

    http://www.ebay.com/itm/Donut-Shaped-Ultrasonic-USB-Humidifier-Air-Essential-Oil-Purifier-Aroma-Diffuser-/301652283655?hash=item463be09107:g:vrwAAOSwBahVbrHo

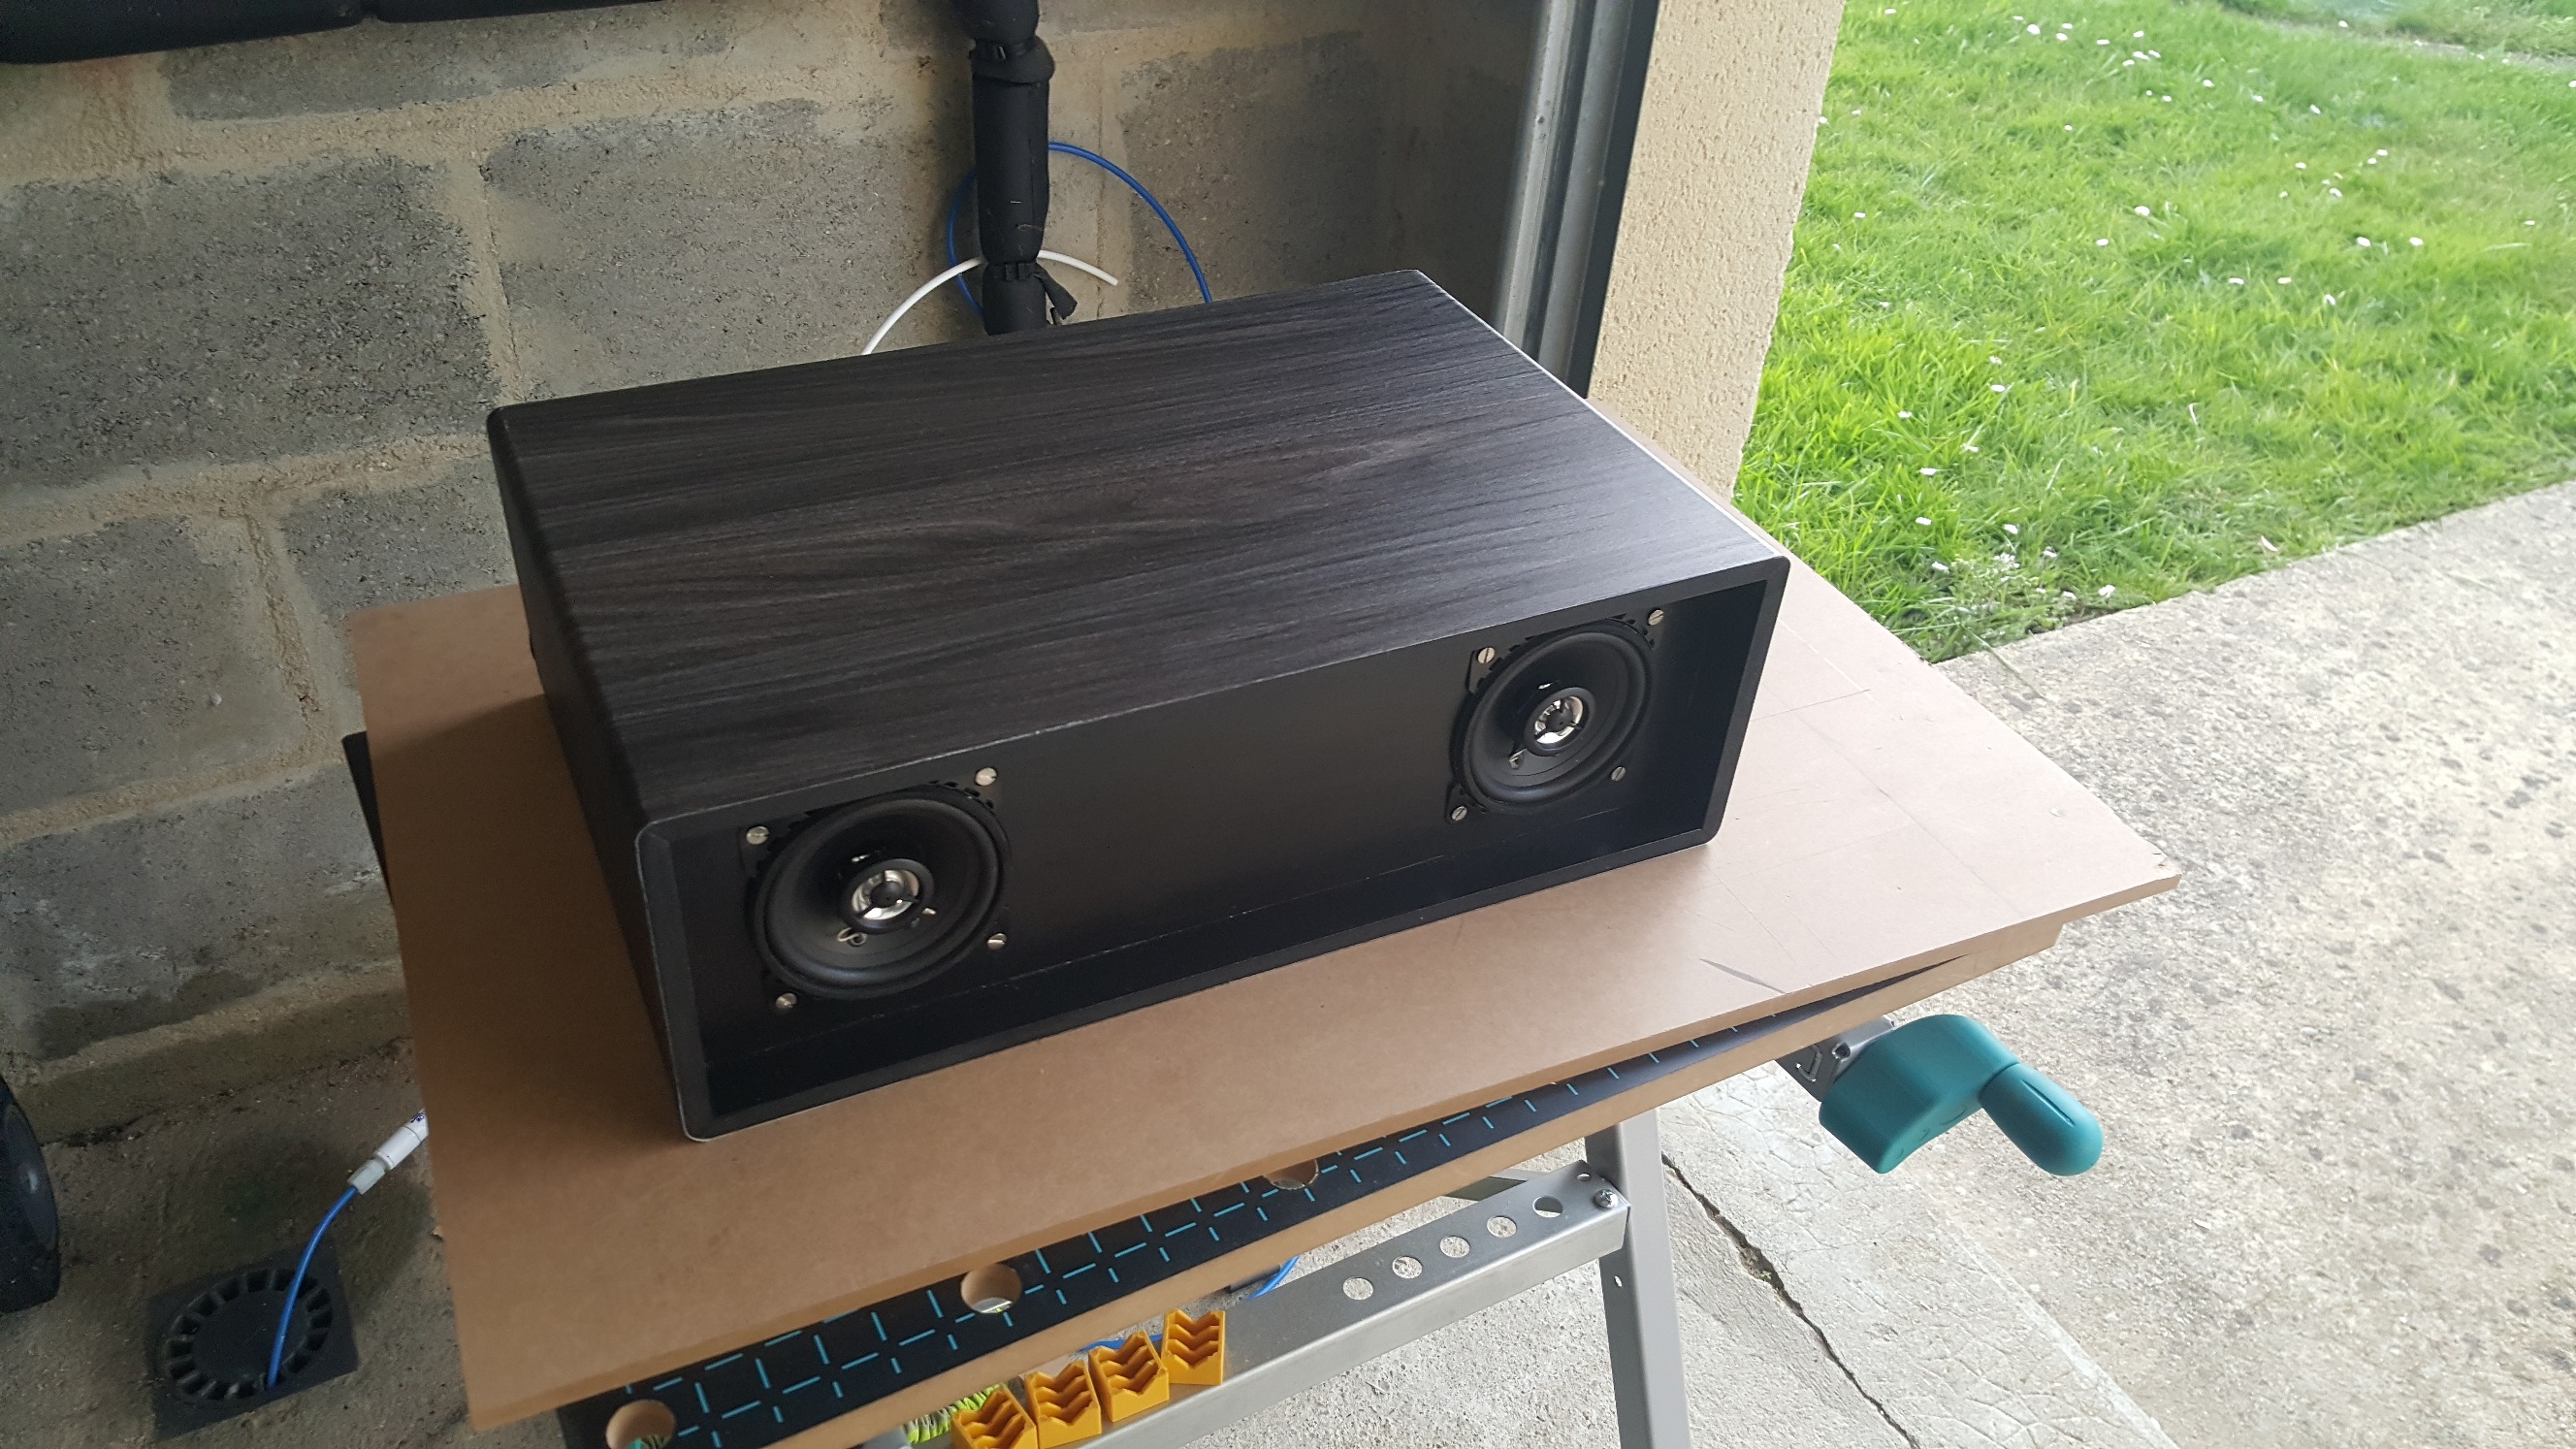
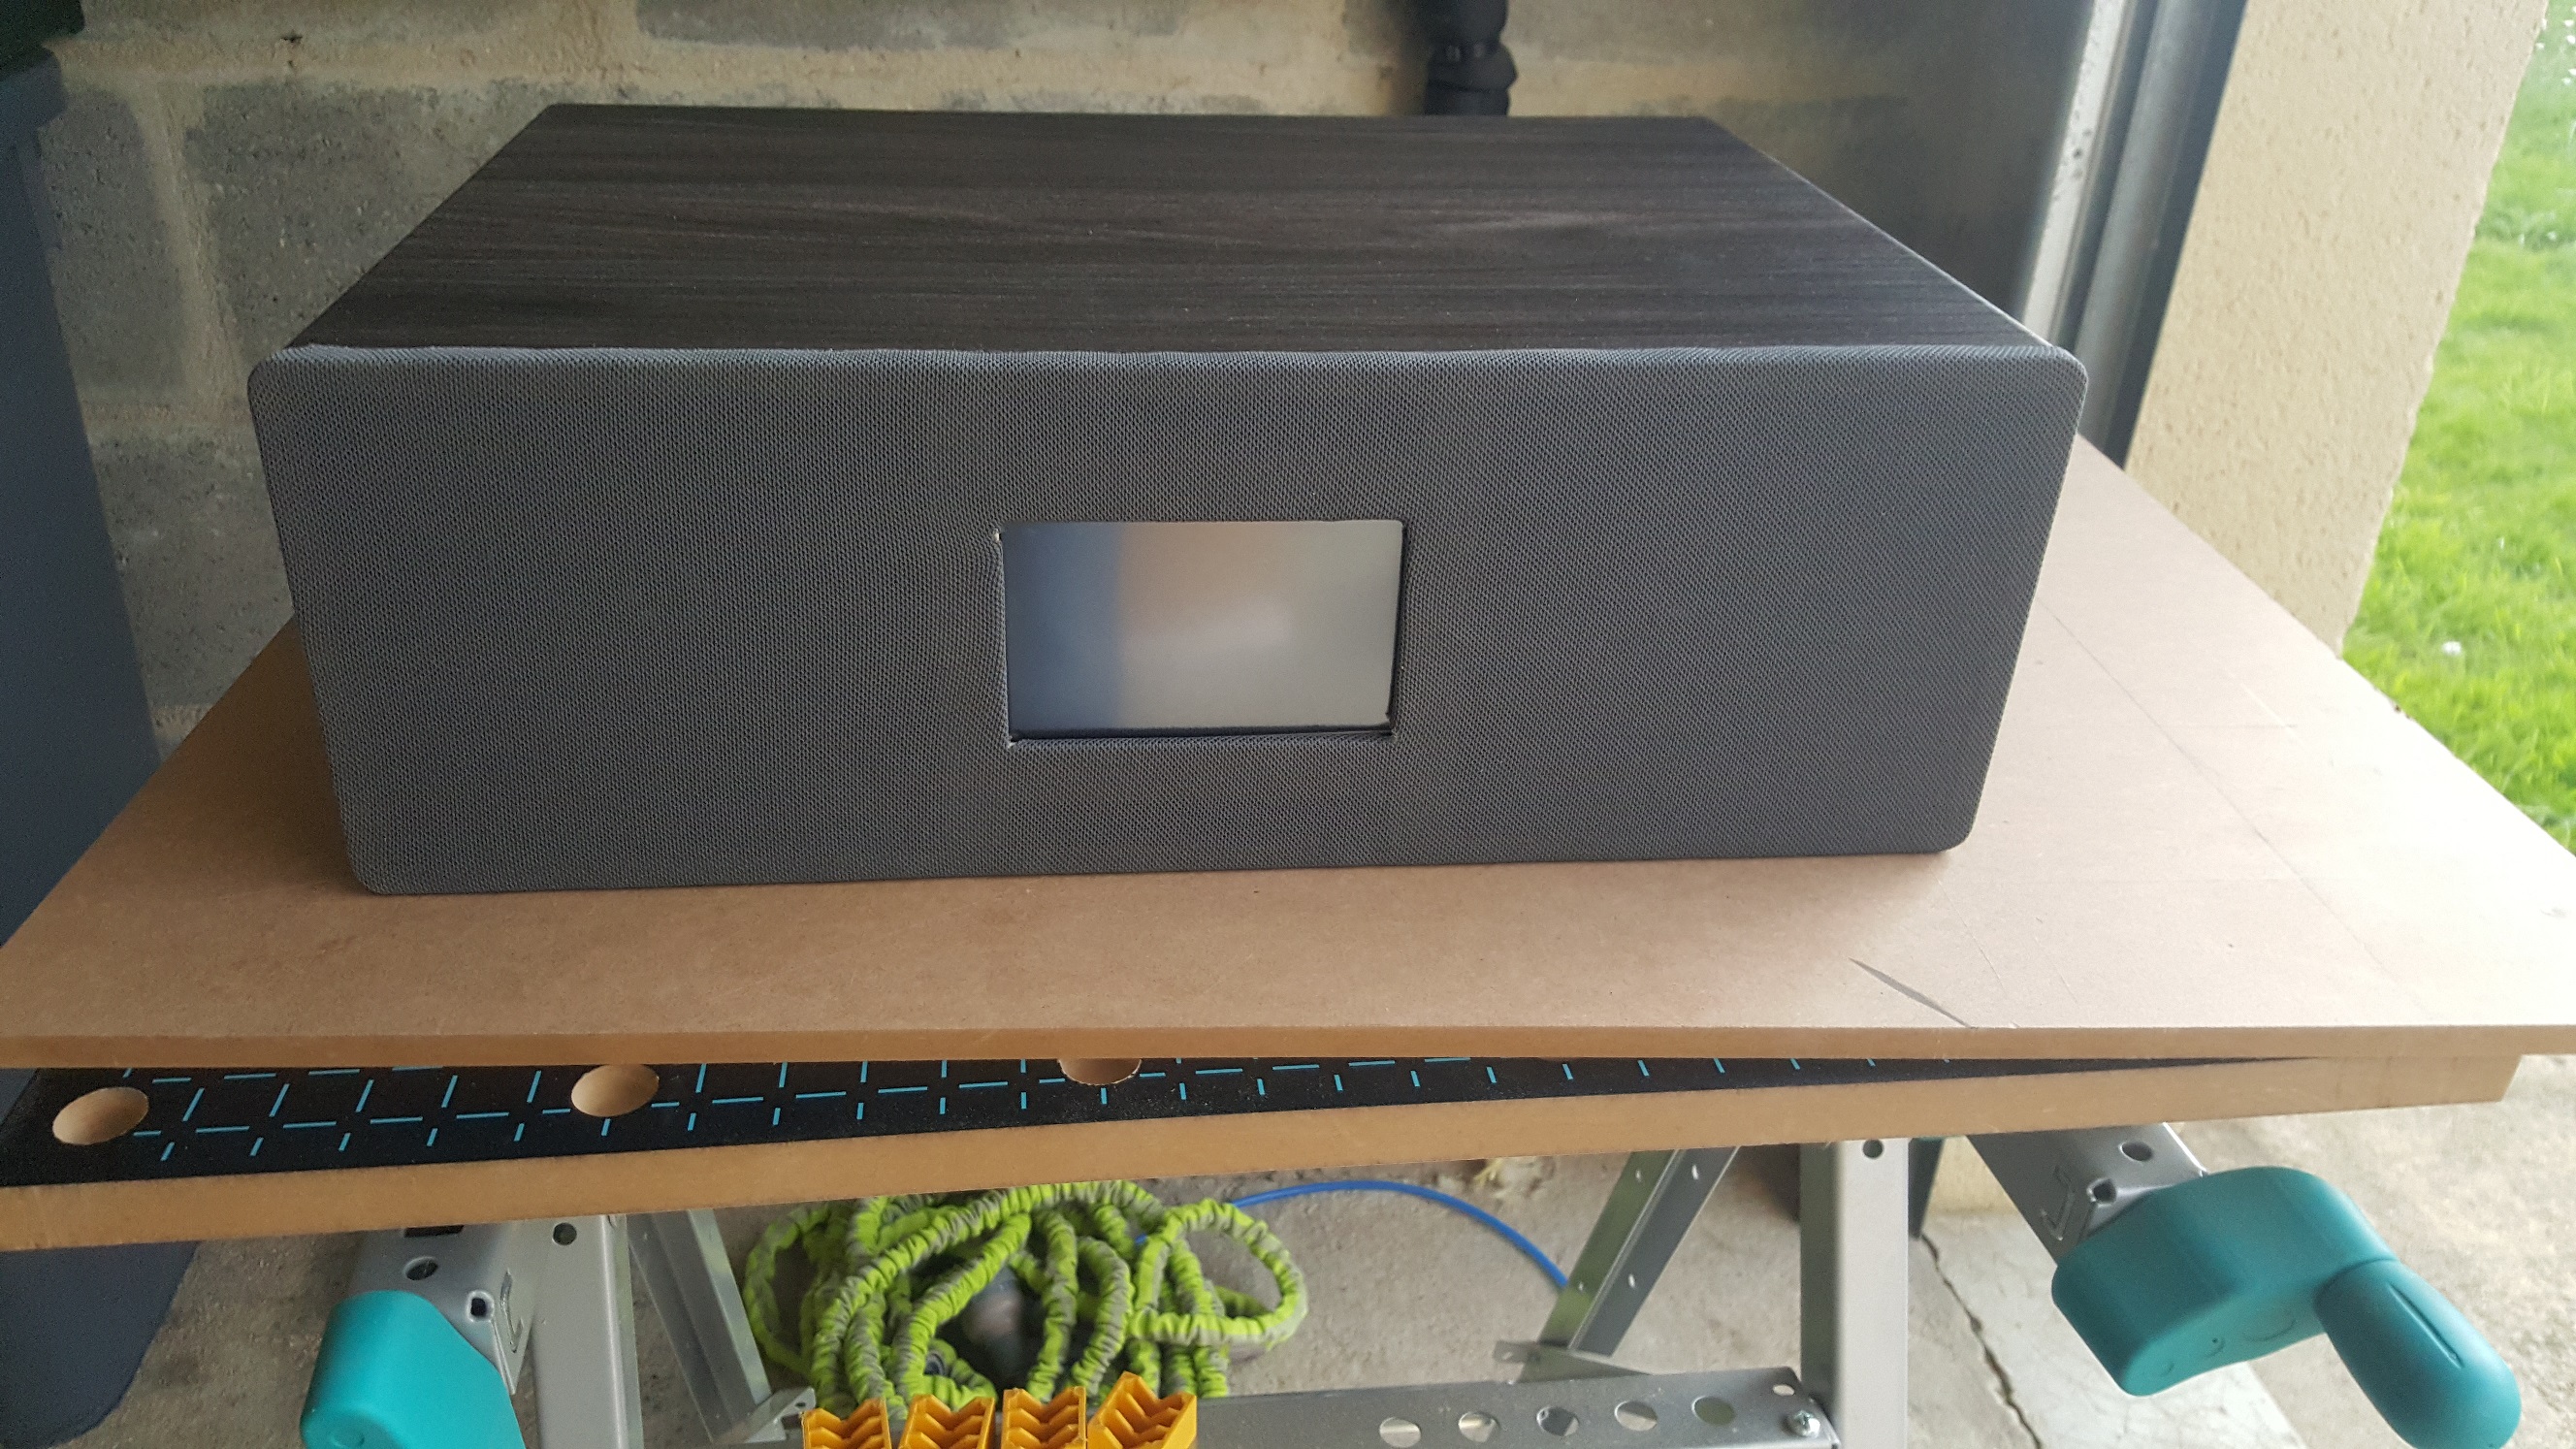
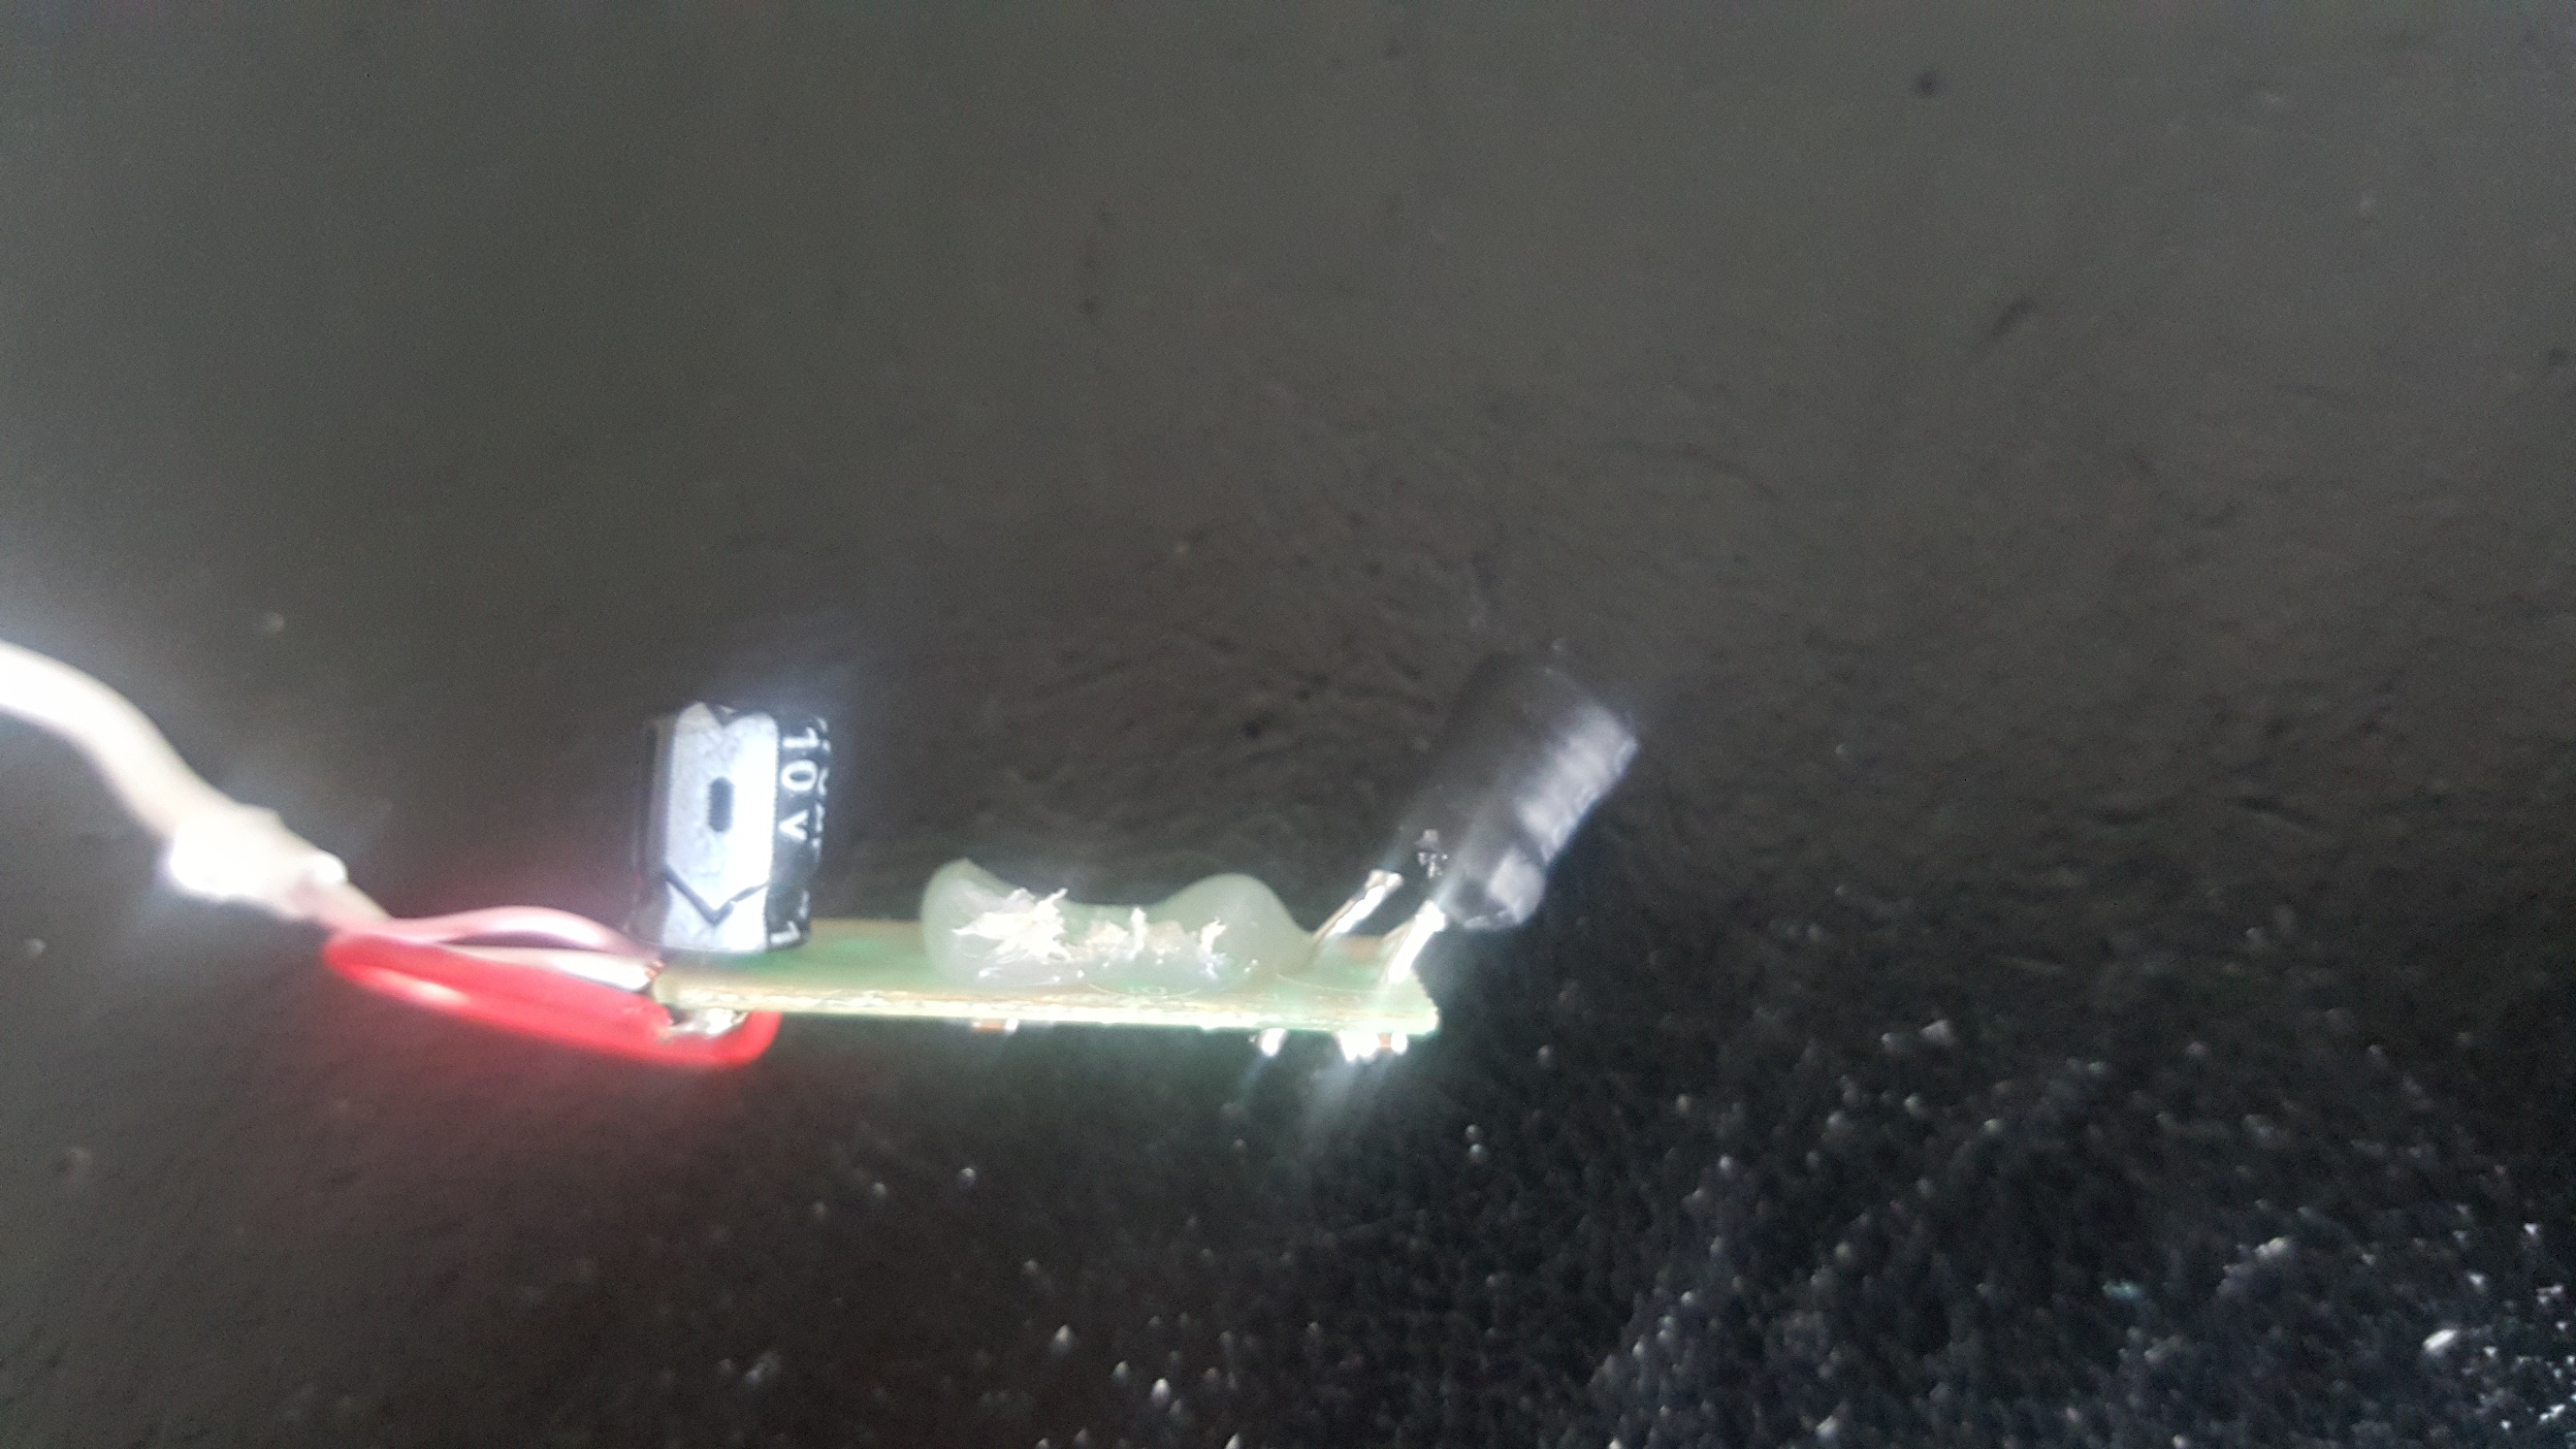
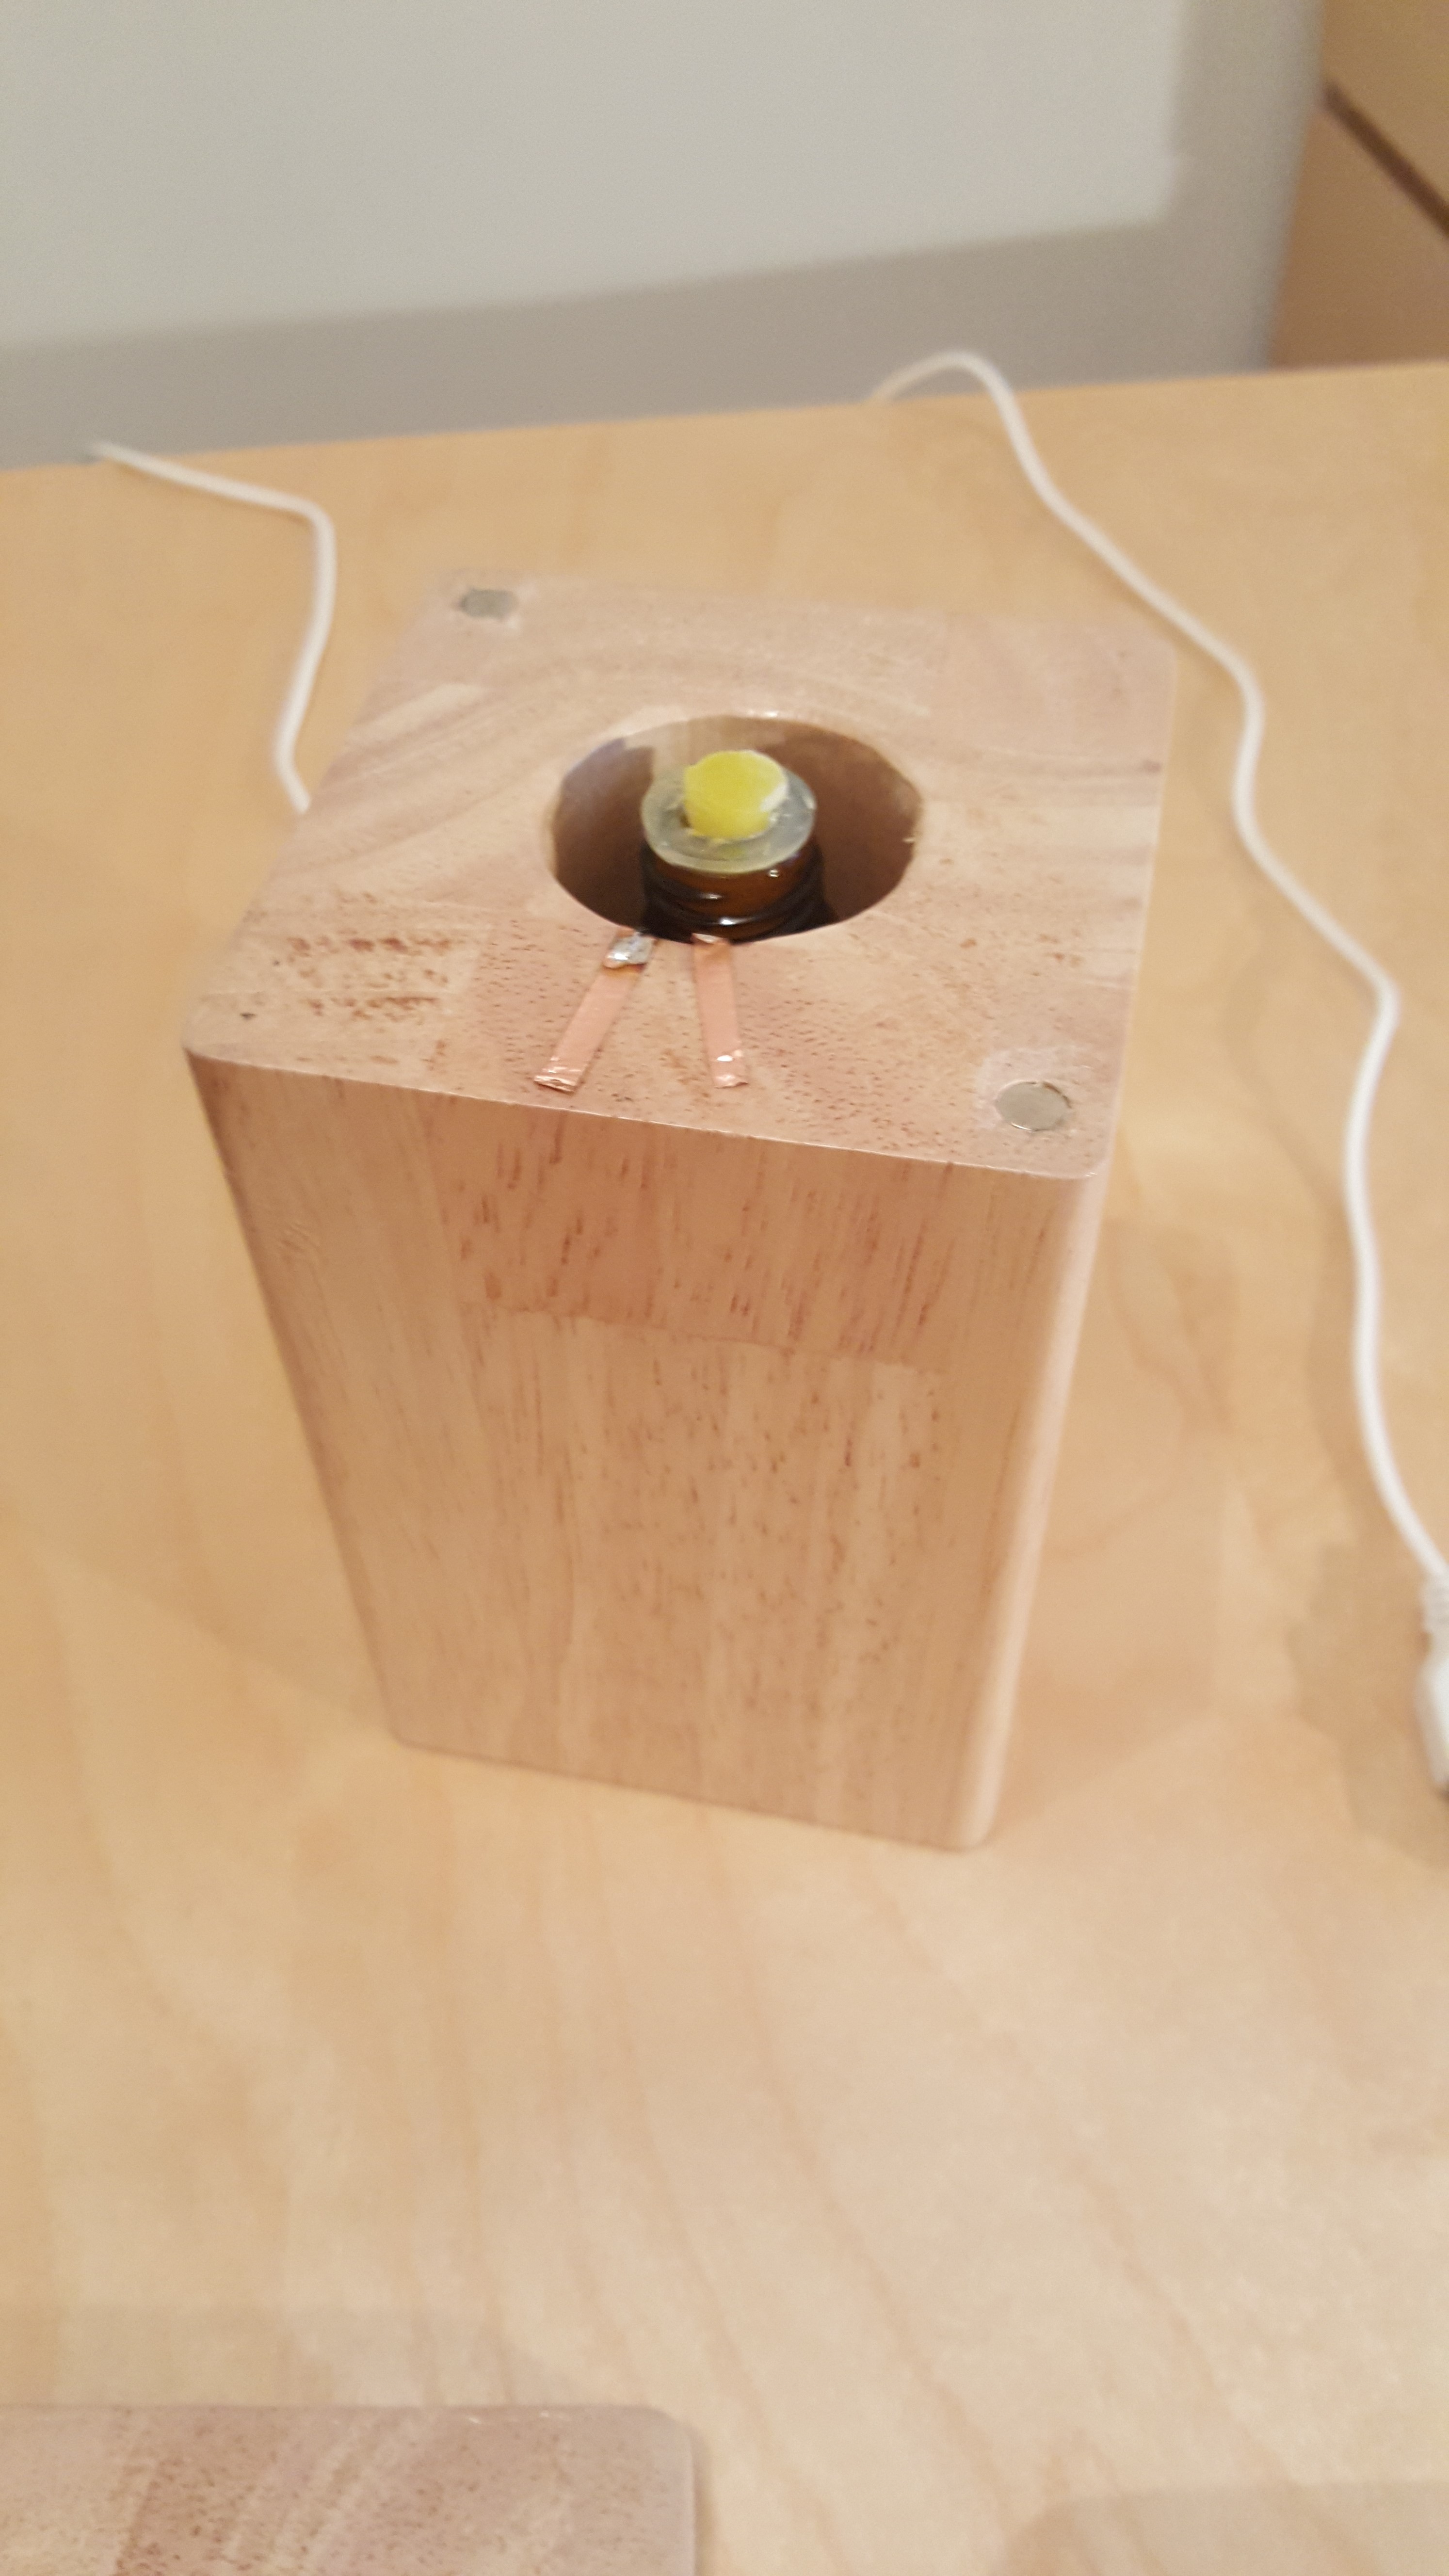
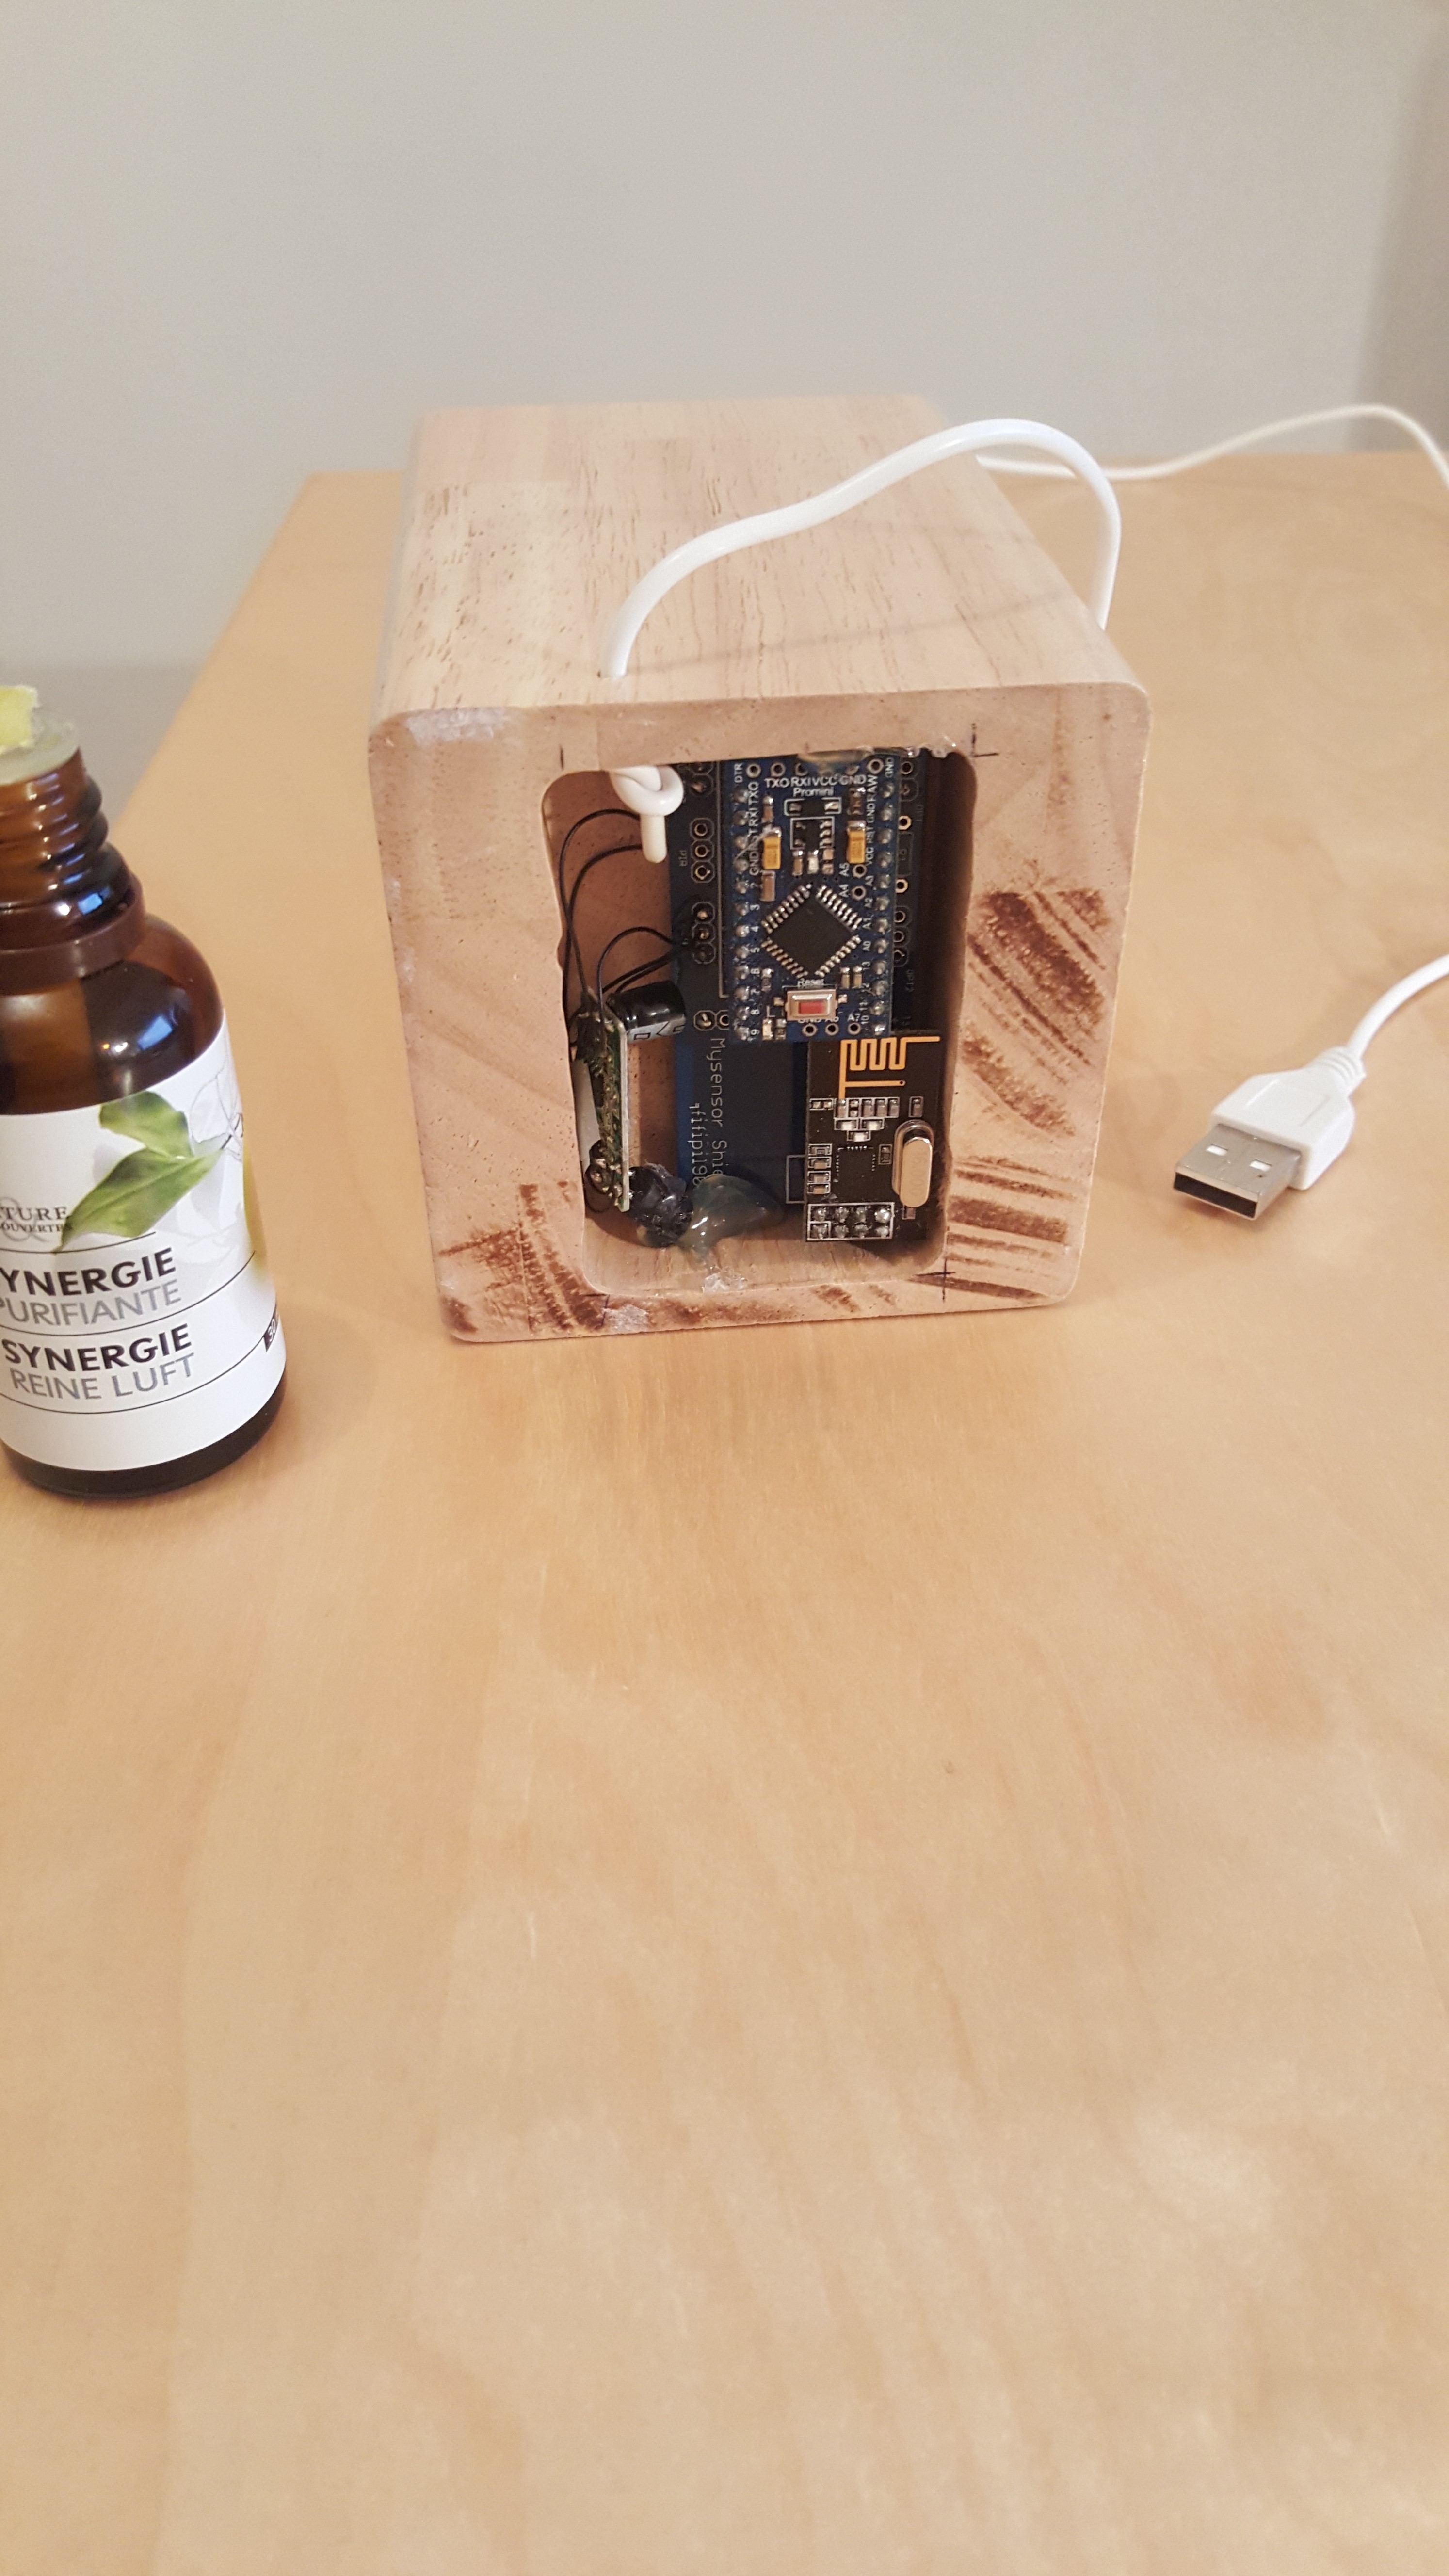
    then, I decide to build a wood enclosure with a removable top for easy oil bottle changing and put everything together.

    0_1456867650174_20160301_220334.jpg

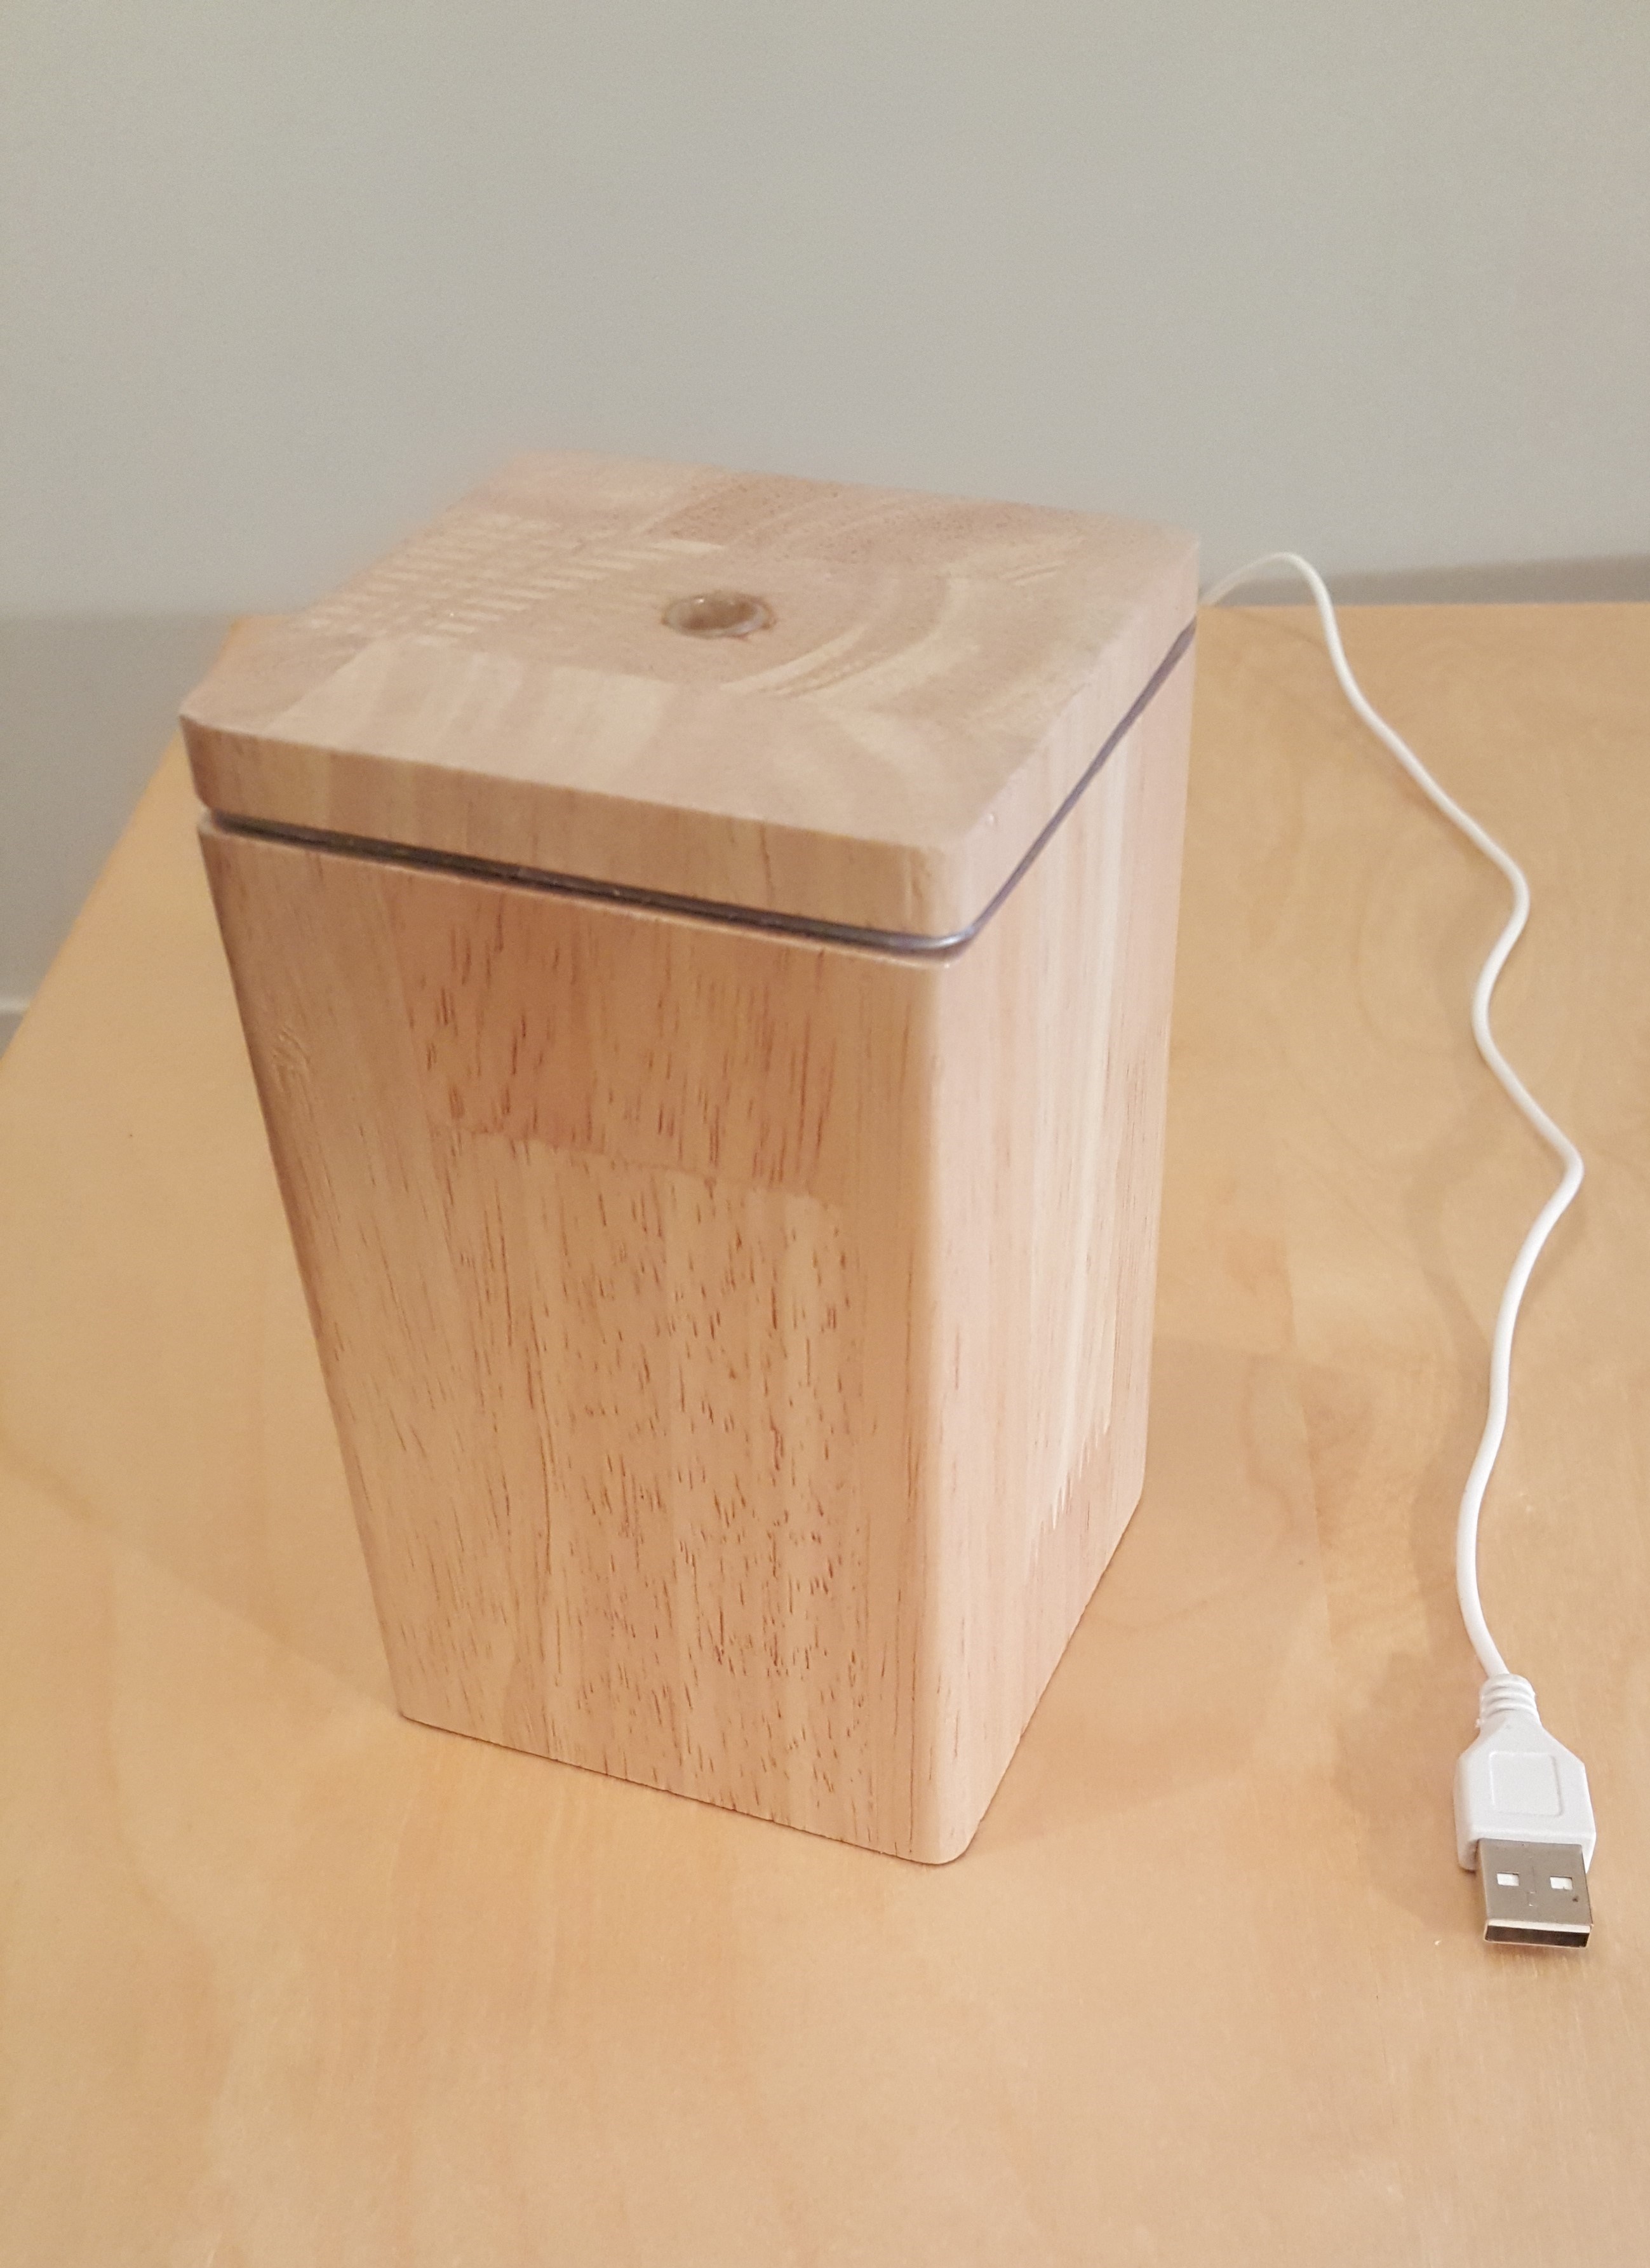
    The top is maintain by 2 small magnet, and the ceramic caps just touch the top of the Bottle wick.

    0_1456867796260_20160301_220513.jpg

    0_1456867820284_20160301_220905.jpg

    0_1456867846543_20160301_220937.jpg

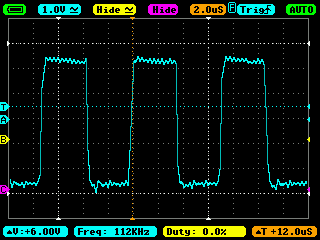
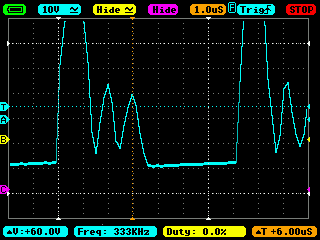
    Regarding the Sketch, Its like a dimmer, V_status for the On/Off state, V_percentage for the frequency.

    /**
     * The MySensors Arduino library handles the wireless radio link and protocol
     * between your home built sensors/actuators and HA controller of choice.
     * The sensors forms a self healing radio network with optional repeaters. Each
     * repeater and gateway builds a routing tables in EEPROM which keeps track of the
     * network topology allowing messages to be routed to nodes.
     *
     * Created by Henrik Ekblad <henrik.ekblad@mysensors.org>
     * Copyright (C) 2013-2015 Sensnology AB
     * Full contributor list: https://github.com/mysensors/Arduino/graphs/contributors
     *
     * Documentation: http://www.mysensors.org
     * Support Forum: http://forum.mysensors.org
     *
     * This program is free software; you can redistribute it and/or
     * modify it under the terms of the GNU General Public License
     * version 2 as published by the Free Software Foundation.
     *
     */
    
    //#################
    // INCLUDE
    //#################
    #include <SPI.h>
    #include <MySensor.h>
    #include <Time.h>
    
    //#################
    // OPTION
    //#################
    
    #define DEBUG
    #define MIN_DELAY  10   
    #define MAX_DELAY  90 
    bool  Diffuser_status;
    uint8_t   Diffuser_Freq;
    
    int delaytowait;
    unsigned long lastUpdate;
    int nbseconds = 0;
    
    //#################
    // CHILD ID
    //#################
    #define CHILD_ID_DIFFUSER 0
    
    
    //#################
    // PIN DEF
    //#################
    #define DIFFUSER_PIN A3
    
    
    //#################
    // VAR
    //#################
    MySensor gw;
    
    //#################
    // Messsage Settings
    //#################
    MyMessage IntensityMsg(CHILD_ID_DIFFUSER, V_PERCENTAGE);
    MyMessage StatusMsg(CHILD_ID_DIFFUSER, V_STATUS);
    
    void setup()
    {
      gw.begin(incomingMessage, AUTO, false);
      pinMode(DIFFUSER_PIN, OUTPUT);
      digitalWrite(DIFFUSER_PIN, HIGH);
    
      //#################
      // Info
      //#################
      gw.sendSketchInfo("Difuser", "1.0");
    
    
      //#################
      // Send Presentation
      //#################
    
      gw.present( CHILD_ID_DIFFUSER, S_DIMMER );
    
      Diffuser_status = gw.loadState(5);
      Diffuser_Freq = gw.loadState(8);
      gw.send(StatusMsg.set(Diffuser_status ? true : false), true);
      gw.wait(200);
      gw.send(IntensityMsg.set(Diffuser_Freq),true);
    }
    
    void loop()
    {
      unsigned long now = millis();
    
      gw.process();
    
      if (now - lastUpdate > 1000) {
        nbseconds++;
        lastUpdate = now;
      }
    
      float delaytowaittmp = ((MAX_DELAY - MIN_DELAY) / 100.0) * Diffuser_Freq;
      int delaytowait = delaytowaittmp;
    
      if ((Diffuser_status == true) && (nbseconds > delaytowait)) {
       
        digitalWrite(DIFFUSER_PIN, LOW);
        delay(100);
        digitalWrite(DIFFUSER_PIN, HIGH);
        delay(100);
        digitalWrite(DIFFUSER_PIN, LOW);
        delay(100);
        digitalWrite(DIFFUSER_PIN, HIGH);
        delay(100);
        nbseconds = 0;
      }else if(nbseconds > delaytowait)
      {
        nbseconds = 0;
      }
    
    }
    
    void incomingMessage(const MyMessage &message) {
    
      if (message.type == V_STATUS || message.type == V_PERCENTAGE) {
    
        int req_status = -1;
        int req_percentage = -1;
    
        if (message.type == V_STATUS)
        {
          req_status = message.getBool();
          Diffuser_status = req_status;
          gw.saveState(5, Diffuser_status);
        }
    
        if (message.type == V_PERCENTAGE)
        {
          req_percentage = message.getByte();
          Diffuser_Freq = req_percentage;
          gw.saveState(8, Diffuser_Freq);
        }
    
      }
    }


    Now, you can have good smell in every room for some dollars when you arrived from work, when you start cooking, when going to sleep or entering in your Bat Cave !

    My Project

  • Dsiplaying dimmer percentage in Domoticz
    fifipil909F fifipil909

    if you want to see more details arround the sliders
    https://github.com/domoticz/domoticz/blob/49ddc50ee3099c00af1dac7c37dedc6f58a62a2a/www/app/LightsController.js#L2980

    Domoticz

  • Dsiplaying dimmer percentage in Domoticz
    fifipil909F fifipil909

    Hi yes, same things for me.
    It's look to be domoticz behaviours. the percentage from 0 - 100 is translated to 16 different step, that give you round value of 100/16 = 6.25
    This is why your "Wanted value" goes to something closer.

    This is written on this page : http://www.domoticz.com/wiki/Domoticz_API/JSON_URL's#Set_a_dimmable_light_to_a_certain_level

    Domoticz

  • Dsiplaying dimmer percentage in Domoticz
    fifipil909F fifipil909

    I've got same issue.
    After some debug, it appear that domoticz always set value to 100% when turning a Dimmer to on.
    So, just backup the % value on your sensor, and send it back to domoticz when you receive the V_Light message.

    you will see on this page, http://www.mysensors.org/build/dimmer line 223 that the % value is sent back to the controller.

    Domoticz

  • Node do not wake up
    fifipil909F fifipil909

    Hi Thanks for your reply.
    I need to use the interrupt for the motion sensor.
    Actually this part is working quite well. the only issue it's sometimes, it doesn't exit from the Sleep mode even when the 60 seconds time expired.

    I just see that I normally don't need this line :

    attachInterrupt(digitalPinToInterrupt(MOTION_SENSOR_DIGITAL_PIN), loop, CHANGE);
    

    I will try without it.

    Troubleshooting

  • Node do not wake up
    fifipil909F fifipil909

    Hi guys.
    First of all, happy new year to all the team from France. all the best for this year guys.
    And congratulation for the new web page. We will find good hardware platform here for sure.

    Quick question, I have multiple battery powered node with the same sensor (temp, hum, motion, light) and exactly the same sketch.

    Everything seems to work well except that sometimes, for some reason, one of the node (always the same one) seems to not wake up when the Sleep function should be finish (I would say it append twice a week).
    The only things that makes it wake up it's when the motion sensor trigger the interrupt. (but need to be hard-reset to prevent this things append again)

    It's very sporadic, and can't find the reason.
    I already switch radio module, but same things.

    Any clue ?
    I copy the sketch below but nothing exotic in there.
    Thanks in advance.

    /**
     * The MySensors Arduino library handles the wireless radio link and protocol
     * between your home built sensors/actuators and HA controller of choice.
     * The sensors forms a self healing radio network with optional repeaters. Each
     * repeater and gateway builds a routing tables in EEPROM which keeps track of the
     * network topology allowing messages to be routed to nodes.
     *
     * Created by Henrik Ekblad <henrik.ekblad@mysensors.org>
     * Copyright (C) 2013-2015 Sensnology AB
     * Full contributor list: https://github.com/mysensors/Arduino/graphs/contributors
     *
     * Documentation: http://www.mysensors.org
     * Support Forum: http://forum.mysensors.org
     *
     * This program is free software; you can redistribute it and/or
     * modify it under the terms of the GNU General Public License
     * version 2 as published by the Free Software Foundation.
     *
     */
    
    //#################
    // INCLUDE
    //#################
    #include <SPI.h>
    #include <MySensor.h>
    #include <DHT.h>
    
    //#################
    // OPTION
    //#################
    
    unsigned long SLEEP_TIME = 60000; // Sleep time between reads (in milliseconds)
    //#define DEBUG
    
    
    //#################
    // CHILD ID
    //#################
    #define CHILD_ID_HUM 0
    #define CHILD_ID_TEMP 1
    #define CHILD_ID_MOTION 2
    #define CHILD_ID_LIGHT 3
    #define CHILD_ID_BATTLVL 4
    
    
    //#################
    // PIN DEF
    //#################
    #define LIGHT_SENSOR_ANALOG_PIN A3
    #define MOTION_SENSOR_DIGITAL_PIN 2
    #define INTERRUPT MOTION_SENSOR_DIGITAL_PIN
    #define HUMIDITY_SENSOR_DIGITAL_PIN 4
    
    
    //#################
    // VAR
    //#################
    MySensor gw;
    DHT dht;
    float lastTemp;
    float lastHum;
    float lastbattvoltage;
    boolean metric = true;
    int lastLightLevel;
    char lasttripped;
    int lastBatteryPcnt;
    int updateAll = 60;
    int updateCount = 0;
    uint8_t backup;
    
    //#################
    // Messsage Settings
    //#################
    MyMessage msgHum(CHILD_ID_HUM, V_HUM);
    MyMessage msgTemp(CHILD_ID_TEMP, V_TEMP);
    MyMessage msg(CHILD_ID_MOTION, V_TRIPPED);
    MyMessage msglight(CHILD_ID_LIGHT, V_LIGHT_LEVEL);
    MyMessage msgvoltage(CHILD_ID_BATTLVL, V_VOLTAGE);
    
    
    void setup()
    {
      backup = ADCSRA ;
      gw.begin(NULL, AUTO, false);
      dht.setup(HUMIDITY_SENSOR_DIGITAL_PIN);
    
      pinMode(MOTION_SENSOR_DIGITAL_PIN, INPUT);
      attachInterrupt(digitalPinToInterrupt(MOTION_SENSOR_DIGITAL_PIN), loop, CHANGE);
    
    //#################
    // Info
    //#################
      gw.sendSketchInfo("Sensor Pack", "1.5");
    
      
    //#################
    // Send Presentation
    //#################
      gw.present(CHILD_ID_HUM, S_HUM);
      gw.present(CHILD_ID_TEMP, S_TEMP);
      gw.present(CHILD_ID_MOTION, S_MOTION);
      gw.present(CHILD_ID_LIGHT, S_LIGHT_LEVEL);
      gw.present(CHILD_ID_BATTLVL, S_POWER);
    
    }
    
    void loop()
    {
    
      updateCount += 1;
          if (updateCount == updateAll) {
            lastTemp = -1;
            lastHum = -1;
            lastLightLevel = -1;
            lastBatteryPcnt = -1;
            lasttripped = -1;
            lastbattvoltage = -1;
            updateCount = 0;
          }
      
      ADCSRA = backup ;
    
      // Motion Sensor
      boolean tripped = digitalRead(MOTION_SENSOR_DIGITAL_PIN) == HIGH;
          #if defined(DEBUG)
          Serial.print("Motion : ");
          Serial.println(tripped);
        #endif
      if (tripped != lasttripped)
      {
        gw.send(msg.set(tripped ? "1" : "0")); // Send tripped value to gw
        lasttripped = tripped;
      }
    
      // DHT sensor for Humidity and temperature
      delay(dht.getMinimumSamplingPeriod());
      float temperature = dht.getTemperature();
      if (isnan(temperature)) {
        
        #if defined(DEBUG)
          Serial.println("Failed reading temperature from DHT");
          Serial.println(dht.getTemperature());
        #endif
        
      } else if (temperature != lastTemp) {
        lastTemp = temperature;
        gw.send(msgTemp.set(temperature, 1));
        
        #if defined(DEBUG)
          Serial.print("Temperature : ");
          Serial.println(temperature);
        #endif
      }
    
      float humidity = dht.getHumidity();
      if (isnan(humidity)) {
        #if defined(DEBUG)
          Serial.println("Failed reading humidity from DHT");
          Serial.println(dht.getHumidity());
        #endif
      } else if (humidity != lastHum) {
        lastHum = humidity;
        gw.send(msgHum.set(humidity, 1));
        #if defined(DEBUG)
          Serial.print("Humidity: ");
          Serial.println(humidity);
        #endif
      }
    
     // Light Sensor
      int anaread = analogRead(LIGHT_SENSOR_ANALOG_PIN);
      int lightLevel = (1023 - anaread) / 10.23;
      #if defined(DEBUG)
          Serial.print("Light : ");
          Serial.println(lightLevel);
          Serial.print("Analog Value : ");
          Serial.println(anaread);
        #endif
      if (lightLevel != lastLightLevel) {  
        gw.send(msglight.set(lightLevel));
        lastLightLevel = lightLevel;
      }


      // Batt
    
     float sensorValue = readVcc() - 2600;
     sensorValue = sensorValue / 6.0;  //(Tension 3.2V à 2.6V min. Soit 0.6V d'amplitude. 0.6 / 100 = 6mV par %)
     long batteryPcnt = sensorValue;
        #if defined(DEBUG)
          Serial.print("Battery percent: ");
          Serial.print(batteryPcnt);
          Serial.println(" %");
        #endif
      if (lastBatteryPcnt != batteryPcnt) {
        gw.sendBatteryLevel(batteryPcnt);
        lastBatteryPcnt = batteryPcnt;
      }
    
    
      float Battvoltage = readVcc() / 1000.0;
          #if defined(DEBUG)
            Serial.print("Battery volt: ");
            Serial.print(Battvoltage);
            Serial.println(" Volt");
          #endif
        if(Battvoltage!=lastbattvoltage)
        {
          gw.send(msgvoltage.set(Battvoltage,2));
          lastbattvoltage = Battvoltage;
        }
        
     gw.sleep(INTERRUPT,CHANGE, SLEEP_TIME);
    
    }
    
    
    Troubleshooting

  • Relay enclosure box
    fifipil909F fifipil909

    Hi,

    I'm wondering if one of you already find this kind of enclosure with an Europe AC adaptor
    The idea is to embeded a nano pro with a relay.

    prises+telecommandees+3600w-image-3760074137978_1.jpg

    if not, any idea of keyword should I try on ebay ?
    Thanks

    Vincent.

    Enclosures / 3D Printing

  • Can't get DHT22 working with MySbootloader
    fifipil909F fifipil909

    I confirm it was due to Clock mismatch.
    I burnt a 8mhz version of the bootloader, assign good fuse.

    and now get everything working.

    upload-f27afbdf-a303-4d4b-b8e2-c58903d9d083

    Thanks

    Troubleshooting

  • Can't get DHT22 working with MySbootloader
    fifipil909F fifipil909

    Yes i'm using the 8mhz external oscilator.

    I just change f_cpu while flashing the bootloader.
    Didn't try yet to recompile.

    Troubleshooting

  • Can't get DHT22 working with MySbootloader
    fifipil909F fifipil909

    with the default bootloader I use : Arduino pro mini 3.3V - 8Mhz

    For the MYSbootloader I use :

    proMYSBL.name=ATmega328 16Mhz MYSBootloader
    proMYSBL.upload.tool=avrdude
    proMYSBL.upload.protocol=arduino
    proMYSBL.upload.maximum_size=30720
    proMYSBL.upload.maximum_data_size=2048
    proMYSBL.upload.speed=115200
    proMYSBL.bootloader.tool=avrdude
    proMYSBL.bootloader.low_fuses=0xF7
    proMYSBL.bootloader.high_fuses=0xDA
    proMYSBL.bootloader.extended_fuses=0x06
    proMYSBL.bootloader.unlock_bits=0x3F
    proMYSBL.bootloader.lock_bits=0x0F
    proMYSBL.bootloader.file=MySensors/MYSBootloader.hex
    proMYSBL.build.mcu=atmega328p
    proMYSBL.build.f_cpu=16000000L
    proMYSBL.build.board=AVR_UNO
    proMYSBL.build.core=arduino
    proMYSBL.build.variant=standard

    I try to change the f_cpu settings to 8000000L but same result.

    Troubleshooting

  • Can't get DHT22 working with MySbootloader
    fifipil909F fifipil909

    Just to add some things.
    I'm using 1.5 lib.
    Here is a screenshot from Myscontroller and my serial debug line :

    upload-de0889f3-c9b7-4784-8476-a423e25e1adb

    upload-993a2926-4a7e-48f0-bad3-2beaae3189a9

    Troubleshooting
  • Login

  • Don't have an account? Register

  • Login or register to search.
  • First post
    Last post
0
  • MySensors
  • OpenHardware.io
  • Categories
  • Recent
  • Tags
  • Popular