@korttoma Hi, I just returned to play with Efergy and Arduino. I realized that debug messages on UART reset the micro. Now I'm skipping (with a #define DEBUG and #ifdef) all debug messages and it seems to work fine. But take into account that now I'm not using any radio module... just to test the firmware.
gtortone
Posts
-
Efergy e2 power meter -
Efergy e2 power meterHi,
at the moment I'm defining some things in order to use RFM69 modules...
in the past, on my NRF24L01+ I was using 10 uF capacitor but I had same problems of "stop responding"... -
Efergy e2 power meterHi @korttoma,
the value 65535 or 32768 often is used as multiplier from sensor that send metric;
usually when you have to send a "small" float value (temperature, current) you can send it as integer
multiplied by a big constant instead of sending it with a float value converted in binary...I just refined my formula with this that is more close to formula I found for my Efergy using a small
constant:current = 18348 / 32768 / pow(2, 255-254 + 1) = 0.139 A
current = 17693 / 32768 / pow(2, 255-255 + 1) = 0.269 A
current = 28835 / 32768 / pow(2, 255-255 + 1) = 0.439 A -
Efergy e2 power meterHi @korttoma,
take a look to this decoding based on your collected data for 30W, 60W and 100W;everything seems to be ok !!
Regards,
Gennarop.s. I checked in your profile that you live in Finland and power voltage is 220/240 V :-)
- bytes #1: 0x09 fixed value
- bytes #2: 0X50 fixed value
- bytes #3: 0x2E fixed value
- bytes #4: 0x40 fixed value
- bytes #5: current MSB
- bytes #6: current LSB
- bytes #7: exponent
- bytes #8: CRC
- current detected = ((MSB << 8) + LSB / 65535) / pow(2, (255-exponent))
30 W = 0.13 A (@220V)
9 - 0x09
80 - 0x50
46 - 0x2E
64 - 0x4071 - 0x47
172 - 0xAC
254 - 0xFE
184 - 0xB80x47AC = 18348
current = 18348 / 65535 / pow(2, 1) = 0.139 A
60 W = 0.26 A (@220V)
9 - 0x09
80 - 0x50
46 - 0x2E
64 - 0x4069 - 0x45
29 - 0x1D
255 - 0xFF
40 - 0x280x451D = 17693
current = 17693 / 65535 / pow(2, 0) = 0.269 A
100 W = 0.45 A (@220V)
9 - 0x09
80 - 0x50
46 - 0x2E
64 - 0x40112 - 0x70
163 - 0xA3
255 - 0xFF
217 - 0xD90x70A3 = 28835 (10)
current = 28835 / 65535 / pow(2, 0) = 0.439 A
-
Efergy e2 power meterHi @korttoma,
happy to read that you are getting "reasonable" values from RFM12B !!but I agree that in your case the decoding protocol needs some refinements...
just a question: your line voltage is 110 or 240 ?take into account that from Efergy current sensor you get the value of "current" and
not "power" than for 30W expected value from data is (V/30) [Ampere]... -
Efergy e2 power meterHi, I have these modules:
http://www.banggood.com/433Mhz-RF-Transmitter-With-Receiver-Kit-For-Arduino-ARM-MCU-Wireless-p-74102.html?rmmds=searchthe range is only few centimeters... I will try to do some antenna tuning but I don't expect any significative improvement.
If you want to try with your RXB6 module the code is always the same, you have only to remove the configuration code lines related to RFM12b configuration;
-
Efergy e2 power meterHi,
you need to connect RFM12b module to Arduino following this schematic (you can avoid to connect IRQ line...)http://jeelabs.net/attachments/download/331/jlpcb-128.pdf
after this cabling you need to connect RFM12b DATA pin to Arduino D3 pin (you can select a different pin but modify
code accordingly...)only after this you can use the Mysensors-Efergy-e2 sketch (https://github.com/gtortone/MySensors-Efergy-e2) to get
RF data;I tested my code with cheap RF modules (I received them some days ago) but the performance of these modules are very
poor... I will try to do other work on cheap RF modules in the future...Thanks !
-
Efergy e2 power meterHi @korttoma,
I did not tested cheap 433 MHz modules yet... I will receive a couple of them next week !
anywai RFM12b is a great module that has interesting features like frequency tuning and adjustable gain...If I will have updates on cheap modules I will update this thread !
-
💬 Building a Raspberry Pi Gateway@skywatch
I meaning that often is also useful to check cable two (or three) times !
but if you already did it... ok ! -
💬 Building a Raspberry Pi Gateway@skywatch
Hi, options for "configure" are ok, I suggest you to double check your cabling !:)
-
💬 Building a Raspberry Pi GatewayYou're welcome !
you can (re)run configure, make, make install when you want,
but I suggest to stop the mysgw executable before launch "make install" -
💬 Building a Raspberry Pi Gatewayif you did
make installthe mysgw executable is in /usr/local/bin directory then you have to launch it with:
/usr/local/bin/mysgw -d -
💬 Building a Raspberry Pi Gateway@skywatch try to run it with "mysgw -d" .
Enabling debug mode you can see on console every message and diagnostics...
-
Efergy e2 power meter@korttoma said:
@gtortone very nice! I think I have one of these efergy e2s collecting dust. I would love to get more info on how you connected the RFM12B and where you purchased it from so I can get the correct type.
Hi, as you can see in photos I just posted, you need to connect DATA pin of RFM12B to a digital input of Atmega328P (it must be a pin suitable for interrupt).
RFM12B modules are not longer available... I have some of these (old) modules (all of them tuned for 868 Mhz) but I will do some tests with a cheap 433 MHz receiver (like this one: http://bit.ly/2gl6yXJ) or with a recent Hoperf transceiver modules (RFM69)
Thanks,
Gennaro -
Efergy e2 power meter
Photo #1: Efergy E2 OOK signal decoded by Zeroplus logic analyzer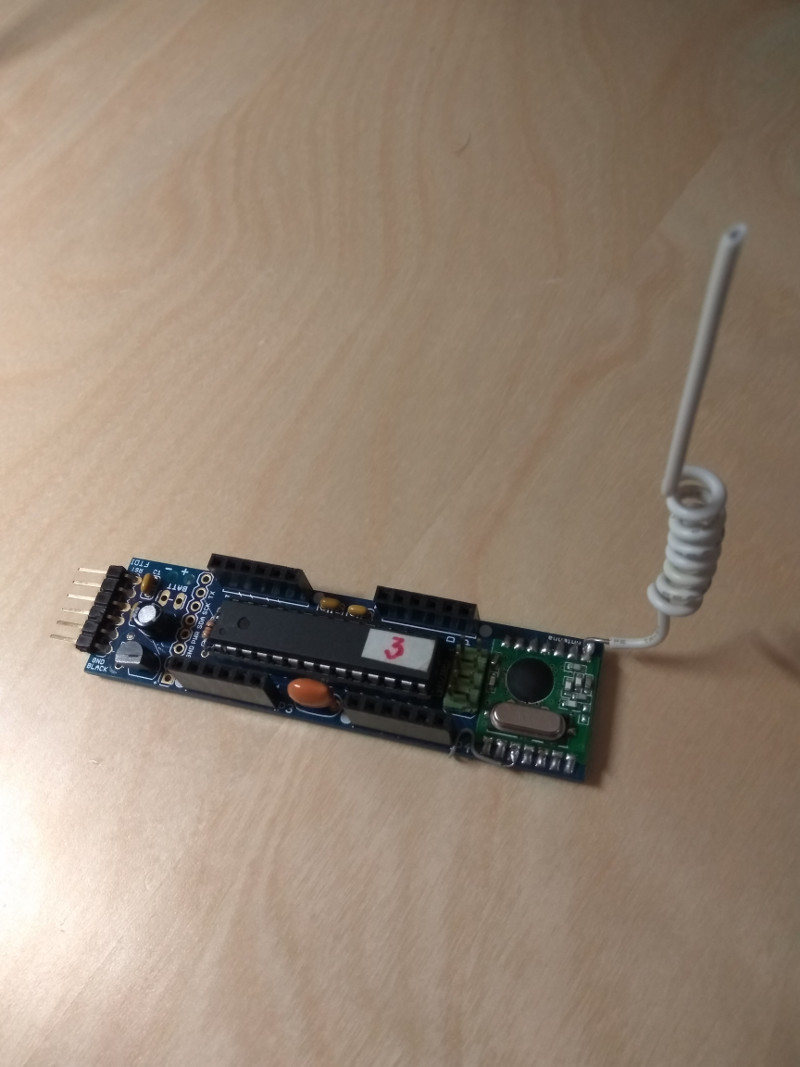
Photo #2: JeeNode module with RFM12B radio module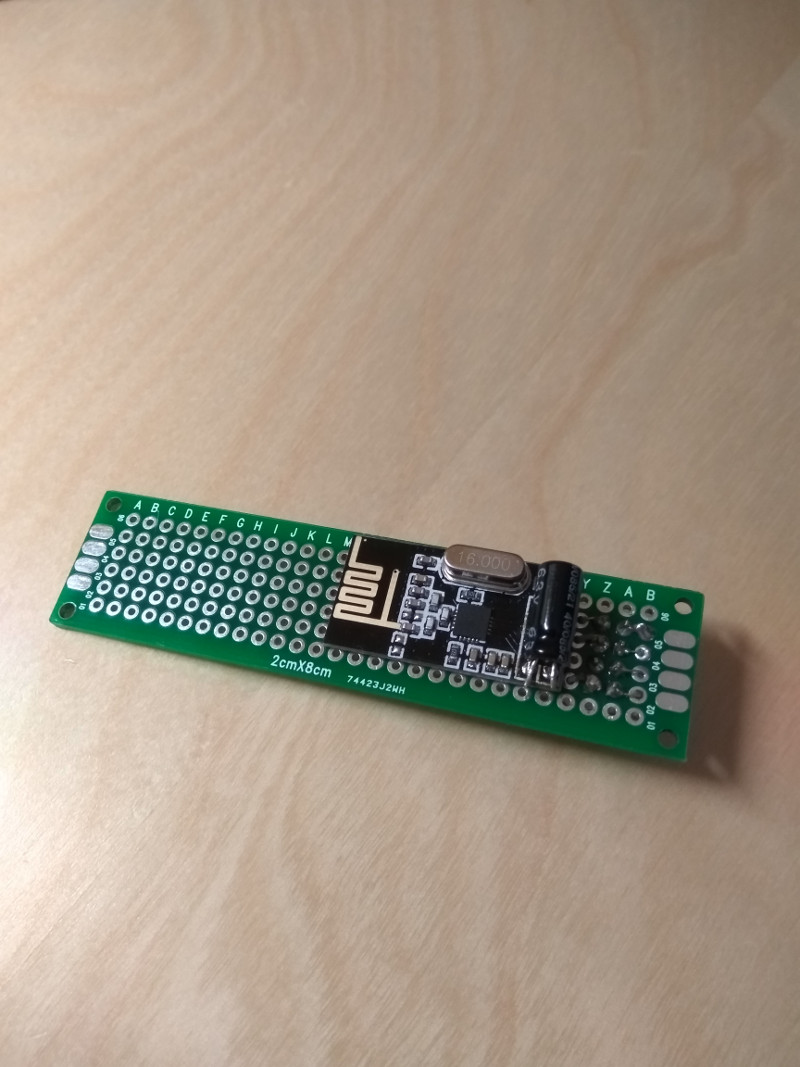
Photo #3: NRF24L01+ JeeNode shield pluggable on SPI header of JeeNode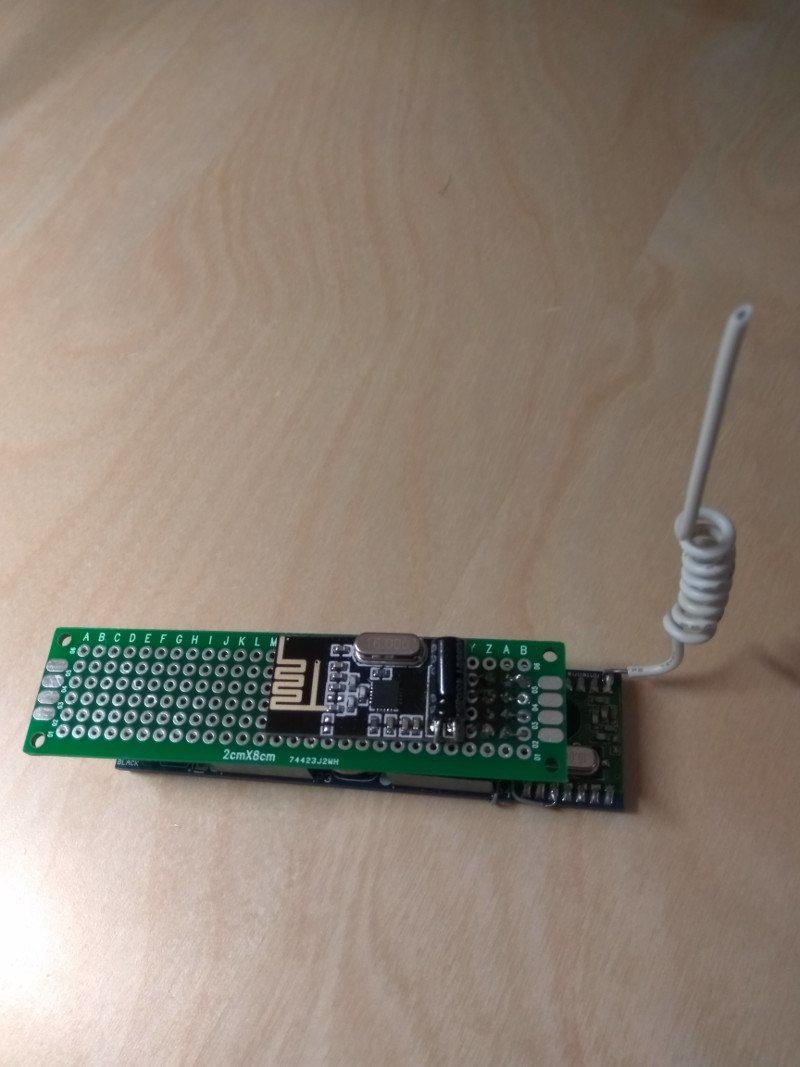
Photo #4: Final result !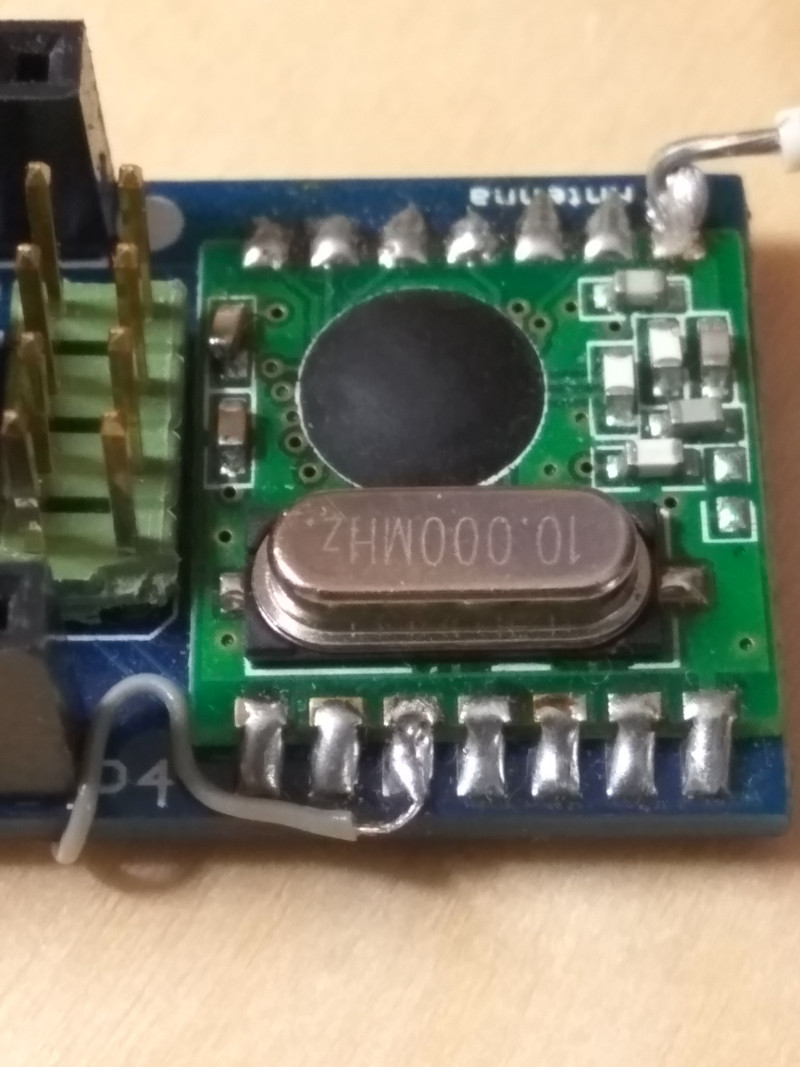
Photo #5: Detail of RFM12B Data pin routed to D3 in order to perform software OOK decoding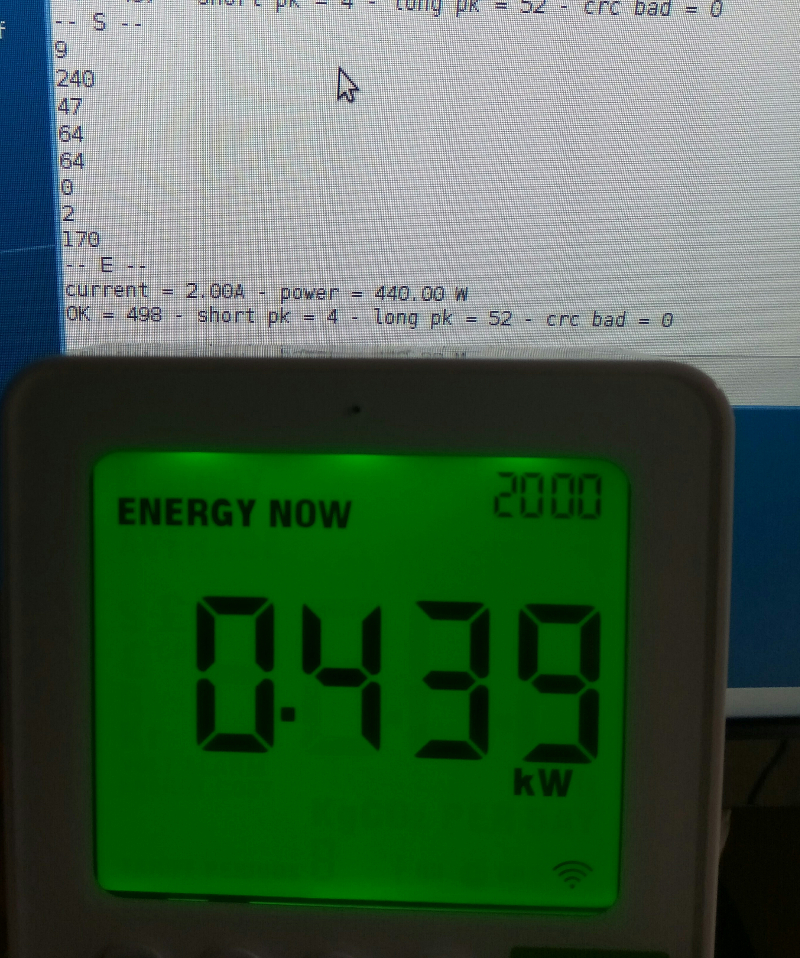
Photo #6: Efergy power meter display shows same value of software !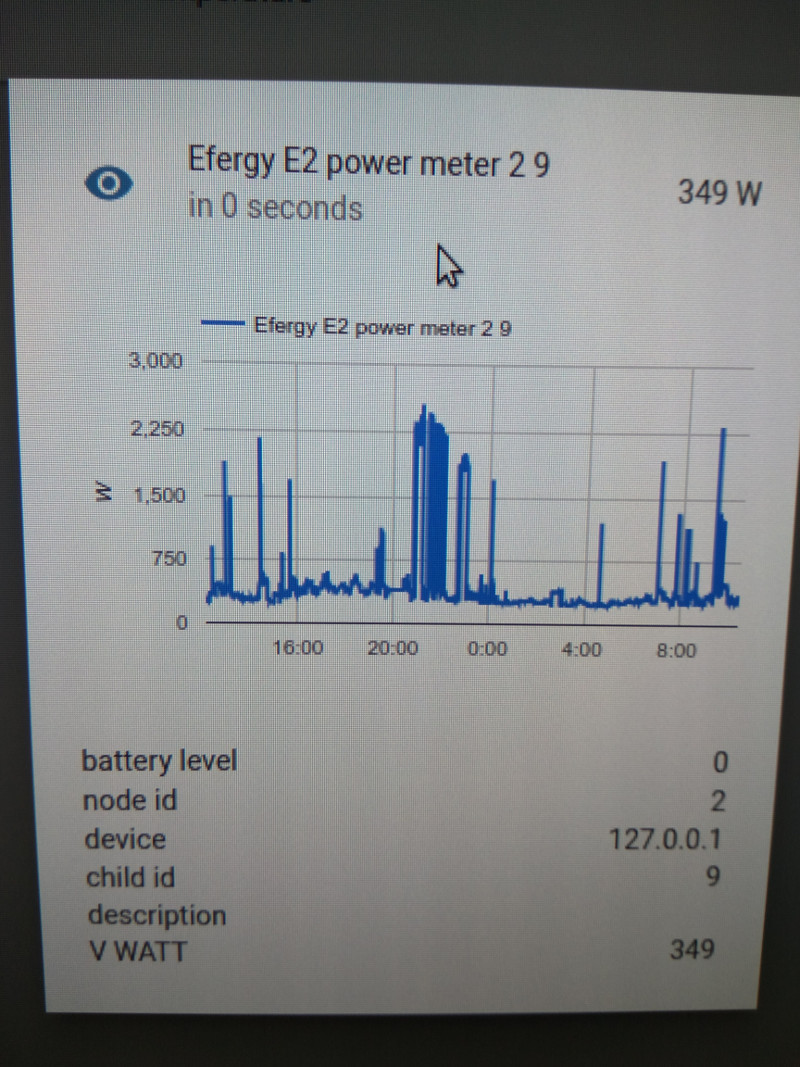
Photo #7: First data gathered by Home Assistant (https://home-assistant.io) on Raspberry PI 3Some notes:
-
I'm using a RFM12B radio module tuned for 868Mhz equipped with 433 MHz antenna... but everything goes fine due to RFM12B has frequency tuning
-
I plan to do another setup using a simple 433 Mhz receiver or other Hoperf 433 Mhz receiver module (RFM12B are obsoleted modules)
-
-
Efergy e2 power meterHi,
I just published on github (https://github.com/gtortone/MySensors-Efergy-e2) my last work about integration of Efergy e2 power meter with MySensors. The Efergy e2 electricity monitor (http://efergy.com/it/products/electricity-monitors/e2-classic) provides a sensor that wirelessly sends information about the amount of electricity you are using to the display monitor. The monitor converts this into kilowatt-hours.This sketch use a JeeNode v5 (http://jeelabs.net/projects/hardware/wiki/JeeNode) equipped with 433/868 MHz RFM12B module (www.hoperf.com/upload/rf/RFM12B.pdf) configured in OOK mode to capture wireless data (on pin D3) and forward it through NRF24L01+ with MySensors library.
Comments and suggestions are very welcome !
Regards,
Gennarop.s. photos will be published soon !
-
We are mostly using fake nRF24L01+'s, but worse fakes are emerging.Hi,
on gateway I'm using a NRF24L01+PA+LNA and everything works fine if I use NRF24L01+ or SI24R1 on sensor side.If I replace NRF24L01+PA+LNA with something different (NRF24L01+ or SI24R1 module) the communication does not work...
-
We are mostly using fake nRF24L01+'s, but worse fakes are emerging.Hi tekka, just for information:
- master branch => does not work with Si24R1 also disabling broadcast search of parent.
- dev branch => works fine with Si24R1 disabling broadcast search of parent.
Thanks,
Gennaro
