What did you build today (Pictures) ?

-
from my previous posts the PCB CNC milling came out as an interesting topic. maybe another method, working with photo resist PCBs and UV exposure, could be interesting for others. so, for those, who are interested in this, I just documented my solution (not the technique, but my tool) recently.
-
@gohan said in What did you build today (Pictures) ?:
@mtiutiu I got one of those blue silicon heat resistant mats with magnets so I can use the heat gun over it
Do you have a link for that? Sounds very useful, especially when soldering things that might get very hot (though maybe I won't need it as much after I get the PCB holder).
@neverdie they get on sale quite often on banggood but are also available on aliexpress: usually they are on 3 sizes and the biggest has some slots with a lid and others with magnets; there are also some small slots with numbers to keep track of the screws you are disassembling and a ruler at the bottom
-
from my previous posts the PCB CNC milling came out as an interesting topic. maybe another method, working with photo resist PCBs and UV exposure, could be interesting for others. so, for those, who are interested in this, I just documented my solution (not the technique, but my tool) recently.
-
@sincze I should have known. All you had to say was memory and it would have made sense, or should I say sincze. LOL. With needing to hold states of 900 LEDs, I am going to guess that they are WS2812 LED strips.
-
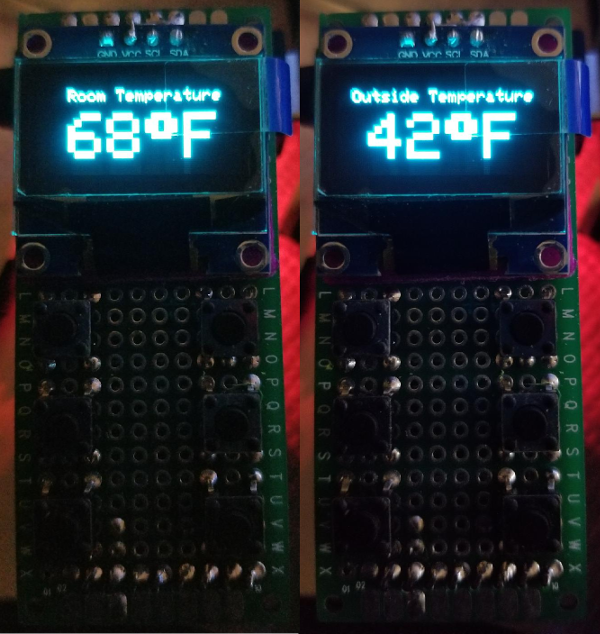
Today's progress on the new switch consists of finishing the basic 3D model of the wall switch plate and working on some of the programming.
For the wall plate design I do not have buttons as of yet, but the main part of the wall plate turned out good. I did the initial print in yellow because I am out of white at the moment. I am still trying to figure out the best way of printing it. In the video, you will see that the tabs are looking a bit rough. That is because I printed this one face down with supports for the tabs. If I decide to print them that way, it won't be bad because the tabs will be hidden under the wall plate cover. I will try printing them both ways to see which comes out better.
For the programming, I created a couple bitmap icons and did a sample of those icons animated on the screen. The animations toggle back and forth and each runs for about 10 seconds. One bitmap is a rain drop, and the other is a snow flake. The idea is to use these to display weather conditions. I will probably design some clouds and a sun as well and have 4 possible animated weather displays.
https://youtu.be/icre7xeprJI -

Reverse-engineering a bluetooth battery monitor from Conrad.The battery monitor has an Android and iOS app that displays voltage, but I wanted to read the data from an ESP32 (lower right corner of the pic).
This hack is probably worth a thread on its own, will add that later.
-
Reverse-engineering a bluetooth battery monitor from Conrad.The battery monitor has an Android and iOS app that displays voltage, but I wanted to read the data from an ESP32 (lower right corner of the pic).
This hack is probably worth a thread on its own, will add that later.
-
Maybe a bit off-topic, but I use octoprint as server for my 3d printer, and use Domoticz as homeautomation server. I want to know when 3D print is done, so I created a node-red flow that connects this via MQTT, so domotics shows print progress...
https://www.domoticz.com/forum/viewtopic.php?f=21&t=14021&p=162935#p162935
-
-
@bjacobse I literally just started using octoprint about a week ago. I am curious how you get the progress data into node-red to send over MQTT?
@dbemowsk
hi did you check the link I supplied? I rather discuss the topic in domoticz forum, as it could benefit other Domoticz/octoprint userrs
https://www.domoticz.com/forum/viewtopic.php?f=21&t=14021&p=162935#p162935
but I have installed on the octoprint the mqtt plugin, as my domoticz is also running both mosquitto and node-red, I specify the ip adress for domoticz in setup the broker in octoprint plugin mqtt, -
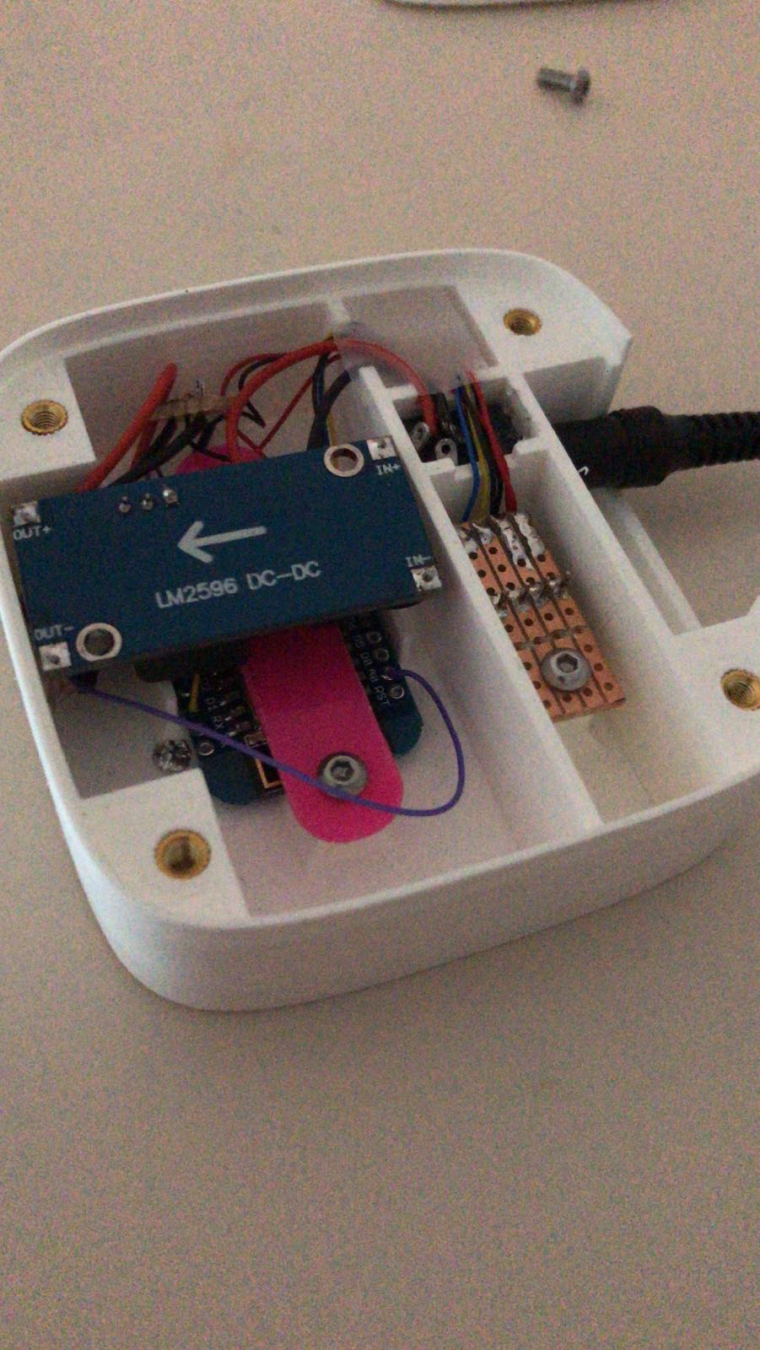
Finalised my indoor weather station with light intensity measurement build around a WeMos D1 mini. The system is using a BME280 module for pressure, humidity and temperature measurement. The light intensity is using a normal plain good old LDR.
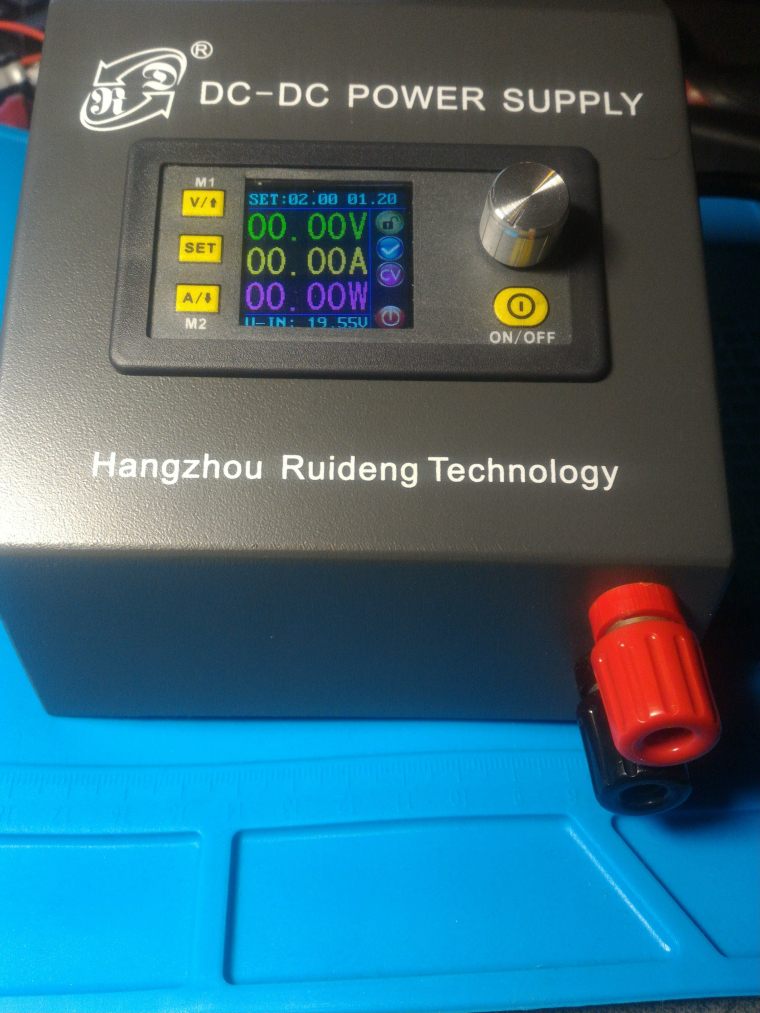
Step down converter to convert input voltage towards 5 Volt.
Of course using the esp8266 MySensors solution! Great achievement to all involved in building it. Really awesome!Case designed in Onshape and printed on a Ultimaker 2+.

-
Finalised my indoor weather station with light intensity measurement build around a WeMos D1 mini. The system is using a BME280 module for pressure, humidity and temperature measurement. The light intensity is using a normal plain good old LDR.
Step down converter to convert input voltage towards 5 Volt.
Of course using the esp8266 MySensors solution! Great achievement to all involved in building it. Really awesome!Case designed in Onshape and printed on a Ultimaker 2+.
@arnold So that is a 3D printed case? Curious where you got the knurled screw inserts that you used in the case for the cover? I am a computer tech and deal with a lot of E-waste disposal and on occasion have grabbed some similar ones from old laptop case parts, but those are really small. The ones that you have there are a decent size.
-
@arnold said in What did you build today (Pictures) ?:
@dbemowsk ], yes it's a fully printed case using PLA material.
I bought some nice and decent brass knurled from Banggood. Bought directly some M3 bolts made of stainless steel also at Banggood.The bolts you can get in different lengths.Nice. And thanks for the links.
How do you secure the brass knurls in the box? Do you glue them or press fit them or...?
@neverdie, a very very easy handling. Just heat and melt them in the PLA :)
I use longer M3 bolts so that I can heat them up (in a flame of a stove or lighter)
and able to position them very accurately into the holes which are already there in the case it self. The knurled inserts have 5mm of diameter and I'm designing the holes @ 4.8 mm. If the inserts are heated you will melt them into the 4.8 mm holes and after cooling down...it solid and fixed in the case. -
Awesome! Thanks.
Hello! It looks like you're interested in this conversation, but you don't have an account yet.
Getting fed up of having to scroll through the same posts each visit? When you register for an account, you'll always come back to exactly where you were before, and choose to be notified of new replies (either via email, or push notification). You'll also be able to save bookmarks and upvote posts to show your appreciation to other community members.
With your input, this post could be even better 💗
Register Login