Skip to content
  • MySensors
  • OpenHardware.io
  • Categories
  • Recent
  • Tags
  • Popular
Skins
  • Light
  • Brite
  • Cerulean
  • Cosmo
  • Flatly
  • Journal
  • Litera
  • Lumen
  • Lux
  • Materia
  • Minty
  • Morph
  • Pulse
  • Sandstone
  • Simplex
  • Sketchy
  • Spacelab
  • United
  • Yeti
  • Zephyr
  • Dark
  • Cyborg
  • Darkly
  • Quartz
  • Slate
  • Solar
  • Superhero
  • Vapor

  • Default (No Skin)
  • No Skin
Collapse
Brand Logo
  1. Home
  2. General Discussion
  3. What did you build today (Pictures) ?

What did you build today (Pictures) ?

Scheduled Pinned Locked Moved General Discussion
1.1k Posts 105 Posters 202.5k Views 98 Watching
  • Oldest to Newest
  • Newest to Oldest
  • Most Votes
Reply
  • Reply as topic
Log in to reply
This topic has been deleted. Only users with topic management privileges can see it.
  • berkseoB Offline
    berkseoB Offline
    berkseo
    wrote on last edited by berkseo
    #777

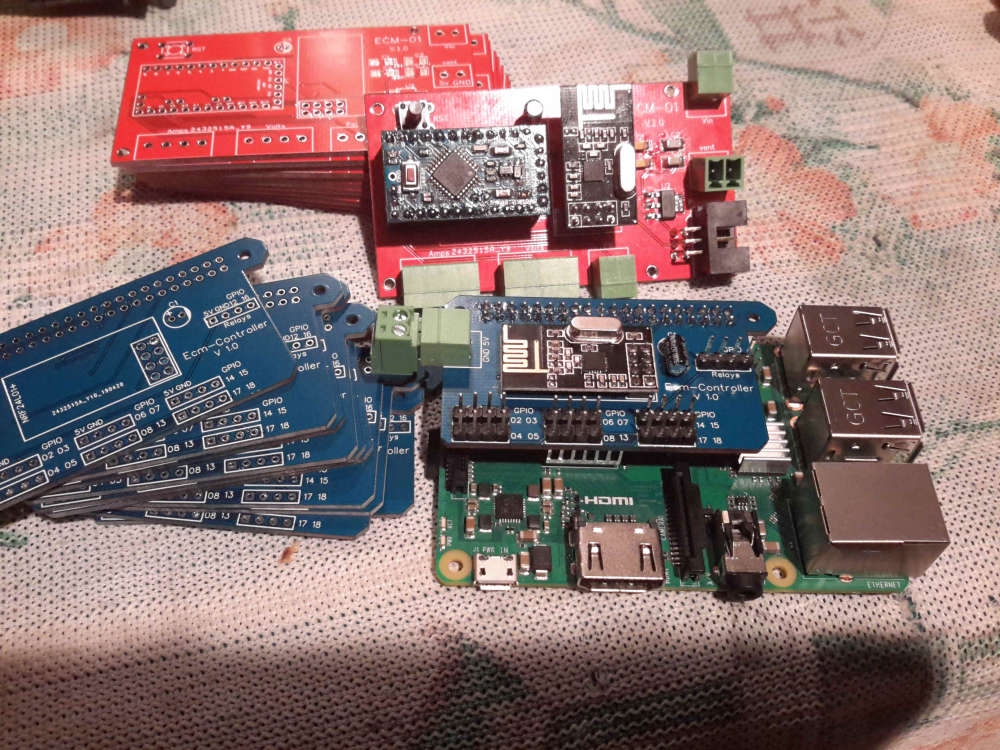
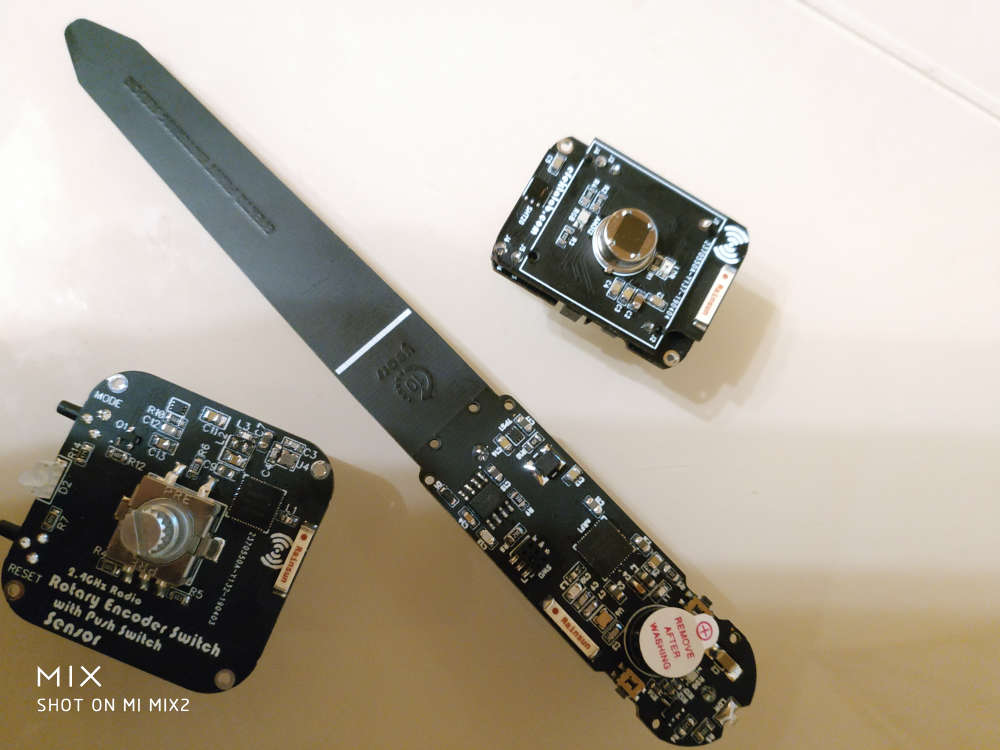
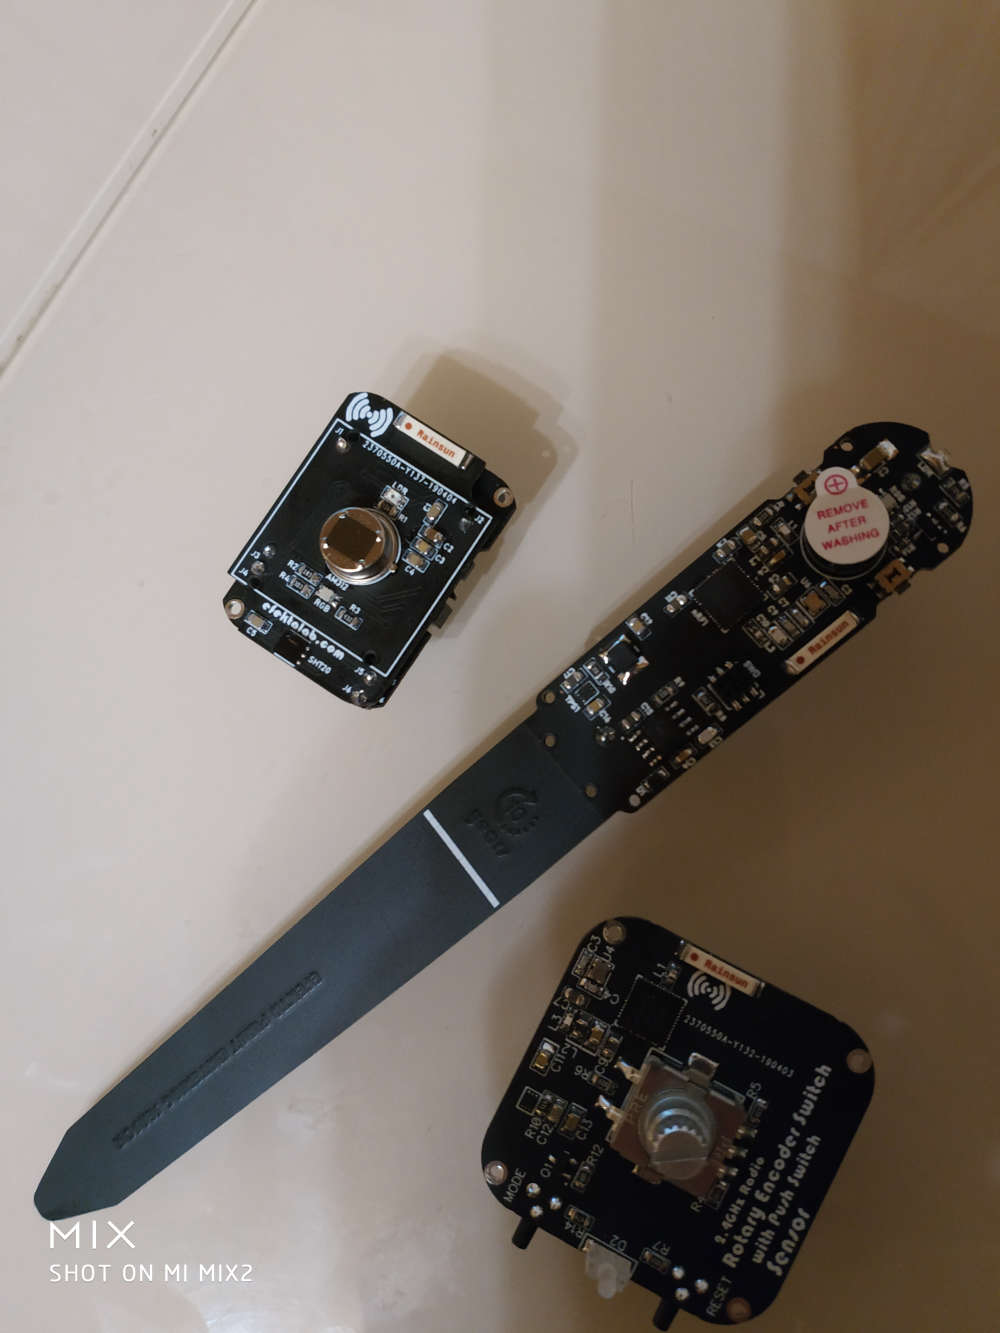
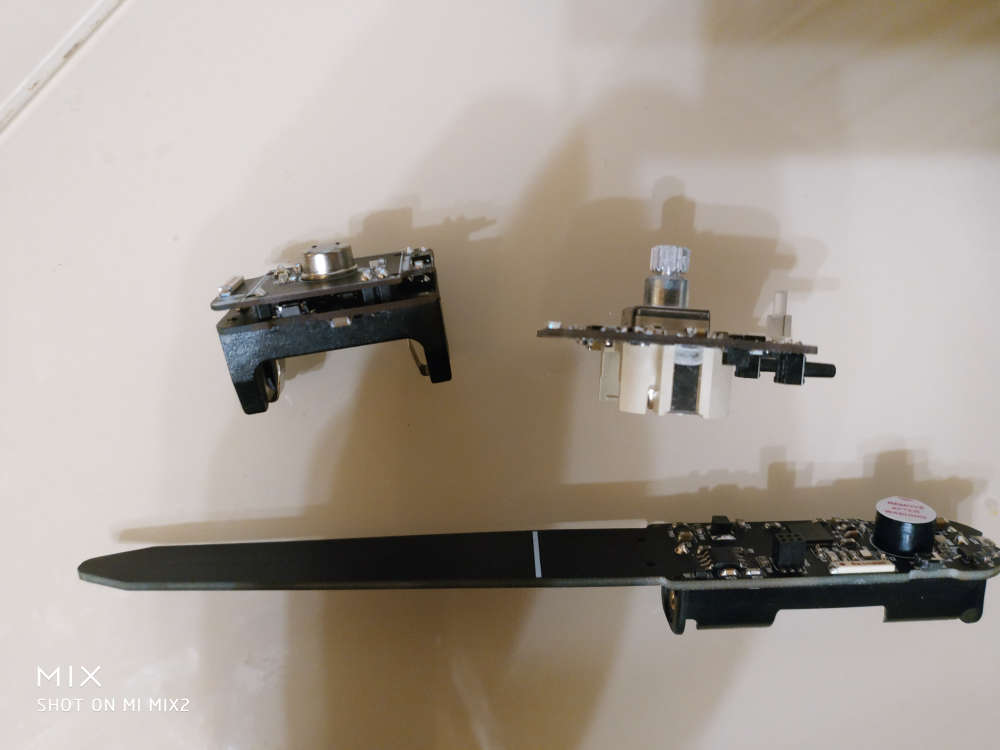
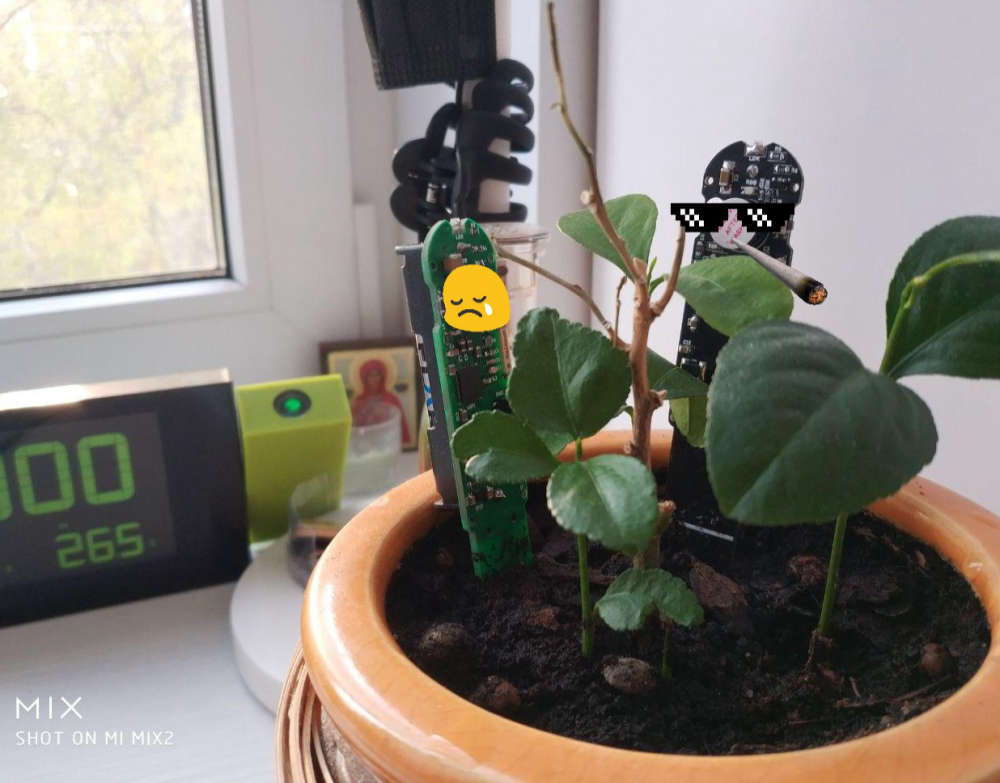
    Today, the first sensors of the devices were soldered, the prototypes of which passed long-time tests. Eliminated children's sores. In matt black they are good :)
    1_1556060042292_IMG_20190424_014140.jpg 0_1556060042291_IMG_20190424_014129.jpg
    0_1556060466225_IMG_20190424_015903.jpg
    0_1556207020867_photo_2019-04-25_18-02-1111.jpg

    1 Reply Last reply
    2
    • alowhumA Offline
      alowhumA Offline
      alowhum
      Plugin Developer
      wrote on last edited by alowhum
      #778

      @berkseo whoa, time for a Kickstarter! They look great! Where did you have them made, and what do they cost?

      @fernando-alvarez-buylla Always nice to see the Aurora theme being used :-)

      berkseoB 1 Reply Last reply
      0
      • fernando alvarez buyllaF Offline
        fernando alvarez buyllaF Offline
        fernando alvarez buylla
        wrote on last edited by
        #779

        And a few days later my pcb's arrived
        0_1556345757207_IMG_20190427_011106.jpg

        Now to test the next version

        1 Reply Last reply
        1
        • berkseoB Offline
          berkseoB Offline
          berkseo
          wrote on last edited by berkseo
          #780

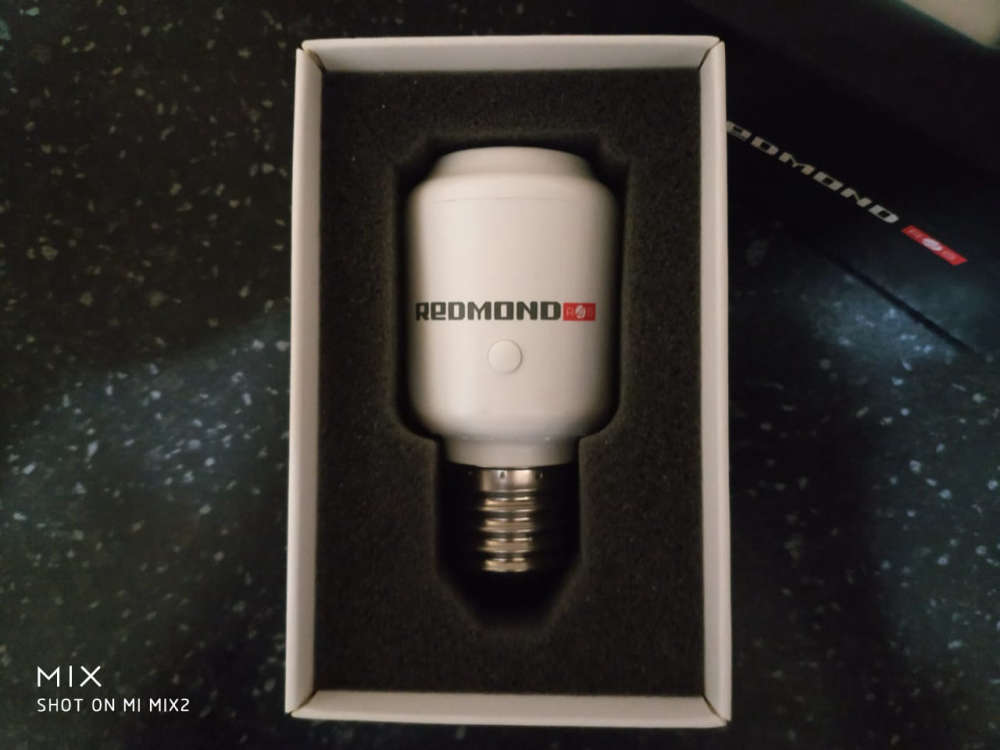
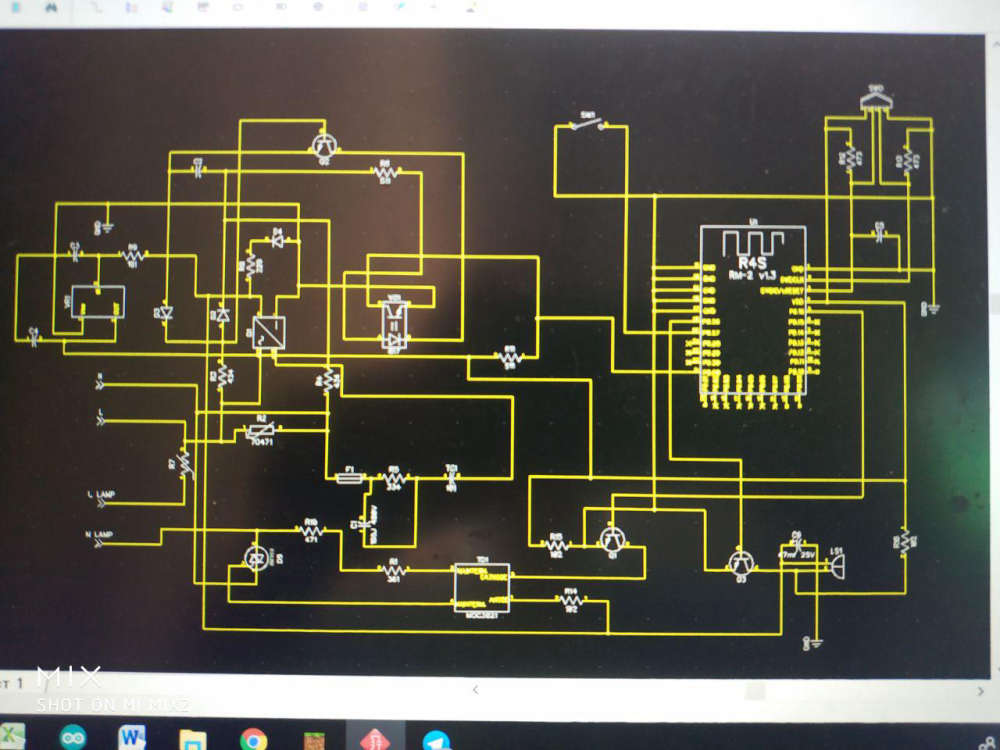
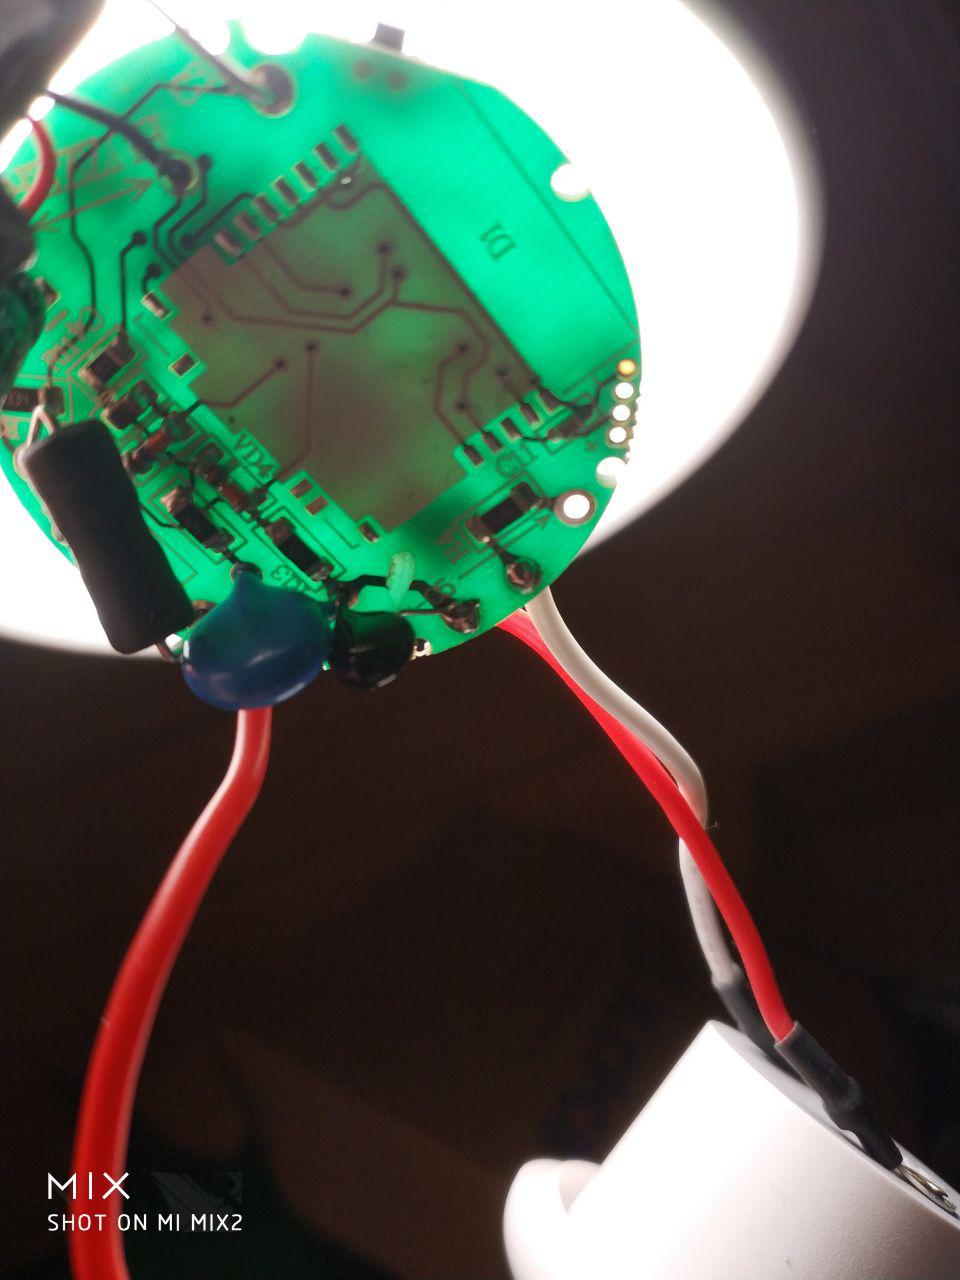
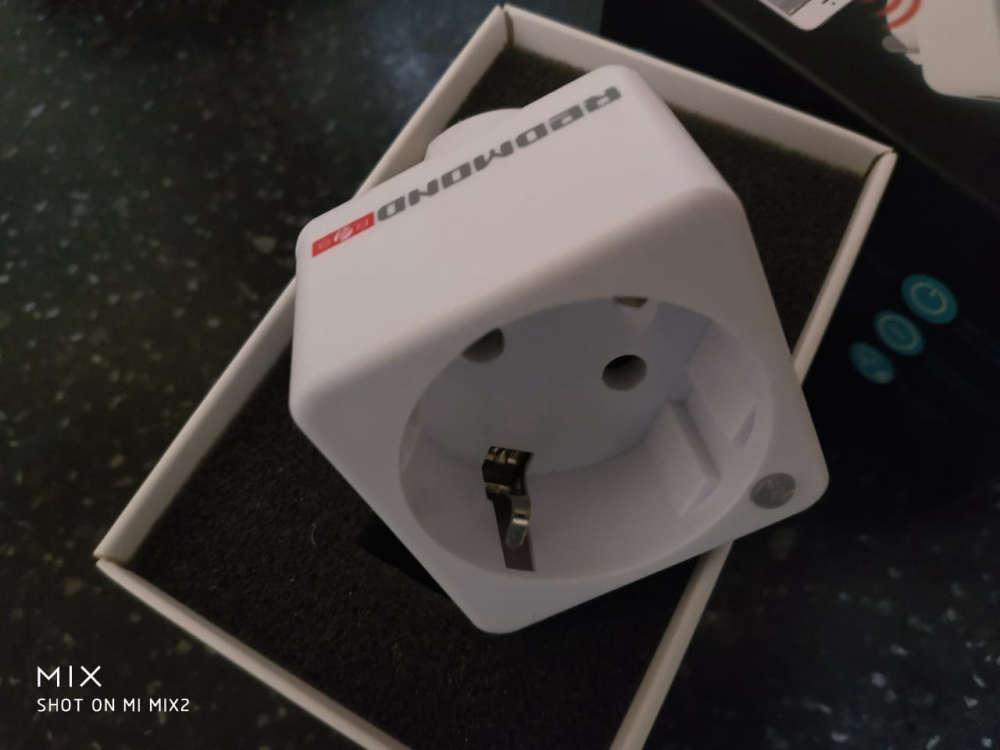
          Hacking Redmond smart bulb socket RSP-202S

          0_1556488999240_WhatsApp Image 2019-04-29 at 00.09.52.jpeg

          https://youtu.be/ApcpM_Oh7uE

          on nRF51822...

          1 Reply Last reply
          1
          • alowhumA Offline
            alowhumA Offline
            alowhum
            Plugin Developer
            wrote on last edited by
            #781

            How did you 'hack' it? All I see in the video is you changing a power wire?

            berkseoB 1 Reply Last reply
            0
            • alowhumA alowhum

              How did you 'hack' it? All I see in the video is you changing a power wire?

              berkseoB Offline
              berkseoB Offline
              berkseo
              wrote on last edited by berkseo
              #782

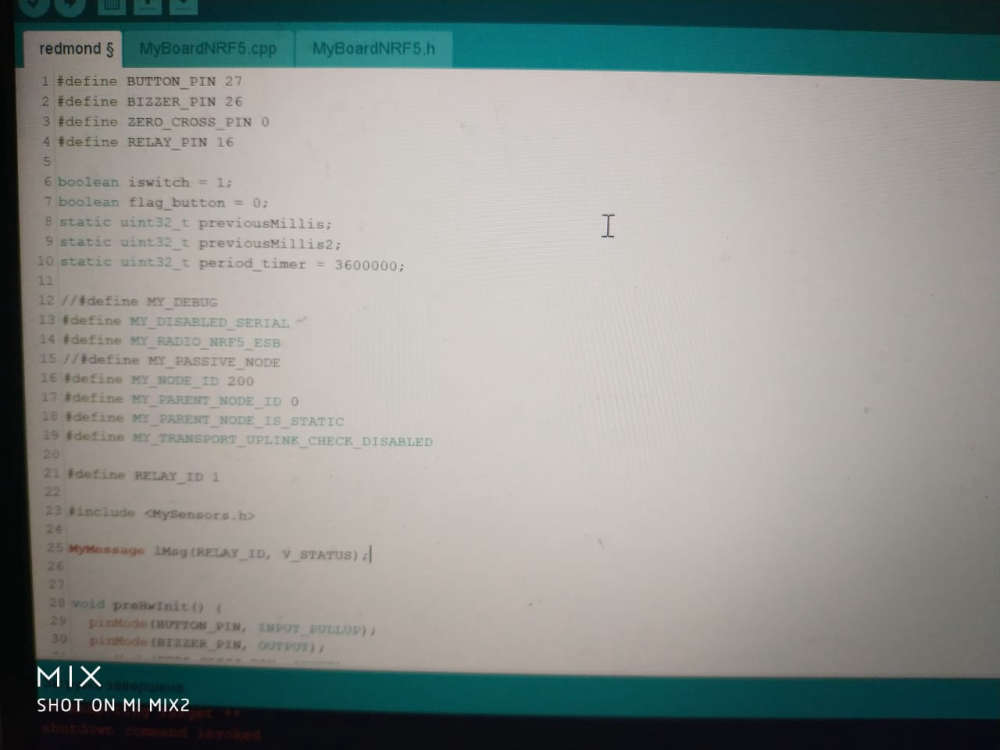
              @alowhum I replaced the manufacturer's software with my own.
              0_1556490111282_WhatsApp Image 2019-04-29 at 01.19.43.jpeg

              The device now works on the mysensors network

              1_1556490583713_photo_2019-04-27_15-12-06.jpg 0_1556490583712_photo_2019-04-07_15-31-44.jpg

              1 Reply Last reply
              1
              • alowhumA Offline
                alowhumA Offline
                alowhum
                Plugin Developer
                wrote on last edited by
                #783

                @berkseo very cool! How did you do that? Did you just have to connect the serial holes to an ST_LINK adapter or something similar? Was is difficult to open the device? And, most importantly: is your code available somewhere?

                berkseoB 1 Reply Last reply
                0
                • berkseoB Offline
                  berkseoB Offline
                  berkseo
                  wrote on last edited by
                  #784

                  Hacking Redmond SkyPlug RSP-100S

                  0_1556575487052_WhatsApp Image 2019-04-30 at 00.45.17.jpeg

                  https://youtu.be/C5W_3nAF-2A

                  1 Reply Last reply
                  0
                  • alowhumA alowhum

                    @berkseo whoa, time for a Kickstarter! They look great! Where did you have them made, and what do they cost?

                    @fernando-alvarez-buylla Always nice to see the Aurora theme being used :-)

                    berkseoB Offline
                    berkseoB Offline
                    berkseo
                    wrote on last edited by
                    #785

                    @alowhum Kickstarter? I'm not sure it's time :) ..The cost of components is approximately $10. PCB made in China, soldered by myself.

                    1 Reply Last reply
                    0
                    • alowhumA alowhum

                      @berkseo very cool! How did you do that? Did you just have to connect the serial holes to an ST_LINK adapter or something similar? Was is difficult to open the device? And, most importantly: is your code available somewhere?

                      berkseoB Offline
                      berkseoB Offline
                      berkseo
                      wrote on last edited by
                      #786

                      @alowhum Soon I will publish codes and the description of process of dismantling and a firmware. But getting ahead.. it's very simple :)

                      berkseoB 2 Replies Last reply
                      3
                      • FotoFieberF Offline
                        FotoFieberF Offline
                        FotoFieber
                        Hardware Contributor
                        wrote on last edited by
                        #787

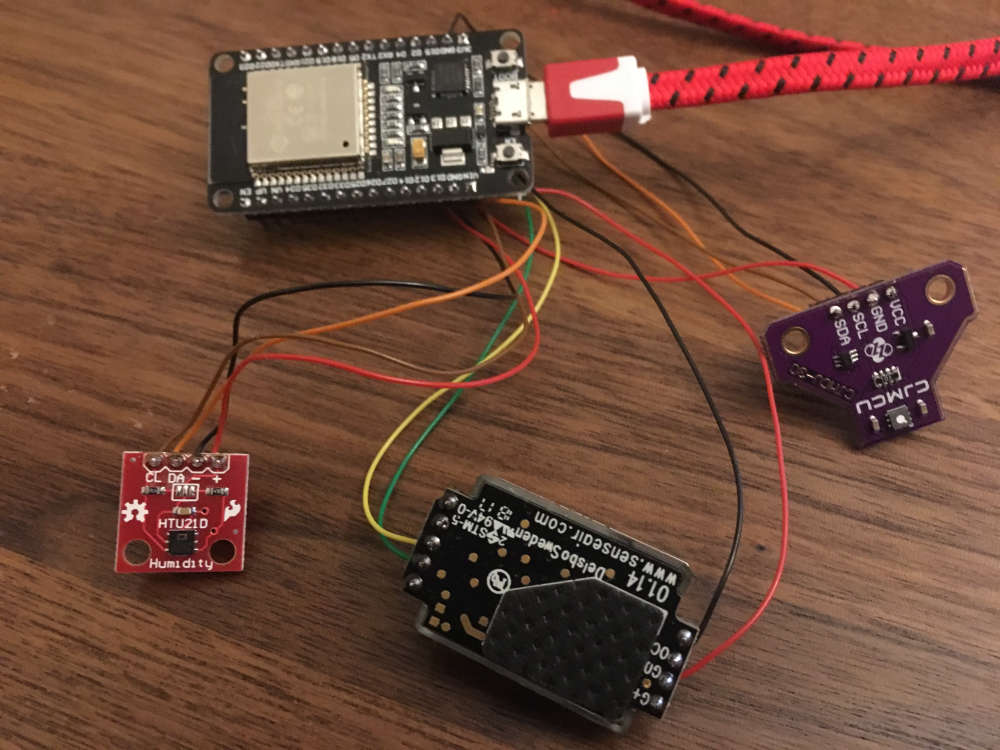
                        Added two other (e)co2 sensors to my test-setup.
                        Now 3 NDIR and 2 VOC under observation. :)
                        0_1556829380676_IMG_3826.JPG

                        1 Reply Last reply
                        0
                        • nagelcN Offline
                          nagelcN Offline
                          nagelc
                          wrote on last edited by
                          #788

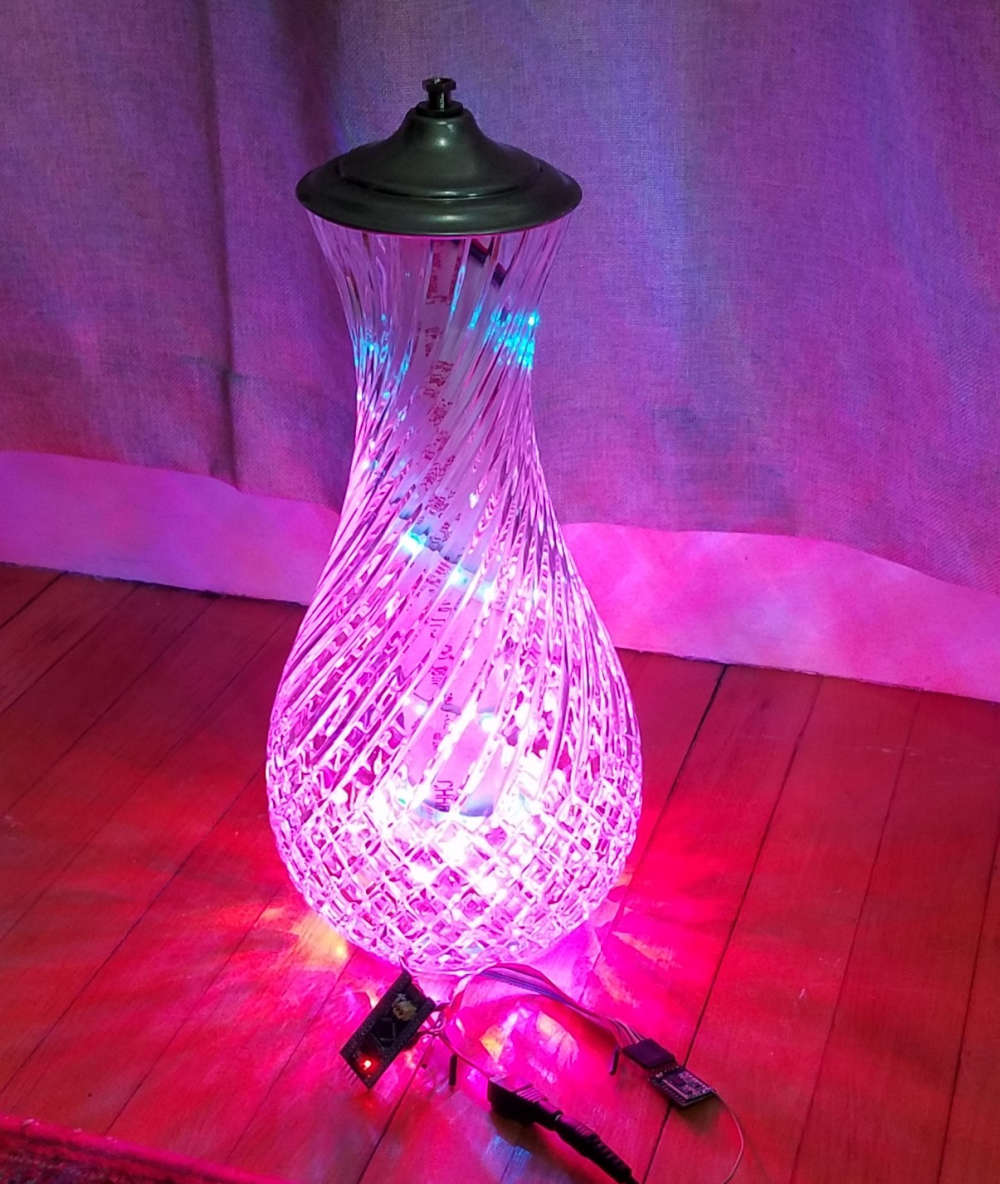
                          A family member gave me an old lamp with a fancy glass base. Well, I didn't like the lamp, but the base was nice, so I kept it in my basement for a few years. I found it again the other day and decided it needed to become a new type of lamp. I put a 150 LED strip (WS2812B) inside. I have an STM32 Blue Bill and RFM69HCW to run the light patterns and connect to MySensors.
                          In Domoticz, I have it set up as a dimmer light, but the node just switches patterns depending on what the dimmer level is.
                          At first, I wrapped the LED strip carefully around a tube that sits in the center of the glass jar, but it didn't look very good. Somehow just spiraling the strip in the bottom of the lamp has a much better effect.
                          My wife even liked it, so maybe I will put some finishing touches on it and actually use it as a lamp : )
                          0_1556834583958_20190502_174734.jpg

                          1 Reply Last reply
                          8
                          • berkseoB berkseo

                            @alowhum Soon I will publish codes and the description of process of dismantling and a firmware. But getting ahead.. it's very simple :)

                            berkseoB Offline
                            berkseoB Offline
                            berkseo
                            wrote on last edited by
                            #789

                            @berkseo
                            https://translate.google.ru/translate?hl=&sl=ru&tl=en&u=https%3A%2F%2Fmysku.ru%2Fblog%2Fdiy%2F72557.html

                            Original (code without Google formatting): https://mysku.ru/blog/diy/72557.html

                            1 Reply Last reply
                            0
                            • berkseoB Offline
                              berkseoB Offline
                              berkseo
                              wrote on last edited by berkseo
                              #790

                              Test nRF52840 with Mysensors on Arduino IDE
                              https://youtu.be/dLXDBjsmVhE

                              based on source - https://translate.google.ru/translate?sl=ru&tl=en&u=https%3A%2F%2Fmysensors-rus.github.io%2Fnrf52840-The-first-steps%2F

                              1 Reply Last reply
                              3
                              • FanfanF Offline
                                FanfanF Offline
                                Fanfan
                                wrote on last edited by Fanfan
                                #791

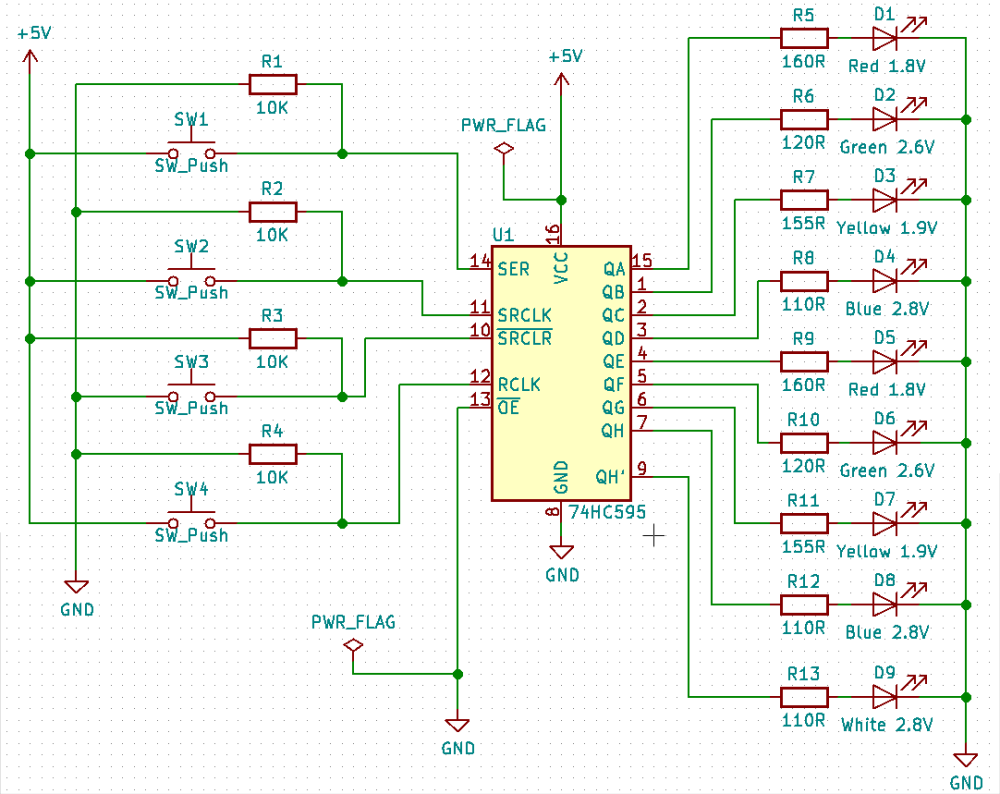
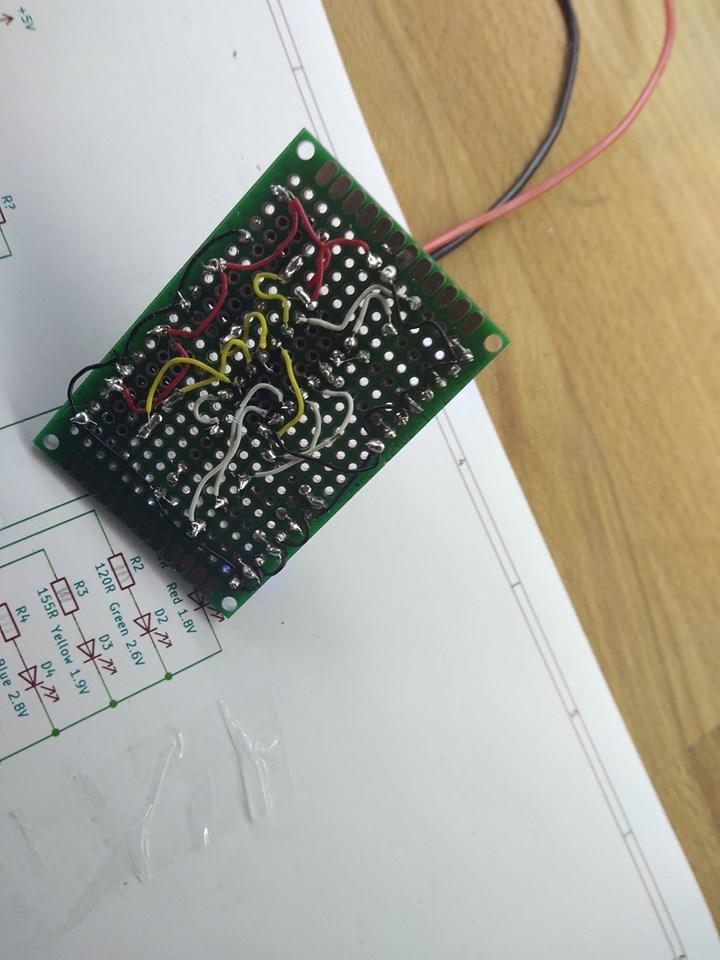
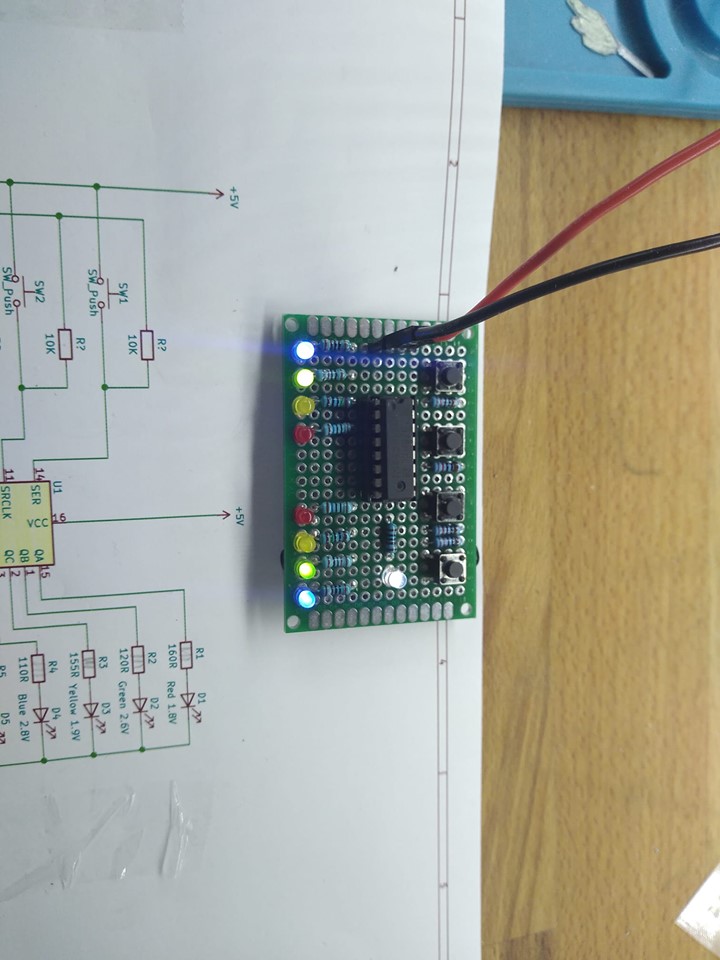
                                Well, Design of an home made electronic kit for my 10yo daughter to teach her by example. on 74HC595 (shift reg), 9 leds, 4 push buttons, some wrapping wire, ... We managed to build it, it works, with some bad contacts, but it works, she enjoyed the thing and the time spent together. Here is the schema and the pictures. I strongly invite parents to build it with their children, easy and fun. !
                                1_1557074595586_59399854_1643957105747897_3582083341400145920_n.jpg 0_1557074595584_59168532_1643956979081243_7862945518123483136_n.jpg 0_1557074649088_Capture d’écran_2019-05-05_18-43-50.png

                                bjacobseB 1 Reply Last reply
                                5
                                • FanfanF Fanfan

                                  Well, Design of an home made electronic kit for my 10yo daughter to teach her by example. on 74HC595 (shift reg), 9 leds, 4 push buttons, some wrapping wire, ... We managed to build it, it works, with some bad contacts, but it works, she enjoyed the thing and the time spent together. Here is the schema and the pictures. I strongly invite parents to build it with their children, easy and fun. !
                                  1_1557074595586_59399854_1643957105747897_3582083341400145920_n.jpg 0_1557074595584_59168532_1643956979081243_7862945518123483136_n.jpg 0_1557074649088_Capture d’écran_2019-05-05_18-43-50.png

                                  bjacobseB Offline
                                  bjacobseB Offline
                                  bjacobse
                                  wrote on last edited by bjacobse
                                  #792

                                  @fanfan
                                  Looks nice, and I love the idea that you spend time and knowledge to your kids :-)
                                  but looking at the current budget it seems that you are above the rated current consumption for the 74HC595, just so you don't wonder in case it burns when several LEDs are ON at the same time

                                  Input clamp current, I IK (V I < 0 or V I > V CC ) ±20 mA
                                  Output clamp current, I OK (V O < 0 or V O > V CC ) ±20 mA
                                  Continuous output current, I O (V O = 0 to V CC ) ±35 mA
                                  Continuous current through V CC or GND ±70 mA

                                  Data from here:
                                  https://www.sparkfun.com/datasheets/IC/SN74HC595.pdf

                                  1 Reply Last reply
                                  0
                                  • berkseoB berkseo

                                    @alowhum Soon I will publish codes and the description of process of dismantling and a firmware. But getting ahead.. it's very simple :)

                                    berkseoB Offline
                                    berkseoB Offline
                                    berkseo
                                    wrote on last edited by
                                    #793

                                    @berkseo
                                    https://translate.yandex.ru/translate?url=https%3A%2F%2Fhabr.com%2Fru%2Fpost%2F450860%2F&lang=ru-en

                                    1 Reply Last reply
                                    0
                                    • dbemowskD dbemowsk

                                      @sincze I should have known. All you had to say was memory and it would have made sense, or should I say sincze. LOL. With needing to hold states of 900 LEDs, I am going to guess that they are WS2812 LED strips.

                                      H Offline
                                      H Offline
                                      Hanane Amrani
                                      Banned
                                      wrote on last edited by
                                      #794

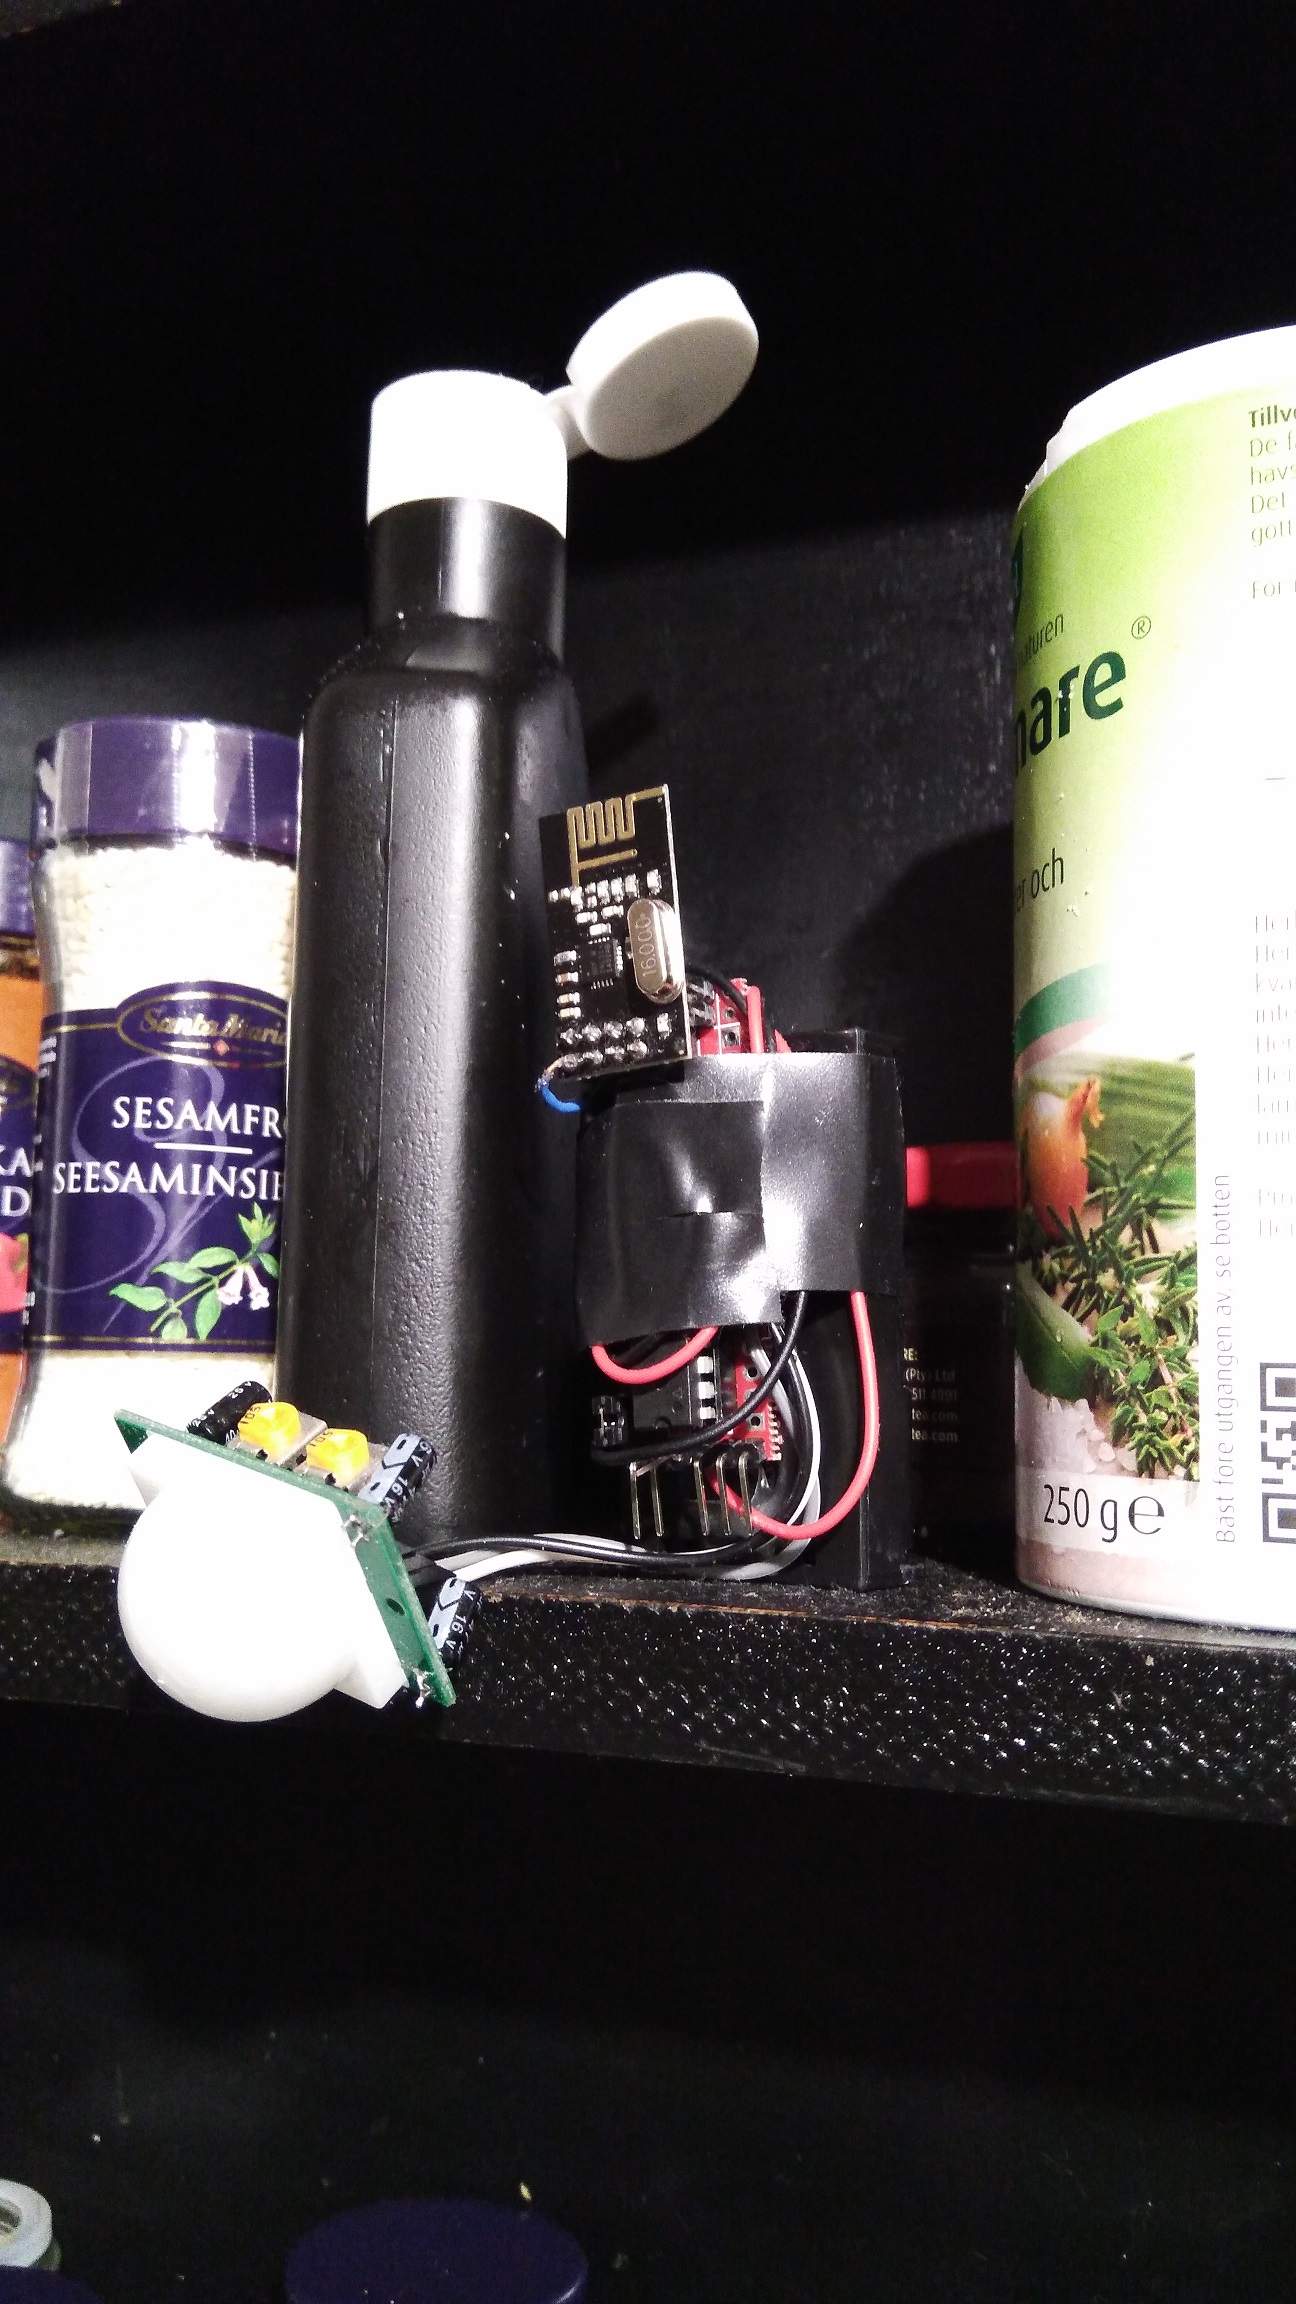
                                      @dbemowsk I've been gambling with an Adafruit AudioFX board and cobbled together this annunciator. Eventually it will likely be a MySensors node to play alarms or different sounds. It is using a reasonably-priced transportable speaker to play the sounds. I were given it to work with my doorbell button node today.

                                      1 Reply Last reply
                                      1
                                      • FotoFieberF Offline
                                        FotoFieberF Offline
                                        FotoFieber
                                        Hardware Contributor
                                        wrote on last edited by
                                        #795

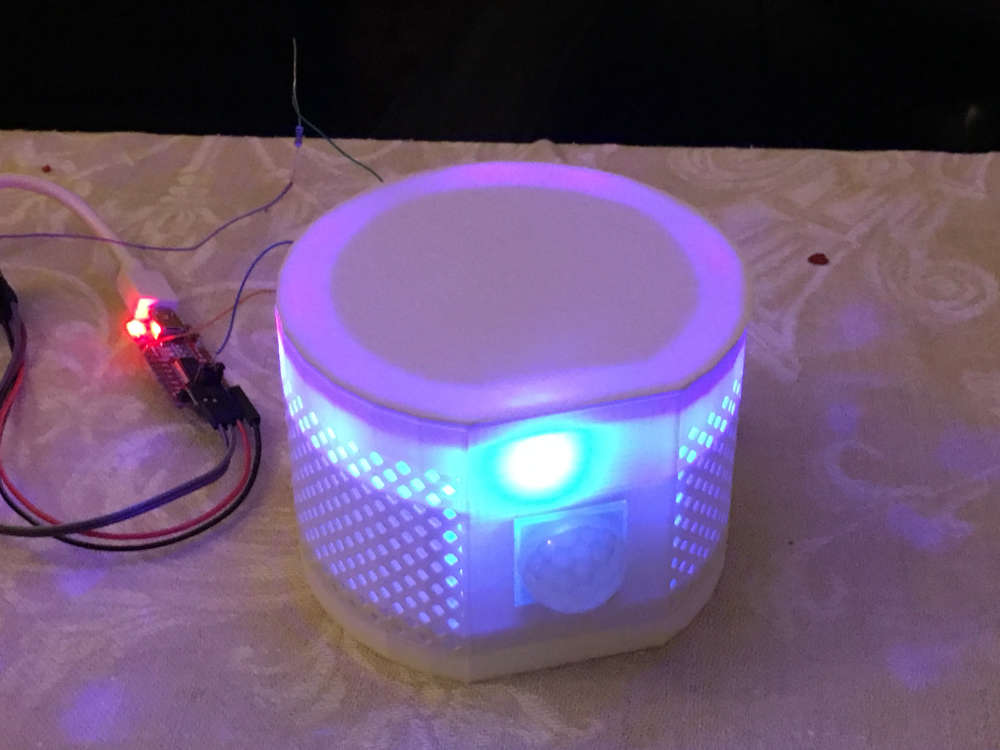
                                        Prototyping my netatmo replacement device. It has an led strip that can simulate a lighouse, a rainbow or a fireplace...
                                        (If not used only for fun, it should warn you, if there is too much CO2 in the air.)
                                        0_1558731422060_IMG_3858.JPG

                                        1 Reply Last reply
                                        4
                                        • mfalkviddM Offline
                                          mfalkviddM Offline
                                          mfalkvidd
                                          Mod
                                          wrote on last edited by mfalkvidd
                                          #796

                                          Today I have spent a few hours trying to eradicate the confusion between MySensors' different message acknowledgements. See https://github.com/mysensors/MySensors/issues/1103 and https://forum.mysensors.org/post/34263 for details.

                                           core/MyGatewayTransport.cpp                |  11 ++++++-----
                                           core/MyMessage.cpp                         |   8 +++++++-
                                           core/MyMessage.h                           |  31 ++++++++++++++++++------------
                                           core/MyOTALogging.cpp                      |   2 +-
                                           core/MyProtocol.cpp                        |  16 ++++++++--------
                                           core/MySensorsCore.cpp                     |  41 ++++++++++++++++++++-------------------
                                           core/MySensorsCore.h                       | 114 ++++++++++++++++++++++++++++++++++++++++++++++++++++++++++++++++++-------------------------------------------
                                           core/MySigning.cpp                         |   4 ++--
                                           core/MySigning.h                           |   2 +-
                                           core/MyTransport.cpp                       |  20 +++++++++----------
                                           core/MyTransport.h                         |   4 ++--
                                           examples/SecureActuator/SecureActuator.ino |   2 +-
                                           12 files changed, 147 insertions(+), 108 deletions(-)
                                          

                                          I have also updated https://www.mysensors.org/download/sensor_api_20 to use echo instead of ack when describing the echo function. That page didn't have information on the return value for send, present, reqestTime, etc so I added info on the return value as well.

                                          Reference: https://github.com/mysensors/MySensors/pull/1292

                                          1 Reply Last reply
                                          4
                                          Reply
                                          • Reply as topic
                                          Log in to reply
                                          • Oldest to Newest
                                          • Newest to Oldest
                                          • Most Votes


                                          16

                                          Online

                                          11.7k

                                          Users

                                          11.2k

                                          Topics

                                          113.0k

                                          Posts


                                          Copyright 2019 TBD   |   Forum Guidelines   |   Privacy Policy   |   Terms of Service
                                          • Login

                                          • Don't have an account? Register

                                          • Login or register to search.
                                          • First post
                                            Last post
                                          0
                                          • MySensors
                                          • OpenHardware.io
                                          • Categories
                                          • Recent
                                          • Tags
                                          • Popular