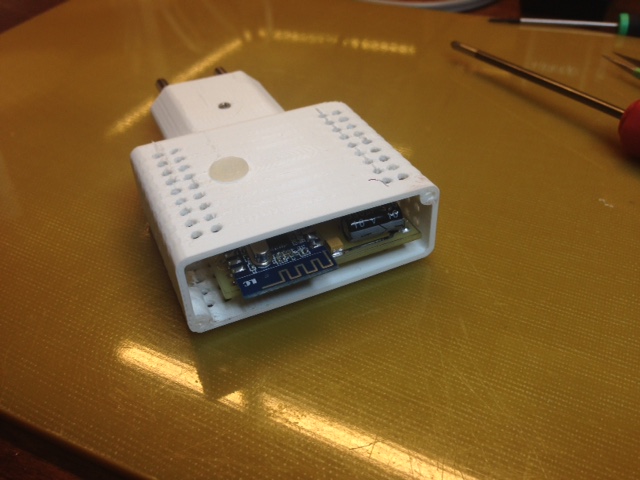
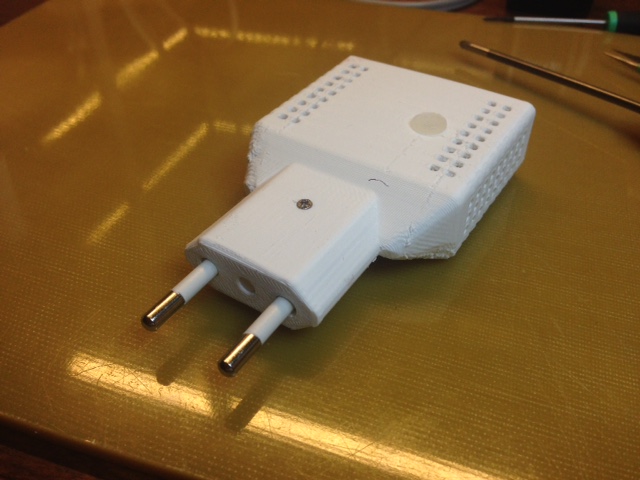
Small wall outlet sensor node
-
@axillent Very nice! How do you make the circuit board and the soldering of surface mounted components is quit advanced.
@olaeke thanks!
it is half-a-day project including a home-production of the PCB
but it is a 2-year experienceI also use a simplified approach for some PCBs, without drilling, using 0.5mm FR4 cut by office scissors and thermo-transfer technology. This one requires about 30-50 minutes for the production circle.depending on etching speed. For example this two side AC lamp off-timer:
http://radiokot.ru/circuit/digital/automat/81/04.jpg
http://radiokot.ru/circuit/digital/automat/81/05.jpg -
Excellent!
-
@gregl thanks, yes, the same board can be used for any simple 1-2 inputs or 1-2 channel actuator
I have a plan to create something similar for wall switch in 3-wire and 2-wire versions
-
@ServiceXp thanks)
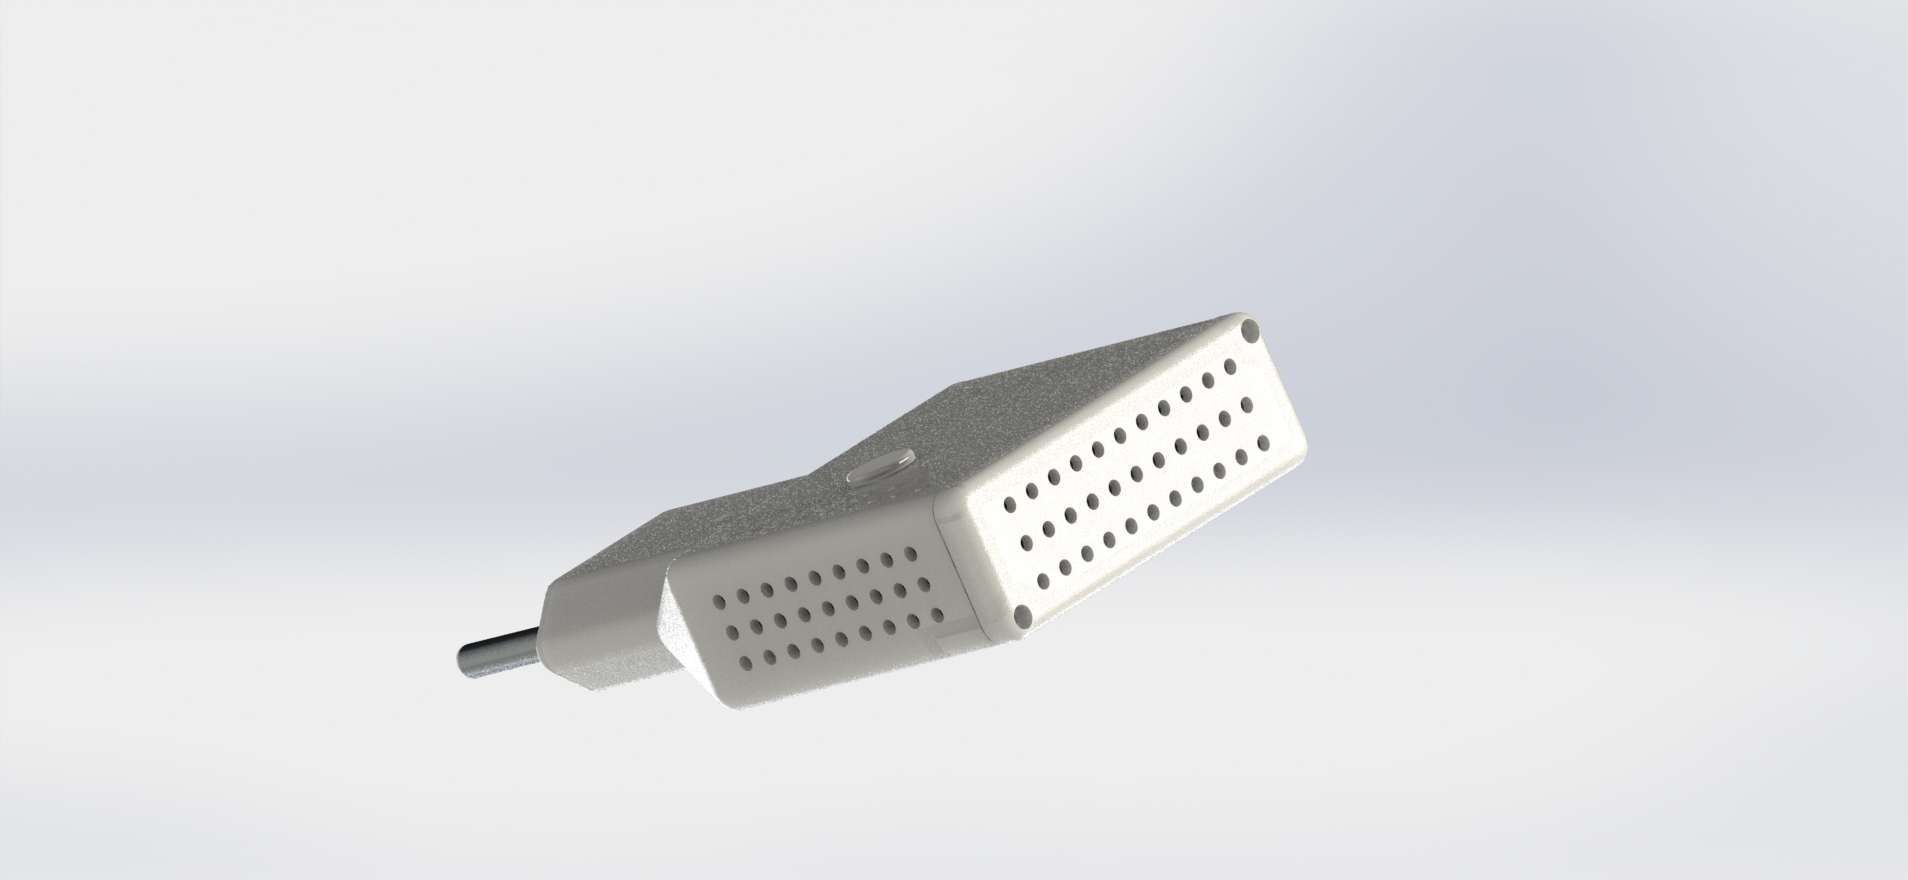
all this is simple, just a patient workPrinted thing is a bit ugly comparing to the virtual one, but it's work is real
http://www.youtube.com/watch?v=JG7gutD1oo8sense and drive
-
@ServiceXp thanks)
all this is simple, just a patient workPrinted thing is a bit ugly comparing to the virtual one, but it's work is real
http://www.youtube.com/watch?v=JG7gutD1oo8 -
@ServiceXp thanks)
all this is simple, just a patient workPrinted thing is a bit ugly comparing to the virtual one, but it's work is real
http://www.youtube.com/watch?v=JG7gutD1oo8@axillent Very impressive! What is the total cost of the components involved?
-
@axillent Very impressive! What is the total cost of the components involved?
@bjornhallberg it is hard to say
the BOM is simple and short
but the cost of a single component is dramatically depends on how many your purchase in a single order
for example atmega328 purchased in 10pcs will be US1.2 pcs while a single pcs will costs US3-4If it will be an interest I think in production this PCB can cost retail US8-12
-
Impressive!
-
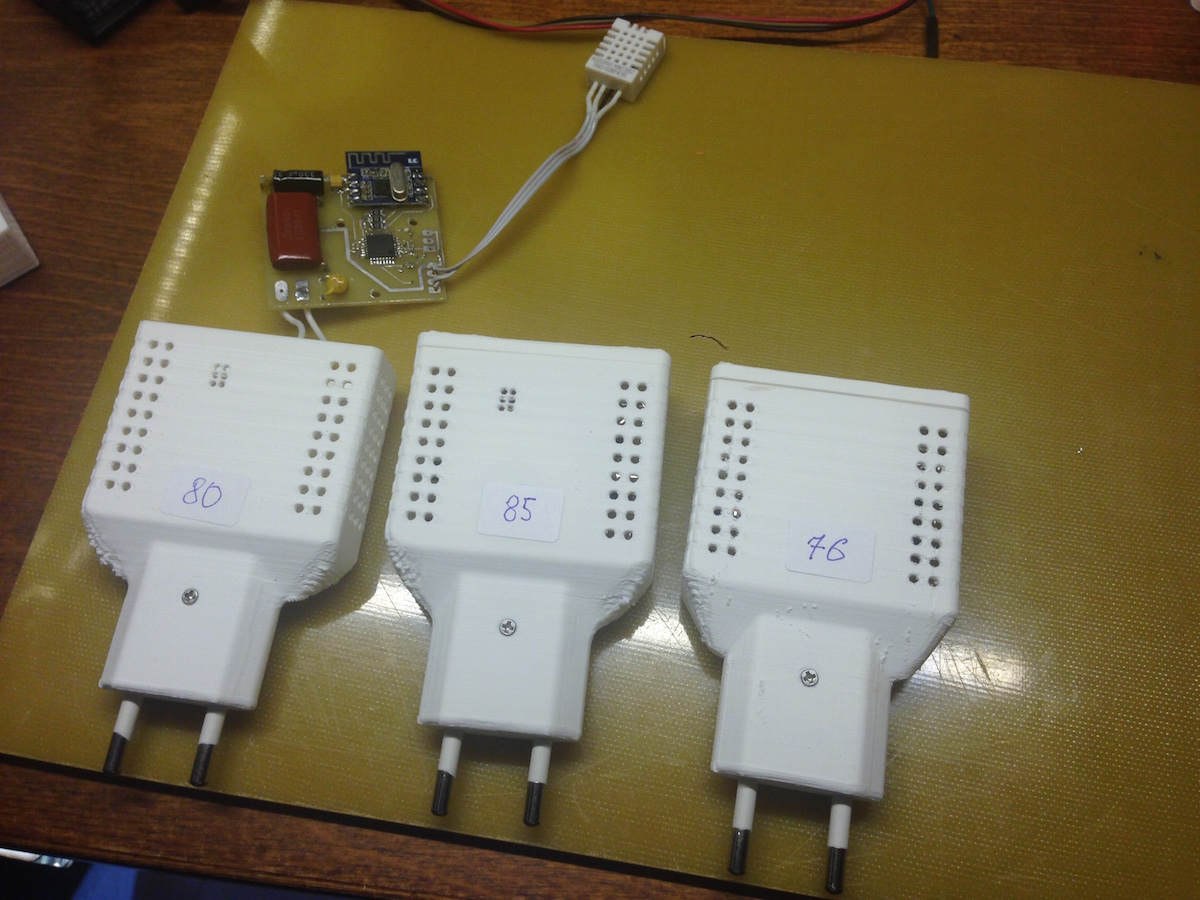
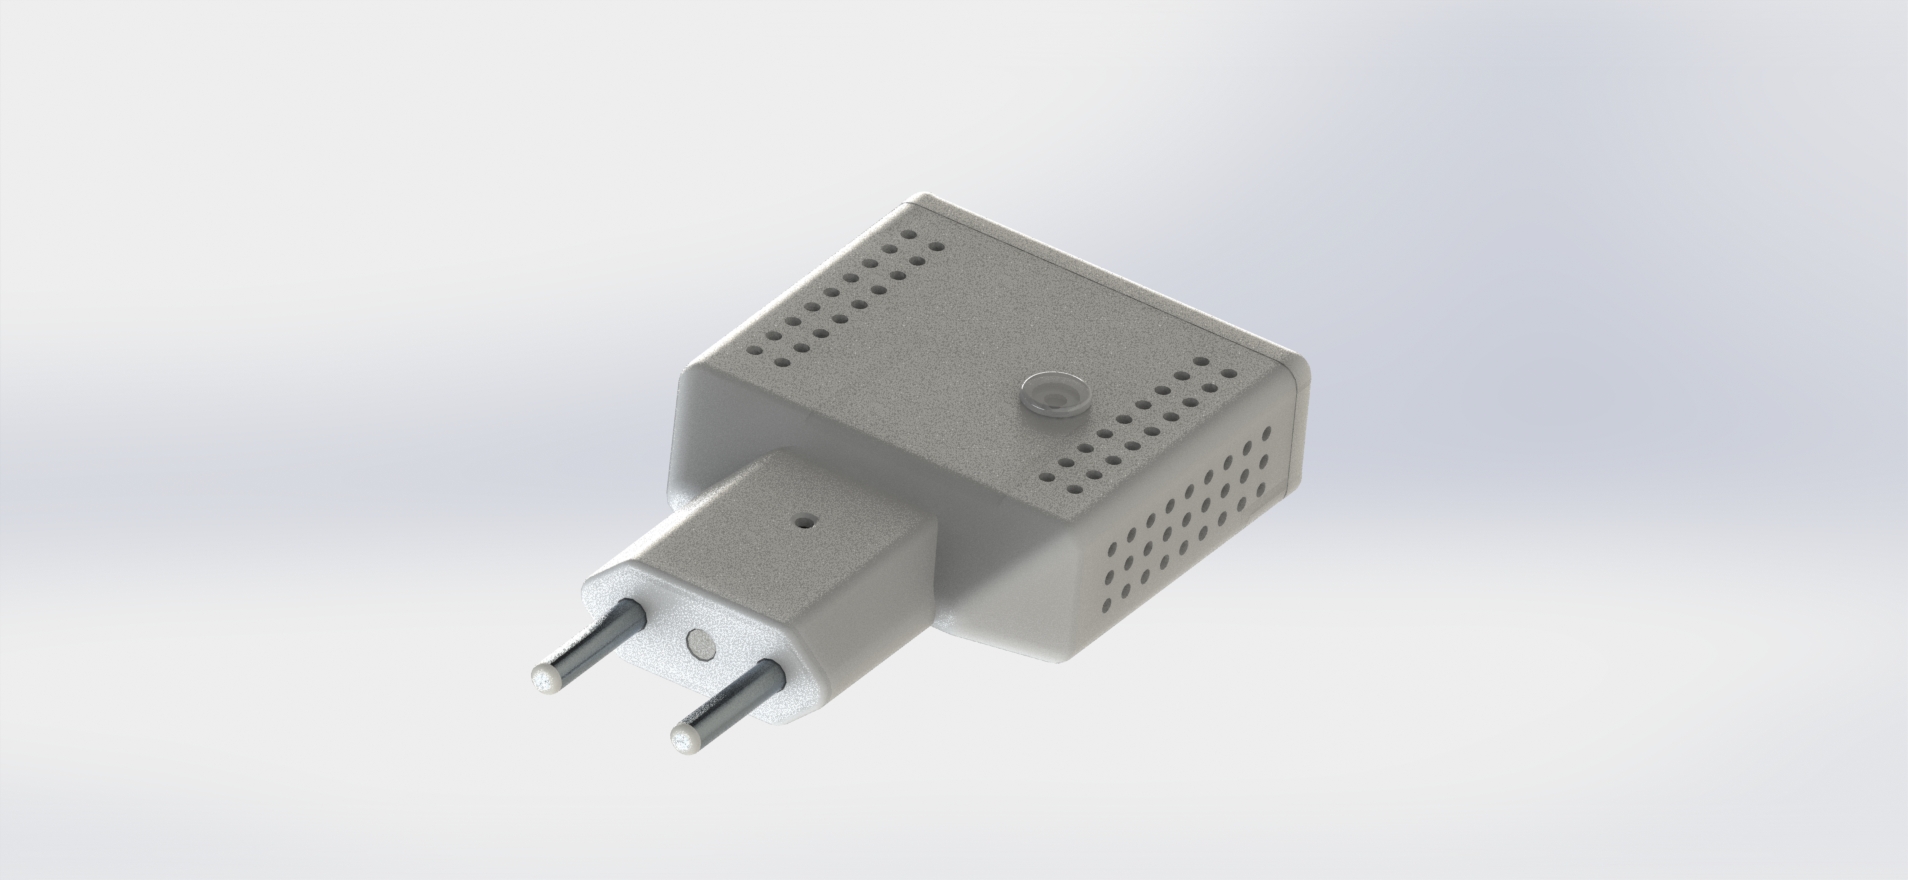
made two more with modified box - it is a bit wider to hold DHT sensor inside
I made a new sketch as a combination of Dalas example and DHT. This new sketch able to detect automatically connected sensors and work according to detection.One problem I've got. I cannot get DHT working from AC plug. It is working fine been powered from DC and failed during startup been powered from AC :( The most probably the reason is high pulsation (up to 440mV) coming from the supply based on SR10 chip.
Dalas is fine with this but not DHT. Probably some code inside the library holds.Had to mark each sensor with radio channel because they will work with different gateways
-
really cool :) what are u using to convert the AC-DC ? how u doing it ?
-
really cool :) what are u using to convert the AC-DC ? how u doing it ?
@sharath-krishna thanks
yearly in this thread you can find a schematics.
I'm using here SR10. Many alternatives were discussed here http://forum.mysensors.org/topic/687/230v-power-supply-to-arduinoI've found a solution to my problem with DHT. I put delay(500) at the beginning of setup().
This is needed to stabilize DC before initializing DHT.
Alternatively a 4.7uF capacitor can be connected between RESET and GND -
This is my combined sketch with automatic detection of connected many DS18B20 and DHT11/22
#define RADIO_CHANNEL 76 #define DS18B20_PIN A0 #define DS18B20_MAX_SENSORS 8 #define DHT_PIN A5 #define LED_PIN 5 #define SLEEP_TIME_SEC 60 #include <avr/wdt.h> #include <avr/interrupt.h> #include <avr/sleep.h> #include <MySensor.h> #include <SPI.h> #include <DallasTemperature.h> #include <OneWire.h> #include <DHT.h> // DS18B20 OneWire oneWire(DS18B20_PIN); DallasTemperature sensors(&oneWire); MyMessage msgHum(0, V_HUM); MyMessage msgTemp(0, V_TEMP); struct { struct { uint8_t count; float lastTemperature[DS18B20_MAX_SENSORS]; } ds18b20; struct { DHT sensor; uint8_t count; float lastTemp; float lastHum; } dht; MySensor gw; } var; ISR(WDT_vect) { } void setup() { wdt_disable(); //delay(500); pinMode(LED_PIN, OUTPUT); digitalWrite(LED_PIN, HIGH); // init mysensors var.gw.begin(NULL, AUTO, false, AUTO, RF24_PA_LEVEL,RADIO_CHANNEL); // init dalas sensors.begin(); var.ds18b20.count = sensors.getDeviceCount(); if(var.ds18b20.count > DS18B20_MAX_SENSORS) var.ds18b20.count = DS18B20_MAX_SENSORS; // init dht digitalWrite(LED_PIN, LOW); var.dht.sensor.setup(DHT_PIN); float temperature = var.dht.sensor.getTemperature(); var.dht.count = (isnan(temperature))?0:1; var.gw.sendSketchInfo("WallCombined", "1.0"); // present ds18b20 for (int i=0; i<var.ds18b20.count; i++) { var.gw.present(i+2, S_TEMP); } if(var.dht.count) { var.gw.present(0, S_HUM); var.gw.present(1, S_TEMP); } var.gw.debugPrint(PSTR("Init of combined sensor: %d ds18b20 sensors, %d dht sensors\n"), var.ds18b20.count, var.dht.count); for(int i=0; i < var.ds18b20.count + var.dht.count; i++) { digitalWrite(LED_PIN, LOW); delay(500); digitalWrite(LED_PIN, HIGH); delay(1000); } } void loop() { // Process incoming messages (like config from server) var.gw.process(); // Fetch temperatures from Dallas sensors if(var.ds18b20.count) sensors.requestTemperatures(); // Read temperatures and send them to controller for (int i=0; i<var.ds18b20.count; i++) { // Fetch and round temperature to one decimal float temperature = static_cast<float>(static_cast<int>((var.gw.getConfig().isMetric?sensors.getTempCByIndex(i):sensors.getTempFByIndex(i)) * 10.)) / 10.; // Only send data if temperature has changed and no error if (var.ds18b20.lastTemperature[i] != temperature && temperature != -127.00) { // Send in the new temperature var.gw.send(msgTemp.setSensor(i+2).set(temperature,1)); var.ds18b20.lastTemperature[i]=temperature; } } if(var.dht.count) { boolean metric = var.gw.getConfig().isMetric; float temperature = var.dht.sensor.getTemperature(); if (isnan(temperature)) { var.gw.debugPrint(PSTR("Failed reading temperature from DHT\n")); } else if (temperature != var.dht.lastTemp) { var.dht.lastTemp = temperature; if (!metric) { temperature = var.dht.sensor.toFahrenheit(temperature); } var.gw.send(msgTemp.setSensor(1).set(temperature, 1)); } float humidity = var.dht.sensor.getHumidity(); if (isnan(humidity)) { var.gw.debugPrint(PSTR("Failed reading humidity from DHT")); } else if (humidity != var.dht.lastHum) { var.dht.lastHum = humidity; var.gw.send(msgHum.setSensor(0).set(humidity, 1)); } } digitalWrite(LED_PIN, HIGH); delay(5000); digitalWrite(LED_PIN, LOW); delay(500); // sleep Serial.flush(); var.gw.powerDown(); for(int wdt_count=SLEEP_TIME_SEC; wdt_count > 0; wdt_count--) { wdt_enable(WDTO_1S); WDTCSR |= (1 << WDIE); set_sleep_mode(SLEEP_MODE_PWR_DOWN); sleep_enable(); sei(); sleep_cpu(); sleep_disable(); } wdt_disable(); } -
3D models are published here http://www.thingiverse.com/thing:688442
@axillent said:
3D models are published here http://www.thingiverse.com/thing:688442
nice job
can you tell us what kind of 3D printer you are using, and if you are happy with it.
I have a lot of electronics, and not a lot of housings.... I'm thinking about jumping in!
-
@axillent said:
3D models are published here http://www.thingiverse.com/thing:688442
nice job
can you tell us what kind of 3D printer you are using, and if you are happy with it.
I have a lot of electronics, and not a lot of housings.... I'm thinking about jumping in!
@BulldogLowell I'm using Makerbot Replicator 2 for more than 2 years
I have nothing to compare with. But it gives the possibilities I never have.
From hardware side I had to fix some problems Replicator 2 is having. New models I hope is more sufficient.
Makerbot is progressing, at least an improvement on software side is essential.Today you will find many brands and many models to choose from.
-
really cool :) what are u using to convert the AC-DC ? how u doing it ?
@axillent How do you upload the sketch? Do you solder in a preprogrammed atmega or are there connectors on the board? The DHT needs only 1.5 mA. Wouldn't it be possible to supply this with an digital out pin of the atmega? This way you could delay the power up process.
Hello! It looks like you're interested in this conversation, but you don't have an account yet.
Getting fed up of having to scroll through the same posts each visit? When you register for an account, you'll always come back to exactly where you were before, and choose to be notified of new replies (either via email, or push notification). You'll also be able to save bookmarks and upvote posts to show your appreciation to other community members.
With your input, this post could be even better 💗
Register Login