Windows GUI/Controller for MySensors
-
@tekka said:
@mvader said:
when i says "assign FW" nothing happens.
am i understanding correctly that "firmware" is just a compiled sketch?
if i need to make changes to my device, is this the correct way?
modify sketch - > compile -> move hex to myscontroller folder - > edit firmware_config file -> right click assign fw -> pick new firmware
is that correct?
nothing is happening for me when i do that..For OTA updates you need to burn the MYSBootloader (instructions here). Once done, assign FW, reboot node and wait until FW is transferred.
edit: file size says 66k in win7
but in the compiler it says
Sketch uses 23,724 bytes (77%) of program storage space. Maximum is 30,720 bytes.Yup, because the .hex file is not binary but a hex (hence the suffix) format with headers and checksums.
I thought i read those sensebender boards were going to come pre-burned with the MYSBootloader from the mfg? that why you wouldn't need a programmer. i'll check with those folks..
edit: i found where they said it was pre-programmed..
@hek said:
Yes, FTDI, ISCP or over-the-air updates.
It comes pre-programmed with MySensors variant of the DualOptiboot-bootloader.
https://github.com/mysensors/DualOptiboot
Which can take advantage of the extra flash memory to do a safe over-the-air firmware update.
It comes pre-programmed with MySensors variant of the DualOptiboot-bootloader.
https://github.com/mysensors/DualOptiboot
Which can take advantage of the extra flash memory to do a safe over-the-air firmware update. -
I have a some questions. Couldnt find answer anywhere.
If I am using an arduino connected to the serial port on a Raspberry pi (w/openhab) How do I assign fw, reboot, etc?
Do I need to disconnect the GW and use windows temporarily to reboot, update fw? or can I have 2 GW's?
I updated my nano with the MYS bootloader, and after I power it on, it never shows up in MYSController.
-
@tekka Hey, it seems like the downloadlink is broken. Can you check?
@Fredrik-Carlsson link works for me (https://goo.gl/48Yn6y)
-
Yes I tried now again an now it works. Maybe something temporary with Dropbox yesterday
-
It is possible to burn the bootloader to an Arduino Uno right? (if not please skip below and I will rtfm some more)
Could anyone please explain me what I am doing wrong here? I use avrdudess (http://blog.zakkemble.co.uk/avrdudess-a-gui-for-avrdude/) to program the bootloader.hex (also tried the supplied method) but no dice;
Writing the bootloader seems to work;
Detected 1e950f = ATmega328P
MYSBootloader.hex: 2.002 / 32.768 Bytes (6,11%)
~ ~ ~ ~ ~ ~ ~ ~ ~ ~ ~ ~ ~ ~ ~ ~

avrdude.exe: set SCK frequency to 1500000 Hz
avrdude.exe: warning: cannot set sck period. please check for usbasp firmware update.
avrdude.exe: AVR device initialized and ready to accept instructions

Reading | ################################################## | 100% 0.00s

avrdude.exe: Device signature = 0x1e950f
avrdude.exe: erasing chip
avrdude.exe: set SCK frequency to 1500000 Hz
avrdude.exe: warning: cannot set sck period. please check for usbasp firmware update.
avrdude.exe: reading input file "C:\Users\codar\Desktop\MYSController_0_1_2_280\Bootloader\MYSBootloader.hex"
avrdude.exe: input file C:\Users\codar\Desktop\MYSController_0_1_2_280\Bootloader\MYSBootloader.hex auto detected as Intel Hex
avrdude.exe: writing flash (32722 bytes):

Writing | ################################################## | 100% 0.00s

avrdude.exe: 32722 bytes of flash written
avrdude.exe: verifying flash memory against C:\Users\codar\Desktop\MYSController_0_1_2_280\Bootloader\MYSBootloader.hex:
avrdude.exe: load data flash data from input file C:\Users\codar\Desktop\MYSController_0_1_2_280\Bootloader\MYSBootloader.hex:
avrdude.exe: input file C:\Users\codar\Desktop\MYSController_0_1_2_280\Bootloader\MYSBootloader.hex auto detected as Intel Hex
avrdude.exe: input file C:\Users\codar\Desktop\MYSController_0_1_2_280\Bootloader\MYSBootloader.hex contains 32722 bytes
avrdude.exe: reading on-chip flash data:

Reading | ################################################## | 100% 0.00s

avrdude.exe: verifying ...
avrdude.exe: 32722 bytes of flash verified
However tech life wouldn't be techlife without days of endless debugging
Setting the extended fuse fails verification
avrdude.exe: reading on-chip flash data:

Reading | ################################################## | 100% 0.00s

avrdude.exe: verifying ...
avrdude.exe: 32722 bytes of flash verified
avrdude.exe: reading input file "0xF7"
avrdude.exe: writing lfuse (1 bytes):

Writing | ################################################## | 100% 0.00s

avrdude.exe: 1 bytes of lfuse written
avrdude.exe: verifying lfuse memory against 0xF7:
avrdude.exe: load data lfuse data from input file 0xF7:
avrdude.exe: input file 0xF7 contains 1 bytes
avrdude.exe: reading on-chip lfuse data:

Reading | ################################################## | 100% 0.00s

avrdude.exe: verifying ...
avrdude.exe: 1 bytes of lfuse verified
avrdude.exe: reading input file "0xDA"
avrdude.exe: writing hfuse (1 bytes):

Writing | ################################################## | 100% 0.00s

avrdude.exe: 1 bytes of hfuse written
avrdude.exe: verifying hfuse memory against 0xDA:
avrdude.exe: load data hfuse data from input file 0xDA:
avrdude.exe: input file 0xDA contains 1 bytes
avrdude.exe: reading on-chip hfuse data:

Reading | ################################################## | 100% 0.00s

avrdude.exe: verifying ...
avrdude.exe: 1 bytes of hfuse verified
avrdude.exe: reading input file "0xFE"
avrdude.exe: writing efuse (1 bytes):

Writing |  ***failed;
################################################## | 100% 0.03s

avrdude.exe: 1 bytes of efuse written
avrdude.exe: verifying efuse memory against 0xFE:
avrdude.exe: load data efuse data from input file 0xFE:
avrdude.exe: input file 0xFE contains 1 bytes
avrdude.exe: reading on-chip efuse data:

Reading | ################################################## | 100% 0.00s

avrdude.exe: verifying ...
avrdude.exe: verification error, first mismatch at byte 0x0000
             0x06 != 0xfe
avrdude.exe: verification error; content mismatch

avrdude.exe done.  Thank you.
This last error is giving me headaches, why the "first mismatch at byte 0x0000 0x06 != 0xfe" error?
Really hope someone can enlighten me...
-
I try to uplaod sketch via OTA but it doesn''t work.
I have sensebender with stock bootloader. Gateway is connect to an ODROID C1 with ser2net and i connect to ser2net. I can see all incoming traffic for my sensors.
I upload sensebender default sketch from dev branch using MySensors dev branch too.
I tell MYSController sensors is battery powered.
I try with the two provided example but nothing happen in log or anything else -
I try to uplaod sketch via OTA but it doesn''t work.
I have sensebender with stock bootloader. Gateway is connect to an ODROID C1 with ser2net and i connect to ser2net. I can see all incoming traffic for my sensors.
I upload sensebender default sketch from dev branch using MySensors dev branch too.
I tell MYSController sensors is battery powered.
I try with the two provided example but nothing happen in log or anything else@Fabien said:
I try to uplaod sketch via OTA but it doesn''t work.
I have sensebender with stock bootloader. Gateway is connect to an ODROID C1 with ser2net and i connect to ser2net. I can see all incoming traffic for my sensors.
I upload sensebender default sketch from dev branch using MySensors dev branch too.
I tell MYSController sensors is battery powered.
I try with the two provided example but nothing happen in log or anything elsecheck in the sensebender announcement thread. I had the same question. Hek responded with what needed to be done to make it work.
I didn't get a chance to try his solutions yet to see if it works. if you do, post and let us know.edit: here
http://forum.mysensors.org/topic/1345/sensebender-micro/139 -
@Fabien
I dont understand what you mean by "I told MysController" that the node is battery powered. It should find that out automatically I think. Anyway I'm pretty sure that I read somewhere that battery powered sensors cant be updated OTA. (If it relly is battery powered). I think I read a define somewhere that disables the firmware low level commands in the MySensors Library if the Node is battery powered. -
@Dirk_H said:
I think I read a define somewhere that disables the firmware low level commands in the MySensors Library if the Node is battery powered.
No there isn't. But battery powered sensors most likely sleep most of the time so they won't receive any update command. And a fw updates over-the-air would probably drain batteries pretty quick.
-
@tekka I feel really, really, REALLY stupid;
I changed the channel in the mysensors config.h to 77, this was the reason no node would ever show up since the default mysbootloader uses the default channel 76.
D'OH
Thanks for your patience and help, everything is working now and I'm really happy!
:+1: -
Hi, nice work. Is there any chances that you add the possibility to log the nodes information to a mysql database ?
-
Hi @tekka
I am having trouble understanding the error codes on this gui.It is the solar mini weather stn on proto board and it is not working properly.
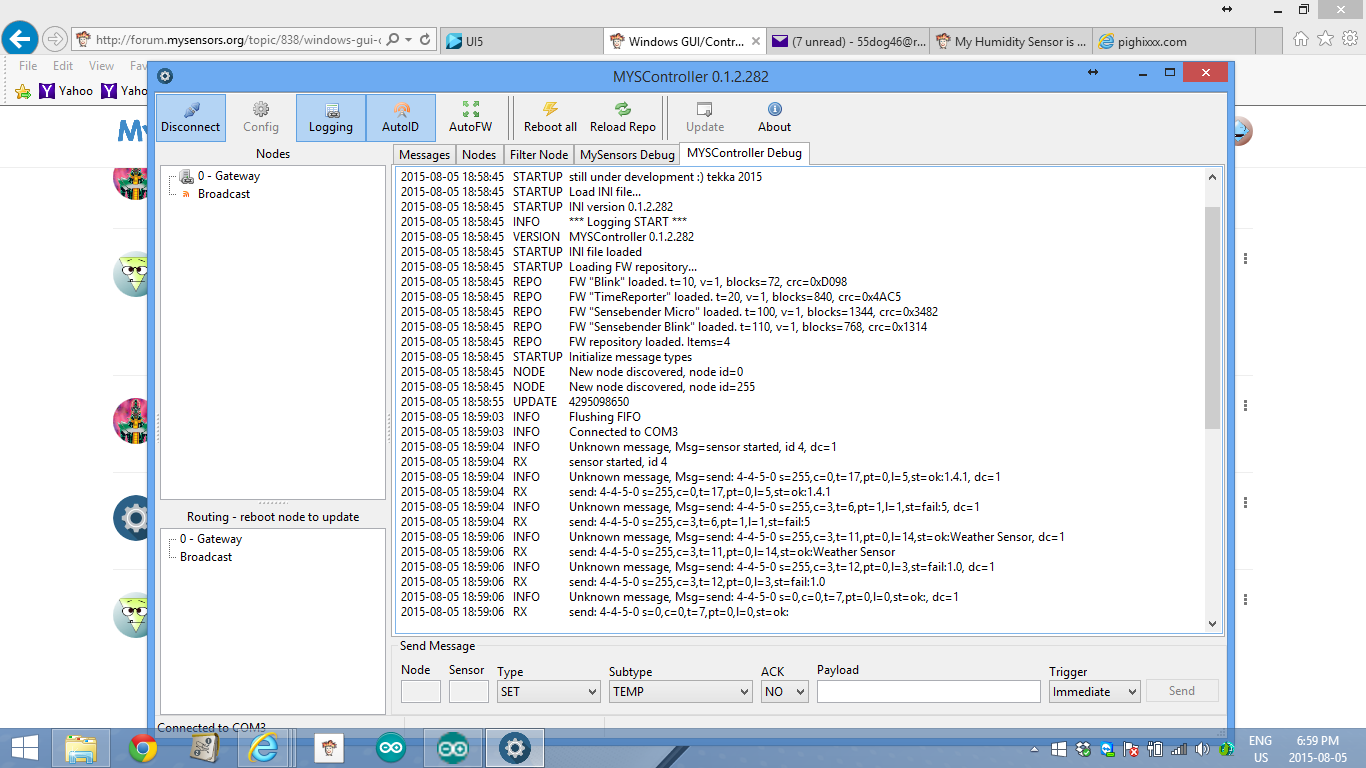
At this minute I see that the g/w code is telling me 4-4-5-0 ,there was a node 5 in my My Sensors package and it was configured as a repeater but it is not here as it connected laptop> usb port/cord> ftdi 3.3v> 3.3 v promini.
As the code cannot get to and from node 5 it is a down as a st=failIs there a why to change this in your program to allow continuing debugging my sketch?
Am I again missing something?
Thanks -
Hello guys, I'm trying to burn the MYSBootloader.hex into some Pro minis (clones) here, however after burning it, they get somehow 'bricked' :
- I'm using my Uno "as ISP" on IDE 1.6.4
- I've followed the step-by-step tutorial posted above by @tekka
- My pro-minis are 5V, 16Mhz, external clock , 328p, supposedly a perfect match with 'boards.txt' info...
- "Burn bootloader" ends successful, with "Done burning boot loader" message.
- After that, the pro-mini pin 13 led flashes in a kind of random pattern, and it is not possible to upload any sketch, nor any kind of serial monitor on any speed.
- I can revert it, by selecting the standard 'Arduino Pro or Pro Mini' board , and burn boot loader again. It makes the pro-mini gets back to live, I can upload my sketches and serial monitor it.
So my questions:
- I don't have extra eprom connected --- Is it mandatory? I've read somewhere that it can be disabled, but can't find the instructions anymore...
- Fuse adjustments?
- What else can I do in order to troubleshooting it?
Thanks!
-
@rvendrame: it seems to be wrong fuses. MYSBootloader does not use extra eeprom. It's DualOptiboot which uses one. You need to set fuses. Then burn bootloader. For fuses you need to look in boards.txt . It should work. For setting fuses, I use usbasp. I never tried with uno.