Skip to content
  • MySensors
  • OpenHardware.io
  • Categories
  • Recent
  • Tags
  • Popular
Skins
  • Light
  • Brite
  • Cerulean
  • Cosmo
  • Flatly
  • Journal
  • Litera
  • Lumen
  • Lux
  • Materia
  • Minty
  • Morph
  • Pulse
  • Sandstone
  • Simplex
  • Sketchy
  • Spacelab
  • United
  • Yeti
  • Zephyr
  • Dark
  • Cyborg
  • Darkly
  • Quartz
  • Slate
  • Solar
  • Superhero
  • Vapor

  • Default (No Skin)
  • No Skin
Collapse
Brand Logo
J

jribera

@jribera
About
Posts
26
Topics
5
Shares
0
Groups
0
Followers
0
Following
0

Posts

Recent Best Controversial

  • Sensor Floods Gateway every few days.
    J jribera

    Hi,

    I've been using MYSController to debug some random issues and have noticed the following every few days across different sensors.

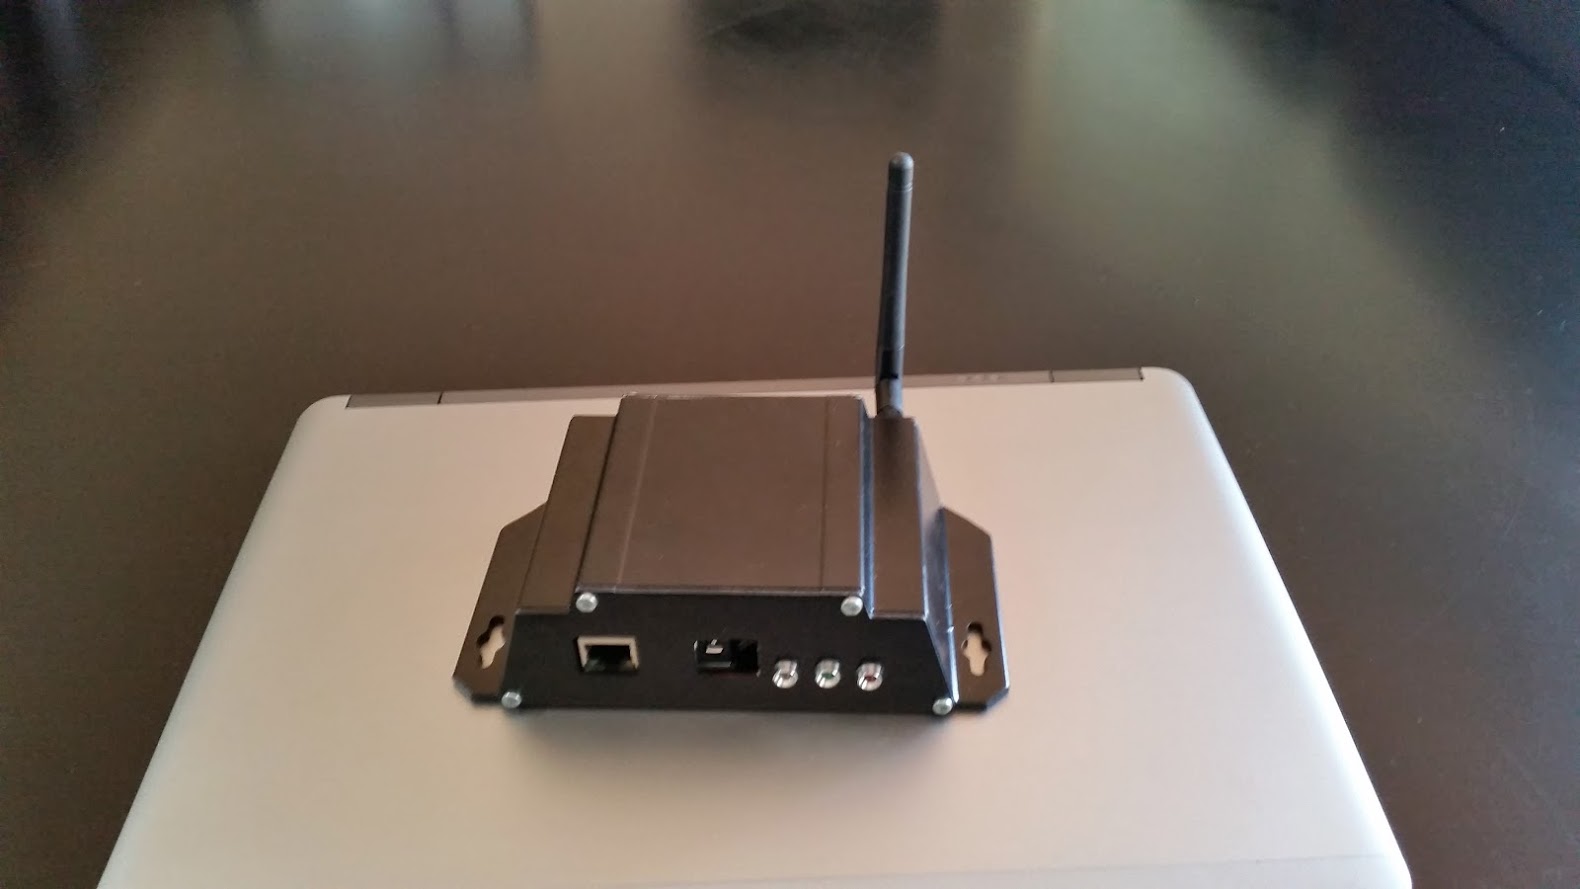
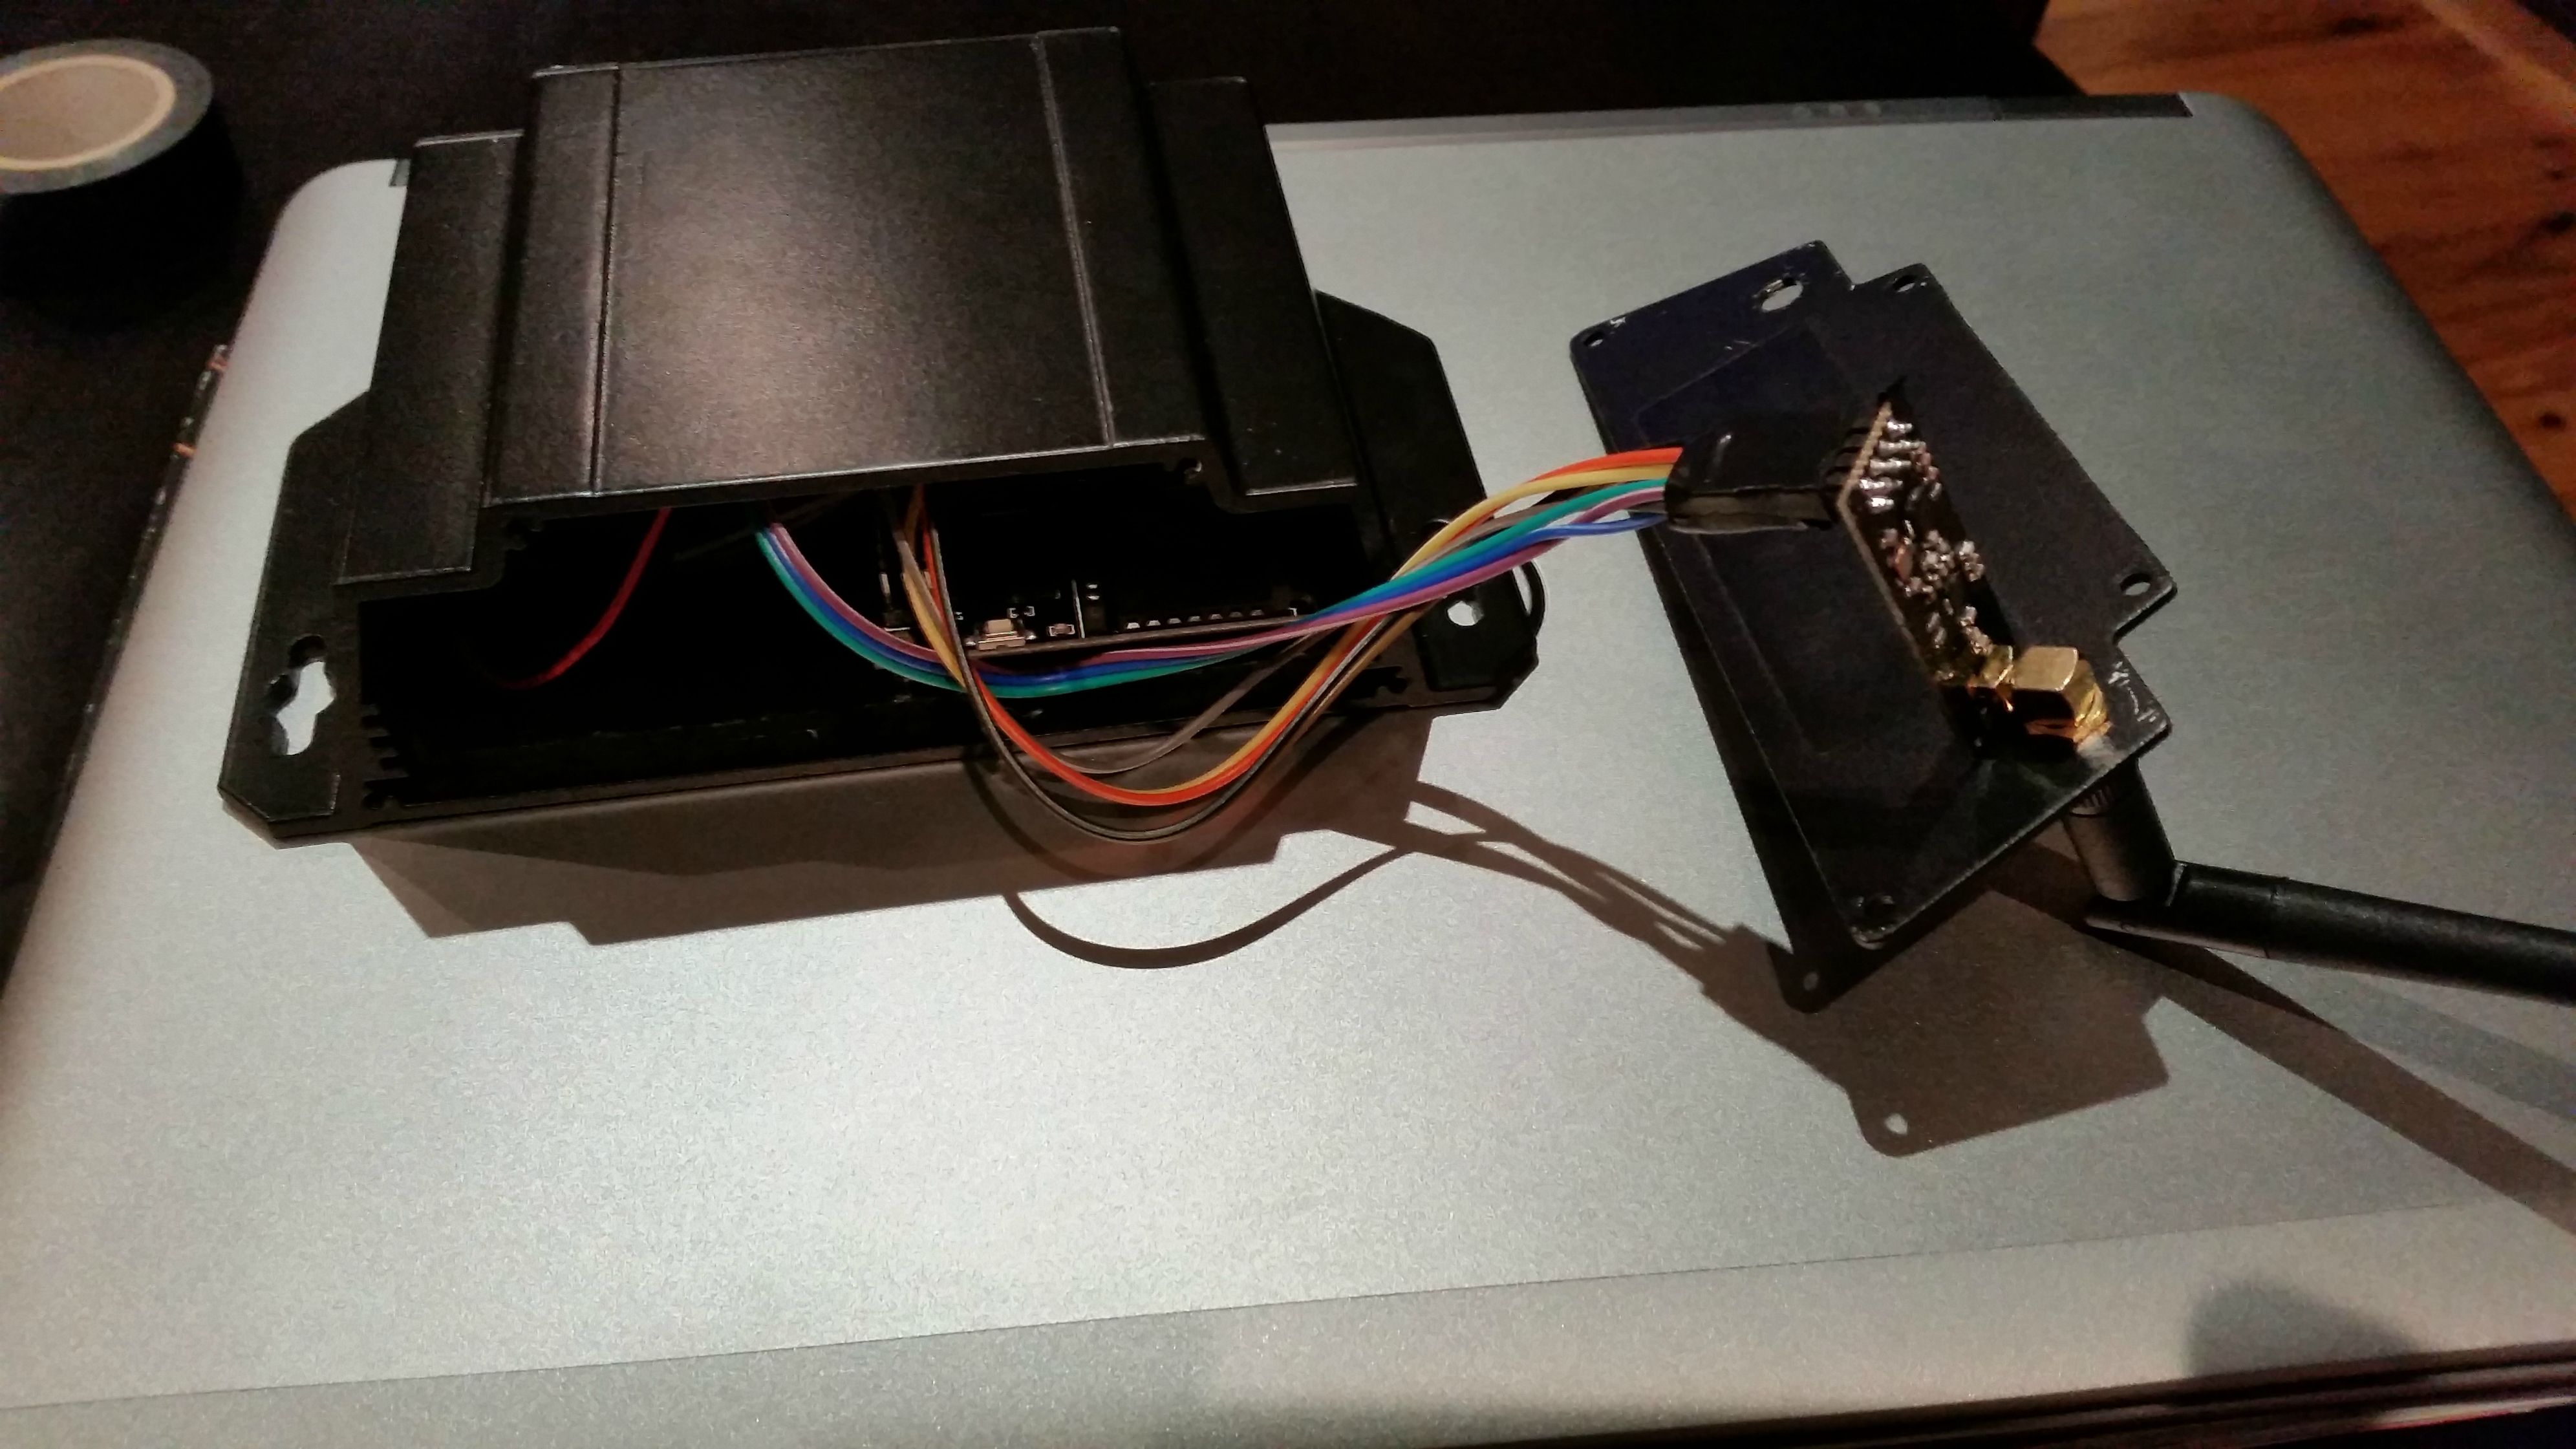
    Below is from one of the Temperature sensors (Using the provided example sketch), as you can see at 3:59 it starts going crazy. After rebooting the sensor it goes back to normal.

    I'm running 1.4 on controller/sensor with a Vera gateway. Any Ideas on why this is happening.

    [2016-04-04 02:39:21.456 Info] RX 8;0;1;0;0;22.8
    [2016-04-04 02:43:35.409 Info] RX 8;0;1;0;0;22.9
    [2016-04-04 02:44:38.933 Info] RX 8;0;1;0;0;22.8
    [2016-04-04 03:29:36.957 Info] RX 8;0;1;0;0;22.7
    [2016-04-04 03:35:57.879 Info] RX 8;0;1;0;0;22.8
    [2016-04-04 03:36:29.640 Info] RX 8;0;1;0;0;22.7
    [2016-04-04 03:44:57.499 Info] RX 8;0;1;0;0;22.6
    [2016-04-04 03:45:29.292 Info] RX 8;0;1;0;0;22.7
    [2016-04-04 03:55:32.389 Info] RX 8;0;1;0;0;22.6
    [2016-04-04 03:56:04.182 Info] RX 8;0;1;0;0;22.7
    [2016-04-04 03:57:07.690 Info] RX 8;0;1;0;0;22.6
    [2016-04-04 03:59:14.674 Info] RX 8;0;1;0;0;22.6
    [2016-04-04 03:59:14.674 Info] RX 8;0;1;0;0;22.6
    [2016-04-04 03:59:14.674 Info] RX 8;0;1;0;0;22.6
    [2016-04-04 03:59:14.690 Info] RX 8;0;1;0;0;22.6
    [2016-04-04 03:59:14.690 Info] RX 8;0;1;0;0;22.6
    [2016-04-04 03:59:14.705 Info] RX 8;0;1;0;0;22.6
    [2016-04-04 03:59:14.705 Info] RX 8;0;1;0;0;22.6
    [2016-04-04 03:59:14.705 Info] RX 8;0;1;0;0;22.6
    [2016-04-04 03:59:14.721 Info] RX 8;0;1;0;0;22.6

    Troubleshooting

  • 433mhz outlet
    J jribera

    @justinthegeek

    Also 1.4

    Troubleshooting 433mhz

  • 433mhz outlet
    J jribera

    This is the sketch i'm using for controlling a number of sockets around the house.

    /*  RF433Mhz Transmitter node:
        This sketch allows On-Off-Keying (OOK) control of four 433Mhz relay outlets
        which utilize the common PT2262 encoding chip for signal transmission. The sketch could
        be easily expanded to include additional outlets.  The sensor node consists of a nano 
        connected to a NRF24L01 and a 433Mhz transmitter connected to pin 3, 5V and Gnd.  The 
        transmitter can run off of 3.3V as well. 
        
        The sketch is based on the MySensors project (http://www.mysensors.org). 
        Submitted by Dwalt.
    */ 
    
    //  Include related libraries
    #include <MySensor.h>
    #include <SPI.h>  
    #include <RF24.h>
    #include <RCSwitch.h>
    
    //  Define Constants
    #define RF433_CHILD_ID 0
    #define NUMBER_OF_OUTLETS 4 // Each outlet will have 2 OOK codes
    //#define SEND_DATA 3
    
    #define CODE_1On 6287582
    #define CODE_1Off 6287574
    #define CODE_2On 6287580
    #define CODE_2Off 6287572
    #define CODE_3On 6287578
    #define CODE_3Off 6287570
    #define CODE_4On 6287577
    #define CODE_4Off 6287569
    
    MySensor gw;
    
    RCSwitch mySwitch = RCSwitch();
    
    void setup() 
    {
      
    
    mySwitch.enableTransmit(3); 
      
     Serial.begin(115200); // Not sure why this was included
    
     //  The node is mains powered, so why not make it a repeater.
     gw.begin(incomingMessage, AUTO, true);
     
     // Send the sketch version information to gateway
     gw.sendSketchInfo("RF433", "1.1");
     
     // Register outlets to gw (they will be created as child devices)
     for(int i=0; i<NUMBER_OF_OUTLETS;i++) {
       gw.present(i+1, S_LIGHT);
    
     }
        
    }
    
    void loop() {
      gw.process();
    }
      void incomingMessage(const MyMessage &message) {
      
      if (message.type==V_LIGHT) {
      int incomingLightState =  message.getBool(); 
      int incomingOutlet = message.sensor;
      
      Serial.print("Outlet #: ");
      Serial.println(message.sensor);
      Serial.print("Command: ");
      Serial.println(message.getBool());
     
     if (incomingOutlet==1) {
     if (incomingLightState==1) {
        // Turn on  socket 1
        Serial.println("Turn on Socket 1");
     mySwitch.send(CODE_1On, 24); // These codes are unique to each outlet
     delay(50); 
     }
     if (incomingLightState==0)  {
        // Turn off socket 1
     Serial.println("Turn off Socket 1");
    mySwitch.send(CODE_1Off, 24);
    delay(50); 
     }
     }
     if (incomingOutlet==2) {
     if (incomingLightState==1) {
        // Turn on  socket 2
        Serial.println("Turn on Socket 2");
    mySwitch.send(CODE_2On, 24);
     delay(50); 
     }
     if (incomingLightState==0)  {
        // Turn off socket 2
     Serial.println("Turn off Socket 2");
    mySwitch.send(CODE_2Off, 24);
    delay(50); 
     }
     }
     if (incomingOutlet==3) {
     if (incomingLightState==1) {
        // Turn on  socket 3
        Serial.println("Turn on Socket 3");
    mySwitch.send(CODE_3On, 24);
     delay(50); 
     }
     if (incomingLightState==0)  {
        // Turn off socket 3
     Serial.println("Turn off Socket 3");
    mySwitch.send(CODE_3Off, 24);
    delay(50); 
     }
     }
     if (incomingOutlet==4) {
     if (incomingLightState==1) {
        // Turn on  socket 4
        Serial.println("Turn on Socket 4");
     mySwitch.send(CODE_4On, 24);
     delay(50); 
     }
     if (incomingLightState==0)  {
        // Turn off socket 4
     Serial.println("Turn off Socket 4");
    mySwitch.send(CODE_4Off, 24);
    delay(50); 
     }
     }
      }
     delay(50);
     }    


    Troubleshooting 433mhz

  • Vera 3 upgraded To UI7
    J jribera

    Well i did some testing last night and even with this error everything is still working fine. I was able to add a new device etc.

    I guess ill upgrade the plugin just to clear the error from the new dashboard.

    General Discussion

  • Vera 3 upgraded To UI7
    J jribera

    Yes it was automatic, i didn't manually upgrade... Perhaps i had some option ticked to allow auto upgrades

    General Discussion

  • Vera 3 upgraded To UI7
    J jribera

    I logged onto my Vera 3 today (First time in months) and it appears to have automatically upgraded to UI7. All my mysensor devices are still working however Vera is reporting this error:

    vera1.gif

    Any suggestions on how to resolve this ?

    Do i upgrade mysensors to the UI7 branch ? Or downgrade vera to UI5 ?

    Thanks.

    General Discussion

  • Dimmabe LED Actuator
    J jribera

    I didn't think the voltage drop would make enough of a difference to notice, but i guess it does. I might have to research and look for a more efficient Mosfet.

    Troubleshooting led

  • Dimmabe LED Actuator
    J jribera

    Thanks for the sketch. One thing i noticed with my setup is that when set to 100 percent my led strip is noticeably not as bright, compared to when connected directly to the 12V power supply.

    Any suggestions ? I'm using IRL540 N-Channel Mosfets.

    Troubleshooting led

  • My Ethernet Gateway with custom case.
    J jribera

    All the info is here http://forum.mysensors.org/topic/224/iboard-cheap-single-board-ethernet-arduino-with-radio/3

    There are enough digital pins to drive the 3 leds.

    As for the case i just happened to have a box of them from an old wireless upgrade project. at work. Maybe check ebay for some non working/old ones ?

    My Project

  • Windows GUI/Controller for MySensors
    J jribera

    This looks very interesting. Seems like it will make remote debugging easy, ie can run this on a PC at home and RDP into it.

    Controllers myscontroller mysbootloader

  • 433mhz outlet
    J jribera

    Finally managed to get this working by modifying Dwalts sketch to use the rcswitch library.

    I found this much simpler to use as it allows you to learn your existing codes using a simple RF-Sniffer sketch (Sniffer.ino) ie no need to mess around with recording signals, binary codes etc. This sketch simply displays a decimal number which you can just send back to control your devices.

    ie

    define CODE_1On 0x5FF0DC //Sniffed code converted to Hex.

    Serial.println("Turn on Socket 1");
    mySwitch.send(CODE_1On, 24); // These codes are unique to each outlet
    delay(50);

    With this working i can now safely control a number of 240V devices around the home !

    Troubleshooting 433mhz

  • 433mhz outlet
    J jribera

    Thanks Dwalt, understood now. I had assumed the code i received from the rc-switch sniffer sketch, could be translated to binary and used in your sketch.

    Looks like i will need to build a different sniffer.

    Troubleshooting 433mhz

  • 433mhz outlet
    J jribera

    @Dwalt

    Thank Dwalt, i have uploaded your sketch to one of my Nano's with a 433Mhz Transmitter and i can see it working. Ie using another Nano with a 433mhz receiver and the sample 433 receiver sketch i can see the various codes been received ie "419915".

    My problem is i don't quite understand how to update your sketch with the codes for my sockets. Using my 433 receiver nano i can see my remote sends the code 501601 to turn on socket 1. I thought i would just need to convert this to Binary, but that doesn't seem to work.

    Are you able to explain the code format for turning on/off sockets in your sketch ?

    Joseph

    Troubleshooting 433mhz

  • 433mhz outlet
    J jribera

    I'm also interested in a working example to control some 240V Sockets http://www.wattsclever.com/products/easy-off-sockets

    I've found the codes to send, just need to know how to send them :)

    Troubleshooting 433mhz

  • My Ethernet Gateway with custom case.
    J jribera

    Thanks for the feedback !

    Forgot to mention if your from Australia and looking for relatively cheap local itead supplier i can recommend http://www.monkeyboard.org/shop/

    Prices are more expensive but they can deliver in 1-2 days.

    My Project

  • My Ethernet Gateway with custom case.
    J jribera

    Hi All,

    Thought i would share my Ethernet Gateway in a custom case.

    The board is a itead iboard http://imall.iteadstudio.com/im120410001.html since i mounted this one in a case no modifications were needed to the board to connect the radio module.

    The case is actually a modified HP MSM320 wireless access point http://www.zdtronic.com/images/MSM325.jpg which i cut down and sprayed black. As luck would have it the Ethernet + Power line up perfectly with the existing holes. There were even 3 existing holes which i simply had to drill out to for the larger LEDs.

    So far i have tried the serial gateway based on a Nano & a Ethernet Gateway with a ENC28J60 and this is by far the most reliable solution.

    gw1.jpg

    gw4.jpg

    My Project

  • Vera status not updating after 1.4 upgrade
    J jribera

    I think the problem was my local Arduino IDE. I deleted everything, re-downloaded the 1.4 sensor libraries and rebuilt a few sensors. The new sensors now update the status on my vera correctly.

    Vera

  • Vera status not updating after 1.4 upgrade
    J jribera

    @ServiceXp

    This is correct. I think the only thing i haven't tried is a factory reset on the vera. This was working on 1.3

    Vera

  • Vera status not updating after 1.4 upgrade
    J jribera

    Hi,

    After moving to 1.4 my sensors appear to be working correctly however the status on the vera does not change. Ie my blind sensor is closed however the vera always displays an open icon. Same issue with my relay/lights vera always shows them as off.

    Any ideas ? I have restarted everything, re-uploaded all the vera plugins and also recreated the mysensors plugin.

    Thanks,

    Joseph

    Vera

  • Iboard - Cheap Single board Ethernet Arduino with Radio
    J jribera

    @gregl

    Just another thank you for the great instructions. Here is a better pic of the tracks to cut http://i.imgur.com/h87eOIy.jpg although i think i went overboard and hacked it a bit to much.

    Here is one of the completed gateway http://i.imgur.com/SwcP7yN.jpg

    The only problem i had was i had to also un-comment out the following line (To enable it) and force the inclusion PIN number to something other than 3.

    // Uncomment this constructor if you have leds and include button attached to your gateway
    MyGateway gw(RADIO_CE_PIN, RADIO_SPI_SS_PIN, INCLUSION_MODE_TIME, INCLUSION_MODE_PIN, RADIO_RX_LED_PIN, RADIO_TX_LED_PIN, RADIO_ERROR_LED_PIN);

    I would have thought not having it would disable the manual inclusion button, but without doing this, every time there was radio traffic the inclusion mode would start !

    Now i just need to find a nice case.

    Joseph

    Hardware iboard
  • Login

  • Don't have an account? Register

  • Login or register to search.
  • First post
    Last post
0
  • MySensors
  • OpenHardware.io
  • Categories
  • Recent
  • Tags
  • Popular