💬 Battery Powered Sensors
-
I have a problem: when batteries go around 2.7V radio will stop transmitting. Board still take current, but no messages.
I'm using own board with barebone 328p (8mHz internal) and SMD/mini nrf24l01 (pretty shure china)
Did anyone had same issues?I've checked programmaticaly (yes, it is possible!) my fuse bits: Low=0xE2, High=0xD2, Extended=0xFE (0x06)
(BOD = 1.8V)
I've have three same boards (water leak) and used other not-yet-installed with specially made low-voltage regulated source (with 2200 uF capacitor and resistor load to eliminate voltage drop at transmission) to test - same result.
Sometimes i can go lower to 2.5V but not guaranteed, sometimes even corrupted messages (i.e. node id 168 instead 8).
Tests were without UART, only MYSController to monitor messages flooding each 5sec to approve life.Did anyone had same problems with nrf24l01 modules? All i see people say the can go to around 2.0 V.
According to article https://www.gammon.com.au/power (and datasheet)
at 8mHz i'm safe down to 2.4V (something like that i also measured)
nrf should go down to 1.9...Also it would be great to add into advanced section possible voltages and problems with NiMh, china modules & 2.7V(if not only me), [not]possible currents from coin cells and metioned article.
-
@nekitoss Not sure where you got your information but my Gas Node is on it's second year running on the same two Varta AA alkalines and been down to -20 on more than a few occasions last winter, typically 4 months below -10... Currently the temperature is -3 and headed to -8 overnight, voltage is 2.98, will probably need to replace them in autumn 2019...
@nekitoss said in 💬 Battery Powered Sensors:
It would be great to add to this arctle that if you want to be battery powered outdoors with temperature below zero - you have to use lithium batteries (FR6 for AA) (yes, batteries, not li-ion accumulators!) (for example ultimate lithium energizer, also could be found lithium batteries from other vendors), because Alkaline (LR6 for AA) will be frozen and loose their capacity heavily. If i remember it is >50% at -10 C and death at -20 C. Same problem for li-ion accumulators - when liquid is frozen - electrons are stucked...
Also would be great to add some link about battery/accumulator types, advanteges and disadvantages, but i have no links in english, easy-to-read and in one place...But i have very great link about battery-powering that really should be added here, but in advanced section:
http://www.gammon.com.au/power@zboblamont how your alkaline batteries experience after 2 years(temperatures, lasting time)? my freshly installed (yes, it was long develop and test...) Lithium AA - when few weeks ago it was -20 .. stopped transmitting! Fixed resetting power when it become little warmer. Possibly same problem with 2.7V or exactly there may be wrong BOD...
-
@nekitoss said in 💬 Battery Powered Sensors:
It would be great to add to this arctle that if you want to be battery powered outdoors with temperature below zero - you have to use lithium batteries (FR6 for AA) (yes, batteries, not li-ion accumulators!) (for example ultimate lithium energizer, also could be found lithium batteries from other vendors), because Alkaline (LR6 for AA) will be frozen and loose their capacity heavily. If i remember it is >50% at -10 C and death at -20 C. Same problem for li-ion accumulators - when liquid is frozen - electrons are stucked...
Also would be great to add some link about battery/accumulator types, advanteges and disadvantages, but i have no links in english, easy-to-read and in one place...But i have very great link about battery-powering that really should be added here, but in advanced section:
http://www.gammon.com.au/power@zboblamont how your alkaline batteries experience after 2 years(temperatures, lasting time)? my freshly installed (yes, it was long develop and test...) Lithium AA - when few weeks ago it was -20 .. stopped transmitting! Fixed resetting power when it become little warmer. Possibly same problem with 2.7V or exactly there may be wrong BOD...
@nekitoss If I were you I;d reflash the bootloader and chec again. I got my pro mini with ebyte nrf24 to work and register with the gateway all the way down to 1.63V, so somethingi is wrong if you are loosing it at 2.7V (which is also as it happens, a BoD setting for atmel 328p). For the test I used minicore bootloader iwth Bod disabled and 2MHz clock. Bench power supply for the voltage variation.
-
@nekitoss said in 💬 Battery Powered Sensors:
It would be great to add to this arctle that if you want to be battery powered outdoors with temperature below zero - you have to use lithium batteries (FR6 for AA) (yes, batteries, not li-ion accumulators!) (for example ultimate lithium energizer, also could be found lithium batteries from other vendors), because Alkaline (LR6 for AA) will be frozen and loose their capacity heavily. If i remember it is >50% at -10 C and death at -20 C. Same problem for li-ion accumulators - when liquid is frozen - electrons are stucked...
Also would be great to add some link about battery/accumulator types, advanteges and disadvantages, but i have no links in english, easy-to-read and in one place...But i have very great link about battery-powering that really should be added here, but in advanced section:
http://www.gammon.com.au/power@zboblamont how your alkaline batteries experience after 2 years(temperatures, lasting time)? my freshly installed (yes, it was long develop and test...) Lithium AA - when few weeks ago it was -20 .. stopped transmitting! Fixed resetting power when it become little warmer. Possibly same problem with 2.7V or exactly there may be wrong BOD...
@nekitoss No problems with alkaline power, 6 - 18 months now on 2xAA down to ca -15c, battery voltage reported ca 2 or 3 times per day.
I vaguely recall reading an article on lithium and alkaline battery behaviour in extreme cold weather, the alkalines were the better performers.Note that the pro-minis here use onboard booster and LDO which provide stable 3.3v all the way down to ca 1.8v battery death, so battery voltage is unrelated to system voltage unlike your setup. They also use rfm69s (433MHz) which are better able to penetrate structural obstacles.
Bear in mind that if you have comms problems this can substantially reduce battery life as it does not quickly waken, perform the task and go back to deep sleep -
Nice job on updating the infor BTW :)
-
Adding on to this.. If we use a map function to convert the battery level like this, then it shows up as an attribute in HomeAssistant and Homekit
Map function works and not the percent. The percent always shows as zero in Homekit.
Hope this helps someone!void battery() { long batteryMillivolts = hwCPUVoltage(); int batteryV =batteryMillivolts /1000 + 0.5; auto batteryLevel = map(batteryV,EMPTY_BATTERY, FULL_BATTERY, 0, 100); if (batteryLevel > 100) {batteryLevel=100;} #ifdef MY_DEBUG Serial.print("Battery voltage: "); Serial.print(batteryMillivolts / 1000.0); Serial.println("V"); Serial.print("Battery Level "); Serial.print(batteryLevel); Serial.println(" %"); #endif if (oldBatteryLevel != batteryLevel) { sendBatteryLevel(batteryLevel); send(msgV.set(batteryV,2)); oldBatteryLevel = batteryLevel; } } image url)
-
@nekitoss If I were you I;d reflash the bootloader and chec again. I got my pro mini with ebyte nrf24 to work and register with the gateway all the way down to 1.63V, so somethingi is wrong if you are loosing it at 2.7V (which is also as it happens, a BoD setting for atmel 328p). For the test I used minicore bootloader iwth Bod disabled and 2MHz clock. Bench power supply for the voltage variation.
@skywatch Thank you very much! Your advice helped. Not shure what it was on BOTH devices - my mistake or some corruption of fuses/program.
On first device (where i found problem) - there were different fuse bits (but according to my eyes BOD was even disabed, but not shure). On the second (where i tested) fuses were checked and were correct. I tried to play with fuses and erase chip... and something strange happened - or chip memory was broken or i can't verify program when box "erase flash and eeprom" is checked... so i took fresh nano, programmed it and resoldered MCU into the second device.
So both devices now are fixed and tested - both work till ~1.9V.
Thanks, you saved my brains! -
Hi from France;
I've tried everything I could and no way to put My temp. sensor to deep sleep.
so I went back to the very beginning with a bare Pro-Min 3.3v and I tryed this:
#include <LowPower.h>
void setup() {
pinMode(13, OUTPUT);
}
void loop() {
LowPower.powerDown(SLEEP_8S, ADC_OFF, BOD_OFF);
digitalWrite(13, HIGH);
delay(1000);
digitalWrite(13, LOW);
}
My boad is going to sleep;
YEEEESSS ! the pb is NOT comming from the board itself....eating a bunch ou micro amp;
Then I've added the minimum requested to make a MySensor extension and I tried this:
#define MY_RADIO_NRF24 // Choix du module radio
#define MY_RF24_PA_LEVEL (RF24_PA_HIGH) //CHOIX: RF24_PA_MIN; RF24_PA_LOW; RF24_PA_HIGH; RF24_PA_MAX
#define RF24_CHANNEL 76
#define RF24_DATARATE RF24_250KBPS
#include <MySensors.h>
#include <LowPower.h>
void setup() {
pinMode(13, OUTPUT);
}
void loop() {
LowPower.powerDown(SLEEP_8S, ADC_OFF, BOD_OFF);
digitalWrite(13, HIGH);
delay(1000);
digitalWrite(13, LOW);
}
The boad stays awaken (4 mA current)
So may be the problem is comming from LowPower library...
I tried this minimal prgm recommended in a tutorial, using MySensors library and SLEEP function:
// Enable and select radio type attached
#define MY_RADIO_RF24
#include <MySensors.h>
uint32_t SLEEP_TIME = 900000; // sleep time between reads (in seconds * 1000 )
int oldBatteryPcnt = 0;
#define FULL_BATTERY 3 // 3V for 2xAA alkaline. Adjust if you use a different battery setup.
void setup()
{
}
void presentation()
{
// Send the sketch version information to the gateway and Controller
sendSketchInfo("Battery Meter", "1.0");
}
void loop()
{
// get the battery Voltage
long batteryMillivolts = hwCPUVoltage();
int batteryPcnt = batteryMillivolts / FULL_BATTERY / 1000.0 * 100 + 0.5;
if (oldBatteryPcnt != batteryPcnt) {
sendBatteryLevel(batteryPcnt);
oldBatteryPcnt = batteryPcnt;
}
sleep(SLEEP_TIME);
}
NO WAY AGAIN; The board is still eating 4mA all the way long.
I'm lost !!!! Please HELP ME .... -
Hi from France;
I've tried everything I could and no way to put My temp. sensor to deep sleep.
so I went back to the very beginning with a bare Pro-Min 3.3v and I tryed this:
#include <LowPower.h>
void setup() {
pinMode(13, OUTPUT);
}
void loop() {
LowPower.powerDown(SLEEP_8S, ADC_OFF, BOD_OFF);
digitalWrite(13, HIGH);
delay(1000);
digitalWrite(13, LOW);
}
My boad is going to sleep;
YEEEESSS ! the pb is NOT comming from the board itself....eating a bunch ou micro amp;
Then I've added the minimum requested to make a MySensor extension and I tried this:
#define MY_RADIO_NRF24 // Choix du module radio
#define MY_RF24_PA_LEVEL (RF24_PA_HIGH) //CHOIX: RF24_PA_MIN; RF24_PA_LOW; RF24_PA_HIGH; RF24_PA_MAX
#define RF24_CHANNEL 76
#define RF24_DATARATE RF24_250KBPS
#include <MySensors.h>
#include <LowPower.h>
void setup() {
pinMode(13, OUTPUT);
}
void loop() {
LowPower.powerDown(SLEEP_8S, ADC_OFF, BOD_OFF);
digitalWrite(13, HIGH);
delay(1000);
digitalWrite(13, LOW);
}
The boad stays awaken (4 mA current)
So may be the problem is comming from LowPower library...
I tried this minimal prgm recommended in a tutorial, using MySensors library and SLEEP function:
// Enable and select radio type attached
#define MY_RADIO_RF24
#include <MySensors.h>
uint32_t SLEEP_TIME = 900000; // sleep time between reads (in seconds * 1000 )
int oldBatteryPcnt = 0;
#define FULL_BATTERY 3 // 3V for 2xAA alkaline. Adjust if you use a different battery setup.
void setup()
{
}
void presentation()
{
// Send the sketch version information to the gateway and Controller
sendSketchInfo("Battery Meter", "1.0");
}
void loop()
{
// get the battery Voltage
long batteryMillivolts = hwCPUVoltage();
int batteryPcnt = batteryMillivolts / FULL_BATTERY / 1000.0 * 100 + 0.5;
if (oldBatteryPcnt != batteryPcnt) {
sendBatteryLevel(batteryPcnt);
oldBatteryPcnt = batteryPcnt;
}
sleep(SLEEP_TIME);
}
NO WAY AGAIN; The board is still eating 4mA all the way long.
I'm lost !!!! Please HELP ME ....@Gilles-BILLARD Using the lowpower lib and mysensors lib together will probably give conflicts, so you should avoid it. MySensors lib implements the same low power tricks.
When doing the latest test sketch, are you doing this also with a bare pro-mini 3.3V?
So not connected to anything, no radio, no sensor?
Try the same latest sketch, but set everything inside the loop() in comment except the sleep line. -
Thanks EVB;
- Yes; Last test with a bare pro-mini 3.3v
- I did that...
// Enable and select radio type attached
#define MY_RADIO_RF24
#include <MySensors.h>
uint32_t SLEEP_TIME = 900000;  // sleep time between reads (in seconds * 1000 )
int oldBatteryPcnt = 0;
#define FULL_BATTERY 3 // 3V for 2xAA alkaline. Adjust if you use a different battery setup.
void setup()
{
}
void presentation()
{
  // Send the sketch version information to the gateway and Controller
  sendSketchInfo("Battery Meter", "1.0");
}
void loop()
{
//    // get the battery Voltage
//    long batteryMillivolts = hwCPUVoltage();
//    int batteryPcnt = batteryMillivolts / FULL_BATTERY / 1000.0 * 100 + 0.5;
//
//    if (oldBatteryPcnt != batteryPcnt) {
//      sendBatteryLevel(batteryPcnt);
//      oldBatteryPcnt = batteryPcnt;
//  }
  sleep(SLEEP_TIME);
}
Again : 4.2mA (no sleep )
So sad ! :disappointed_relieved: -
@Gilles-BILLARD IT took me some time to work it out and get it working.
I suggest you install MiniCore library - it is easy to follow simple steps and takes a minute or two.
Then burn a bootloader into the atmega, I always use 3.3V, disable BoD and 4MHz or 8MHz internal clock. You can use one arduino to program another or just get a USB programmer from your preferred source (about $2).
Once your pro mini is booeloaded and you have your sketch in installed , remove the Power LED (or the series resistor for the LED) and also remove the voltage regulator (or cut the tracks as shown in the battery powered page).
You won't get down to <10uA in sleep unless you do all of this.
-
Thanks Skywatch,
My Pro-Mini boards are comming from Aliexpress, so, I was also thinking about the bootloader... what else ?
I'll do what you explain ASAP and be back to say what...
BTW: I already have cut the tracks powering the LED & regulator -
@Gilles-BILLARD IT took me some time to work it out and get it working.
I suggest you install MiniCore library - it is easy to follow simple steps and takes a minute or two.
Then burn a bootloader into the atmega, I always use 3.3V, disable BoD and 4MHz or 8MHz internal clock. You can use one arduino to program another or just get a USB programmer from your preferred source (about $2).
Once your pro mini is booeloaded and you have your sketch in installed , remove the Power LED (or the series resistor for the LED) and also remove the voltage regulator (or cut the tracks as shown in the battery powered page).
You won't get down to <10uA in sleep unless you do all of this.
@skywatch NO WAY ! So bad !
I burned the MiniCore bootloader quite eazily using a second Pro-Mini loaded with Arduino BootLoader ( juste a file name error; looking for optiboot_flash_atmega328p_UART1_115200_16000000L_B5.hex but only optiboot_flash_atmega328p_UART0_115200_16000000L_B5.hex on the folder, so I just changed 0-->1 in the file name) and the résult was:
*
avrdude: Version 6.3-20201216
Copyright (c) 2000-2005 Brian Dean, http://www.bdmicro.com/
Copyright (c) 2007-2014 Joerg WunschSystem wide configuration file is "C:\Users\billa\AppData\Local\Arduino15\packages\MiniCore\hardware\avr\2.1.0/avrdude.conf" Using Port : COM7 Using Programmer : stk500v1 Overriding Baud Rate : 19200 AVR Part : ATmega328P Chip Erase delay : 9000 us PAGEL : PD7 BS2 : PC2 RESET disposition : dedicated RETRY pulse : SCK serial program mode : yes parallel program mode : yes Timeout : 200 StabDelay : 100 CmdexeDelay : 25 SyncLoops : 32 ByteDelay : 0 PollIndex : 3 PollValue : 0x53 Memory Detail : Block Poll Page Polled Memory Type Mode Delay Size Indx Paged Size Size #Pages MinW MaxW ReadBack ----------- ---- ----- ----- ---- ------ ------ ---- ------ ----- ----- --------- eeprom 65 20 4 0 no 1024 4 0 3600 3600 0xff 0xff flash 65 6 128 0 yes 32768 128 256 4500 4500 0xff 0xff lfuse 0 0 0 0 no 1 0 0 4500 4500 0x00 0x00 hfuse 0 0 0 0 no 1 0 0 4500 4500 0x00 0x00 efuse 0 0 0 0 no 1 0 0 4500 4500 0x00 0x00 lock 0 0 0 0 no 1 0 0 4500 4500 0x00 0x00 calibration 0 0 0 0 no 1 0 0 0 0 0x00 0x00 signature 0 0 0 0 no 3 0 0 0 0 0x00 0x00 Programmer Type : STK500 Description : Atmel STK500 Version 1.x firmware Hardware Version: 2 Firmware Version: 1.18 Topcard : Unknown Vtarget : 0.0 V Varef : 0.0 V Oscillator : Off SCK period : 0.1 usavrdude: AVR device initialized and ready to accept instructions
Reading | ################################################## | 100% 0.04s
avrdude: Device signature = 0x1e950f (probably m328p)
avrdude: NOTE: "flash" memory has been specified, an erase cycle will be performed
To disable this feature, specify the -D option.
avrdude: erasing chip
avrdude: reading input file "C:\Users\billa\AppData\Local\Arduino15\packages\MiniCore\hardware\avr\2.1.0/bootloaders/empty/empty.hex"
avrdude: writing flash (0 bytes):Writing | ################################################## | 100% 0.00s
avrdude: 0 bytes of flash written
avrdude: verifying flash memory against C:\Users\billa\AppData\Local\Arduino15\packages\MiniCore\hardware\avr\2.1.0/bootloaders/empty/empty.hex:
avrdude: load data flash data from input file C:\Users\billa\AppData\Local\Arduino15\packages\MiniCore\hardware\avr\2.1.0/bootloaders/empty/empty.hex:
avrdude: input file C:\Users\billa\AppData\Local\Arduino15\packages\MiniCore\hardware\avr\2.1.0/bootloaders/empty/empty.hex contains 0 bytes
avrdude: reading on-chip flash data:Reading | ################################################## | 100% -0.00s
avrdude: verifying ...
avrdude: 0 bytes of flash verified
avrdude: reading input file "0x0f"
avrdude: writing lock (1 bytes):Writing | ################################################## | 100% 0.04s
avrdude: 1 bytes of lock written
avrdude: verifying lock memory against 0x0f:
avrdude: load data lock data from input file 0x0f:
avrdude: input file 0x0f contains 1 bytes
avrdude: reading on-chip lock data:Reading | ################################################## | 100% 0.01s
avrdude: verifying ...
avrdude: 1 bytes of lock verifiedavrdude done. Thank you.
Then I loaded it with Blink demo...
At this point all's OKay. Both Po-Mini are blinking
Then I've loaded the 2nd with that:// Enable and select radio type attached #define MY_RADIO_RF24 #include <MySensors.h> uint32_t SLEEP_TIME = 4000; // sleep time (in seconds * 1000 ) void setup() { pinMode(LED_BUILTIN, OUTPUT); } void presentation() { sendSketchInfo("Test Prgm", "1.0"); // Send the sketch version information to the gateway and Controller } void loop() { digitalWrite(LED_BUILTIN, HIGH); delay(1000); digitalWrite(LED_BUILTIN, LOW); delay(1000); sleep(SLEEP_TIME); }and...
the result is...
NO BLINK
(draining more or less 2mA; Varying quickly from 1600uA to 2000uA; I should put a scope probe on that....) -
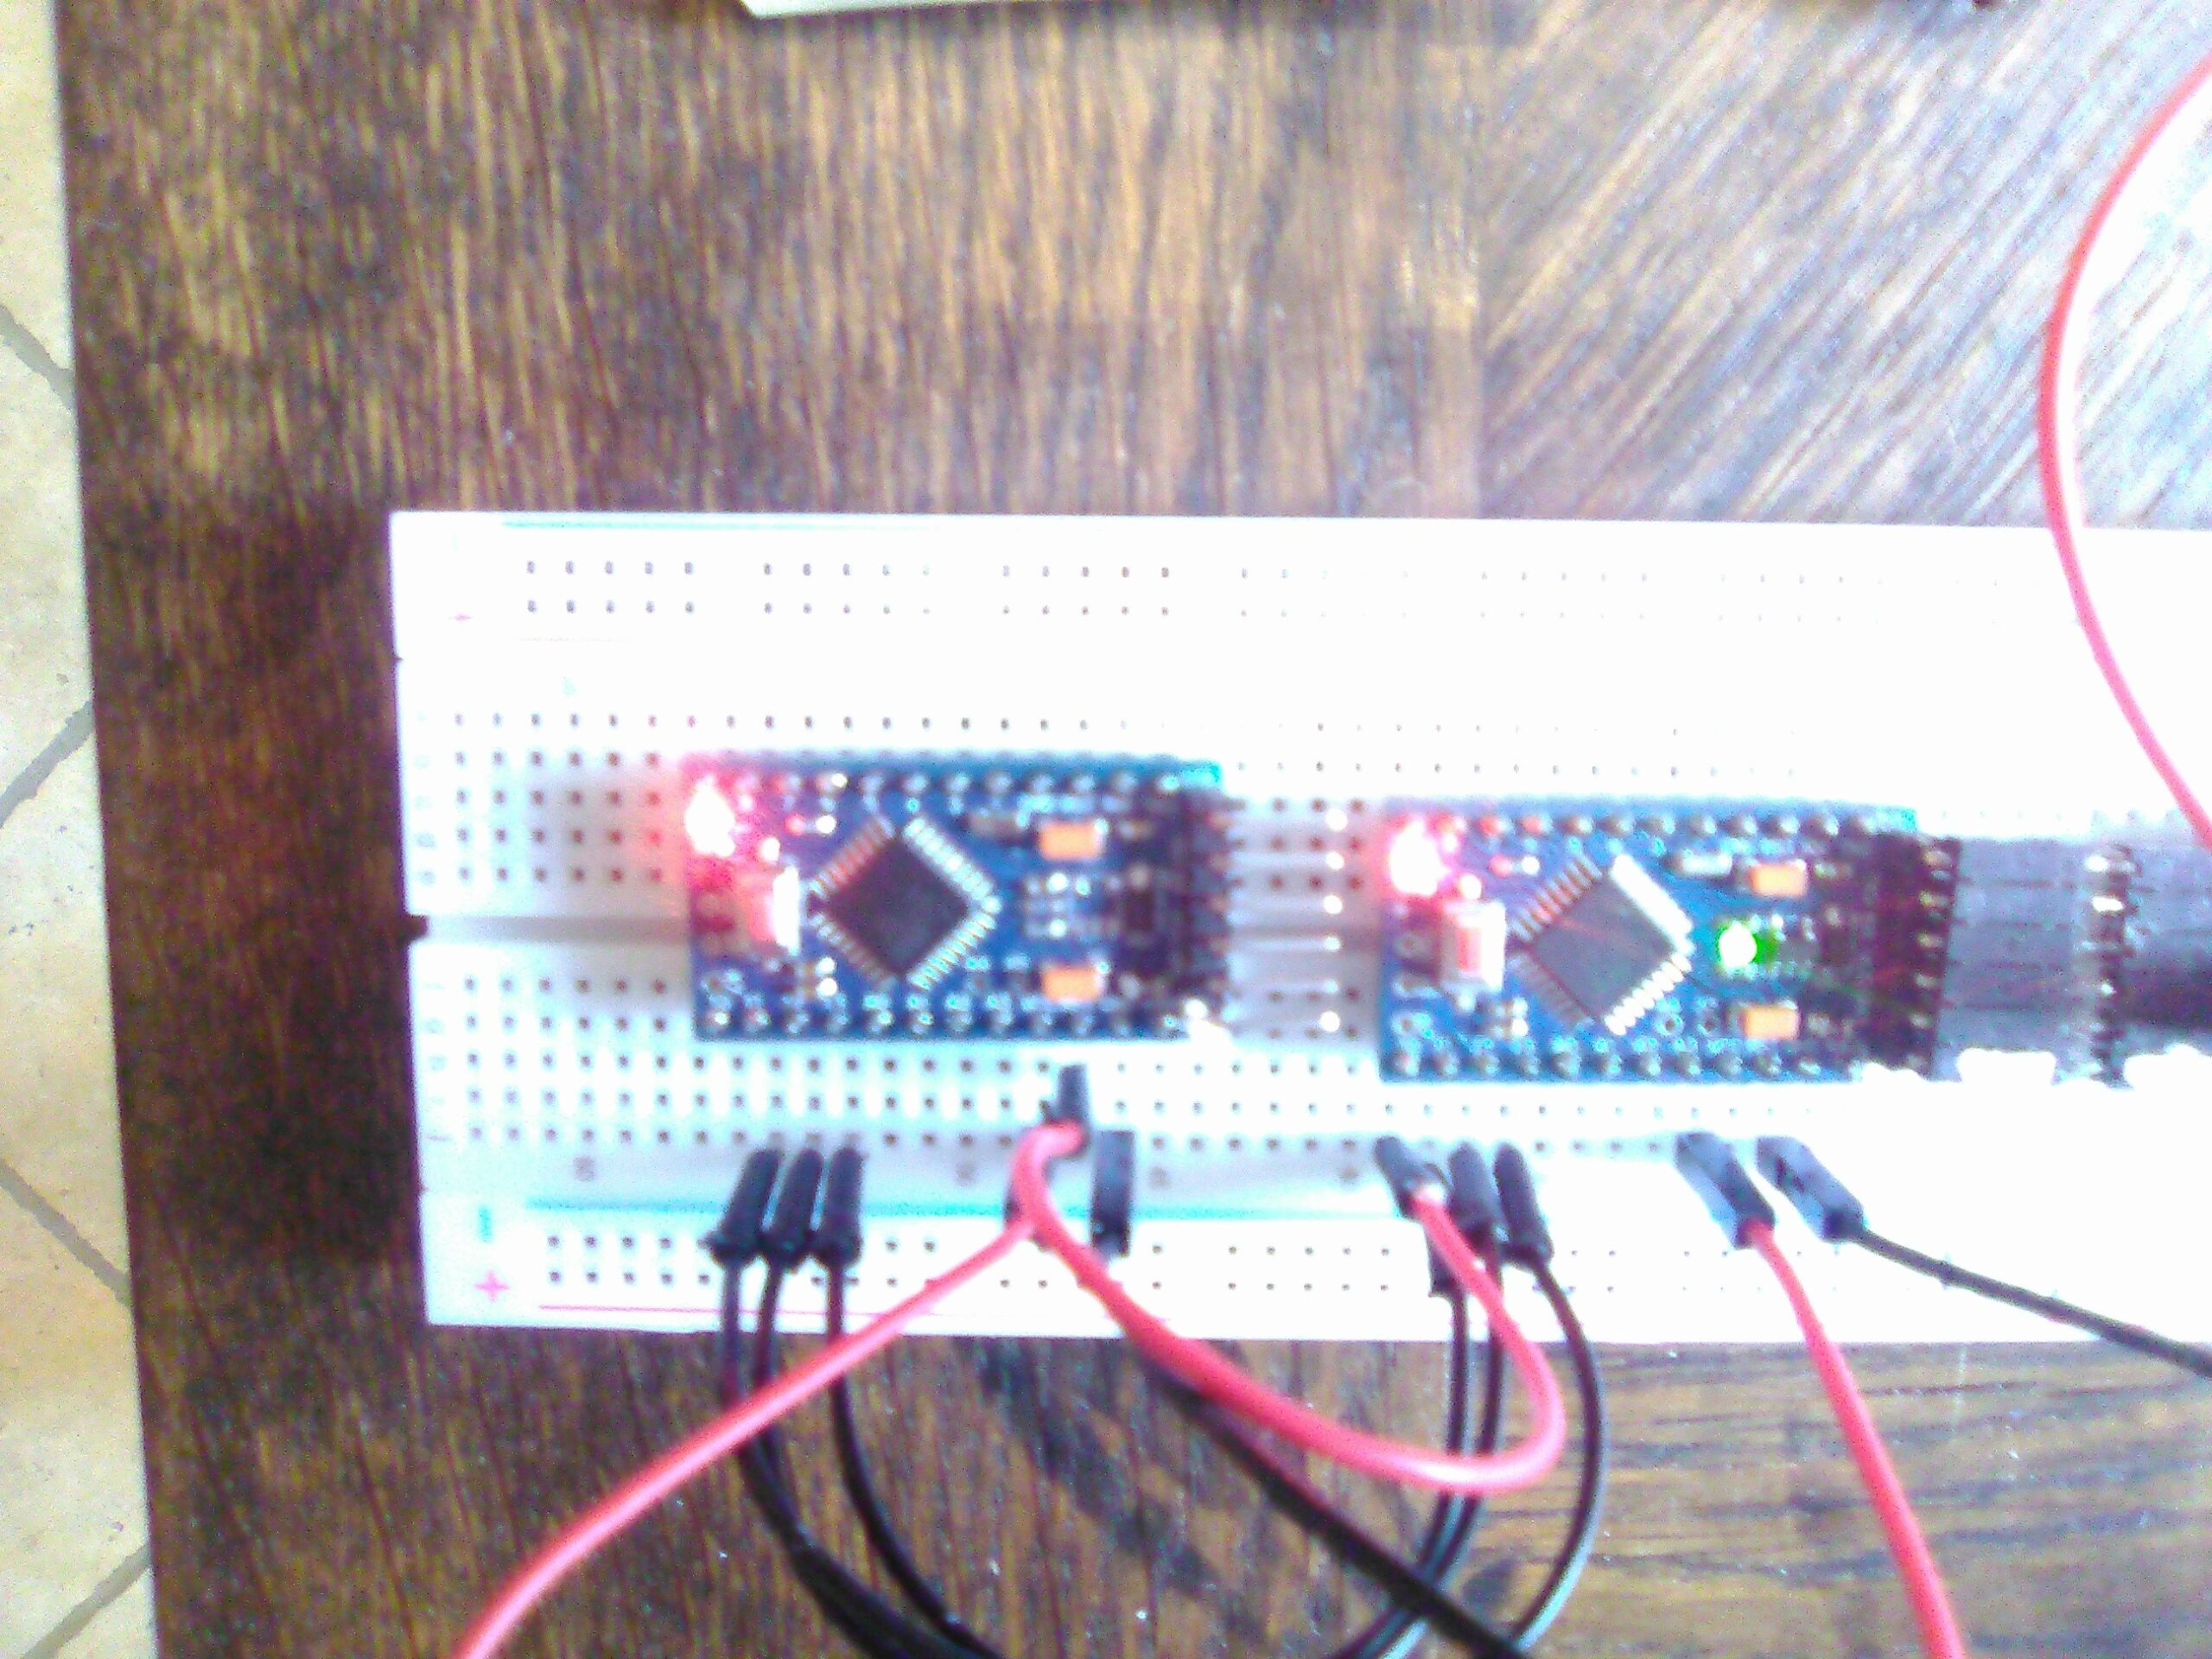
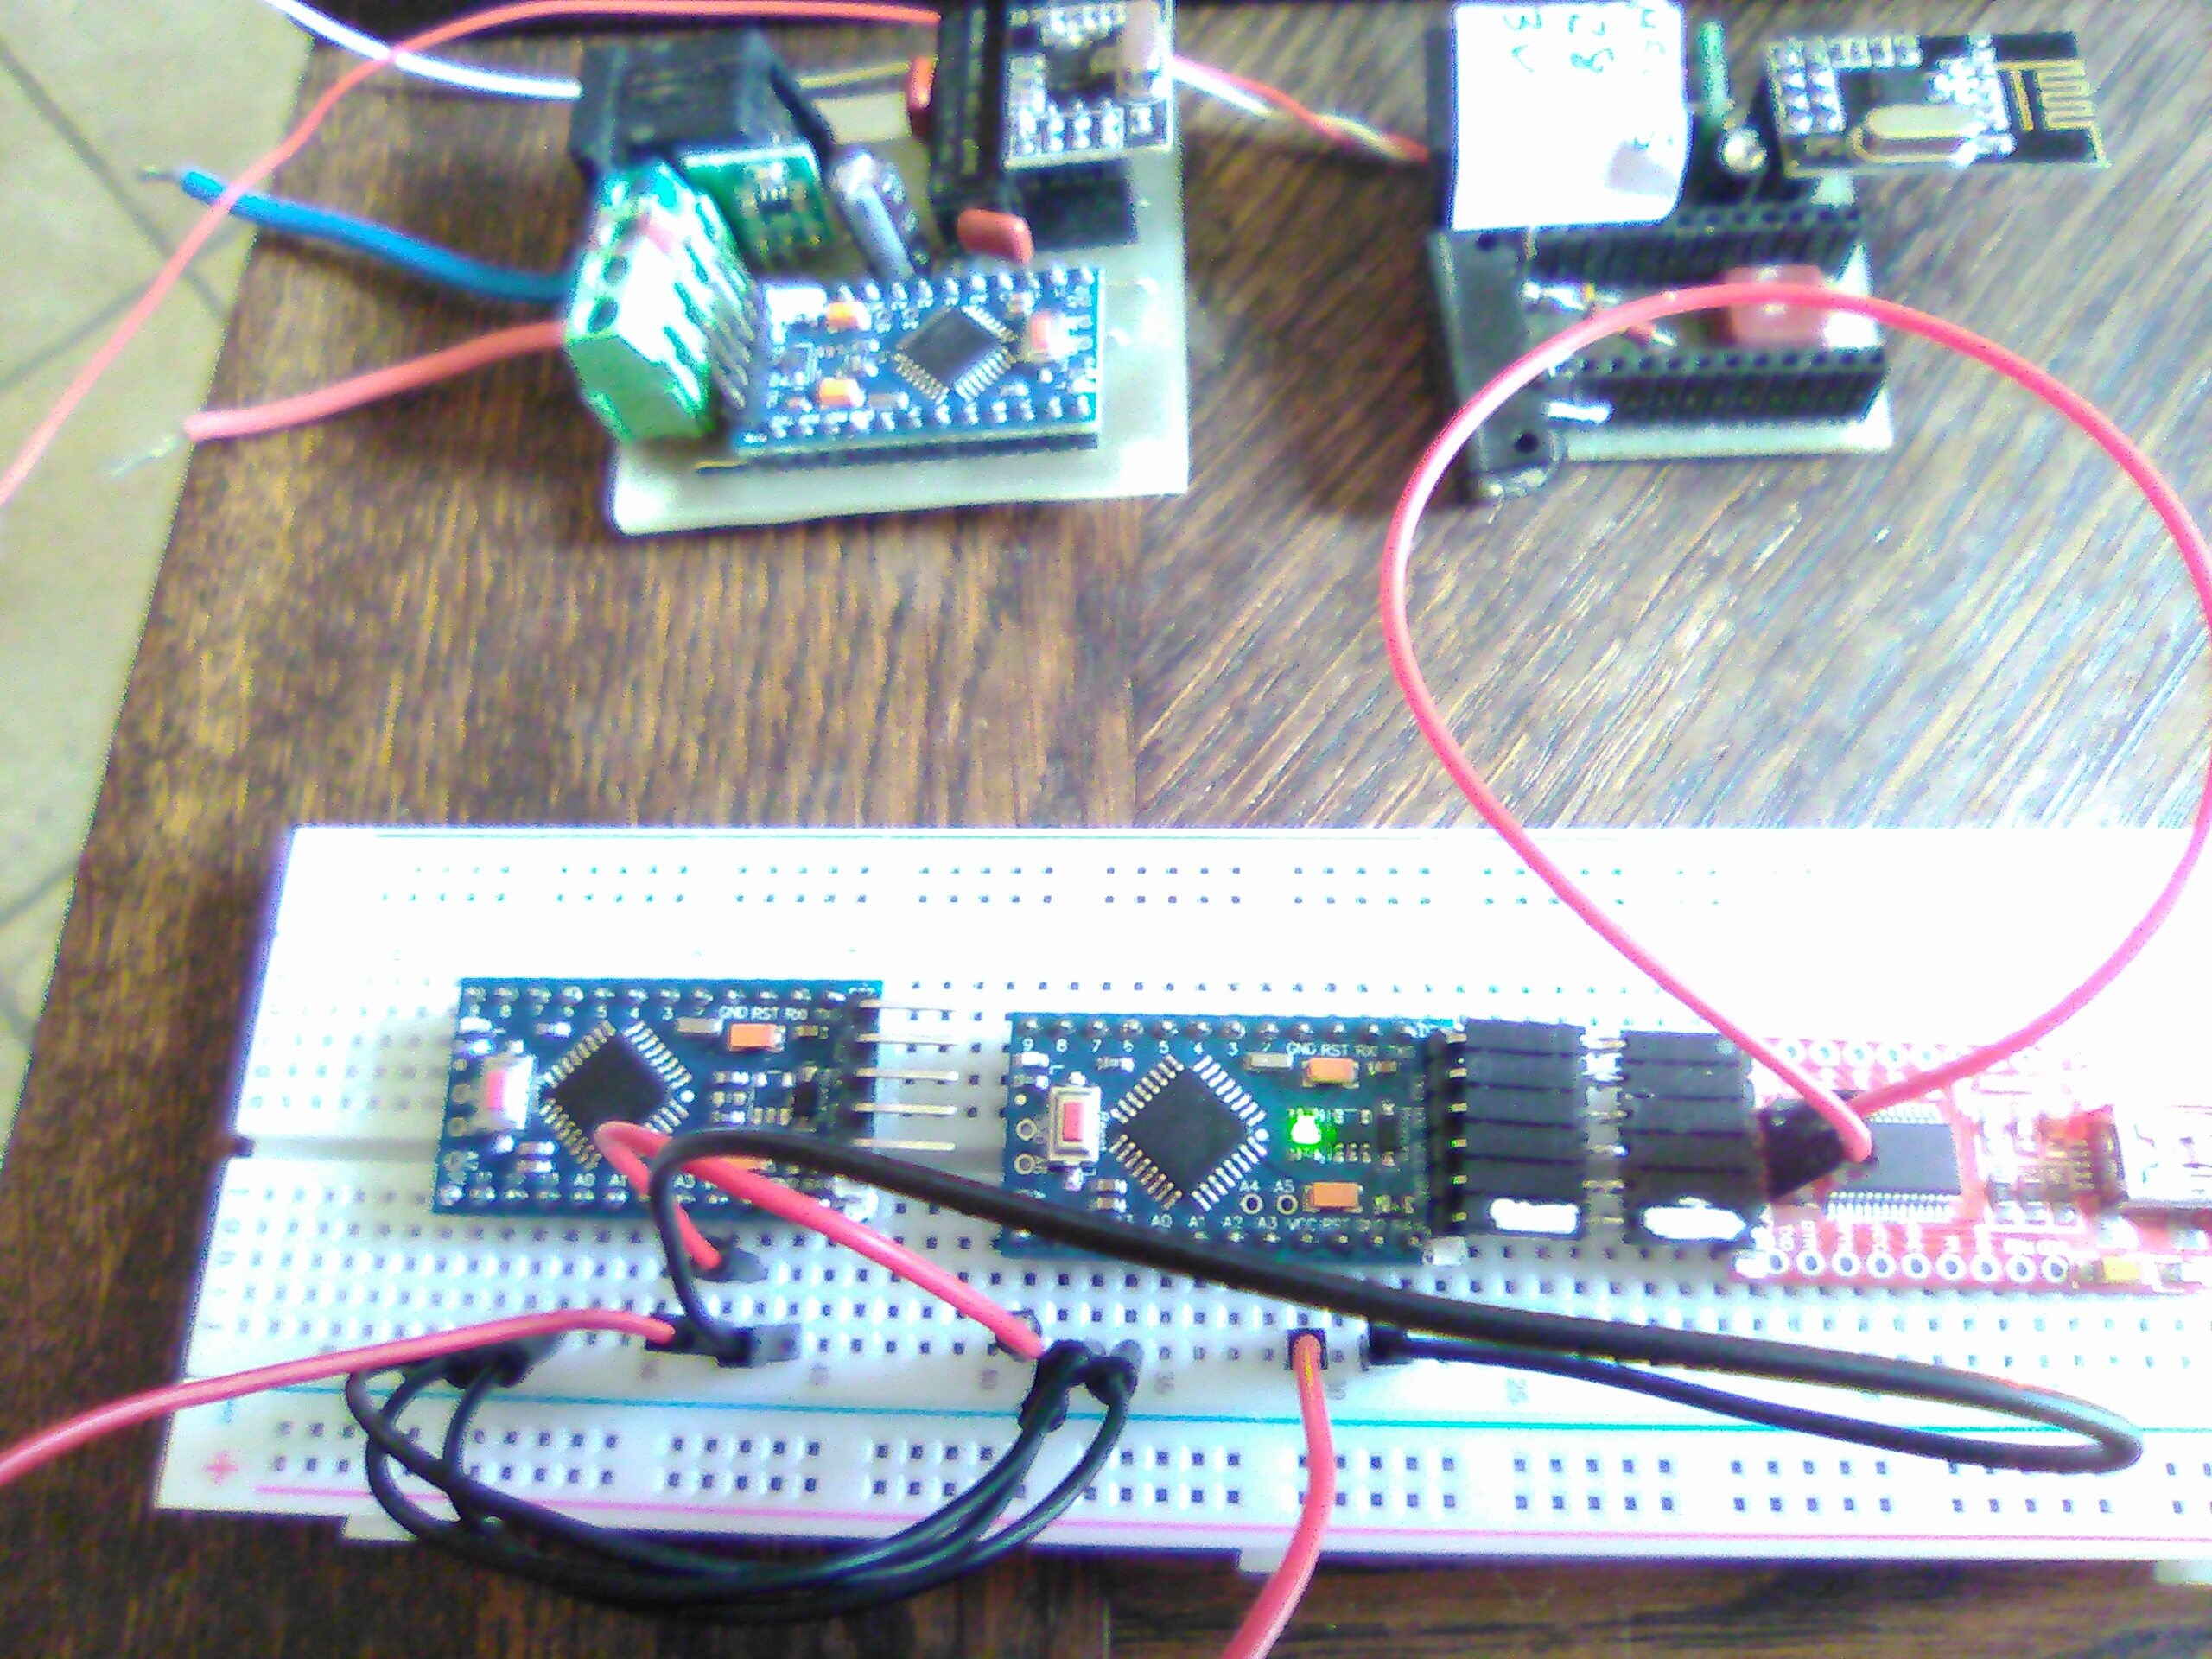
@Gilles-BILLARD from the photos it seems you didn't connect a radio. If that is the case, the loop will not be entered and your arduino won't sleep!
-
@Yveaux
YESSSSSS !<
That was the last problèm to solve.
Back with my own MySensors routine all is perfect ! (8uA in sleep mode)
I am very happy now and I thank all those who assisted me.
You've made my day !
Gilles -
@skywatch NO WAY ! So bad !
I burned the MiniCore bootloader quite eazily using a second Pro-Mini loaded with Arduino BootLoader ( juste a file name error; looking for optiboot_flash_atmega328p_UART1_115200_16000000L_B5.hex but only optiboot_flash_atmega328p_UART0_115200_16000000L_B5.hex on the folder, so I just changed 0-->1 in the file name) and the résult was:
*
avrdude: Version 6.3-20201216
Copyright (c) 2000-2005 Brian Dean, http://www.bdmicro.com/
Copyright (c) 2007-2014 Joerg WunschSystem wide configuration file is "C:\Users\billa\AppData\Local\Arduino15\packages\MiniCore\hardware\avr\2.1.0/avrdude.conf" Using Port : COM7 Using Programmer : stk500v1 Overriding Baud Rate : 19200 AVR Part : ATmega328P Chip Erase delay : 9000 us PAGEL : PD7 BS2 : PC2 RESET disposition : dedicated RETRY pulse : SCK serial program mode : yes parallel program mode : yes Timeout : 200 StabDelay : 100 CmdexeDelay : 25 SyncLoops : 32 ByteDelay : 0 PollIndex : 3 PollValue : 0x53 Memory Detail : Block Poll Page Polled Memory Type Mode Delay Size Indx Paged Size Size #Pages MinW MaxW ReadBack ----------- ---- ----- ----- ---- ------ ------ ---- ------ ----- ----- --------- eeprom 65 20 4 0 no 1024 4 0 3600 3600 0xff 0xff flash 65 6 128 0 yes 32768 128 256 4500 4500 0xff 0xff lfuse 0 0 0 0 no 1 0 0 4500 4500 0x00 0x00 hfuse 0 0 0 0 no 1 0 0 4500 4500 0x00 0x00 efuse 0 0 0 0 no 1 0 0 4500 4500 0x00 0x00 lock 0 0 0 0 no 1 0 0 4500 4500 0x00 0x00 calibration 0 0 0 0 no 1 0 0 0 0 0x00 0x00 signature 0 0 0 0 no 3 0 0 0 0 0x00 0x00 Programmer Type : STK500 Description : Atmel STK500 Version 1.x firmware Hardware Version: 2 Firmware Version: 1.18 Topcard : Unknown Vtarget : 0.0 V Varef : 0.0 V Oscillator : Off SCK period : 0.1 usavrdude: AVR device initialized and ready to accept instructions
Reading | ################################################## | 100% 0.04s
avrdude: Device signature = 0x1e950f (probably m328p)
avrdude: NOTE: "flash" memory has been specified, an erase cycle will be performed
To disable this feature, specify the -D option.
avrdude: erasing chip
avrdude: reading input file "C:\Users\billa\AppData\Local\Arduino15\packages\MiniCore\hardware\avr\2.1.0/bootloaders/empty/empty.hex"
avrdude: writing flash (0 bytes):Writing | ################################################## | 100% 0.00s
avrdude: 0 bytes of flash written
avrdude: verifying flash memory against C:\Users\billa\AppData\Local\Arduino15\packages\MiniCore\hardware\avr\2.1.0/bootloaders/empty/empty.hex:
avrdude: load data flash data from input file C:\Users\billa\AppData\Local\Arduino15\packages\MiniCore\hardware\avr\2.1.0/bootloaders/empty/empty.hex:
avrdude: input file C:\Users\billa\AppData\Local\Arduino15\packages\MiniCore\hardware\avr\2.1.0/bootloaders/empty/empty.hex contains 0 bytes
avrdude: reading on-chip flash data:Reading | ################################################## | 100% -0.00s
avrdude: verifying ...
avrdude: 0 bytes of flash verified
avrdude: reading input file "0x0f"
avrdude: writing lock (1 bytes):Writing | ################################################## | 100% 0.04s
avrdude: 1 bytes of lock written
avrdude: verifying lock memory against 0x0f:
avrdude: load data lock data from input file 0x0f:
avrdude: input file 0x0f contains 1 bytes
avrdude: reading on-chip lock data:Reading | ################################################## | 100% 0.01s
avrdude: verifying ...
avrdude: 1 bytes of lock verifiedavrdude done. Thank you.
Then I loaded it with Blink demo...
At this point all's OKay. Both Po-Mini are blinking
Then I've loaded the 2nd with that:// Enable and select radio type attached #define MY_RADIO_RF24 #include <MySensors.h> uint32_t SLEEP_TIME = 4000; // sleep time (in seconds * 1000 ) void setup() { pinMode(LED_BUILTIN, OUTPUT); } void presentation() { sendSketchInfo("Test Prgm", "1.0"); // Send the sketch version information to the gateway and Controller } void loop() { digitalWrite(LED_BUILTIN, HIGH); delay(1000); digitalWrite(LED_BUILTIN, LOW); delay(1000); sleep(SLEEP_TIME); }and...
the result is...
NO BLINK
(draining more or less 2mA; Varying quickly from 1600uA to 2000uA; I should put a scope probe on that....)@Gilles-BILLARD Damn! Why did I order UNO if I could use another Pro Mini for programming... :)
-
@Gilles-BILLARD Damn! Why did I order UNO if I could use another Pro Mini for programming... :)
@tssk My Pro-Mini's are 3.3V, so this way I avoid the resistors dividers wiring to change 5V (Uno) to 3.3 (Pro-Mini);
May be you love creating problems where there are none ;-)