Navigation

    • Register
    • Login
    • Search
    • OpenHardware.io
    • Categories
    • Recent
    • Tags
    • Popular
    1. Home
    2. barduino
    3. Topics
    • Profile
    • Following
    • Followers
    • Topics
    • Posts
    • Best
    • Groups

    Topics created by barduino

    • barduino

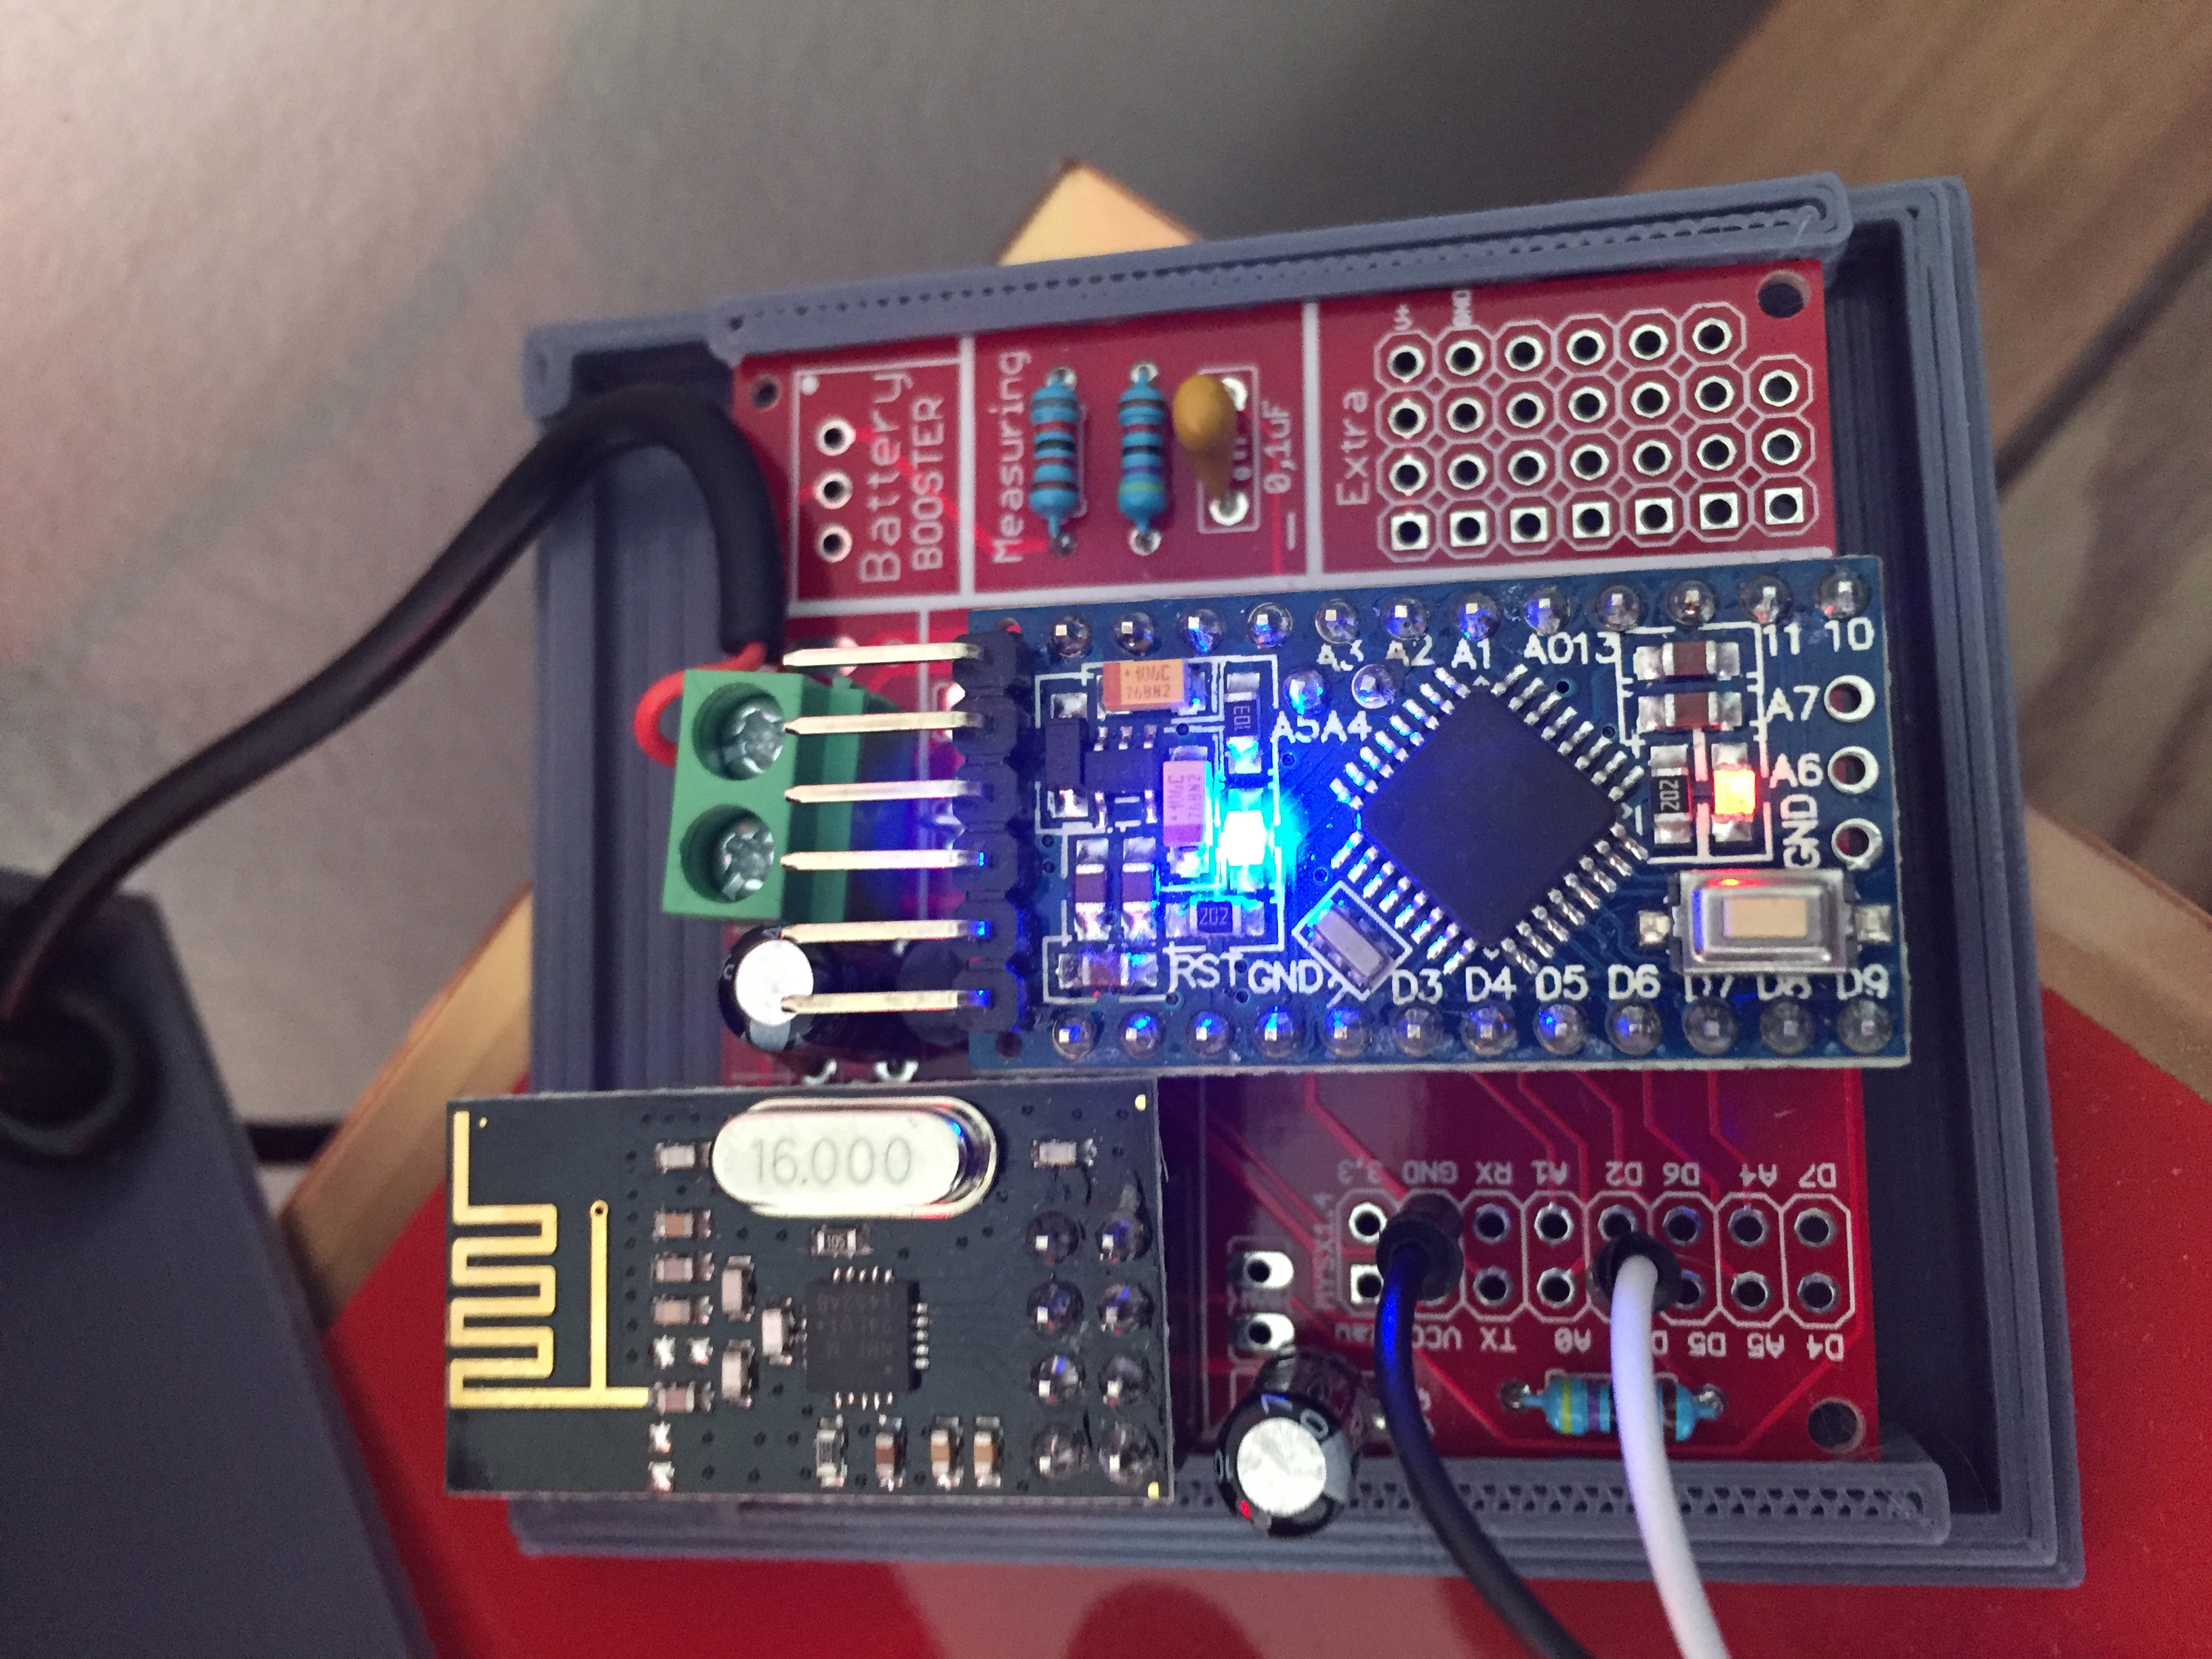
      Enclosure/Bumper for Easy/Newbie PCB
      Enclosures / 3D Printing • • barduino  

      23
      2
      Votes
      23
      Posts
      21471
      Views

      mfalkvidd

      @evb my bad. The nodebb admin interface has a "Save" button that I didn't see so the changes I made were thrown away. I've re-entered the settings ans this time I clicked Save
    • barduino

      Garage door contraption (yet another)
      My Project • • barduino  

      12
      5
      Votes
      12
      Posts
      4216
      Views

      barduino

      @koen01 I'm going for a similar next step. The cars must be parked in a very specific position relative to the side wall and the garage door, or otherwise it's almost impossible to move around the garage. Something like this Hek project. Cheers
    • barduino

      Burned out RPi?
      Hardware • • barduino  

      2
      0
      Votes
      2
      Posts
      3679
      Views

      Drcashman

      You might find fix here. https://www.raspberrypi.org/forums/viewtopic.php?f=28&t=110164
    • barduino

      Serial Gateway w/ MQTT using nodeJS
      Development • • barduino  

      6
      3
      Votes
      6
      Posts
      3887
      Views

      รอเรือ

      @electrik There are already plenty of instructions on how you install Node.js and it would be beyond the scope of this topic to do so here. There are so many variables such as operating systems and so on to take into account. After installing Node.js you need to install the Node serialport and Node mqtt. pm2 is a very nice process manager for Node.js that you can use to make sure that your node scripts always is running. It's highly recommended and will make your life easier. In my own installation, I created a sub directory ~/node_modules/serialgwmqtt/ where I saved the app.js script file. Then cd ~/node_modules/serialgwmqtt/ followed by node app.js to make sure that everything works fine. When it does (works fine) you should make it autostart. I added my script to pm2 with the following command: pm2 start app.js --name "serialgwmqtt" (while still in the same directory). check hat it's working by issuing pm2 list I might have been running npm installor something similar also. I'm actually not so clever with these things and I'm sure my instructions can be simplified. The script should also be uploaded so some place to make it available for installing with a simple command. Maybe someone else more node.js-talented person want's to help here. I hope I have't forgotten anything, it's quite straight forward. Things are running rock solid here.
    • barduino

      Hydroponics (Update 1/31) w/pics
      My Project • • barduino  

      16
      0
      Votes
      16
      Posts
      9137
      Views

      Dwalt

      @barduino I stumbled across this project a year or so ago while researching something similar to your project. There are some good resources there. I never got around to following up on it but your project is tempting me...mixing water with electronics, what's not to love.
    • barduino

      Test your home made controller with MockMySensors (w/ tutorial)
      Controllers • • barduino  

      39
      3
      Votes
      39
      Posts
      25325
      Views

      barduino

      Hi Folks, The guys at MySensors were kind to convert this to 1.6 lib. So being back in Europe for the holidays I decided to create a post with some explanations/tutorial about the code. This example MockMySensors from the MySensors examples actually combines 30 sensors in a single node. It may have a poor architecture but it will give you an idea of how to combine sensors and with some feedback we can always improve on the architecture. It has been designed for you to customize it for the sensor you want to test by uncomment the initial lines. This line defines your NODE ID, you can always change it to AUTO or to your specification #define MY_NODE_ID 254 This part of the code defines the sensors you want to work with and their ids #define ID_S_ARMED 0 // dummy to controll armed stated for several sensors #define ID_S_DOOR 1 //#define ID_S_MOTION 2 //#define ID_S_SMOKE 3 //#define ID_S_LIGHT 4 //#define ID_S_DIMMER 5 //#define ID_S_COVER 6 //#define ID_S_TEMP 7 //#define ID_S_HUM 8 //#define ID_S_BARO 9 ... code lines snipped ... //#define ID_S_MOISTURE 33 // //#define ID_S_CUSTOM 99 This part of the code defines the messages you want to instantiate to work with your sensors #ifdef ID_S_DOOR // V_TRIPPED, V_ARMED MyMessage msg_S_DOOR_T(ID_S_DOOR,V_TRIPPED); MyMessage msg_S_DOOR_A(ID_S_DOOR,V_ARMED); #endif #ifdef ID_S_MOTION // V_TRIPPED, V_ARMED MyMessage msg_S_MOTION_A(ID_S_MOTION,V_ARMED); MyMessage msg_S_MOTION_T(ID_S_MOTION,V_TRIPPED); #endif #ifdef ID_S_SMOKE // V_TRIPPED, V_ARMED MyMessage msg_S_SMOKE_T(ID_S_SMOKE,V_TRIPPED); MyMessage msg_S_SMOKE_A(ID_S_SMOKE,V_ARMED); #endif #ifdef ID_S_LIGHT MyMessage msg_S_LIGHT(ID_S_LIGHT,V_LIGHT); bool isLightOn=0; #endif ... code lines snipped ... #ifdef ID_S_MOISTURE // To be implemented #endif On the presentation section, you have all the sensors being presented, along with some debugging void presentation() { #ifdef ID_S_DOOR Serial.println(" S_DOOR"); present(ID_S_DOOR,S_DOOR,"Outside Door"); wait(SHORT_WAIT); #endif #ifdef ID_S_MOTION Serial.println(" S_MOTION"); present(ID_S_MOTION,S_MOTION,"Outside Motion"); wait(SHORT_WAIT); #endif #ifdef ID_S_SMOKE Serial.println(" S_SMOKE"); present(ID_S_SMOKE,S_SMOKE,"Kitchen Smoke"); wait(SHORT_WAIT); #endif ... code lines snipped ... #ifdef ID_S_CUSTOM Serial.println(" S_CUSTOM"); present(ID_S_CUSTOM,S_CUSTOM,"Other Stuff"); wait(SHORT_WAIT); #endif On the loop section you have methods which will trigger each sensor to report. This will happen periodically on the SLEEP_TIME, 15 minutes by default void loop()[ //Read Sensors #ifdef ID_S_DOOR door(); #endif #ifdef ID_S_MOTION motion(); #endif #ifdef ID_S_SMOKE smoke(); #endif ... code lines snipped ... #ifdef ID_S_CUSTOM custom(); #endif Lets take a look at one of them, the dimmer. As you can see its just reporting the dimmerVal which was declared as a global variable. Sometimes these values are saved in the EPROM, for this example I wanted to avoid that. #ifdef ID_S_DIMMER void dimmer(){ Serial.print("Dimmer is set to: " ); Serial.println(dimmerVal); send(msg_S_DIMMER.set(dimmerVal)); } #endif Finally the incoming message section. void receive(const MyMessage &message) { ... code lines snipped ... #ifdef ID_S_DIMMER case V_DIMMER: if ((message.getInt()<0)||(message.getInt()>100)) { Serial.println( "V_DIMMER data invalid (should be 0..100)" ); break; } dimmerVal= message.getInt(); Serial.print("Incoming change for ID_S_DIMMER:"); Serial.print(message.sensor); Serial.print(", New status: "); Serial.println(message.getInt()); dimmer();// temp ack break; #endif ... code lines snipped ... The temp ack mean I'm just forcing the sensor to report back the new value to the controller. And this is basically what it takes to combine sensors in the MySensors library. One node can have many sensors and each sensor can receive any number or combinations of messages. So for the dimmer example #define ID_S_DIMMER 5 ... code lines snipped ... #ifdef ID_S_DIMMER MyMessage msg_S_DIMMER(ID_S_DIMMER,V_DIMMER); int dimmerVal=100; #endif ... code lines snipped ... void presentation() { ... code lines snipped ... #ifdef ID_S_DIMMER Serial.println(" S_DIMMER"); present(ID_S_DIMMER,S_DIMMER,"Living room dimmer"); wait(SHORT_WAIT); #endif ... code lines snipped ... There is nothing stoping me to add another message type to the dimmer. So for example if the dimmer does have an on/off button I could add MyMessage msg_S_DIMMER_BUTTON(ID_S_DIMMER,V_STATUS) Note that your controller might not be expecting all this freedom of combinations of messages. So although I could report a temperature on a dimmer sensor using MyMessage msg_S_DIMMER_BUTTON(ID_S_DIMMER,V_TEMP) Your controller might not like it. As always feddback is welcome Cheers
    • barduino

      My Controller HAALL update (w/ pictures)
      Controllers • • barduino  

      4
      3
      Votes
      4
      Posts
      3950
      Views

      barduino

      Hi folks, Just lauched a new version of HAALL. The code can be found here and if you want to test it for your self just follow the instructions or drop me a line. This version has: Support for the 24 sensors of MySensor lib 1.4 (1.5 is commig!) Bi-dircetional communications (HAALL is hosted on the cloud) Secure communications between gateway and HAALL Ability to configure each sensor by message type Here are some images of this version S_DIMMER detail S_SCENE_CONTROLLER detail S_HEATER detail Set up for S_HEATER Future Development: Expand to the 33 sensors of lib 1.5 Backup/Restore Configurations Support Charts for data history Dedicated mobile version (responsive is not cutting it) Configure incoming data translation Configure sensor image (default/statis/dynamic) Configure sensor name (sensor type/sketch name/hard coded) ... whate ever comes our way... As always FEEDBACK is much appreciated!!! Cheers
    • barduino

      Some guidance neede...
      Controllers • • barduino  

      5
      0
      Votes
      5
      Posts
      2001
      Views

      barduino

      Thanks hek, I'll look around the code. I've been also looking at the nodeJS controler on https://github.com/mysensors/Arduino/blob/development/NodeJsController/NodeJsController.js Cheers