Hi,
Well progress, and questions !
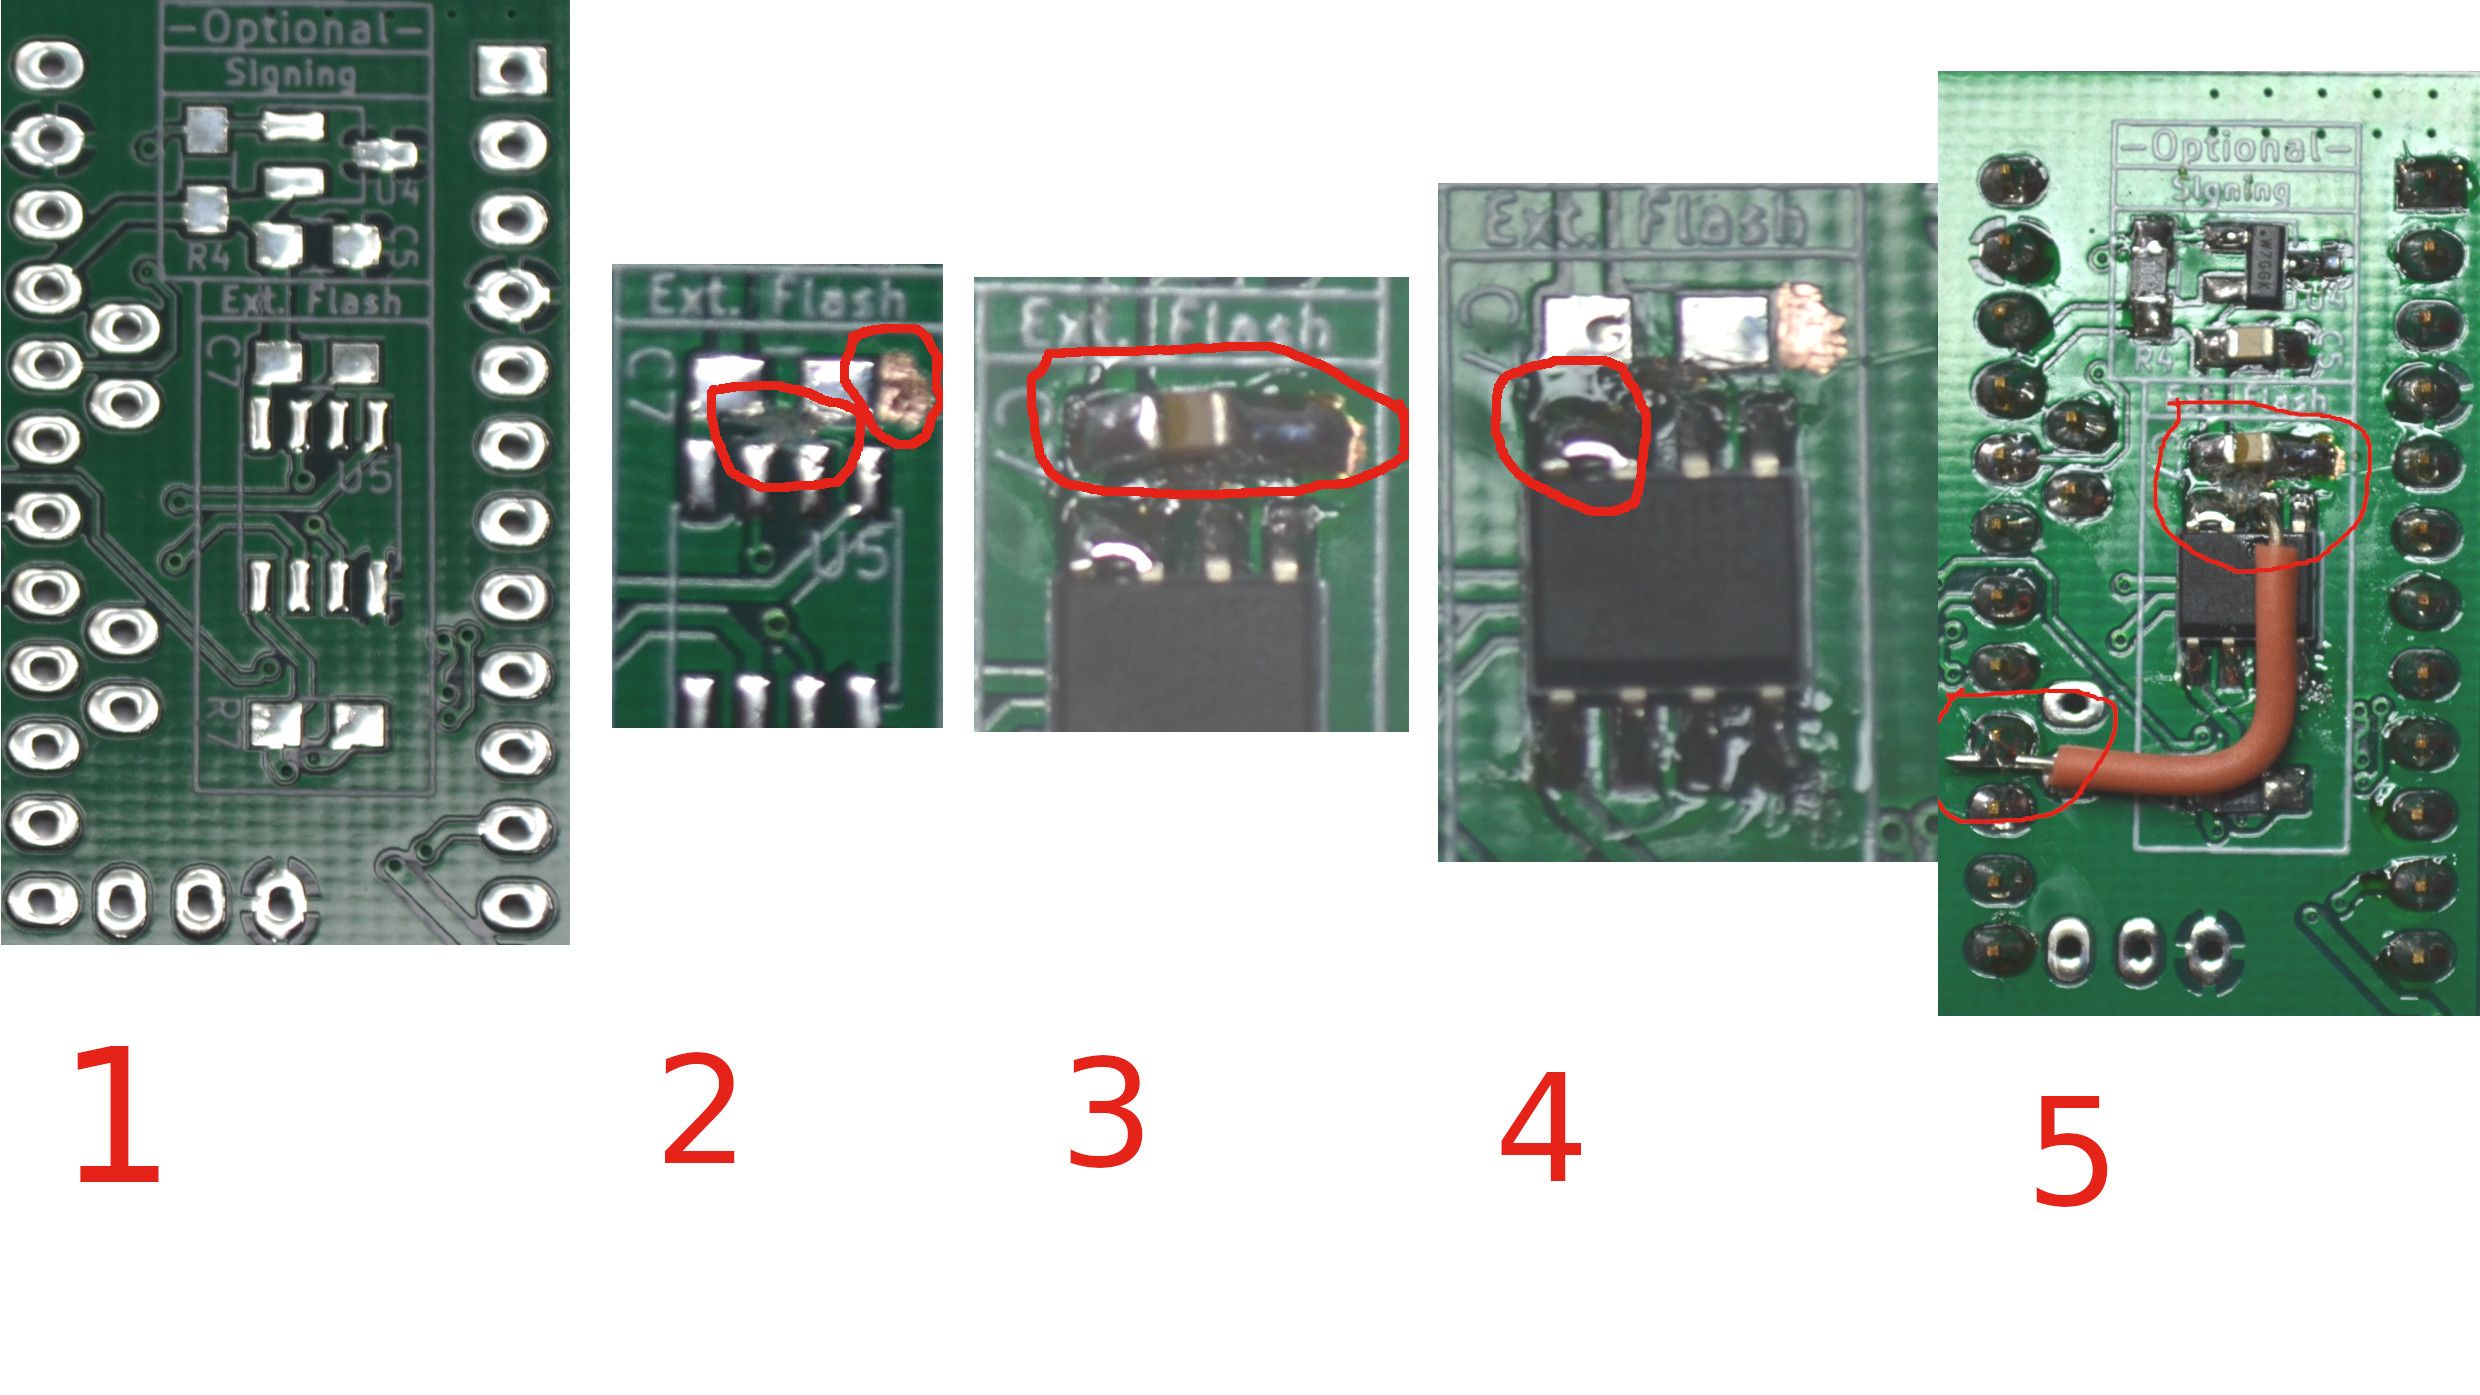
When I started this with the Teensy3.2, I used a RFM69CW (smaller pcb) device, and ran into the problems as detailed above.
As part of the troubleshooting, I part assembled a "EASY PCB" which I have, to enable, hopefully proving a different radio module (RFM69HW) which is my normal radio module, and attempt to "tight fit" a Pro mini to header pins on the board, to "prove" the radio. This was sucessful, as mentioned above. Using this proven radio / assembly, I removed the Pro Mini, and jumpered to the Teensy with dupont cables, which got the radio "working" in the sense that the transport succeeded, it just couldn't find the parent / gateway.
I mentioned above the possibility of connecting the reset pin, as I had the origional bare RFM69CW already to go, I soldered another wire to the reset pad, and utilised this at the radio, commenting out the #define MY_IS_RFM69HW .
and adding the #define MY_RFM69_RST_PIN 9 .
I uploaded this, and it found, and presented to the GW / Controller.
BUT subsequent messages were met with "!MCO:SND:NODE NOT REG"
as in the log below
300 MCO:BGN:INIT NODE,CP=RRNNT---,VER=2.2.0
300 TSM:INIT
300 TSF:WUR:MS=0
301 TSM:INIT:TSP OK
301 TSM:INIT:STATID=44
301 TSF:SID:OK,ID=44
301 TSM:FPAR
1529 TSF:MSG:SEND,44-44-255-255,s=255,c=3,t=7,pt=0,l=0,sg=0,ft=0,st=OK:
1547 TSF:MSG:READ,0-0-44,s=255,c=3,t=8,pt=1,l=1,sg=0:0
1547 TSF:MSG:FPAR OK,ID=0,D=1
3530 TSM:FPAR:OK
3530 TSM:ID
3530 TSM:ID:OK
3530 TSM:UPL
3536 TSF:MSG:SEND,44-44-0-0,s=255,c=3,t=24,pt=1,l=1,sg=0,ft=0,st=OK:1
3747 TSF:MSG:READ,0-0-44,s=255,c=3,t=25,pt=1,l=1,sg=0:1
3747 TSF:MSG:PONG RECV,HP=1
3747 TSM:UPL:OK
3747 TSM:READY:ID=44,PAR=0,DIS=1
4774 TSF:MSG:SEND,44-44-0-0,s=255,c=3,t=15,pt=6,l=2,sg=0,ft=0,st=OK:0100
4985 TSF:MSG:READ,0-0-44,s=255,c=3,t=15,pt=6,l=2,sg=0:0100
6218 !TSF:MSG:SEND,44-44-0-0,s=255,c=0,t=17,pt=0,l=5,sg=0,ft=0,st=NACK:2.2.0
6234 TSF:MSG:SEND,44-44-0-0,s=255,c=3,t=6,pt=1,l=1,sg=0,ft=1,st=OK:0
6459 TSF:MSG:READ,0-0-44,s=255,c=3,t=6,pt=0,l=1,sg=0:M
7492 TSF:MSG:SEND,44-44-0-0,s=255,c=3,t=11,pt=0,l=9,sg=0,ft=0,st=OK:test Node
7502 TSF:MSG:SEND,44-44-0-0,s=255,c=3,t=12,pt=0,l=5,sg=0,ft=0,st=OK:1.0.0
7515 TSF:MSG:SEND,44-44-0-0,s=5,c=0,t=33,pt=0,l=14,sg=0,ft=0,st=OK:Motion RX RSSI
7729 TSF:MSG:READ,0-0-44,s=5,c=0,t=33,pt=0,l=14,sg=0:Motion RX RSS
7729 TSF:MSG:ACK
+Ack FMGW
*InMsgty :33 MsgComd:0 childID:5 Switch:0.00
7936 TSF:MSG:READ,0-0-44,s=5,c=0,t=33,pt=0,l=14,sg=0:Motion RX RSS
7936 TSF:MSG:ACK
+Ack FMGW
*InMsgty :33 MsgComd:0 childID:5 Switch:0.00
8141 TSF:MSG:READ,0-0-44,s=5,c=0,t=33,pt=0,l=14,sg=0:Motion RX RSS
8141 TSF:MSG:ACK
+Ack FMGW
*InMsgty :33 MsgComd:0 childID:5 Switch:0.00
8344 TSF:MSG:READ,0-0-44,s=5,c=0,t=33,pt=0,l=14,sg=0:Motion RX RSS
8345 TSF:MSG:ACK
+Ack FMGW
*InMsgty :33 MsgComd:0 childID:5 Switch:0.00
8937 TSF:MSG:SEND,44-44-0-0,s=4,c=0,t=1,pt=0,l=9,sg=0,ft=0,st=OK:Prescence
9149 TSF:MSG:READ,0-0-44,s=4,c=0,t=1,pt=0,l=9,sg=0:Prescenc
9149 TSF:MSG:ACK
+Ack FMGW
*InMsgty :1 MsgComd:0 childID:4 Switch:0.00
10225 TSF:MSG:SEND,44-44-0-0,s=6,c=0,t=30,pt=0,l=16,sg=0,ft=0,st=OK:Motion Battery V
10226 MCO:REG:REQ
10234 TSF:MSG:SEND,44-44-0-0,s=255,c=3,t=26,pt=1,l=1,sg=0,ft=0,st=OK:2
10444 TSF:MSG:READ,0-0-44,s=255,c=3,t=27,pt=1,l=1,sg=0:0
10444 MCO:PIM:NODE REG=0
10445 MCO:BGN:STP
10445 MCO:BGN:INIT OK,TSP=1
Motion 0
10495 !MCO:SND:NODE NOT REG
10647 TSF:MSG:READ,0-0-44,s=255,c=3,t=27,pt=1,l=1,sg=0:0
10647 MCO:PIM:NODE REG=0
RAWbatcount :179
batV :0.74
batP :0
10850 TSF:MSG:READ,0-0-44,s=255,c=3,t=27,pt=1,l=1,sg=0:0
10850 MCO:PIM:NODE REG=0
10857 !MCO:SND:NODE NOT REG
10857 !MCO:SND:NODE NOT REG
wait 10000
11258 TSF:MSG:READ,0-0-44,s=255,c=3,t=27,pt=1,l=1,sg=0:0
11258 MCO:PIM:NODE REG=0
Progress of a sort. I noticed however that in the Controller, each child presentation, including the MYSENSORS version was missing the last character. I have seen this sort of thing in entirely different situations with serial coms, baud rates mismatching slightly (due to processor speed dividing ratios), and I knew that out of the box, the teensy runs overclocked at 96Mhz, so I changed the speed of the processor, to 72Mhz, and uploaded, had the same results, Then I selected 48Mhz, and uploaded again, and Eureka, it all works.
So in summary, I have wired in the Reset Pad to (in my case) Pin 9, and slowed the Processor to 48Mhz, and all is working.
AFTER this, I have simplified the sketch, to be a incrementing count, in a txt field.
Sketch as is NOW, but AFTER it was working
// Enable debug prints
#define MY_DEBUG
#define MY_DEBUG_VERBOSE_RFM69
//#define MY_DEBUG_VERBOSE_SIGNING
//#define MY_SIGNING_SOFT
//#define MY_SIGNING_SOFT_RANDOMSEED_PIN 7
//#define MY_SIGNING_REQUEST_SIGNATURES
#define MY_SPLASH_SCREEN_DISABLED
//#define MY_DISABLE_RAM_ROUTING_TABLE_FEATURE
//#define MY_TRANSPORT_WAIT_READY_MS 5000
// Enable and select radio type attached
//#define MY_REPEATER_FEATURE
#define MY_RADIO_RFM69
#define MY_RFM69_FREQUENCY RFM69_433MHZ // Set your frequency here
#define MY_RFM69_MAX_POWER_LEVEL_DBM (14) // max. TX power 10dBm = 10mW
#define MY_RFM69_TX_POWER_DBM (14)
//#define MY_IS_RFM69HW // Omit if your RFM is not "H"
#define MY_RFM69_IRQ_PIN 2
#define MY_RFM69_IRQ_NUM digitalPinToInterrupt(MY_RFM69_IRQ_PIN)
#define MY_RFM69_CS_PIN 10 // NSS. Use MY_RF69_SPI_CS for older versions (before 2.2.0)
#define MY_RFM69_RST_PIN 9 // try reset pin
//#define MY_RFM69_ENABLE_ENCRYPTION
//#define MY_RFM69_NETWORKID 100 // Default is 100 in lib. Uncomment it and set your preferred network id if needed
#define MY_NODE_ID 45
//#include <MyConfig.h>
#include <MySensors.h>
long counter = 0;
#define CHILD_ID_RX_RSSI 5
#define CHILD_ID_TEXT1 7
// Initialize message
MyMessage msgRxRSSI(CHILD_ID_RX_RSSI, V_LEVEL);
MyMessage msgText(CHILD_ID_TEXT1, V_TEXT);
void setup() { // put your setup code here, to run once:
analogReference(INTERNAL);
}//end setup
void presentation() {
// Send the sketch version information to the gateway and Controller
sendSketchInfo("test Node", "1.0.1");
present(CHILD_ID_RX_RSSI, S_SOUND, "Motion RX RSSI",true);
wait(250);
present(CHILD_ID_TEXT1, S_INFO,"UpdateTxt",false);
}//end presentation
void loop() { // put your main code here, to run repeatedly:
counter++;
send(msgText.set(counter), false);
wait(10000);// wait a bit, then read in level, avoid spurious noise as PIR holds high state for 27sec
RX_SEND();
wait(10000);
}// end loop
void RX_SEND()
{
send(msgRxRSSI.set(transportGetSignalReport(SR_RX_RSSI)));
}
Log NOW
300 MCO:BGN:INIT NODE,CP=RRNNT---,VER=2.2.0
300 TSM:INIT
300 TSF:WUR:MS=0
300 TSM:INIT:TSP OK
300 TSM:INIT:STATID=45
300 TSF:SID:OK,ID=45
300 TSM:FPAR
1520 TSF:MSG:SEND,45-45-255-255,s=255,c=3,t=7,pt=0,l=0,sg=0,ft=0,st=OK:
1604 TSF:MSG:READ,0-0-45,s=255,c=3,t=8,pt=1,l=1,sg=0:0
1604 TSF:MSG:FPAR OK,ID=0,D=1
3521 TSM:FPAR:OK
3521 TSM:ID
3521 TSM:ID:OK
3521 TSM:UPL
3527 TSF:MSG:SEND,45-45-0-0,s=255,c=3,t=24,pt=1,l=1,sg=0,ft=0,st=OK:1
3739 TSF:MSG:READ,0-0-45,s=255,c=3,t=25,pt=1,l=1,sg=0:1
3739 TSF:MSG:PONG RECV,HP=1
3739 TSM:UPL:OK
3739 TSM:READY:ID=45,PAR=0,DIS=1
3759 TSF:MSG:SEND,45-45-0-0,s=255,c=3,t=15,pt=6,l=2,sg=0,ft=0,st=OK:0100
3968 TSF:MSG:READ,0-0-45,s=255,c=3,t=15,pt=6,l=2,sg=0:0100
3983 TSF:MSG:SEND,45-45-0-0,s=255,c=0,t=17,pt=0,l=5,sg=0,ft=0,st=OK:2.2.0
3994 TSF:MSG:SEND,45-45-0-0,s=255,c=3,t=6,pt=1,l=1,sg=0,ft=0,st=OK:0
4024 TSF:MSG:READ,0-0-45,s=255,c=3,t=6,pt=0,l=1,sg=0:M
4050 TSF:MSG:SEND,45-45-0-0,s=255,c=3,t=11,pt=0,l=9,sg=0,ft=0,st=OK:test Node
4066 TSF:MSG:SEND,45-45-0-0,s=255,c=3,t=12,pt=0,l=5,sg=0,ft=0,st=OK:1.0.1
4081 TSF:MSG:SEND,45-45-0-0,s=5,c=0,t=33,pt=0,l=14,sg=0,ft=0,st=OK:Motion RX RSSI
4294 TSF:MSG:READ,0-0-45,s=5,c=0,t=33,pt=0,l=14,sg=0:Motion RX RSSI
4295 TSF:MSG:ACK
4338 TSF:MSG:SEND,45-45-0-0,s=7,c=0,t=36,pt=0,l=9,sg=0,ft=0,st=OK:UpdateTxt
4338 MCO:REG:REQ
4346 TSF:MSG:SEND,45-45-0-0,s=255,c=3,t=26,pt=1,l=1,sg=0,ft=0,st=OK:2
4555 TSF:MSG:READ,0-0-45,s=255,c=3,t=27,pt=1,l=1,sg=0:1
4555 MCO:PIM:NODE REG=1
4555 MCO:BGN:STP
4555 MCO:BGN:INIT OK,TSP=1
4577 TSF:MSG:SEND,45-45-0-0,s=7,c=1,t=47,pt=4,l=4,sg=0,ft=0,st=OK:1
14583 TSF:MSG:SEND,45-45-0-0,s=5,c=1,t=37,pt=2,l=2,sg=0,ft=0,st=OK:0
24589 TSF:MSG:SEND,45-45-0-0,s=7,c=1,t=47,pt=4,l=4,sg=0,ft=0,st=OK:2
34595 TSF:MSG:SEND,45-45-0-0,s=5,c=1,t=37,pt=2,l=2,sg=0,ft=0,st=OK:0
44601 TSF:MSG:SEND,45-45-0-0,s=7,c=1,t=47,pt=4,l=4,sg=0,ft=0,st=OK:3
54607 TSF:MSG:SEND,45-45-0-0,s=5,c=1,t=37,pt=2,l=2,sg=0,ft=0,st=OK:0
64613 TSF:MSG:SEND,45-45-0-0,s=7,c=1,t=47,pt=4,l=4,sg=0,ft=0,st=OK:4
74619 TSF:MSG:SEND,45-45-0-0,s=5,c=1,t=37,pt=2,l=2,sg=0,ft=0,st=OK:0
84625 TSF:MSG:SEND,45-45-0-0,s=7,c=1,t=47,pt=4,l=4,sg=0,ft=0,st=OK:5
94631 TSF:MSG:SEND,45-45-0-0,s=5,c=1,t=37,pt=2,l=2,sg=0,ft=0,st=OK:0
106058 !TSF:MSG:SEND,45-45-0-0,s=7,c=1,t=47,pt=4,l=4,sg=0,ft=0,st=NACK:6
115278 TSF:MSG:READ,7-7-255,s=255,c=3,t=7,pt=0,l=0,sg=0:
115278 TSF:MSG:BC
115482 TSF:MSG:READ,7-7-255,s=255,c=3,t=7,pt=0,l=0,sg=0:
115482 TSF:MSG:BC
115685 TSF:MSG:READ,7-7-255,s=255,c=3,t=7,pt=0,l=0,sg=0:
115686 TSF:MSG:BC
115889 TSF:MSG:READ,7-7-255,s=255,c=3,t=7,pt=0,l=0,sg=0:
115889 TSF:MSG:BC
116673 TSF:MSG:SEND,45-45-0-0,s=5,c=1,t=37,pt=2,l=2,sg=0,ft=1,st=OK:0
118528 TSF:MSG:READ,7-7-255,s=255,c=3,t=7,pt=0,l=0,sg=0:
118528 TSF:MSG:BC
118731 TSF:MSG:READ,7-7-255,s=255,c=3,t=7,pt=0,l=0,sg=0:
118731 TSF:MSG:BC
118934 TSF:MSG:READ,7-7-255,s=255,c=3,t=7,pt=0,l=0,sg=0:
118934 TSF:MSG:BC
119138 TSF:MSG:READ,7-7-255,s=255,c=3,t=7,pt=0,l=0,sg=0:
119139 TSF:MSG:BC
119342 TSF:MSG:READ,7-7-255,s=255,c=3,t=7,pt=0,l=0,sg=0:
119342 TSF:MSG:BC
119545 TSF:MSG:READ,7-7-255,s=255,c=3,t=7,pt=0,l=0,sg=0:
119545 TSF:MSG:BC
126679 TSF:MSG:SEND,45-45-0-0,s=7,c=1,t=47,pt=4,l=4,sg=0,ft=0,st=OK:7
136690 TSF:MSG:SEND,45-45-0-0,s=5,c=1,t=37,pt=2,l=2,sg=0,ft=0,st=OK:0
147104 TSF:MSG:SEND,45-45-0-0,s=7,c=1,t=47,pt=4,l=4,sg=0,ft=0,st=OK:8
157111 TSF:MSG:SEND,45-45-0-0,s=5,c=1,t=37,pt=2,l=2,sg=0,ft=0,st=OK:0
167117 TSF:MSG:SEND,45-45-0-0,s=7,c=1,t=47,pt=4,l=4,sg=0,ft=0,st=OK:9
177123 TSF:MSG:SEND,45-45-0-0,s=5,c=1,t=37,pt=2,l=2,sg=0,ft=0,st=OK:0
Has anyone had to reduce the Processor speed to make Teensy 3.2 Work previously?
Any thoughts gratefully received.