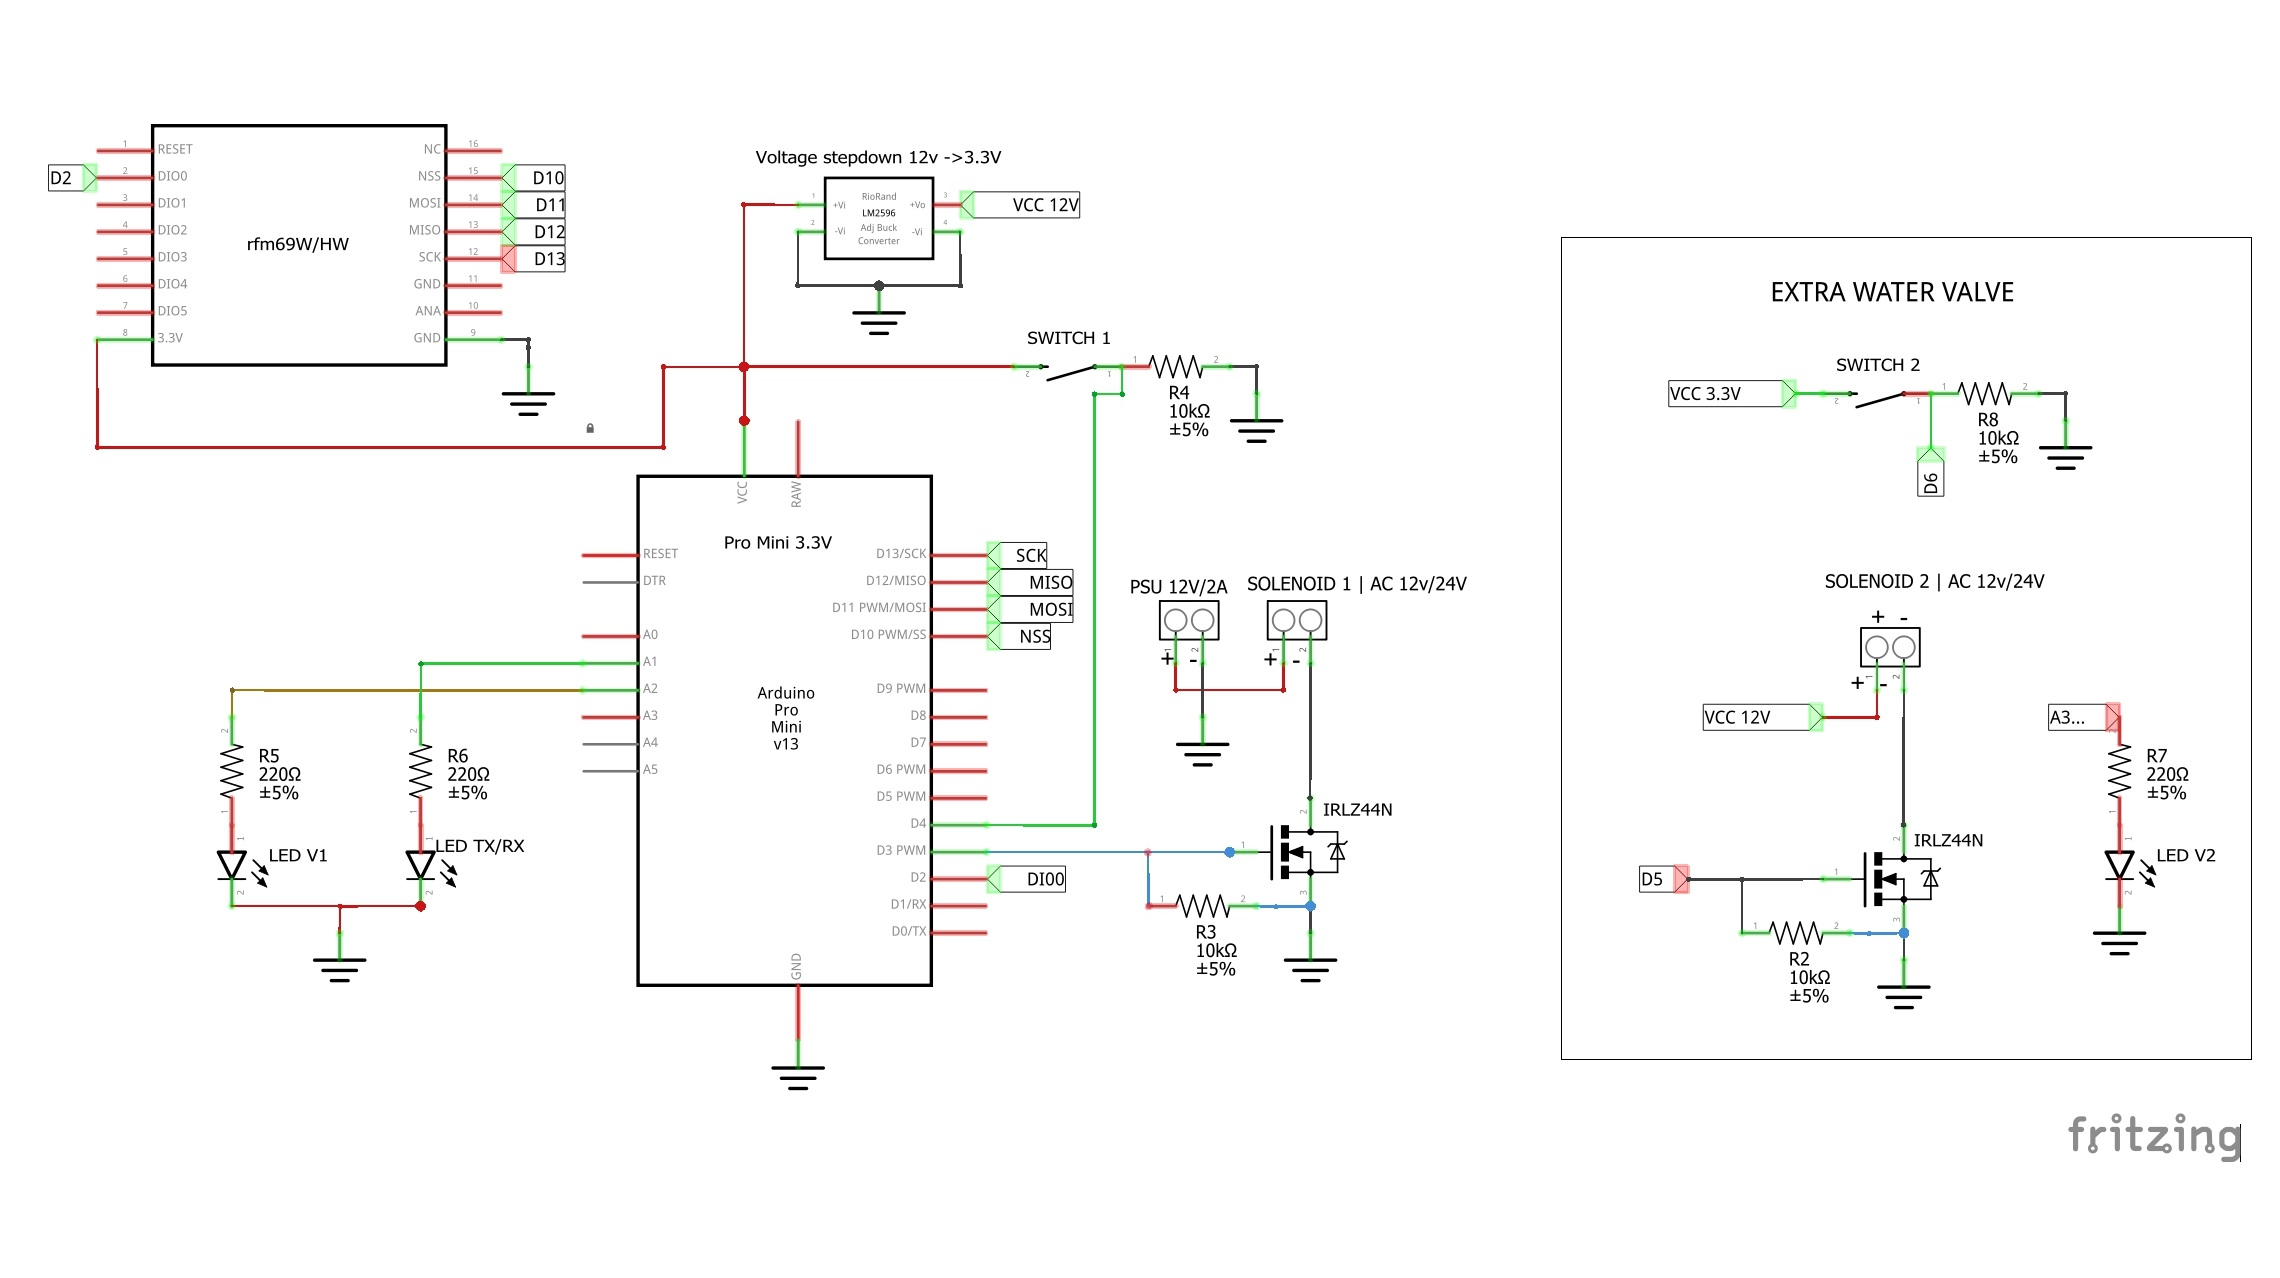
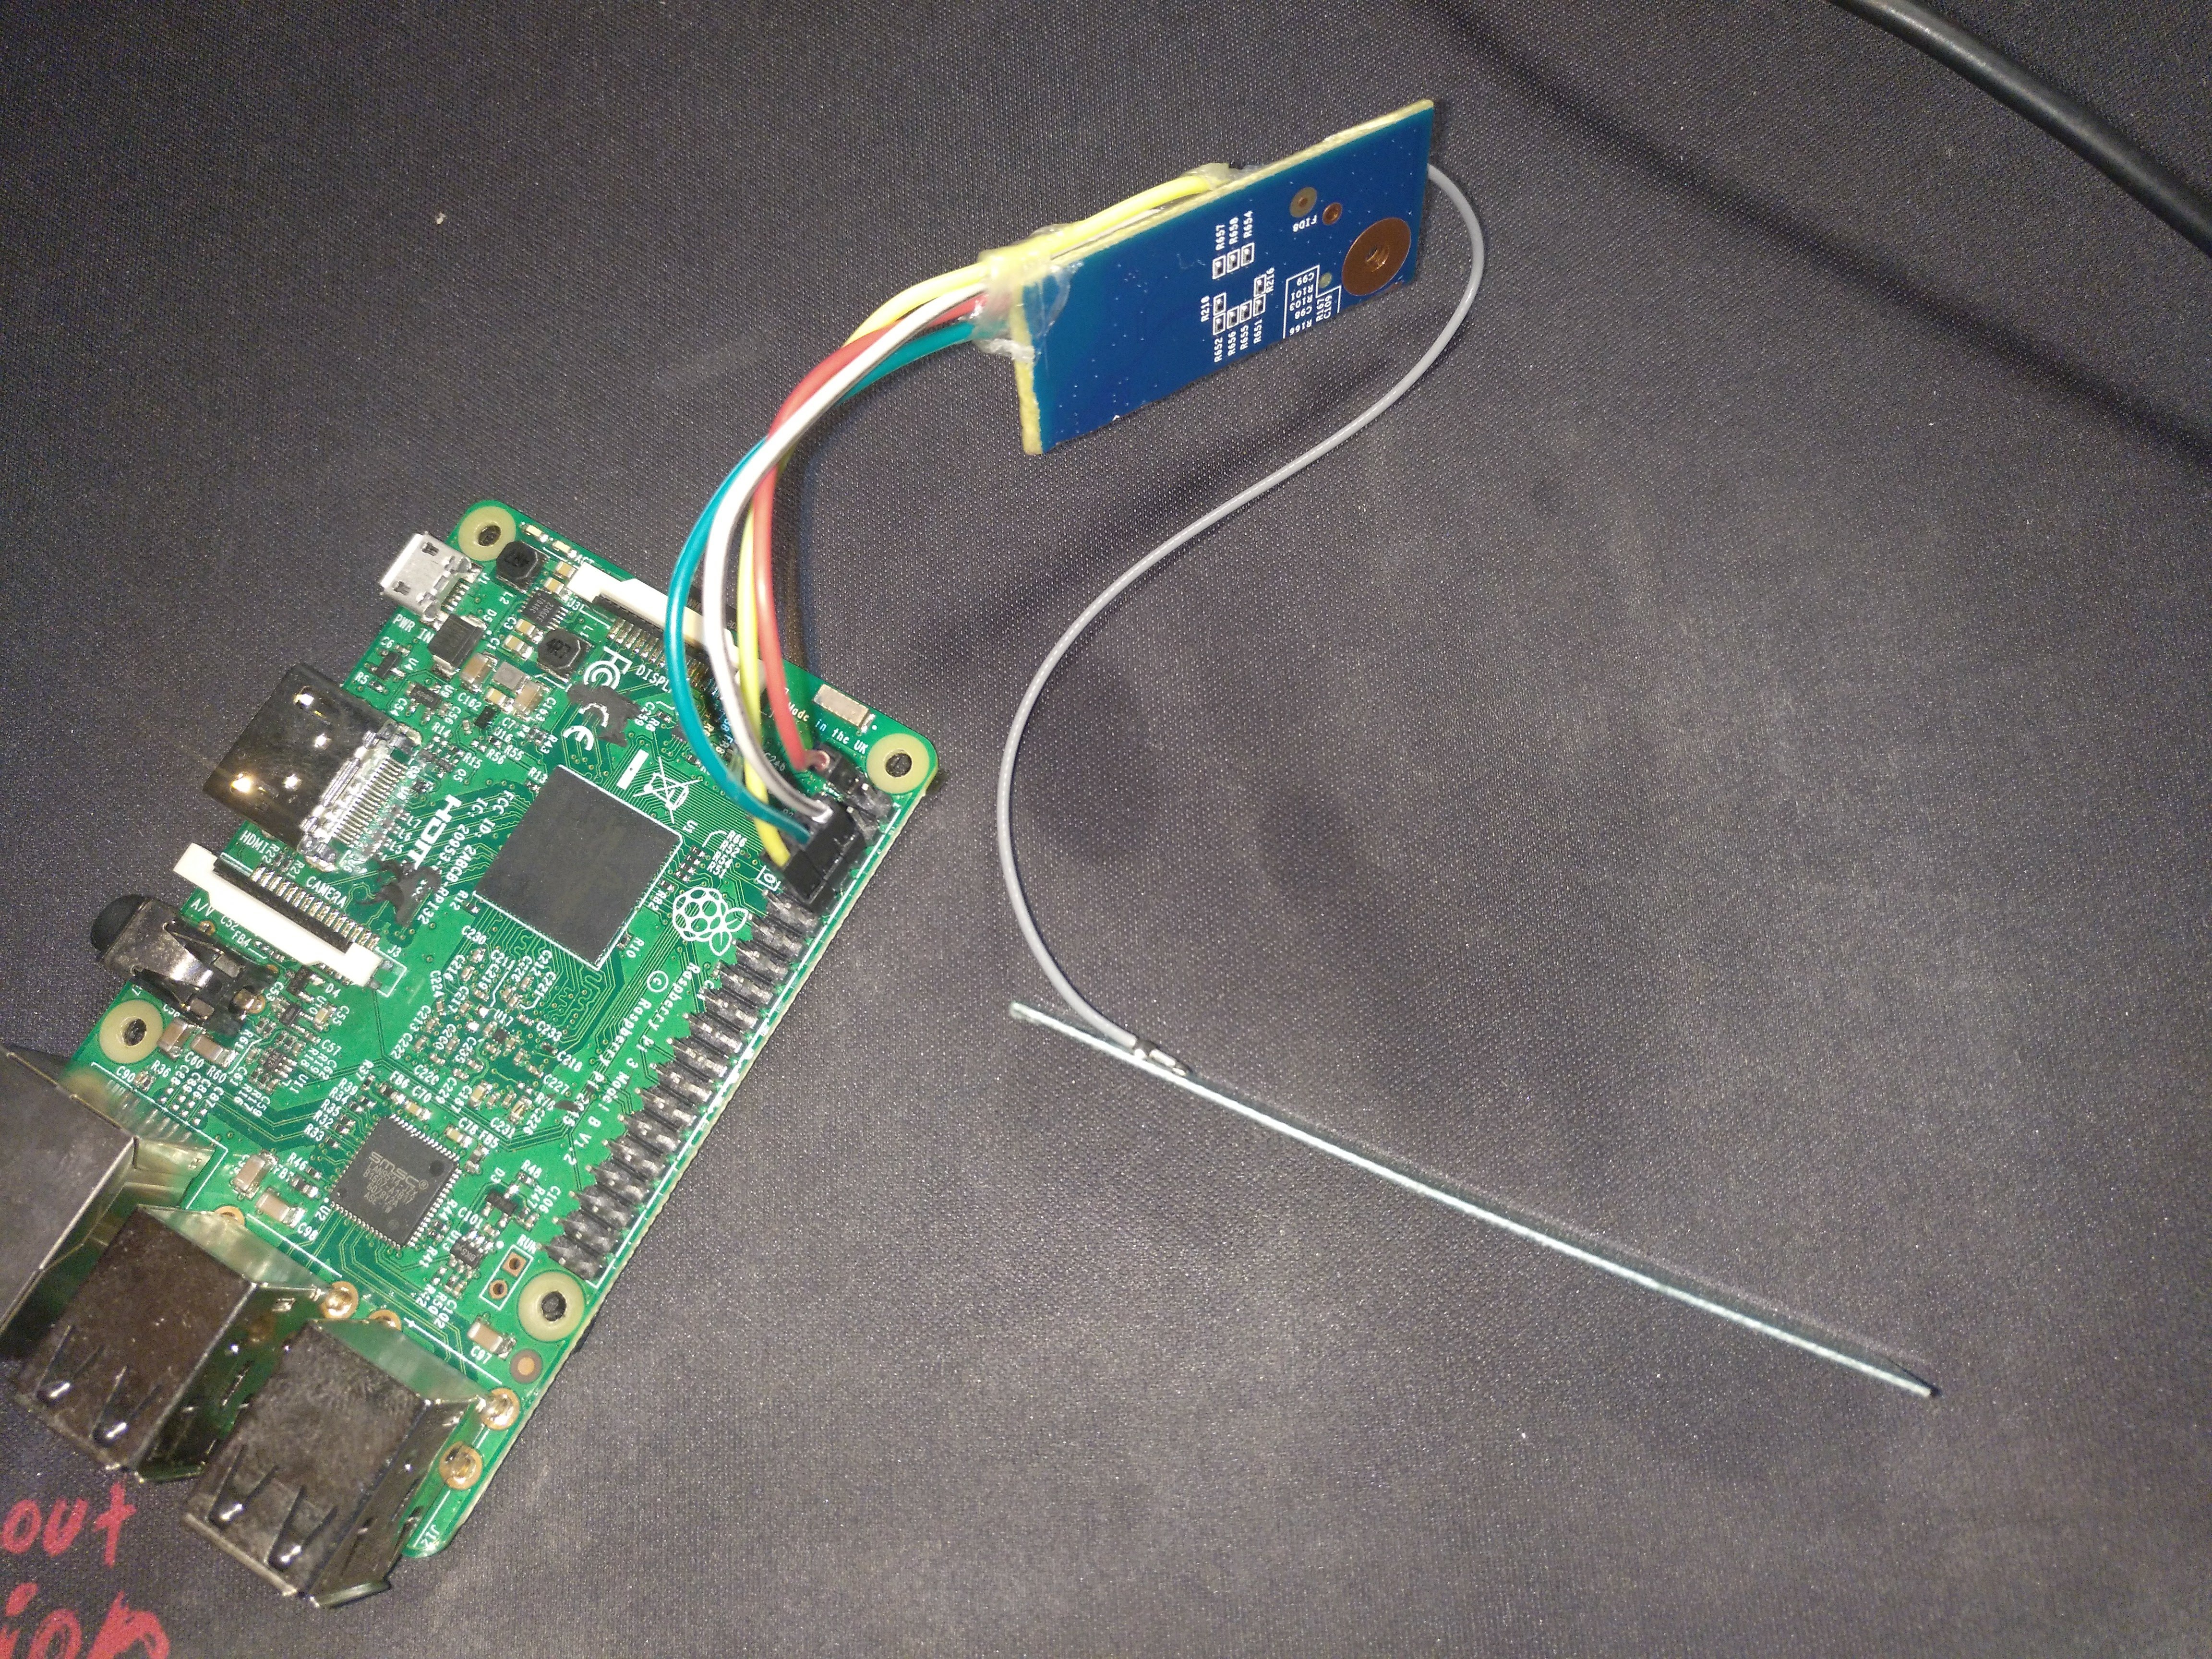
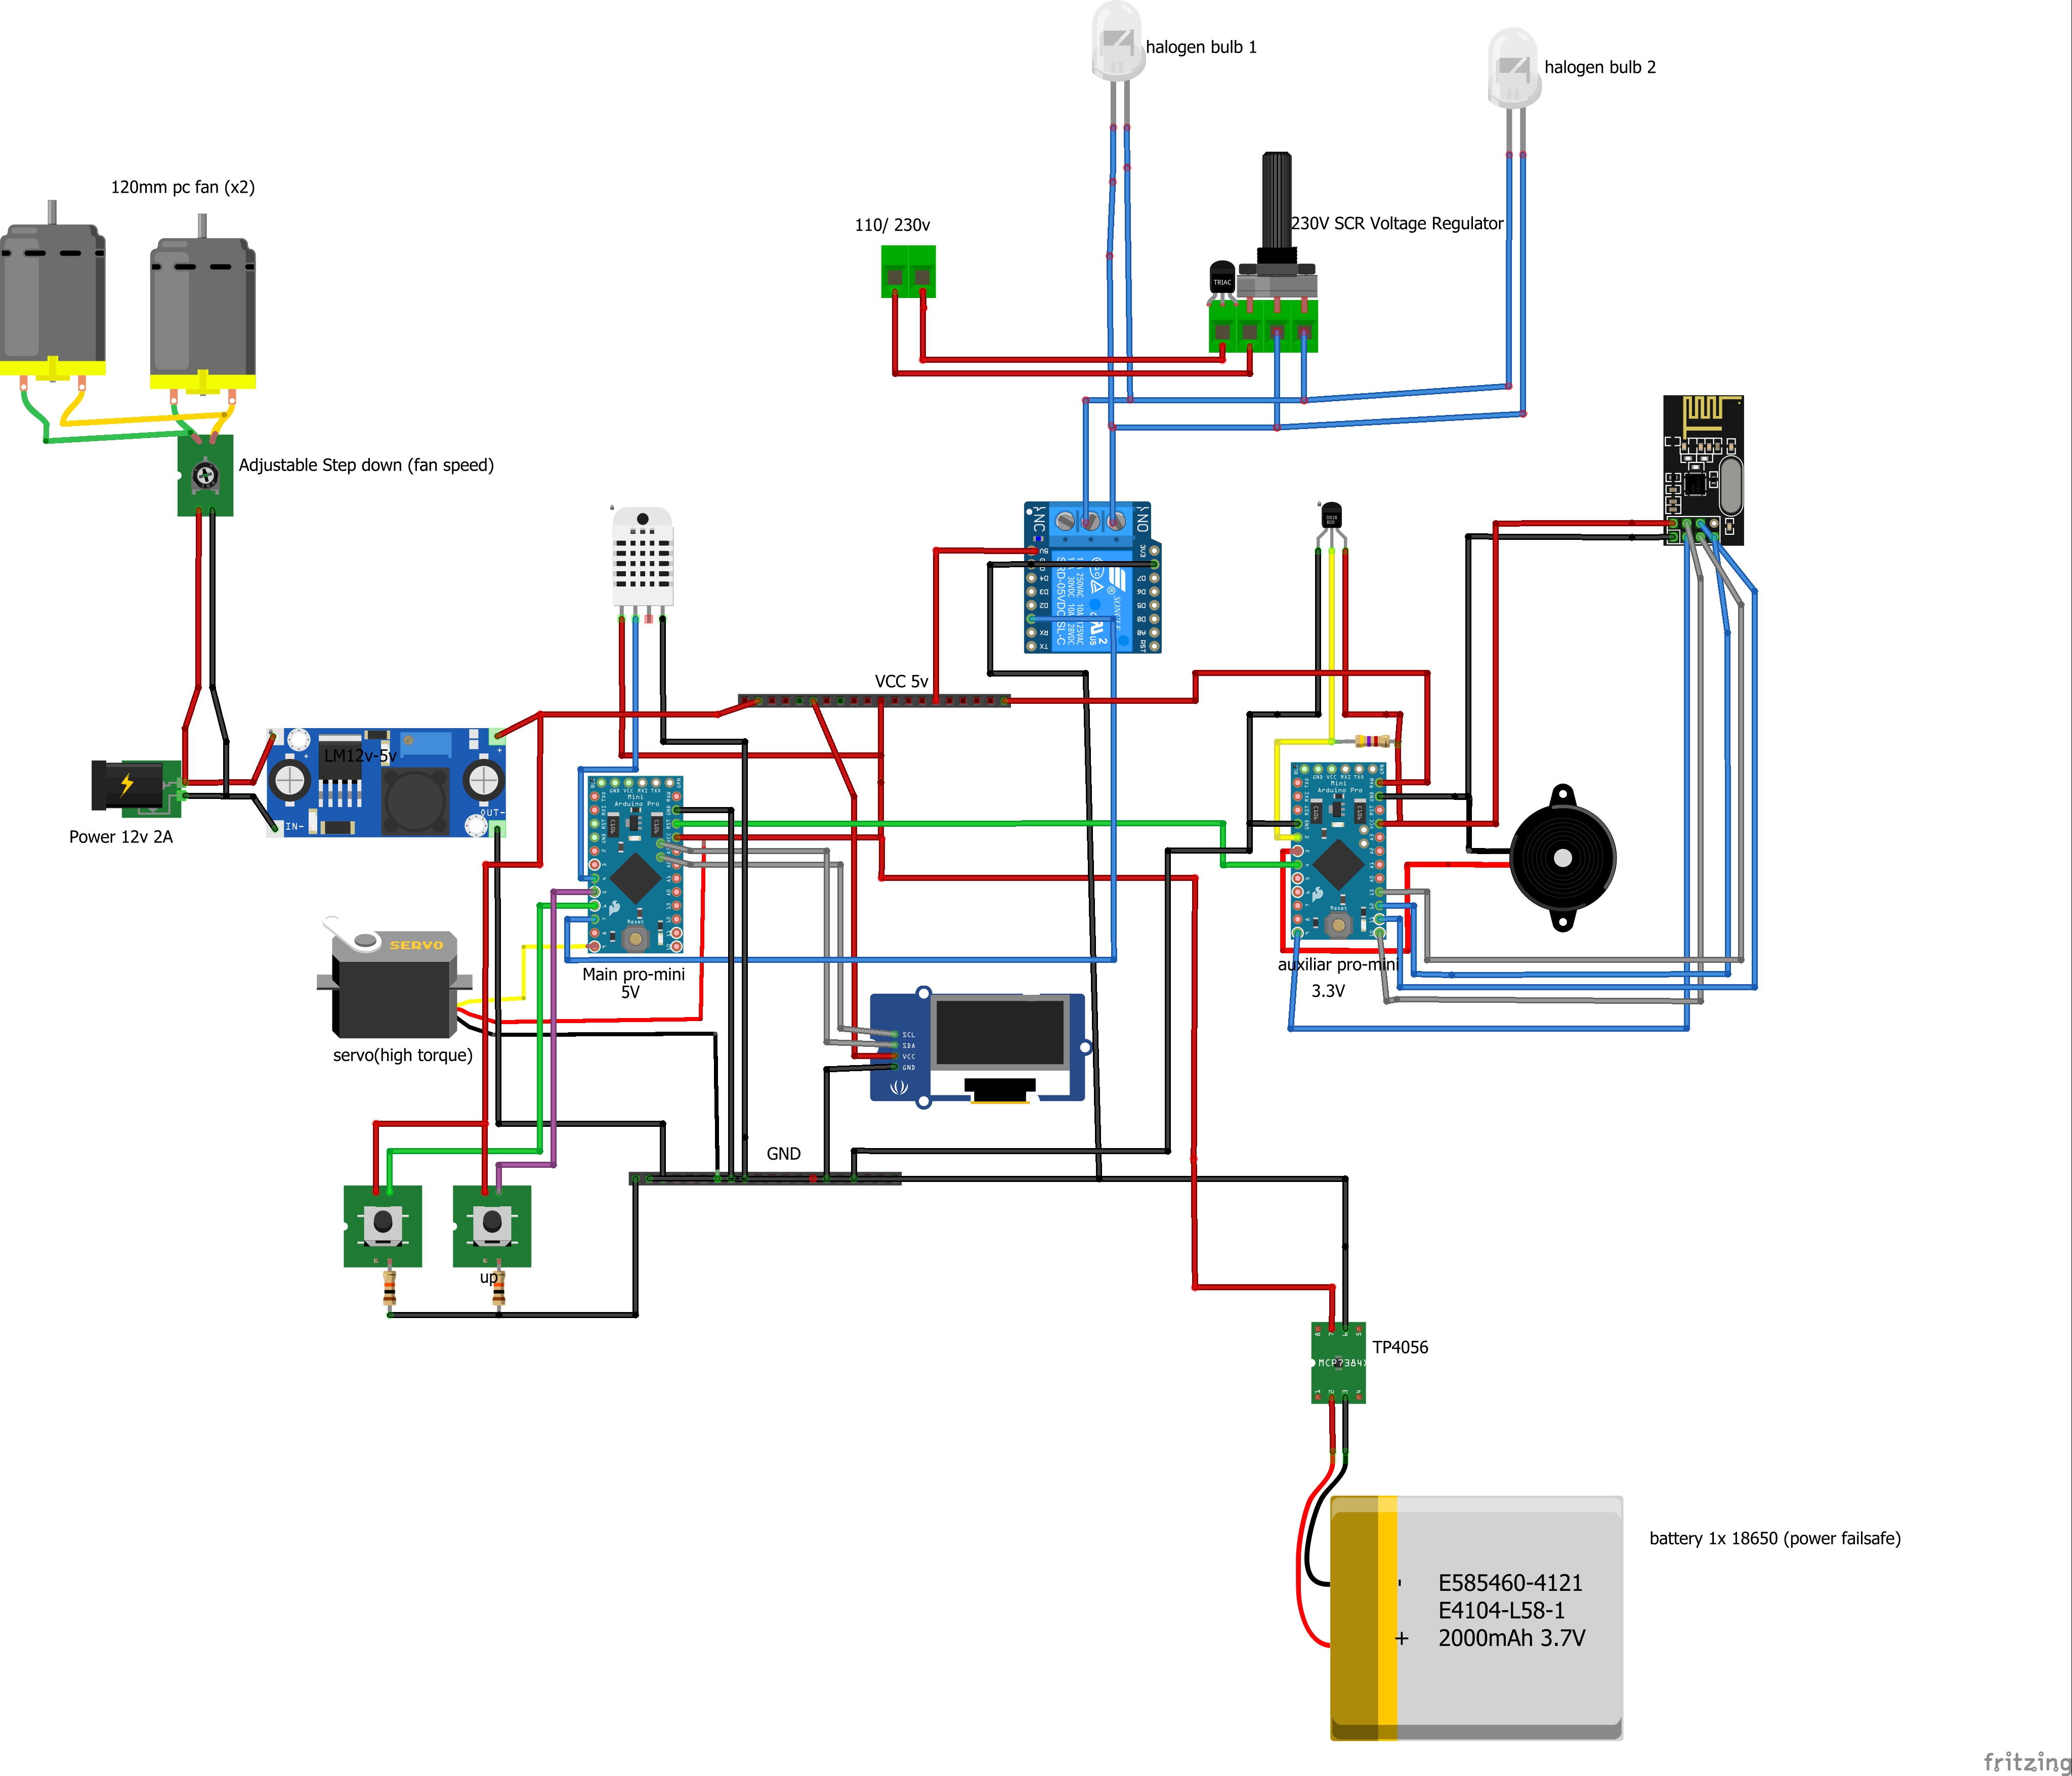
@Tmaster I've created a Node containing a Piezo buzzer a while ago. I stripped all other things from my Sketch. It compiles, but I haven't tested it. Just try it and see if it works.
/**
* MySensors RoomSensor with piezo alarm for audio feedback, like weather alarm when there's a huricane alarm.
* The alarm is just a standard alarm in your Home Automation controller.
*
* Version 1.0
* Created 25-10-2015
* release date 25-10-2015
* Author by Theo
*
*
* Parts used:
* - Arduino ProMini 3.3V
* - 3V Piezo buzzer (is actually surprisingly loud for such a tiny PIEZO), You can greatly improve on the volume by wrapping a paper tube around the piezo
*/
/**
* Include all needed libraries.
*/
#include <MySensor.h> // The core of this Sketch. Enables communication from the radio to the MySensors gateway
#include <SPI.h> // Needed by the MySensors Radio, it communicates with the Arduino by SPI
/**
* Define the child ID's of the supported sensors.
*/
#define SIRENE_CHILD_ID 0 // The child ID of the sirene as presented to the Domotica Controller
/**
* Declare constants for the PIN's we use in this sketch.
*/
#define PIEZO_PIN 5 // The arduino pin to which the piezo buzzer is attached
/**
* Declare other constants used by the sketch
*/
#define PIEZO_ON_DURATION 600 // The period the piezo makes a sound when the alarm is on and snooze mode is off.
#define PIEZO_OFF_DURATION 500 // The silent period when the alarm is on and snooze mode is off
/**
* Section for MySensors specific variables and declarations.
*/
#define SN "Sirene" // The name of the sketch as being presented to the MySensors gateway. B.t.w. current Domoticz version ignores it
#define SV "1.0" // The version of the sketch as being presented to the MySensors gateway. B.t.w. current Domoticz version ignores it
MySensor gw; // You'll need this object for communication from an to the Gateway. Contains all logic inl the Radio communication
MyMessage sireneMsg( SIRENE_CHILD_ID, V_LIGHT ); // trying to figure out what type type to use to make it known as a siren..???
// Message for sending the alarm on/off state to the MySensors gateway
/**
* Declare variables used by the Sketch
*/
boolean alarmOn = false; // alarm state indicator. False meaning off, true meaning we're in business.
unsigned long nextPiezoEvent = 0; // The next timestamp the piezo sound has to be turned on or off. We'll use the arduino's internal clock for this
boolean piezoOn = false; // indicator whether the sound is on or off during the alarm
/**
* Initialize everything we need before we can start the Sketch:
* - setup MySensors communication
* - present the child id's to the MySensors gateway
* - declare pin modes and initialize the debouncer
*/
void setup() {
#ifdef DEBUG // turn on the Serial monitor if #define DEBUG is uncommented in MyConfig.h (MySensors library)
Serial.begin( 115200 ); // only debug to serial monitor during development
#endif
// setup a connection to the MySensor's gateway and request an ID if we do not have one yet.
gw.begin(incomingMessage);
gw.sendSketchInfo(SN, SV);
#ifdef DEBUG // Print some debug info
Serial.println( "Radio is connect right." );
#endif
// present the children to the gateway
gw.present( SIRENE_CHILD_ID, S_LIGHT, "Sirene" ); // S_LIGHT is not correct
gw.sendBatteryLevel( 100, false ); // Let the Domotica controller no that we're a 100% powered sensor.
gw.request( SIRENE_CHILD_ID , V_LIGHT ); // request current state. An alarm might be active.
// setup the pin's used by this Sketch
pinMode( PIEZO_PIN, OUTPUT);
}
/**
* Piezo event has been triggered, depending on the current sirence state we need to make some nois or turn it off.
* We'll determine the timestamp of the next piezo event as well
*/
void handlePiezoEvent() {
unsigned long curMS = millis();
if ( piezoOn == true ) { // Piezo is currently on, we need to switch it of
digitalWrite( PIEZO_PIN, 0 );
nextPiezoEvent = curMS + PIEZO_OFF_DURATION;
piezoOn = false;
}
else { // Piezo is off, time to make some noise ;-)
analogWrite( PIEZO_PIN, 255 );
nextPiezoEvent = curMS + PIEZO_ON_DURATION;
piezoOn = true;
}
}
/**
* Main loop of the sketch.
*/
void loop() {
if ( alarmOn == true ) { // Alarm handling code
if ( millis() >= nextPiezoEvent ) { // check if the piezo has to be turned on or off.
handlePiezoEvent();
}
}
gw.wait( 5 ); // Just wait 50s not really necessary but give the arduino some rest. It's working really hard for us and we should be grateful for that.
// besides it calls gw.process() which we need for incomming messages.
}
/**
* Call back handler, for handling messages send by the MySensors gateway
*/
void incomingMessage(const MyMessage &message) {
if ( message.type == V_LIGHT ) { // Check if the Gateway has reported an Alarm_type message (should be an V_ALARM as off the next Domoticz release.
if ( message.sensor == SIRENE_CHILD_ID ) { // Is the message for our alarm child?
alarmOn = message.getBool(); // get alarm value sent by Domotica controller
#ifdef DEBUG // print some debug info
Serial.println( "Sirene state changed to " + (String)alarmOn );
#endif
if ( alarmOn == false ) { // turn off the alarm as asked by the Domotica controller
analogWrite( PIEZO_PIN, 0 ); // turn off the noise
}
else { // Schedule the next piezo event
nextPiezoEvent = 0;
piezoOn = false;
}
}
}
}
Edited:
I'm not good with Fritzling, I just don't find it very user friendly. That's probably why I don't spend some time on how to use it. But i just realized that you might want to know how to hookup the piezo buzzer to the arduino ;-)
Just connect the radio as described on the mysensors.org build site. I've used a 3.3V piezo, cause I mostly use ProMini's 3.3V for my MySensor nodes. But if you have another Arduino you'd probably need a 5V piezo buzzer.
Connecting the piezo is really easy. Hook the ground of the buzzer to one of the GND pins of your Arduino. Hook the positive pin of the buzzer to Pin 5 of your Arduino and you're good to go.
 1
0 Votes5 Posts227 Views


