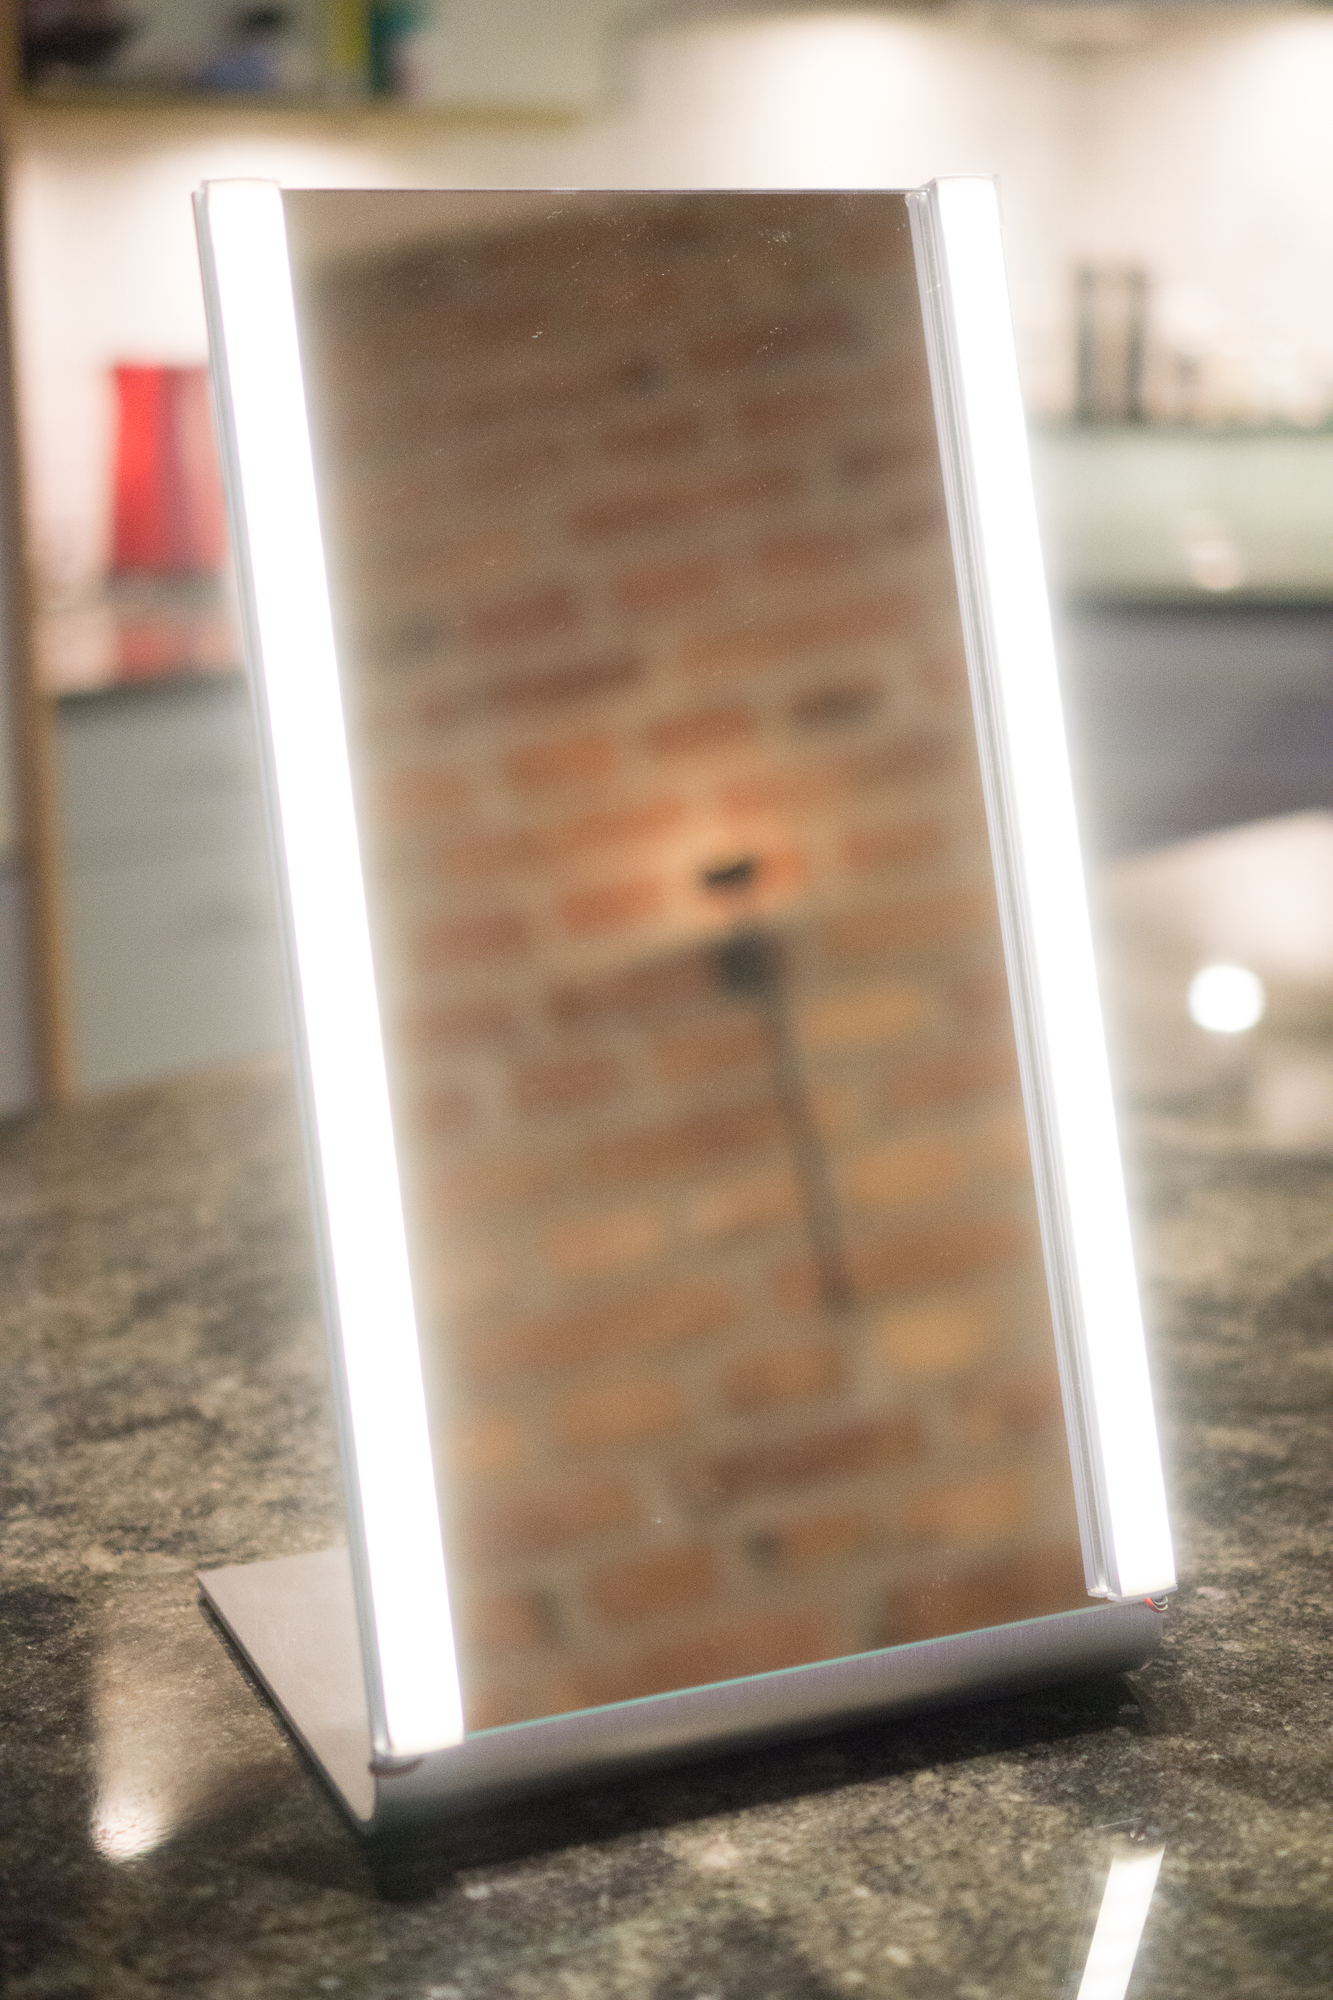
Dimmable light for makeup mirror (battery powered)
-
-
This is a simple, low-cost and quick project that can get a high spouse acceptance factor.
Mirror
- Remove the led strip from the aluminum profiles.
- Cut the aluminum profiles and the covers to appropriate length. I used a hacksaw to cut profile+cover at the same time to ensure the got the same length.
- Cut the led strips at one of the cut points using a side cutter.
- Remove the old wires (they are too short to reach the box) and solder new wires.
- Put the led strip back inside the aluminum profile. Note that there is a small grove at the back for the strip, this ensures that the strip is close to the profile to maximize cooling.
- Glue the profiles to the mirror. I used slow-curing epoxy.
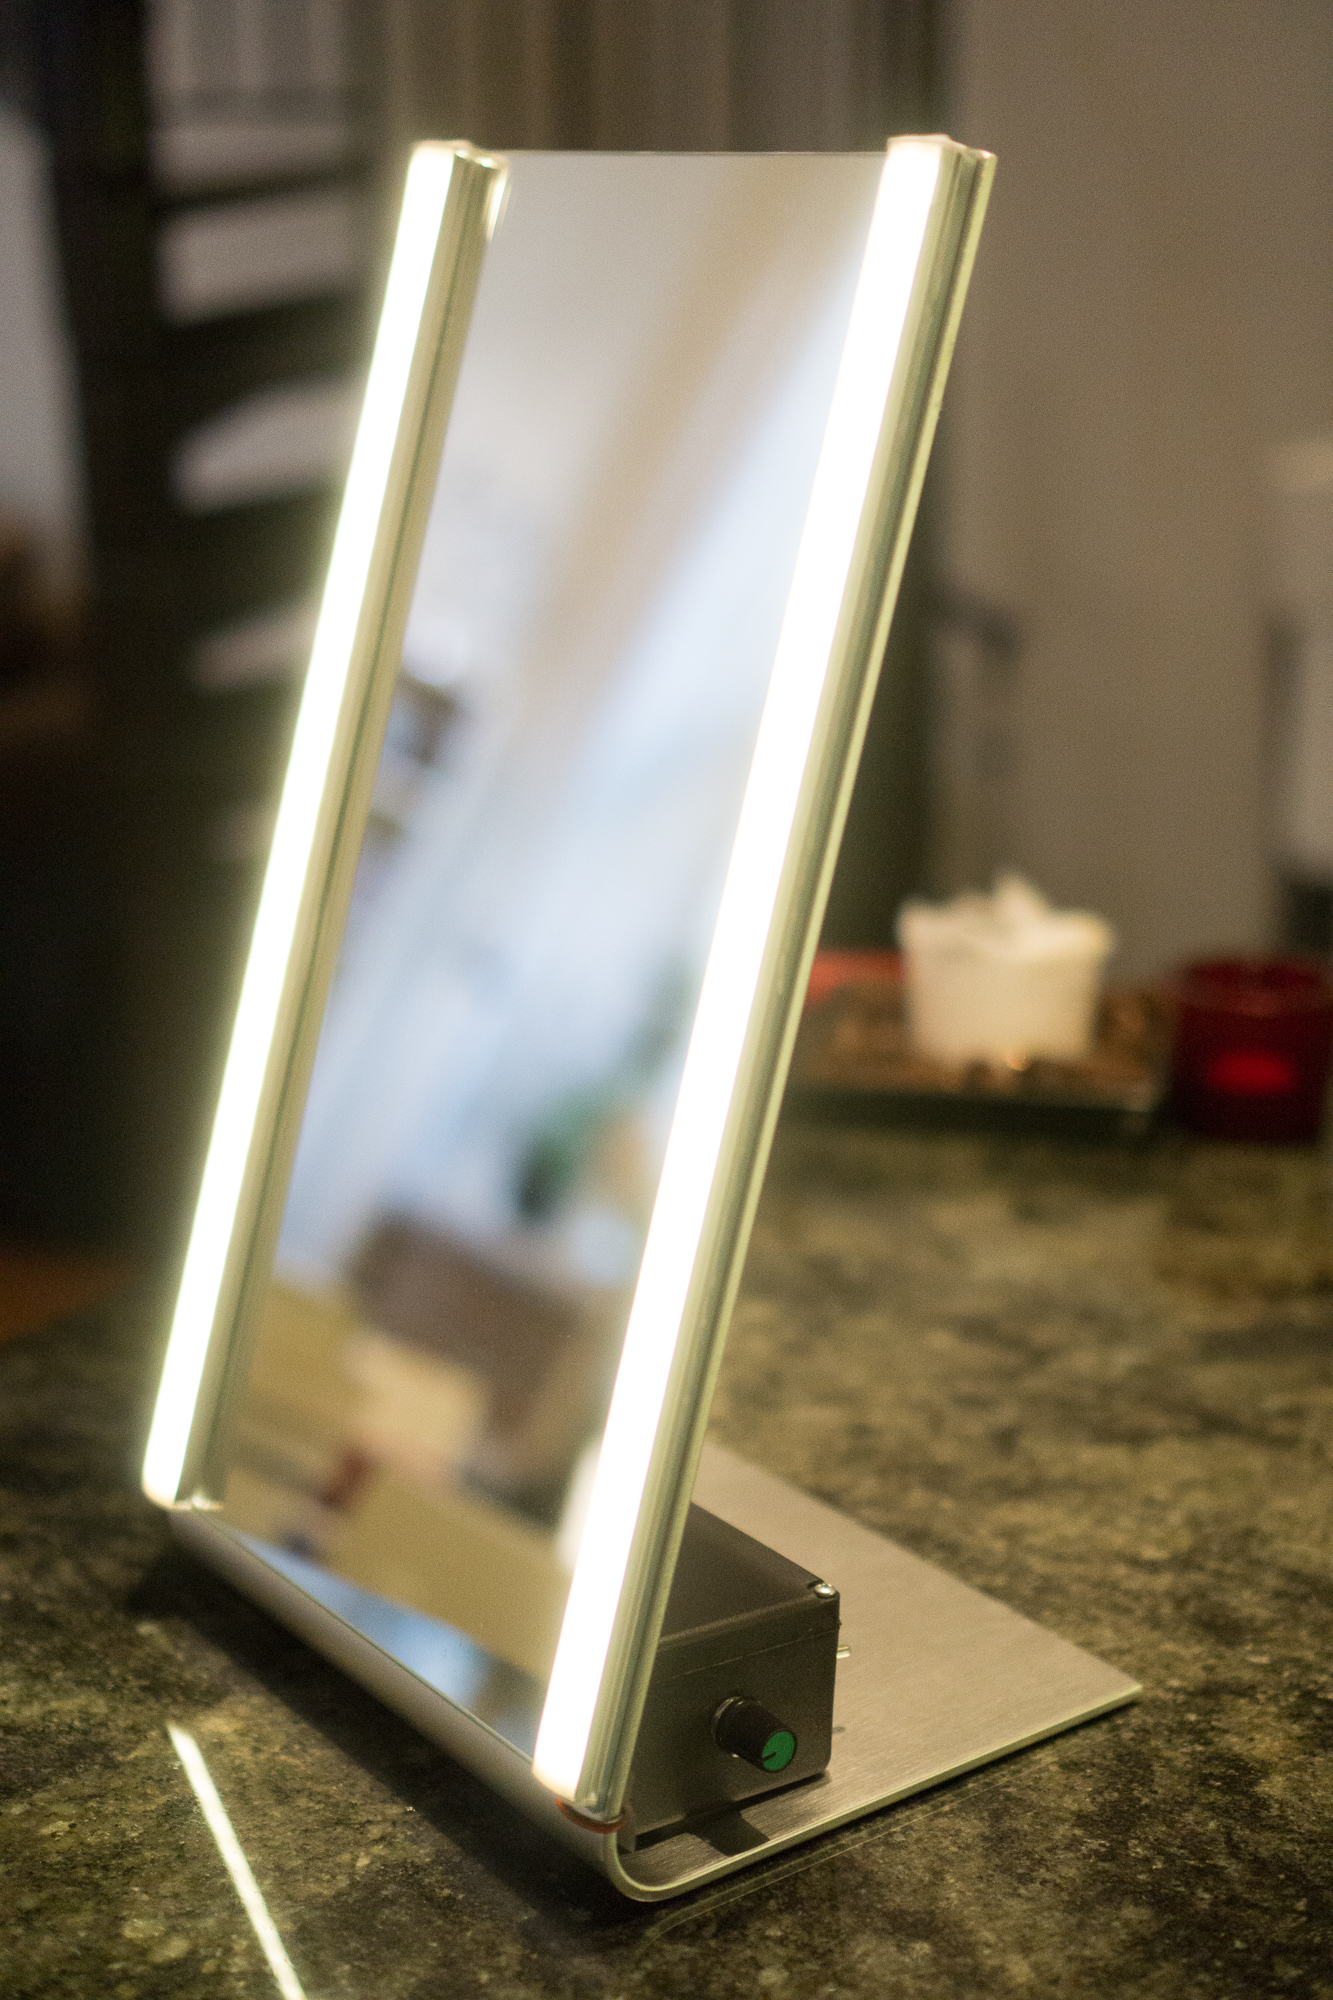
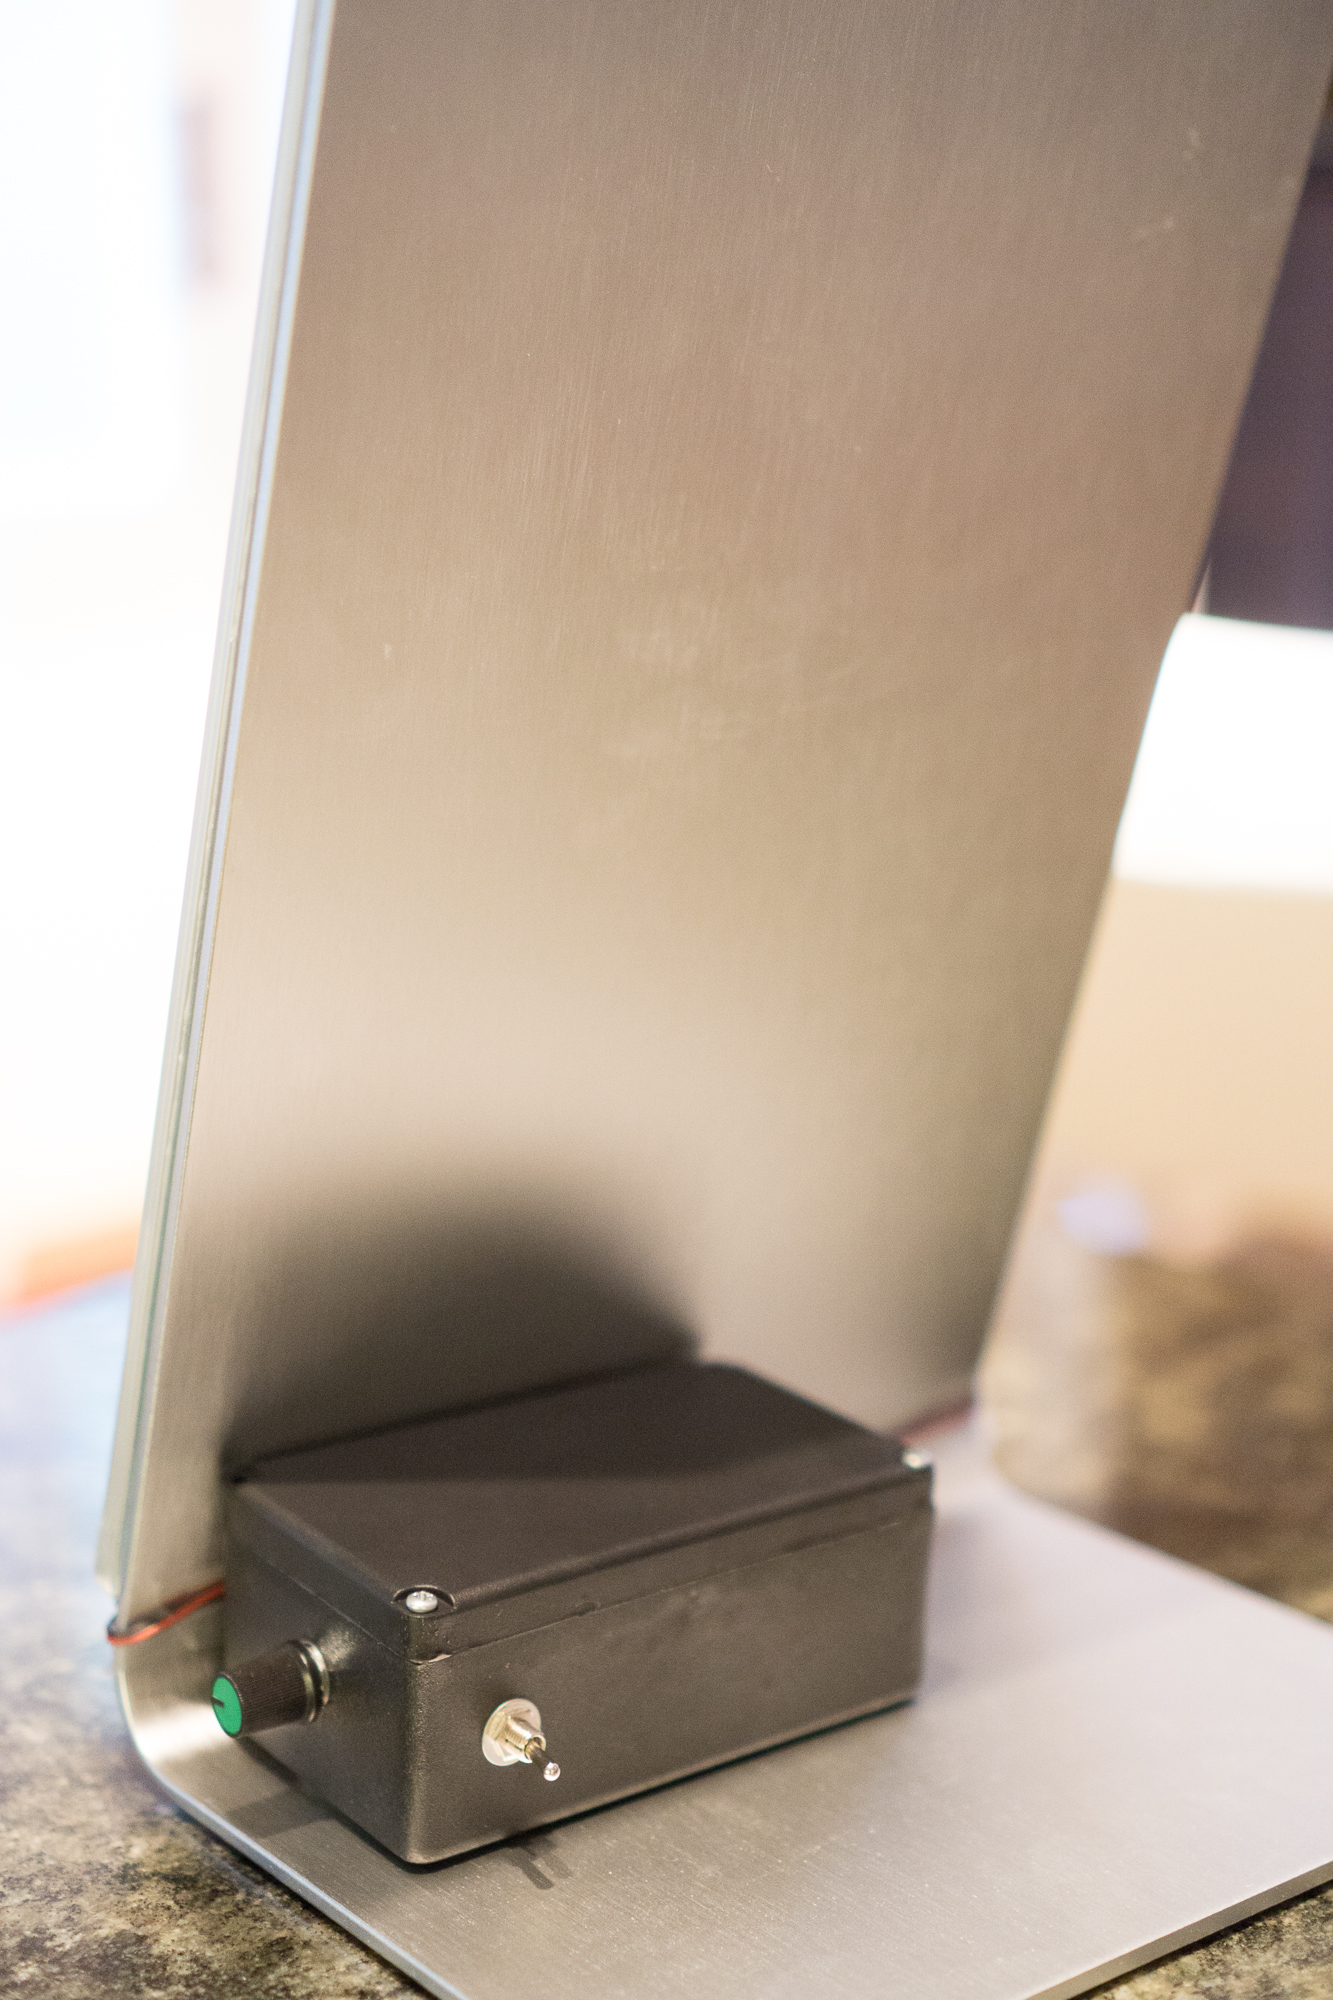
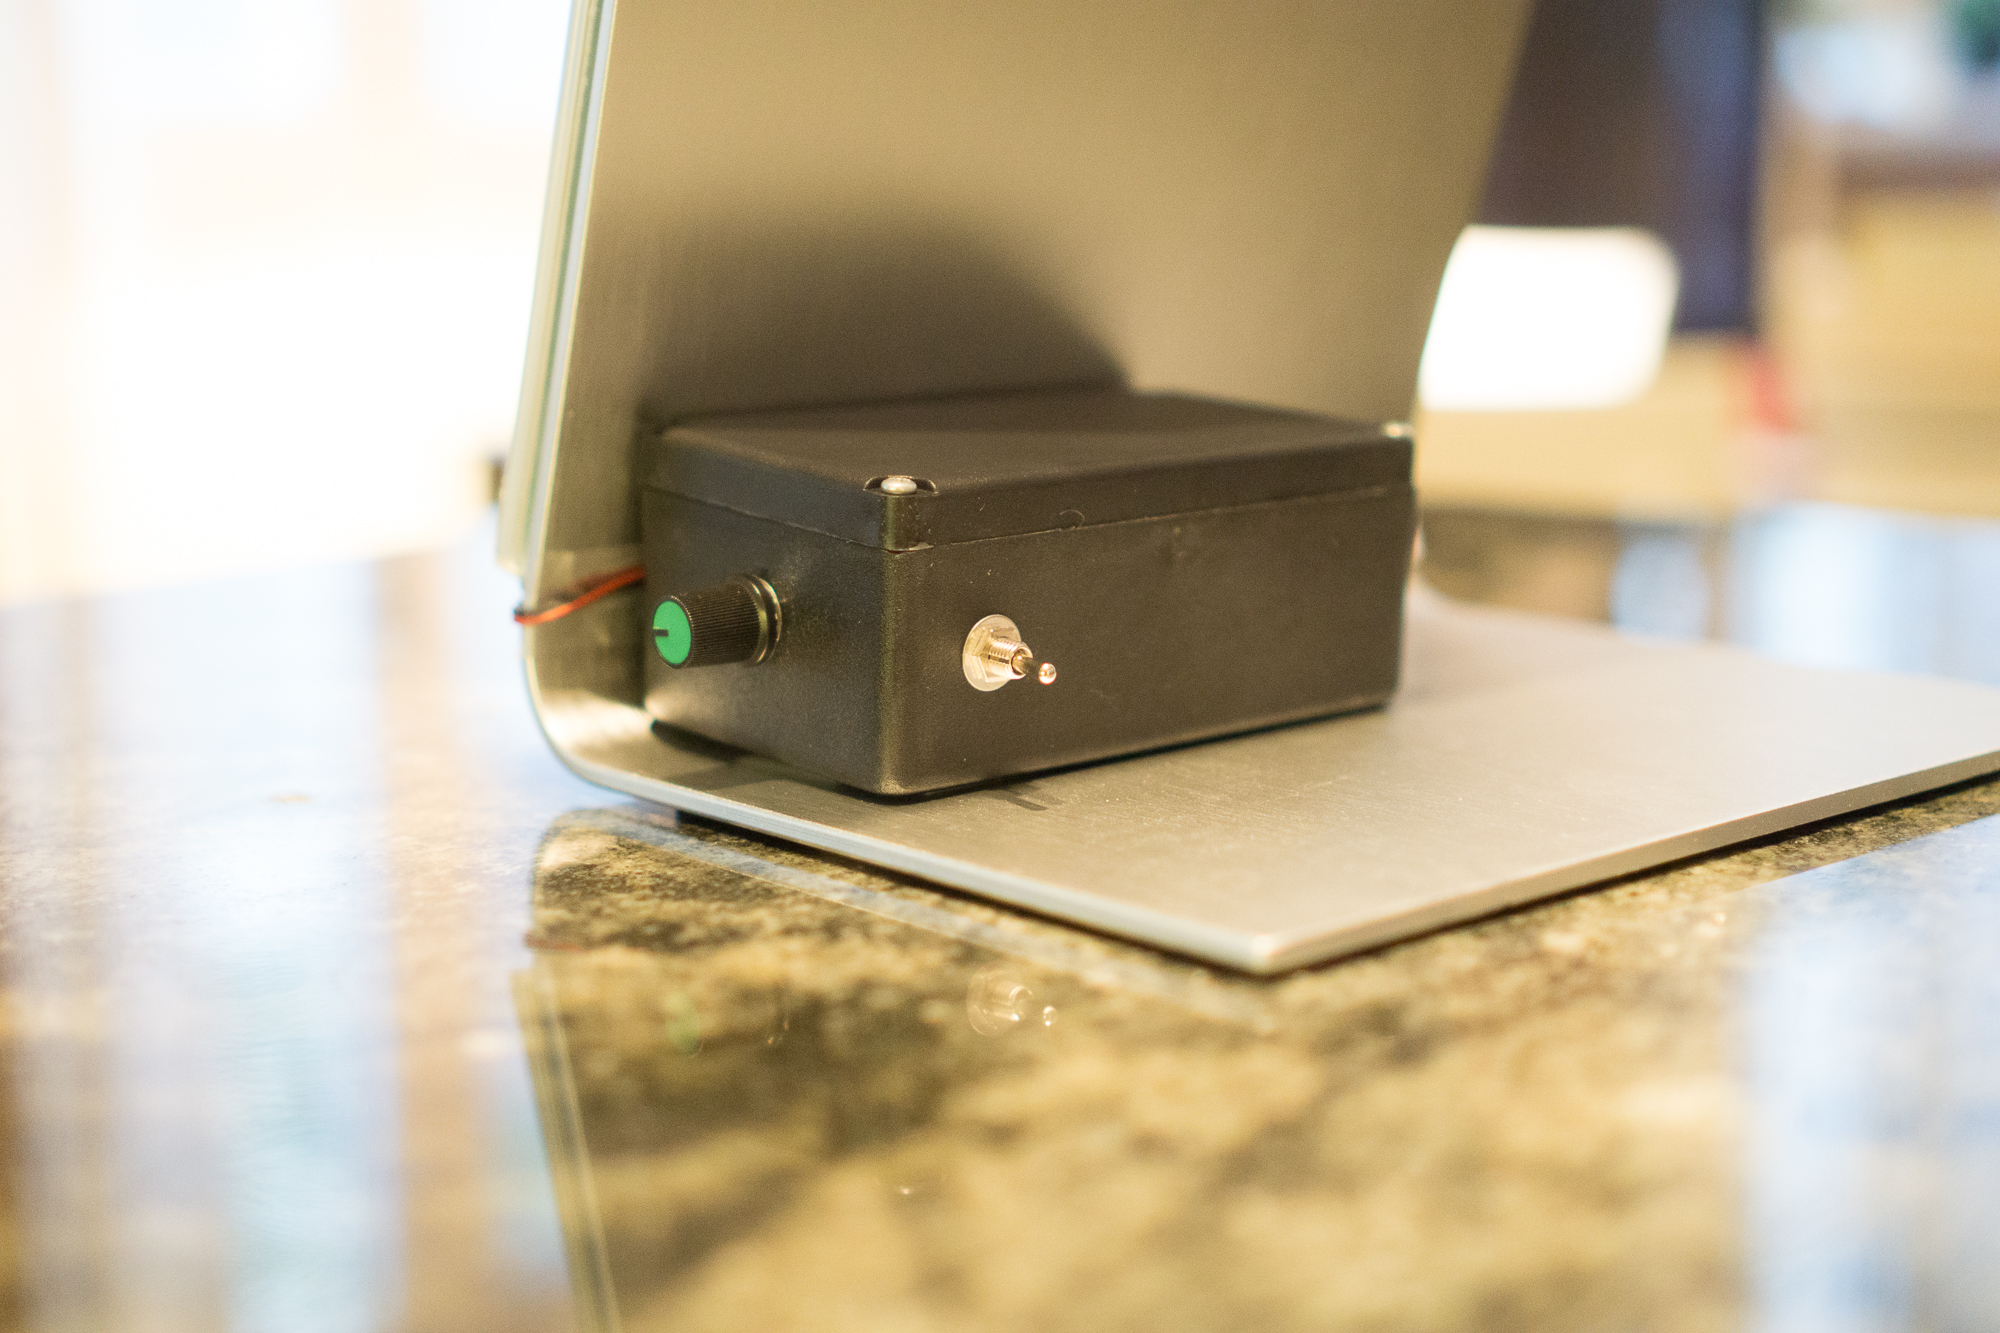
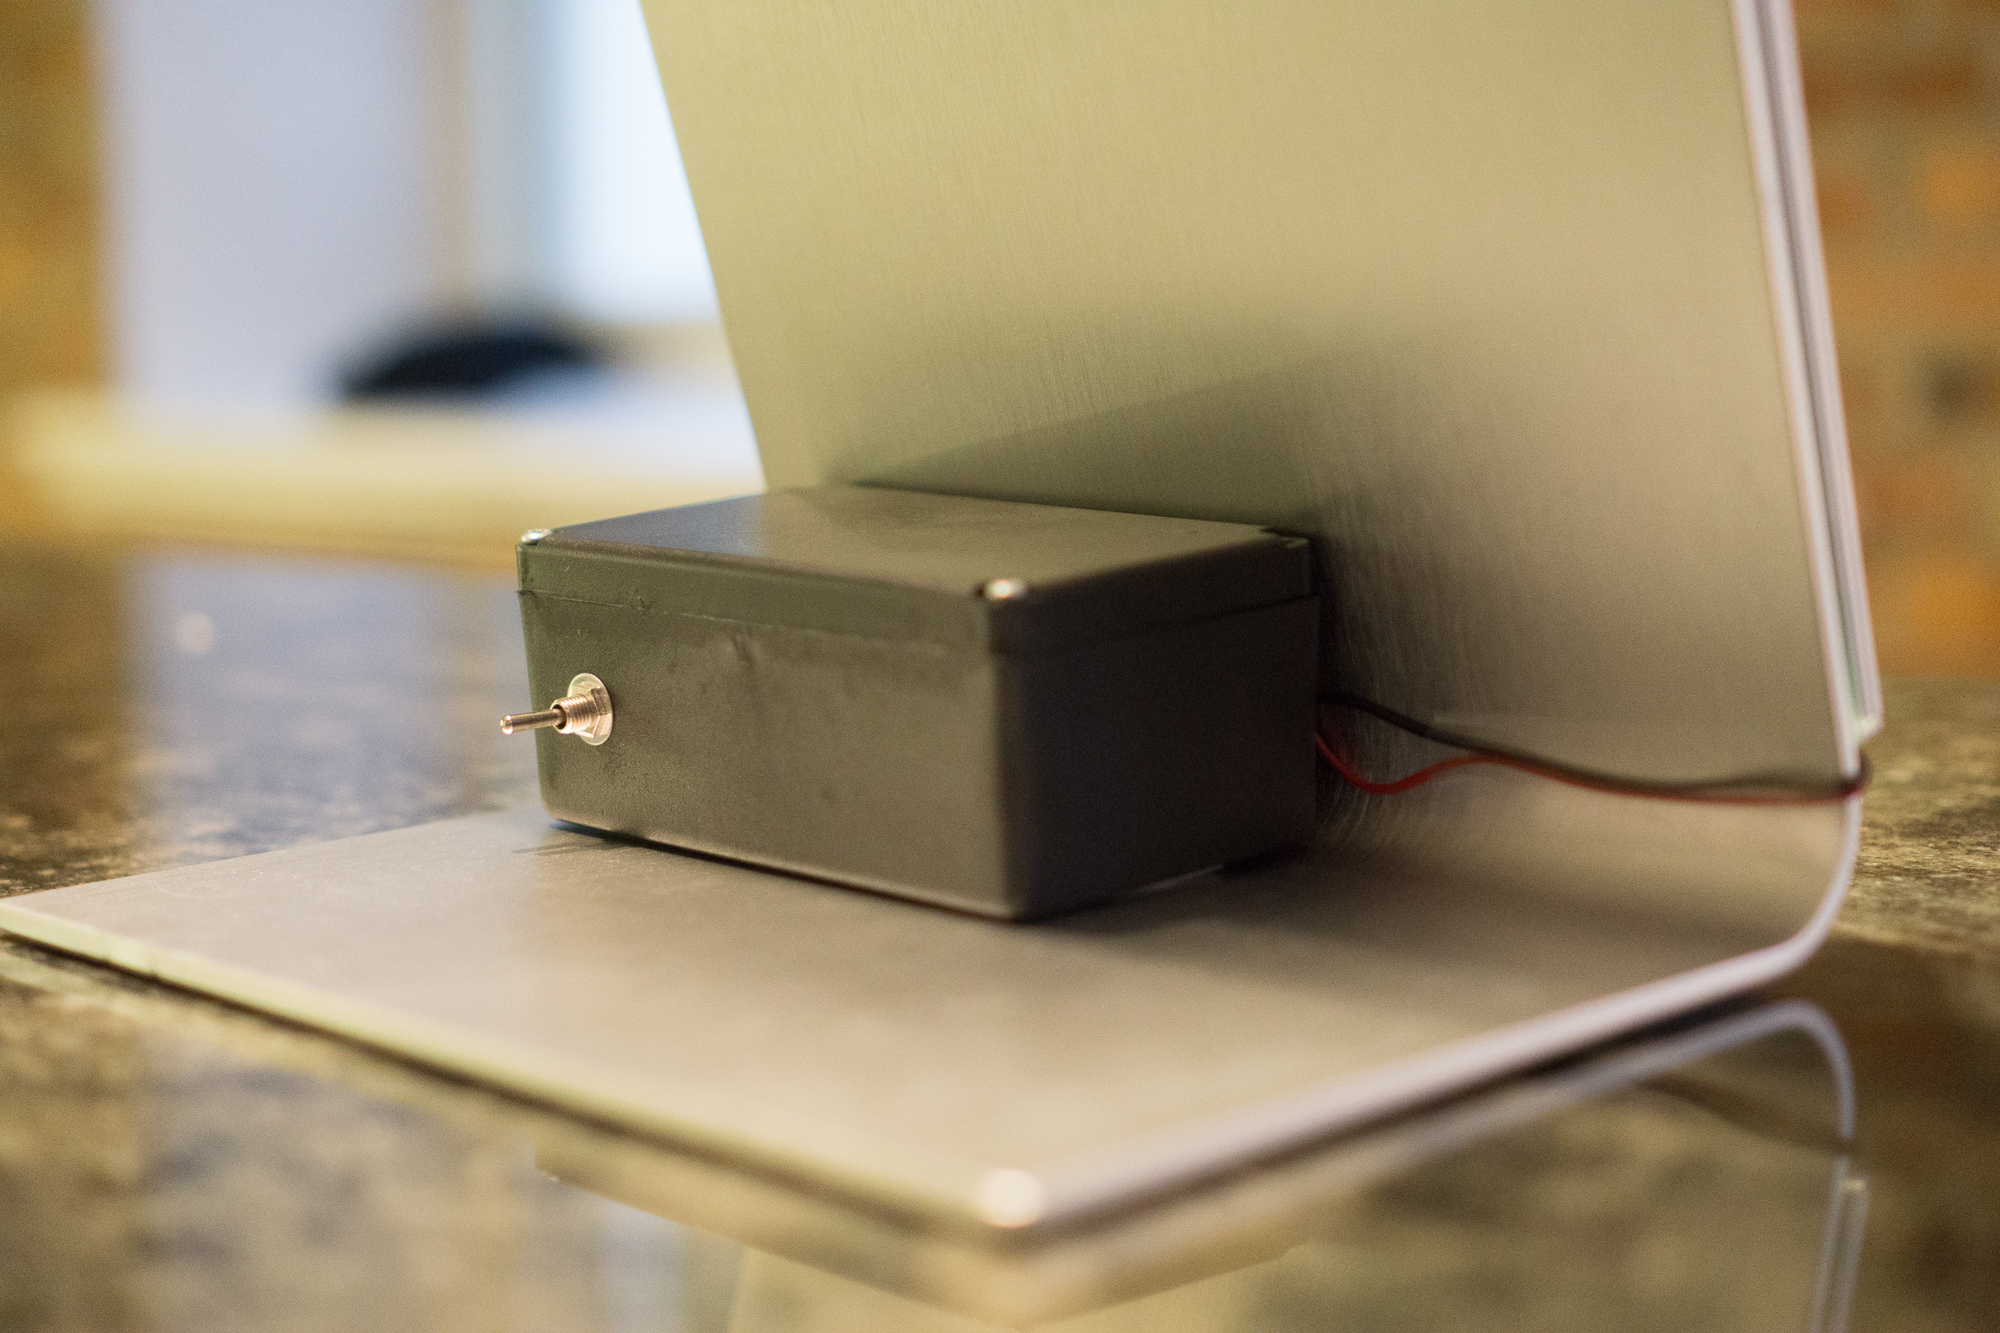
Electronics box
- Drill holes in the project box for the switch (6mm) and the potentiometer (6mm should be enough but was too tight so I used 8mm).
- Drill a 4mm hole for the wires to the led strips.
- Upload the sketch to the Arduino
- Connect the Arduino and the battery packs and put them inside the project box.
- Fasten the project box using double-sided tape.
Big thanks to my wife for letting me use the action photo.

Hello! It looks like you're interested in this conversation, but you don't have an account yet.
Getting fed up of having to scroll through the same posts each visit? When you register for an account, you'll always come back to exactly where you were before, and choose to be notified of new replies (either via email, or push notification). You'll also be able to save bookmarks and upvote posts to show your appreciation to other community members.
With your input, this post could be even better 💗
Register Login